Introduction
Rockets, Sparkle, and Everything Nice: Your Ultimate Guide to 4th of July DIY Party Favors!
Hey there, fellow DIY enthusiasts! The smell of barbecue is in the air, the fireworks are ready to burst, and patriotic pride is swelling. What’s missing? The perfect little takeaways to make your Independence Day bash truly memorable! If you’re searching for incredible 4th of July DIY party favors, you’ve landed in the right spot.
Forget stressing over store-bought trinkets that lack that personal touch. We’re diving deep into creative, budget-friendly, and downright delightful ideas that will have your guests oohing and aahing long after the last firework has faded. Crafting your own party favors isn’t just about saving a few bucks; it’s about pouring a little bit of your heart into your celebration, making it uniquely yours. So, roll up your sleeves, grab your glitter, and let’s get started on some fantastic 4th of July DIY party favors!
Table of Contents
Table of Contents
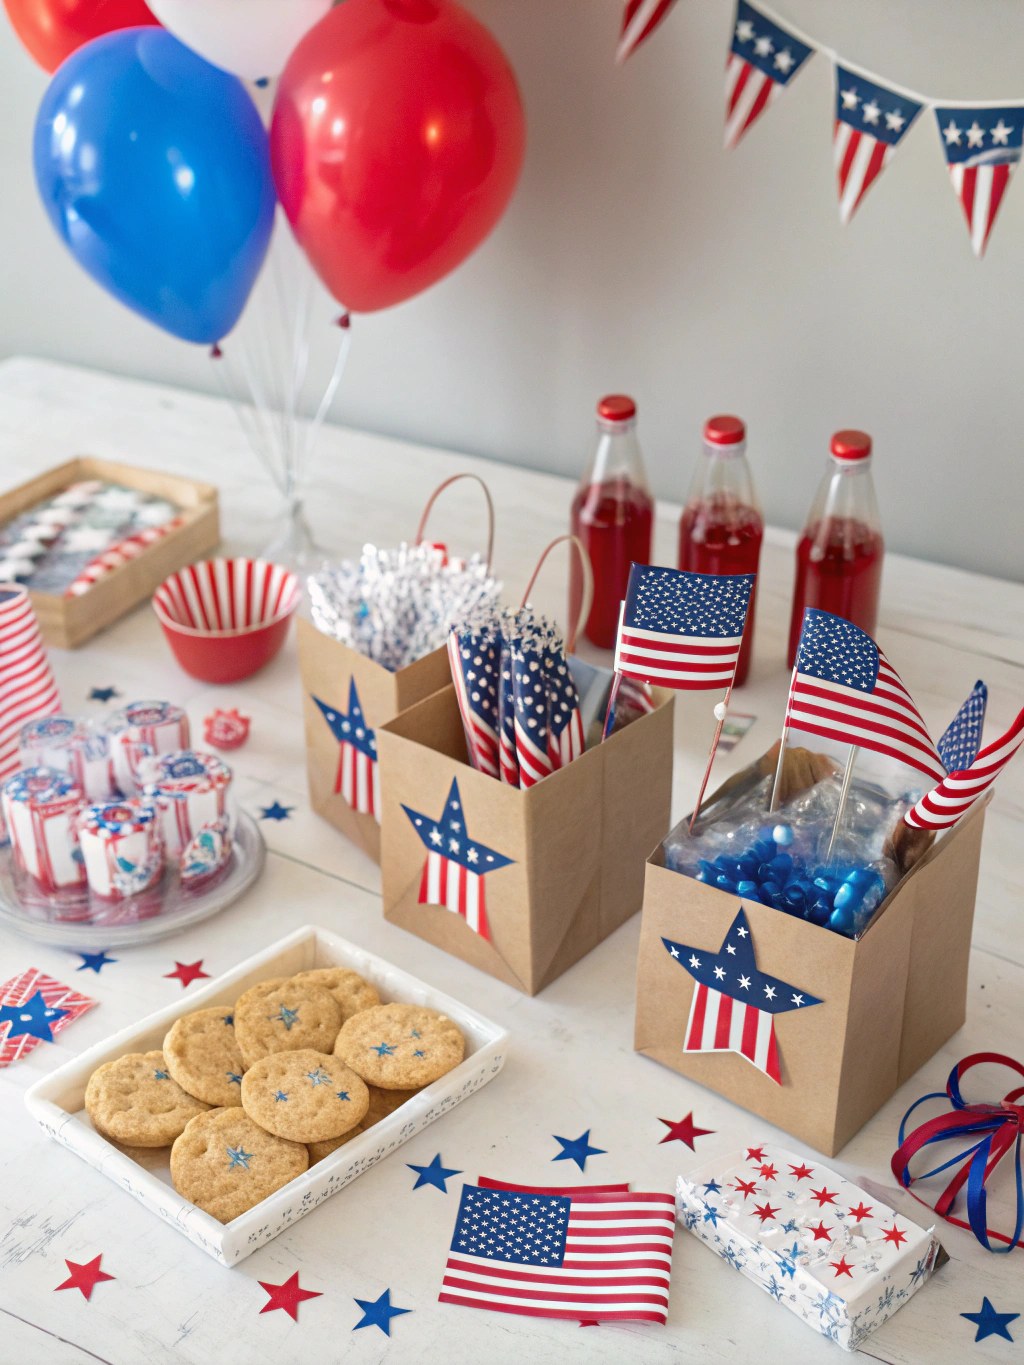
*Caption: Get ready to spark joy with these amazing [4th of July DIY party favors](https://www.fixdiy.site/holiday-diys/)!*
What You’ll Need: Your Crafting Arsenal 4th of July DIY Party Favors
Before we jump into the actual projects, let’s gather our basic supplies. Many of these 4th of July DIY party favors use similar materials, so having a good stash ready will make the process smoother and more fun. Think red, white, and blue everything!
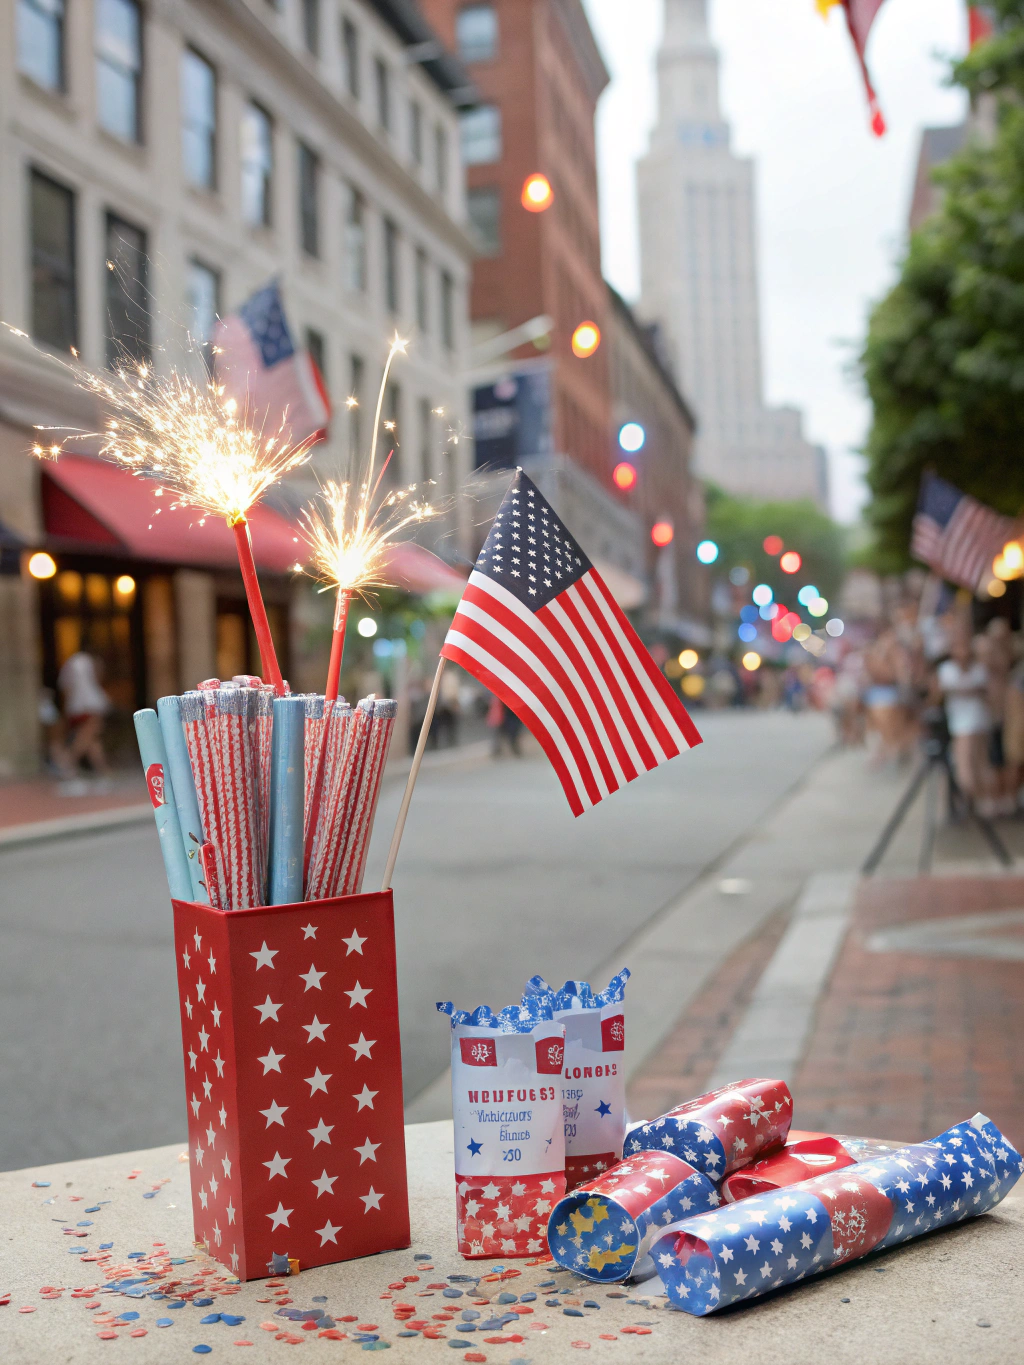
*Caption: Your essential toolkit for creating unforgettable [4th of July DIY party favors](https://www.fixdiy.site/holiday-diys/).*
Here’s a general list of what you might want to have on hand:
- Cardstock or Construction Paper: In patriotic colors – red, white, and blue are non-negotiable! Metallic silver or gold can add a nice touch too.
- Scissors: A good sharp pair for clean cuts. Decorative edge scissors can be fun too!
- Glue: Hot glue gun and glue sticks, craft glue (like Tacky Glue), or glue dots.
- Ribbons and Twine: Again, think patriotic colors and patterns (stars, stripes). Bakers twine in red and white is always a classic.
- Markers, Pens, or Paint Pens: For adding details, names, or messages. Glitter pens can add extra sparkle.
- Glitter: Red, blue, silver, gold – because is it even a party favor without a little sparkle? (Optional, for the brave!)
- Small Treat Bags or Boxes: Cellophane bags, small paper bags, or mini gable boxes.
- Treats and Fillers: Candies (M&Ms, Skittles, Hershey’s Kisses in patriotic wrappers), small toys, bubbles, sparklers (for older guests, with caution!), seed packets for patriotic flowers.
- Stickers and Embellishments: Stars, flags, patriotic-themed stickers.
- Ruler: For precise measurements.
- Hole Punch: Useful for tags and stringing ribbons.
- Washi Tape: In red, white, and blue patterns.
Having these basics will allow you to tackle most of the 4th of July DIY party favors we’re about to explore. Remember, DIY is all about using what you have and getting creative!
Top 7 Delightful 4th of July DIY Party Favors Ideas
Get ready to be inspired! We’ve curated seven fantastic ideas for 4th of July DIY party favors that range from super simple to slightly more involved, but all are guaranteed to impress your guests.
Idea 1: Patriotic Sparkler (or Glow Stick) Bundles with Custom Tags
Sparklers are synonymous with the 4th of July! Bundling them up with a cute, handmade tag makes for a simple yet festive favor. For younger guests or venues where sparklers aren’t allowed, glow sticks are a fantastic alternative. This is one of the classic “DIY 4th of July crafts, How to make 4th of July DIY party favors, Creative party favors for Independence Day” that everyone loves.
Why We Love It: It’s iconic, easy to assemble, and encourages interactive fun. Plus, the tags can be personalized!
Materials Focus:
- Sparklers or Glow Sticks
- Cardstock (red, white, blue)
- Ribbon or Twine
- Hole Punch
- Markers or Letter Stamps
Step-by-Step Guide (Sparkler Tag Focus):
Step 1: Design and Cut Your Tags
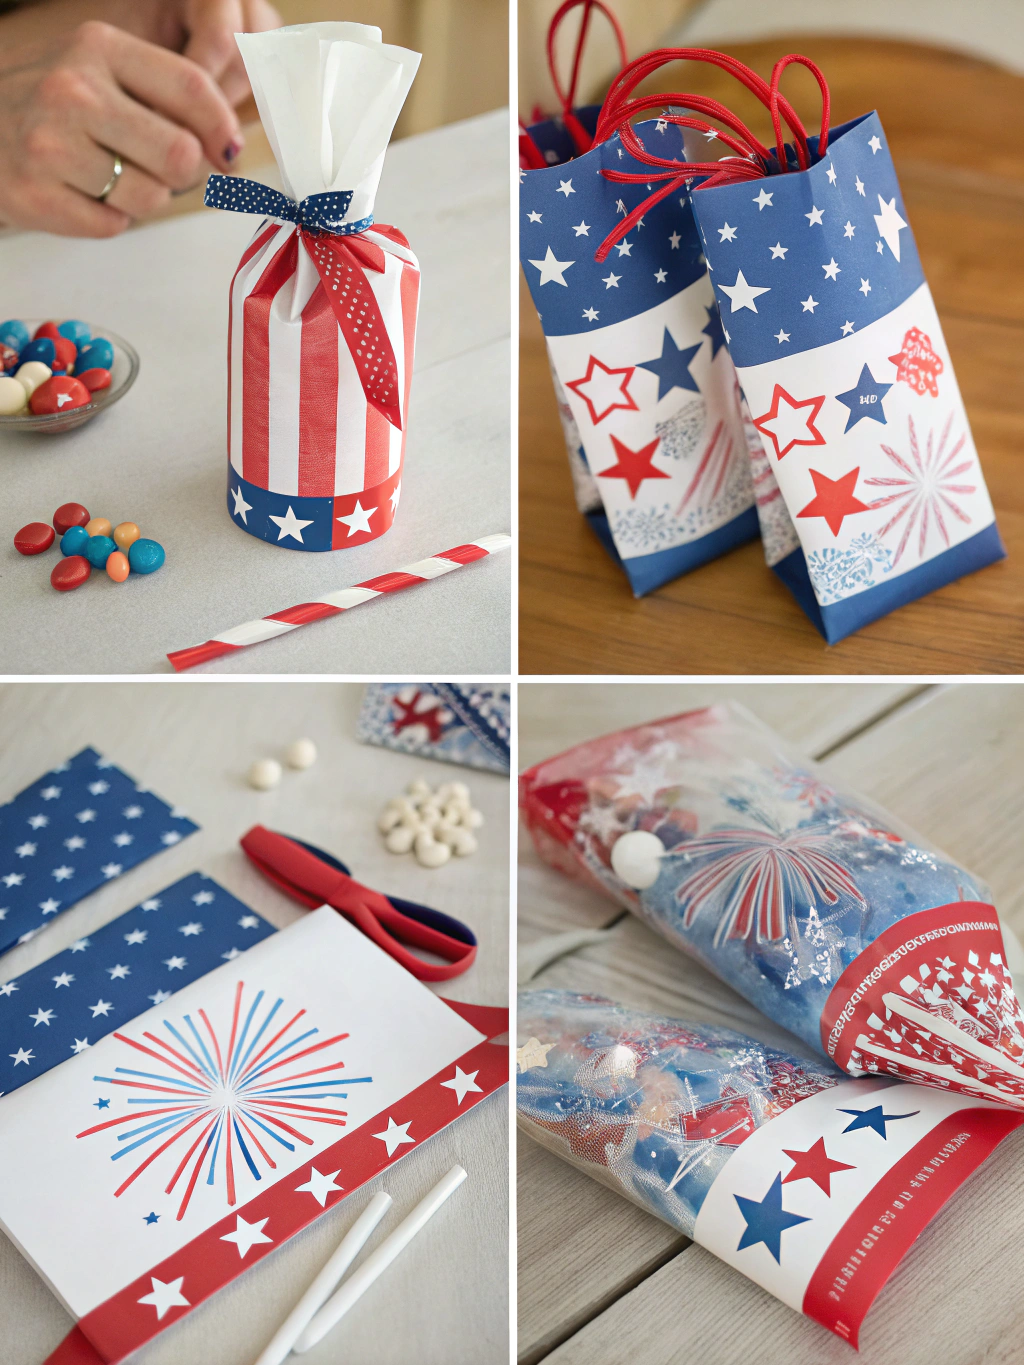
*Caption: Step 1: Carefully cutting out patriotic tags for your [4th of July DIY party favors](https://www.fixdiy.site/holiday-diys/).*
First, decide on the shape and size of your tags. Rectangles, circles, or star shapes work wonderfully. Using your red, white, or blue cardstock, cut out the desired number of tags. You can make them about 2×3 inches for a standard size. Using a paper cutter will give you clean, straight edges for rectangular tags, but scissors work just fine.
This step is crucial because the tag is the main decorative element. Make sure your cuts are neat. A common pitfall is rushing and getting uneven shapes. Take your time! For an extra touch, consider using decorative edge scissors for a wavy or zigzag border.
Step 2: Decorate Your Tags
Now for the fun part – an M&M decorating the tags! Use markers, paint pens, glitter, or stamps to add patriotic flair. Think “Happy 4th!”, “Let Freedom Sparkle!”, “USA”, or simple star patterns. You can even print designs from your computer if you’re making a large batch.
Be creative here! Layer different colors of cardstock for a dimensional look. For example, a smaller white star glued onto a larger blue tag. If using glitter, apply glue in your desired pattern, sprinkle glitter, let it dry, and then tap off the excess. A pitfall here is overdoing the decoration – sometimes less is more. Aim for a clean, festive look.
Step 3: Punch Holes and Attach Ribbons
Once your tags are decorated and dry, use a hole punch to make a hole at the top of each tag. Cut lengths of ribbon or twine, about 6-8 inches long – enough to tie around your sparkler bundle and make a small bow or knot.
Thread the ribbon through the hole in the tag. You can simply loop it through or tie a small knot to secure it to the tag. This simple action prepares the tag for attachment to the sparklers or glow sticks. Ensure the hole isn’t too close to the edge, or it might tear.
Step 4: Assemble Your Favors
Gather 3-5 sparklers or glow sticks per bundle. Tie the ribbon (with the tag attached) around the bundle. You can tie a bow or a simple knot. Adjust the tag so it’s visible and looks neat.
That’s it! Your patriotic sparkler/glow stick bundles are ready. This is a fantastic project if you’re looking for how to make 4th of July DIY party favors that are both quick and impactful. The key is neatness and festive colors. Your guests will love this thoughtful touch!
Idea 2: “Stars and Stripes” Candy Poppers
Remember those classic Christmas crackers or poppers? You can easily make a 4th of July version! These are fun for all ages and can be filled with small candies and trinkets.
Why We Love It: The “pop” adds an element of surprise and excitement. They are also highly customizable.
Materials Focus:
- Cardboard tubes (toilet paper rolls work perfectly – sanitize them first or buy new craft rolls)
- Crepe paper or tissue paper (red, white, blue)
- Ribbon or twine
- Cracker snaps (optional, for the “pop” – use with caution and adult supervision)
- Small candies, confetti, patriotic temporary tattoos, or mini toys
- Glue or double-sided tape
- Decorative elements: star stickers, glitter
Quick How-To:
- If using cracker snaps, carefully place one inside the cardboard tube, ensuring the pull-strings extend out of both ends.
- Cut a piece of crepe or tissue paper large enough to wrap around the tube and extend a few inches on either side (e.g., 12×8 inches for a standard tube).
- Place your treats and confetti in the center of the tube.
- Roll the tube in the crepe paper, securing the edge with glue or double-sided tape.
- Twist one end of the crepe paper extending beyond the tube and tie it securely with ribbon or twine. If using a cracker snap, make sure one pull-string is incorporated here.
- Repeat on the other side, ensuring the other pull-string is accessible.
- Decorate the outside of the popper with star stickers, glitter, or by drawing stripes with markers. You could even wrap a band of contrasting colored paper around the middle.
Pro-Tip: Use themed confetti like tiny stars or flags inside for an extra patriotic burst when opened! These 4th of July DIY party favors are sure to be a hit.
Idea 3: Patriotic Pinwheel Pencils or Straws
Pinwheels are a whimsical and fun craft that screams summer and celebration. Attaching them to pencils or decorative straws makes them a practical and delightful party favor.
Why We Love It: They’re interactive, visually appealing, and can double as party decor before being given away.
Materials Focus:
- Square pieces of patriotic scrapbook paper or cardstock (e.g., 4×4 or 6×6 inches)
- Pencils or sturdy decorative paper straws
- Brads (paper fasteners)
- Push pins (optional, for a more traditional pinwheel spin)
- Scissors
- Ruler
- Hole punch (small) or a sharp point to make a hole
Quick How-To:
- Take your square piece of paper. Draw diagonal lines from each corner to the center, stopping about half an inch from the center point.
- Cut along these lines. You’ll have four “flaps.”
- Carefully bring every other point to the center of the square. Don’t crease the folds too sharply.
- Punch a small hole through the overlapping points and through the center of the paper square.
- If attaching to a pencil with an eraser: Use a push pin through the holes and into the pencil’s eraser. Make sure it’s not too tight, so the pinwheel can spin.
- If attaching to a straw or a pencil without an eraser: Use a brad. Push the brad through the holes, then through a small hole made in the straw (near the top). Open the prongs of the brad on the inside of the straw or flat against the pencil. You might need a dab of hot glue to secure the pinwheel base to the pencil/straw if the brad isn’t holding it firmly in place.
- For a simpler version, you can hot glue a non-spinning, pre-made mini pinwheel to the top of a pencil.
Variation: Use double-sided patterned paper for an even more dynamic look when the pinwheel spins! This idea for 4th of July DIY party favors adds a playful touch.
Idea 4: DIY Confetti Rocket Favors
These mini rocket ships are adorable and can be filled with confetti or small candies. They make a huge visual impact and are surprisingly easy to assemble.
Why We Love It: They’re thematic, playful, and offer a “burst” of fun when opened. Perfect for “Creative party favors for Independence Day”.
Materials Focus:
- Cardboard tubes (paper towel or toilet paper rolls cut to size)
- Red, white, and blue cardstock or construction paper
- Silver or gold glitter paper/cardstock (for the cone/nose)
- Tissue paper (red, orange, yellow for “flames”)
- Glue (hot glue recommended for sturdiness)
- Scissors
- Small candies or confetti
- Ribbon or twine (optional, for a pull-tab to open)
Quick How-To:
- First, prepare your rocket body. Cover a cardboard tube (e.g., a toilet paper roll cut in half) with blue or red paper.
- To make the rocket’s nose cone: Cut a circle from silver or red cardstock (about 4-5 inches in diameter). Cut a slit to the center of the circle. Overlap the cut edges to form a cone shape that fits the top of your tube. Secure with glue.
- Fill the tube with confetti or small candies.
- To create the “flames” at the bottom: Cut strips of red, orange, and yellow tissue paper. Layer them and glue them around the inside bottom edge of the tube, letting them trail out.
- Glue the nose cone onto the top of the tube, sealing the treats inside. If you want an “easy open” feature, consider making the bottom seal less permanent or creating a small pull-tab with ribbon before sealing.
- Decorate the rocket body with white stars cut from cardstock, or draw on details with a silver marker.
Pro-Tip: You can create a small “hatch” at the bottom by cutting a circle of cardstock slightly larger than the tube opening, gluing only part of it, and creating a little tab for kids to pull open to release the treats. This is a great example of how to make 4th of July DIY party favors that are both decorative and interactive.
Idea 5: “Firework” Candy Kabobs
Sweet, colorful, and visually striking, these candy kabobs resemble bursting fireworks and are always a crowd-pleaser.
Why We Love It: They’re edible, customizable with different candies, and look incredibly festive.
Materials Focus:
- Wooden skewers
- Assorted gummy candies in red, white, and blue (gummy stars, rings, berries, sour-belts)
- Marshmallows (large and mini)
- Red and blue edible glitter or sprinkles (optional)
- Cellophane wrap and ribbon (for packaging)
Quick How-To:
- Plan your candy arrangement. It’s helpful to lay them out before skewering to ensure a good color and texture mix.
- Carefully thread the candies onto the wooden skewers. Start with a sturdy candy at the bottom, like a gummy ring or a marshmallow, to act as a stopper.
- Alternate colors and shapes to create a visually appealing “firework” effect. You can roll marshmallows in edible glitter or sprinkles before adding them to the skewer for extra sparkle. Try to make the top of the kabob burst with larger or star-shaped candies.
- Be mindful of sharp skewer ends, especially if children will be handling them. You can snip off the very pointy tip after assembly or cover it with a small piece of candy.
- Once assembled, you can wrap each kabob individually in cellophane and tie it with a patriotic ribbon.
Safety Note: Supervise children with skewers. These edible 4th of July DIY party favors are delicious but require a little caution. For younger kids, consider using licorice ropes or Pixy Stix as the “skewer” base if a sturdier base isn’t required for your candy choices.
Idea 6: Personalized Mason Jar Sippers or Treat Jars
Mason jars are a DIYer’s best friend! They can be easily transformed into patriotic sippers for drinks or cute containers for layered candies or small gifts.
Why We Love It: They’re reusable, practical, and offer a charmingly rustic feel. This idea ties in well with “”DIY 4th of July crafts, How to make 4th of July DIY party favors, Creative party favors for Independence Day”” if you’re looking for something more substantial.
Materials Focus:
- Small mason jars with lids and bands
- Red, white, and blue acrylic paints or spray paint (for lids or jars)
- Patriotic fabric scraps or cupcake liners (for under the lid band)
- Ribbon or twine
- Vinyl star stickers or stencils
- Chalkboard paint and chalk (for labeling)
- Patriotic paper straws (if making sippers)
- Layered candies (red, white, and blue M&Ms, jelly beans) or small favors
Quick How-To:
- For Sippers:
- If your lids don’t have straw holes, carefully drill or punch a hole in the center of the lid insert, large enough for a straw. Smooth any sharp edges.
- Paint the lid bands red, white, or blue. Let dry completely.
- Decorate the jar itself: Apply vinyl star stickers, paint stripes, or tie a patriotic ribbon around the neck of the jar.
- Place a patriotic paper straw through the hole.
- For Treat Jars:
- Layer red, white, and blue candies inside the jar for a visually appealing effect.
- Decorate the lid: Paint it, or place a circle of patriotic fabric or a flattened cupcake liner on top of the lid insert before screwing on the band.
- Paint a small section of the jar with chalkboard paint to write guests’ names or a “Happy 4th!” message.
- Tie a ribbon and a small tag around the jar.
Customization Idea: Fill with homemade S’mores kits (graham crackers, marshmallows, chocolate squares) for a truly all-American treat! These 4th of July DIY party favors can be tailored to any theme.
Idea 7: Patriotic Seed Packets for “Freedom Flowers”
Give a gift that keeps on giving! Decorate seed packets filled with red, white, or blue flowers (like red salvia, white alyssum, blue lobelia or forget-me-nots) for a favor that blooms long after the party.
Why We Love It: It’s eco-friendly, symbolic, and offers a lasting reminder of the celebration.
Materials Focus:
- Small paper envelopes or purchase blank seed packets
- Seeds for red, white, or blue flowers (or a mix labeled “Patriotic Mix”)
- Cardstock for printing or decorating
- Markers, stamps, or computer for designing packet labels
- Glue stick
Quick How-To:
- If making your own packets, cut and fold small envelopes from cardstock. Secure with a glue stick.
- Design a label for your seed packets. You can print these from a computer or hand-decorate them. Include phrases like “Let Freedom Bloom,” “Grow Some Patriotism,” or “4th of July Flower Mix.” Don’t forget to list the type of seeds and basic planting instructions.
- Print or write your designs onto cardstock and cut them out to fit your packets. Glue the labels onto the front of the seed packets.
- Carefully fill each packet with a small amount of seeds.
- Seal the packets. You can use a dab of glue, a patriotic sticker, or fold over the flap and secure it with a small piece of washi tape.
- Arrange them in a basket for guests to pick up as they leave.
Thoughtful Touch: Include a small plant marker stick (you can make these from craft sticks) decorated with patriotic colors. These eco-conscious 4th of july diy party favors are perfect for garden-loving guests.
The Grand Finale: Showcasing Your 4th of July DIY Party Favors
Wow! Look at what you’ve created! Whether you chose one idea or made a variety, your 4th of july diy party favors are sure to be a hit. Arranging them beautifully can add to their charm. Consider using a tiered tray, a decorated basket, or simply lining them up on a dedicated favor table.
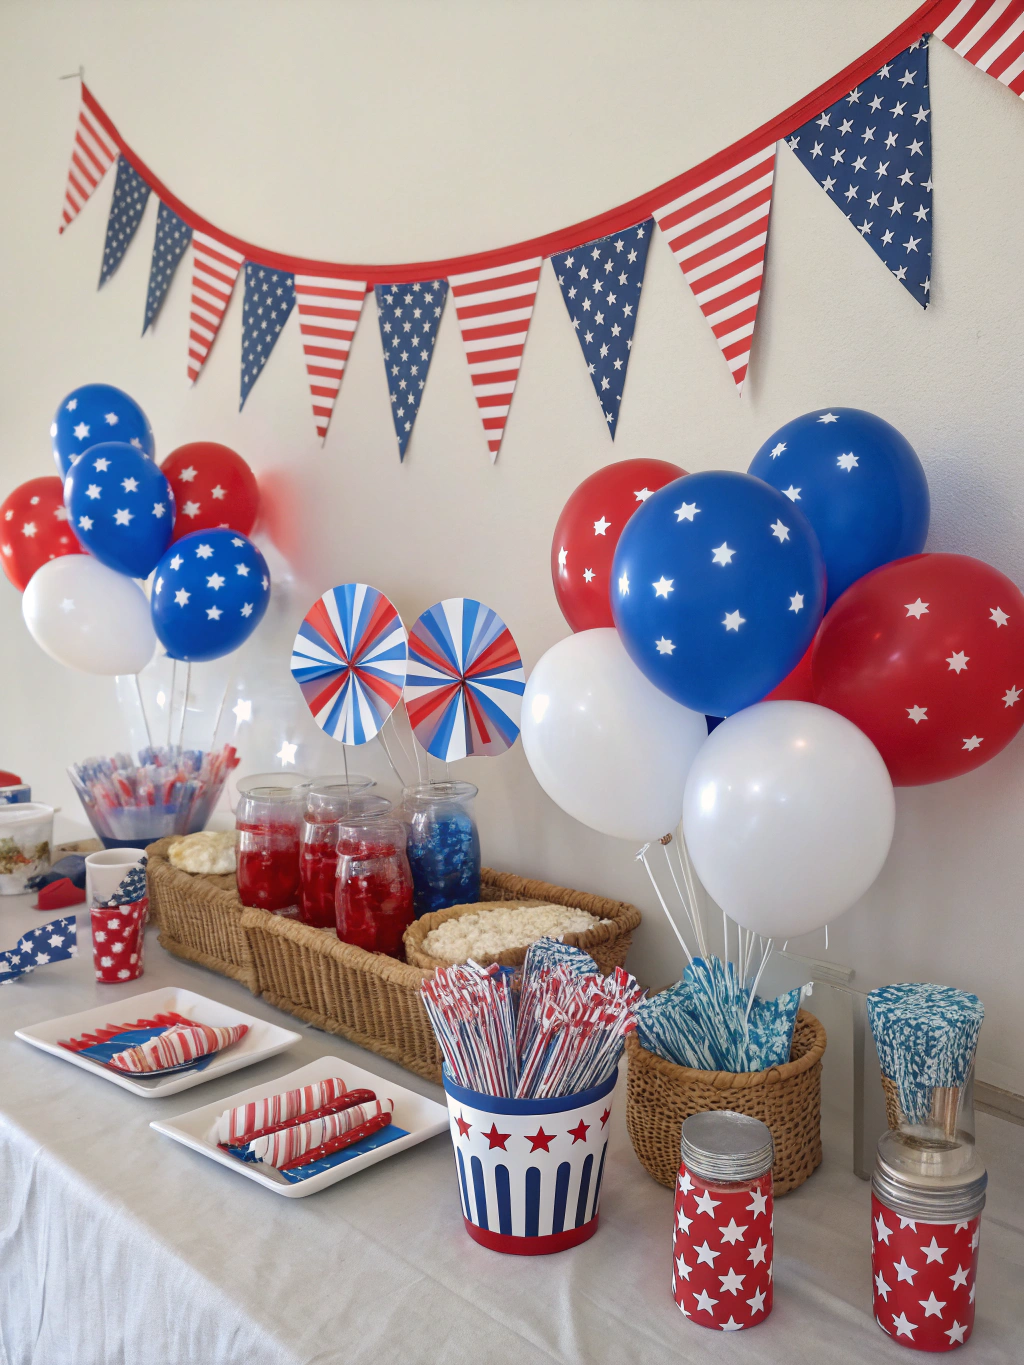
*Caption: Your stunning handmade [4th of July DIY party favors](https://www.fixdiy.site/holiday-diys/) ready to delight your guests!*
The effort you’ve put into these handmade treasures won’t go unnoticed. Guests always appreciate a personal touch, and these favors are little tokens of your hospitality and patriotic spirit. Remember, the goal is to have fun with the process and create something that brings a smile to people’s faces. For more inspiration on holiday crafting, check out these “”DIY 4th of July crafts, How to make 4th of July DIY party favors, Creative party favors for Independence Day”” over at HGTV. They offer a wealth of ideas for all sorts of handmade holiday decorations.
We’d love to see what you come up with! Share pictures of your 4th of july diy party favors in the comments below or tag us on social media!
Pro Tips & FAQs for Your 4th of July DIY Party Favors
Crafting should be fun, not frustrating! Here are some extra tips and answers to common questions to help your 4th of july diy party favors project go smoothly.
Q1: How far in advance can I make these 4th of July DIY party favors?
Most of these favors can be made a week or two in advance. For items with candy, especially soft or gummy candies, it’s best to assemble them closer to the party date (2-3 days ahead) to ensure freshness. Store them in a cool, dry place away from direct sunlight. Non-edible favors like seed packets or pinwheels can be made well in advance.
Q2: I’m not very crafty. Which of these [4th of July DIY party favors](https://www.fixdiy.site/holiday-diys/) are the easiest for beginners?
Great question! The Sparkler/Glow Stick Bundles (Idea 1) are super simple – mostly just cutting tags and tying ribbons. The “Firework” Candy Kabobs (Idea 5) are also very straightforward, mainly involving threading candy onto skewers. The key is to pick something you feel comfortable with and enjoy the process! Many resources provide guidance on “”DIY 4th of July crafts, How to make 4th of July DIY party favors, Creative party favors for Independence Day””, and simplicity is often key.
Q3: How can I make my [4th of July DIY party favors](https://www.fixdiy.site/holiday-diys/) budget-friendly?
Making DIY party favors is already a great way to save money! To make them even more budget-friendly:
- Use materials you already have at home (cardstock scraps, leftover ribbons).
- Buy supplies in bulk if you’re making a large quantity.
- Shop at dollar stores or look for sales on craft supplies.
- Choose simpler designs that require fewer specialty materials. For example, decorated seed packets or simple candy bags with a handmade tag can be very inexpensive.
- Focus on one or two key elements (like a nice ribbon or a cool stamp) rather than trying to incorporate everything.
Q4: What are some good non-candy filler ideas for [4th of July DIY party favors](https://www.fixdiy.site/holiday-diys/)?
Excellent point, as not everyone wants more sugar! Consider:
- Patriotic temporary tattoos
- Small bubbles (red, white, or blue bottles)
- Miniature American flags
- Patriotic stickers
- Seed packets (as mentioned in Idea 7)
- Glow sticks or bracelets
- Small patriotic-themed toys like bouncy balls or yo-yos
- Handmade bookmarks with patriotic quotes
Q5: I’m making favors for a mix of adults and kids. Any tips for adapting these ideas?
Absolutely! For mixed groups:
- **Sparkler Bundles:** Use sparklers for adults and glow sticks for kids.
- **Candy Poppers/Rockets:** Fill with age-appropriate treats/trinkets. Perhaps more sophisticated chocolates for adults and fun toys for kids.
- **Mason Jars:** Adults might appreciate a mini cocktail kit (add a mini liquor bottle alongside a mixer) or a gourmet coffee/tea sample, while kids get candy or craft supplies.
- **General Tip:** You can make slightly different versions of the same favor. For example, candy kabobs could have more “grown-up” gourmet gummies for adults and classic kid-friendly gummies for children. Clearly labeling or having two separate displays can help. Many great ideas for “”DIY 4th of July crafts, How to make 4th of July DIY party favors, Creative party favors for Independence Day”” can be found on sites like [HGTV](https://www.fixdiy.site/holiday-diys/).
Crafting your own 4th of july diy party favors is a rewarding way to add a personal and memorable touch to your Independence Day celebration. It’s about expressing your creativity, spreading joy, and celebrating the spirit of the holiday with unique, heartfelt tokens. We hope these top 7 ideas have sparked your imagination and inspired you to get crafting!
What are your favorite DIY party favor ideas for the 4th of July? Or do you have a special tip you’d like to share? Drop a comment below – we love hearing from our community of DIYers!
Don’t forget to subscribe to our newsletter for more DIY inspiration, tips, and tutorials delivered straight to your inbox. And if you loved these ideas, please share this post with your friends and family on social media! Happy Crafting, and have a fantastic Fourth of July! For even more ideas for holiday projects, explore our complete collection of 4th of july diy party favors and other festive crafts.

