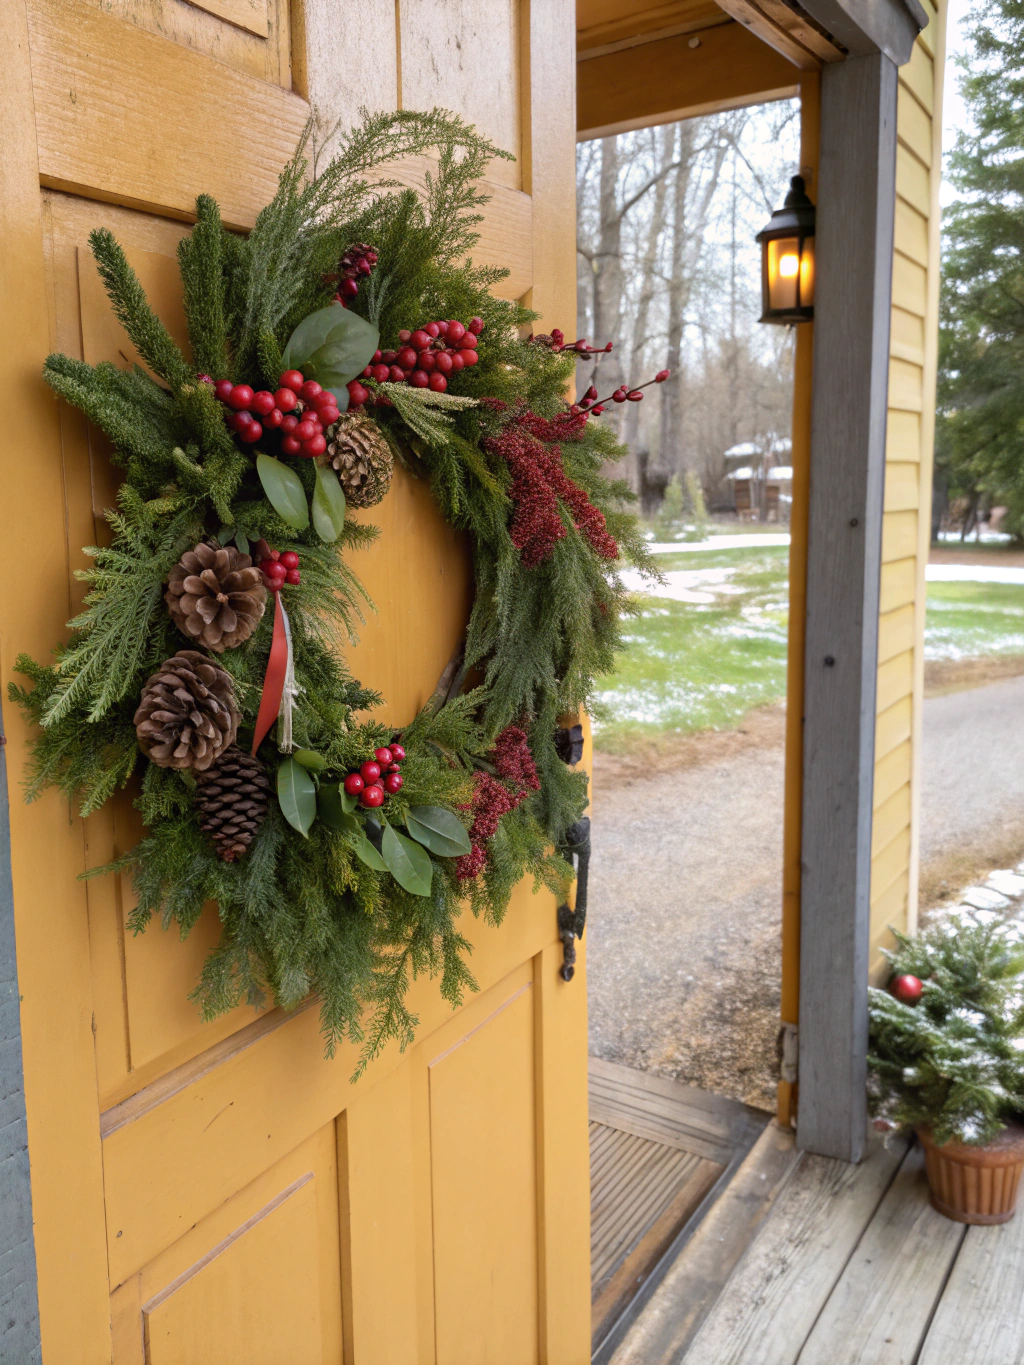
_Caption: Welcome the changing seasons with your very own handcrafted DIY seasonal wreath!_
Introduction
Ever feel like your home’s entrance is missing that special something, that personal touch that truly welcomes guests and celebrates the current season? Creating a stunning DIY seasonal wreath can seem daunting, but what if I told you it’s easier than you think? Forget generic store-bought decorations; today, we’re diving into how to make a gorgeous, unique wreath that reflects your style and brightens your space, no matter the time of year. This guide will walk you through crafting a stunning DIY seasonal wreath in just five simple steps, transforming your door from drab to fab! Get ready to unleash your inner crafter and become the envy of the neighborhood.
Table of Contents
What You’ll Need for Your DIY Seasonal Wreath
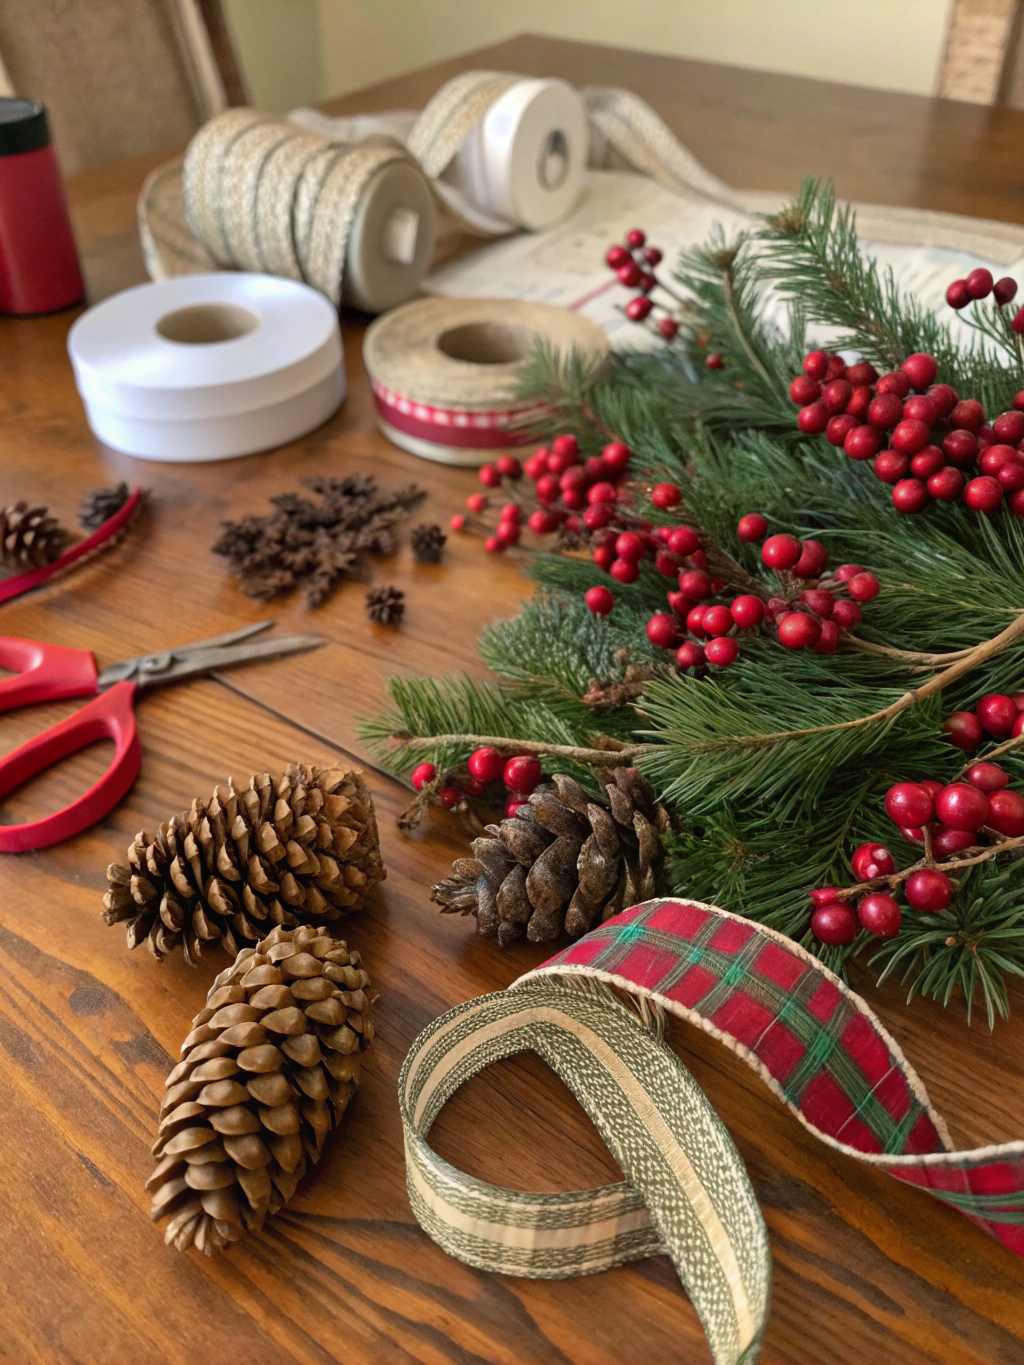
Before we jump into the fun part, let’s gather our supplies. Having everything ready beforehand makes the crafting process smooth and enjoyable. Think of this as your creative toolkit, ready to bring your vision to life. For those just starting out, many craft stores offer beginner kits, but picking individual elements allows for more personalization.

_Caption: All the essential bits and bobs to create your masterpiece – your DIY seasonal wreath ingredients!_
Here’s a list of common materials and tools you’ll need. Feel free to adapt this based on your chosen season and style:
- Wreath Base: This is the foundation of your DIY seasonal wreath. Options include:
- Grapevine wreath: Rustic and natural, great for a farmhouse or bohemian look.
- Wire wreath frame: Versatile and allows for a fuller look, especially with mesh or lots of greenery.
- Foam wreath form: Easy to poke stems into, good for delicate florals or a very structured design.
- Straw wreath form: Traditional and provides a solid base for heavier elements.
- Floral Wire or Craft Wire: Essential for attaching elements securely. Choose a gauge that’s strong but pliable.
- Wire Cutters: A must-have for cutting floral wire.
- Hot Glue Gun and Glue Sticks: Your best friend for quick and strong adhesion, especially for smaller, lighter items.
- Scissors: Good quality fabric or craft scissors will make cutting ribbon and other materials much easier.
- Ribbon: For bows, hanging loops, or wrapping around the wreath. Choose colors and textures that match your seasonal theme.
- Greenery: Faux or preserved. Think eucalyptus, ferns, pine branches (for winter), or boxwood. This adds fullness and a natural touch.
- Floral Elements: Silk flowers, dried flowers, or even fresh (though they won’t last as long). Consider seasonal blooms: tulips for spring, sunflowers for summer, mums for fall, poinsettias for winter.
- Seasonal Embellishments: This is where you can really personalize your DIY seasonal wreath!
- Spring: Faux eggs, tiny bird nests, pastel-colored berries.
- Summer: Seashells, starfish, bright berries, faux lemons or oranges.
- Autumn: Pinecones, mini pumpkins or gourds, acorns, colorful fall leaves, cinnamon sticks.
- Winter: Ornaments, jingle bells, faux snow, cranberries, plaid ribbons.
- Gloves (optional): To protect your hands, especially when working with grapevine wreaths or hot glue.
- Measuring Tape (optional): If you want precise placement of elements.
Remember, this is your creation! Don’t be afraid to mix and match, or to forage for natural elements from your own backyard (just ensure they’re clean and pest-free before adding them to your wreath). For more inspiration on “DIY seasonal wreath tutorial, How to make a DIY seasonal wreath, Crafting a stunning DIY seasonal wreath in steps”, check out some amazing projects online.
How to Make a Stunning DIY Seasonal Wreath in 5 Steps
Alright, DIY enthusiasts, it’s time to roll up those sleeves and get crafting! We’re about to embark on a creative journey to fashion a DIY seasonal wreath that’s uniquely yours. Follow these five steps, and you’ll have a beautiful decoration to adorn your door or home in no time.
Step 1: Prepare Your Wreath Base and Greenery
First things first, let’s get our foundation ready. If you’re using a grapevine wreath, you might want to gently shake it out to remove any loose twigs or debris. Some crafters like to give it a light spray of sealant at this stage if it’s going to be exposed to the elements, but it’s not strictly necessary. For wire or foam bases, ensure they are clean and ready for decoration.
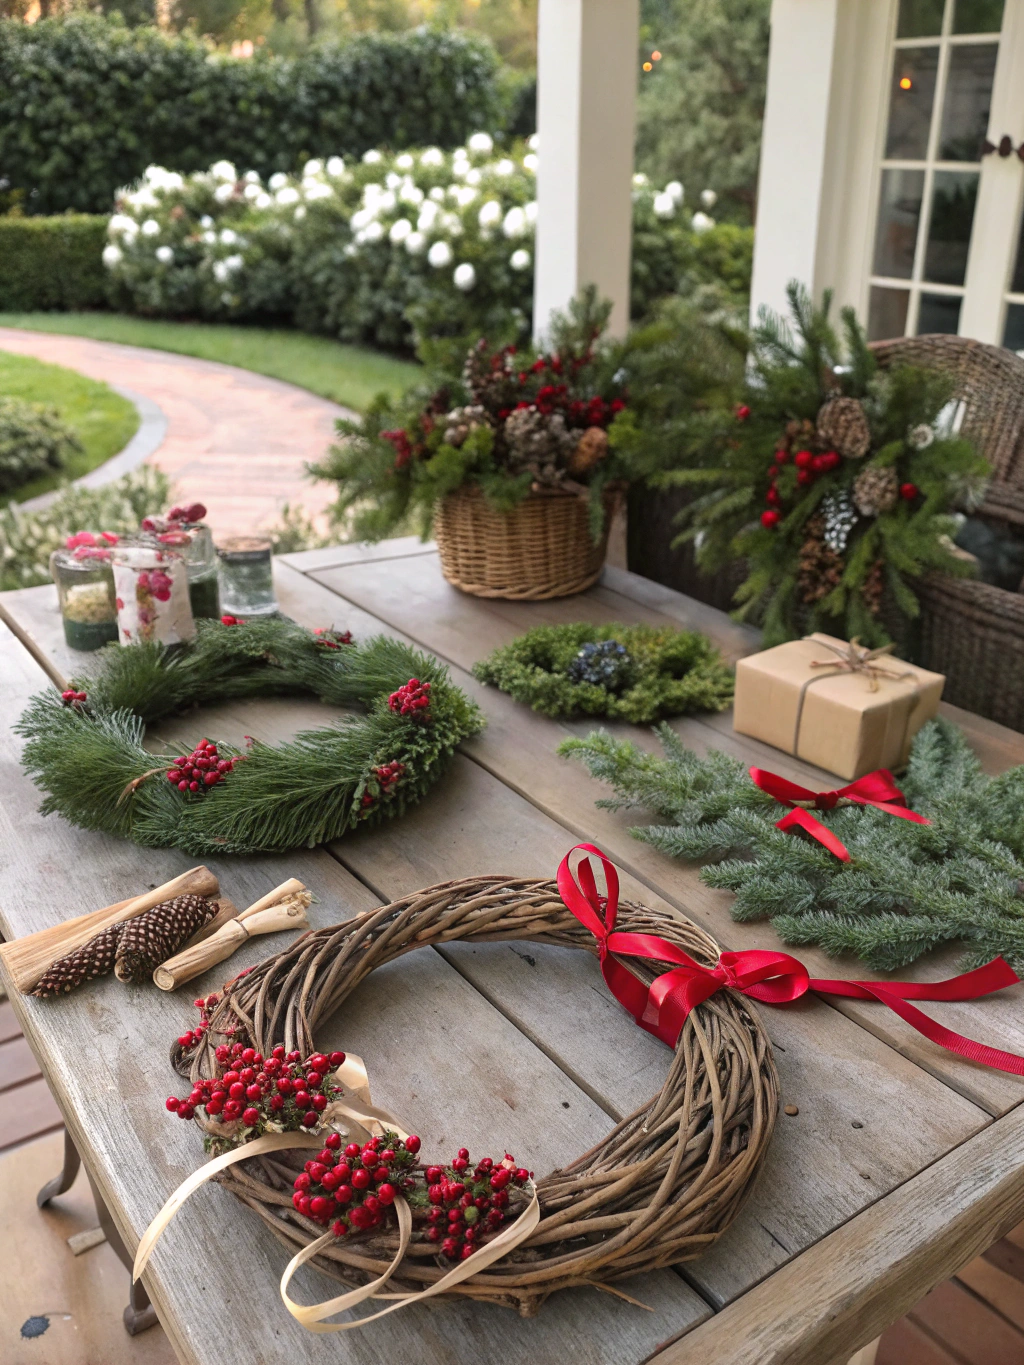
Next, prepare your greenery. This will form the backdrop for your floral elements and embellishments. Cut your faux or preserved greenery into smaller, manageable sprigs. It’s easier to work with shorter pieces and build up layers than to try and wrestle with large branches. Think about the overall shape you want. Do you want full coverage, or a more minimalist, asymmetrical look? Lay out your greenery sprigs around the wreath base to get a feel for placement before attaching anything.

_Caption: Step 1: Laying the green foundation for your beautiful DIY seasonal wreath._
Why this matters: A well-prepared base and thoughtfully placed greenery create a lush and professional-looking foundation. It ensures your wreath has good volume and that subsequent elements have something to anchor to. A common pitfall here is not using enough greenery, resulting in a sparse look, or placing greenery too symmetrically, which can look a bit unnatural. Aim for a natural, slightly varied flow.
Step 2: Attach Your Greenery
Now that your greenery is prepped, it’s time to attach it to your wreath base. Start by taking your first sprig of greenery and laying it onto the wreath frame. If you’re using a grapevine wreath, you can often tuck the stems directly into the woven vines. For a more secure hold, or if using a wire or foam base, use floral wire. Cut a piece of wire about 4-6 inches long, wrap it around the stem of the greenery and then around the wreath base, twisting the ends of the wire together tightly at the back. Snip off any excess wire with your cutters and tuck the sharp ends into the wreath to avoid scratches.
Continue adding greenery sprigs, overlapping them slightly to cover the wire and stems of the previous pieces. Work your way around the wreath, typically in one direction, to create a consistent flow. If you’re aiming for an asymmetrical design, focus your greenery on one section of the wreath, perhaps the bottom half or one side. Don’t be afraid to step back and look at your progress frequently. This helps you see any gaps or areas that need more fullness.
Why this matters: Securely attaching your greenery is crucial for the longevity of your DIY seasonal wreath. Loose pieces can fall off, especially if the wreath is hung on a door that’s frequently opened and closed. Overlapping the sprigs creates a more natural, cohesive look. A common pitfall is not wiring tightly enough, or using too little wire, leading to wobbly elements. Another is making all greenery point outwards; try varying the angles for a richer texture.
Step 3: Add Your Floral Elements
With your green base established, it’s time for the stars of the show: your floral elements! Whether you’re using large statement flowers or clusters of smaller blooms, the process is similar. Start with your largest flowers first, as these will be your focal points. Decide on their placement – perhaps one prominent cluster, or several spaced out around the wreath.
To attach flowers with stems (like silk flowers), you can often poke the stem directly into the grapevine base or foam form. For added security, or if the stem is short, apply a dab of hot glue to the end of the stem before inserting it. Alternatively, you can wire them on, similar to how you attached the greenery. For flowers without substantial stems, like dried flower heads, use a generous dot of hot glue on the back and press them firmly onto the greenery or wreath base. Hold for a few seconds until the glue sets.
Arrange your flowers in a way that complements the flow of your greenery. Think about color combinations and textures. You might want to group flowers in odd numbers (e.g., threes or fives) as this is often more visually appealing. Step back frequently to assess your work and ensure a balanced design. This stage is all about layering and building visual interest.
Why this matters: Florals bring color, texture, and personality to your DIY seasonal wreath. Proper attachment ensures they stay put and look integrated rather than just stuck on. A common pitfall is overcrowding the wreath with too many flowers, losing the beauty of individual blooms. Another is placing all flowers facing directly outwards; try angling some slightly to create depth.
Step 4: Incorporate Seasonal Embellishments and Fillers
Now for the really fun part – adding those unique seasonal touches that make your wreath truly special! This is where your pinecones, mini pumpkins, berries, ornaments, or seashells come into play. These elements help to fill any remaining gaps and reinforce your chosen seasonal theme.
For larger embellishments like pinecones or mini gourds, hot glue is usually the best method. Apply a generous amount of glue to the base of the item and press it firmly into a gap in the greenery or amongst the flowers. Hold it in place until the glue cools and sets. For smaller items like berries or tiny ornaments, you can either glue them individually or, if they are on picks, insert the picks into the wreath base. Consider clustering smaller items for more impact.
Think about balance and distribution. You don’t want all your heavy embellishments on one side. Step back and view your wreath from a distance and different angles. Are there any awkward empty spaces? Does it feel balanced? This is your chance to perfect the overall composition. Some DIYers find “DIY seasonal wreath tutorial, How to make a DIY seasonal wreath, Crafting a stunning DIY seasonal wreath in steps” can offer great ideas for embellishment placement.
Why this matters: Embellishments are what define the season and add character to your wreath. They complete the look and fill out the design, making it appear fuller and more thoughtfully crafted. A common pitfall is overdoing it with too many different types of embellishments, which can make the wreath look cluttered. Another is not securing them well enough, leading to them falling off.
Step 5: Add a Bow and Hanging Loop (Optional)
The final touches! Many people love to add a beautiful bow to their DIY seasonal wreath. Choose a ribbon that complements your wreath’s colors and style. There are countless ways to tie a bow, from simple loops to elaborate multi-layered creations. You can find many tutorials online if you need help. Once your bow is made, attach it to the wreath using floral wire or hot glue, typically at the top or bottom center, or to one side if you have an asymmetrical design.
Next, you’ll need a way to hang your masterpiece. You can create a simple hanging loop from floral wire by twisting a piece of wire into a loop and securing it to the back of the wreath frame. Alternatively, use a length of ribbon that matches your bow or wreath. Tie it securely around the top of the wreath frame, creating a loop, and then tie the ends into a neat knot or small bow. Ensure the loop is strong enough to support the weight of your wreath.
Why this matters: A bow can be a stunning focal point, adding a touch of elegance or rustic charm. A secure hanging loop is essential for displaying your wreath safely. A common pitfall with bows is making them too large or too small for the wreath. For the hanger, ensure it’s attached to the sturdy part of the wreath frame, not just a piece of greenery. Before you hang it, give your wreath a gentle shake to ensure everything is secure.
Your Beautiful DIY Seasonal Wreath – The Final Result!
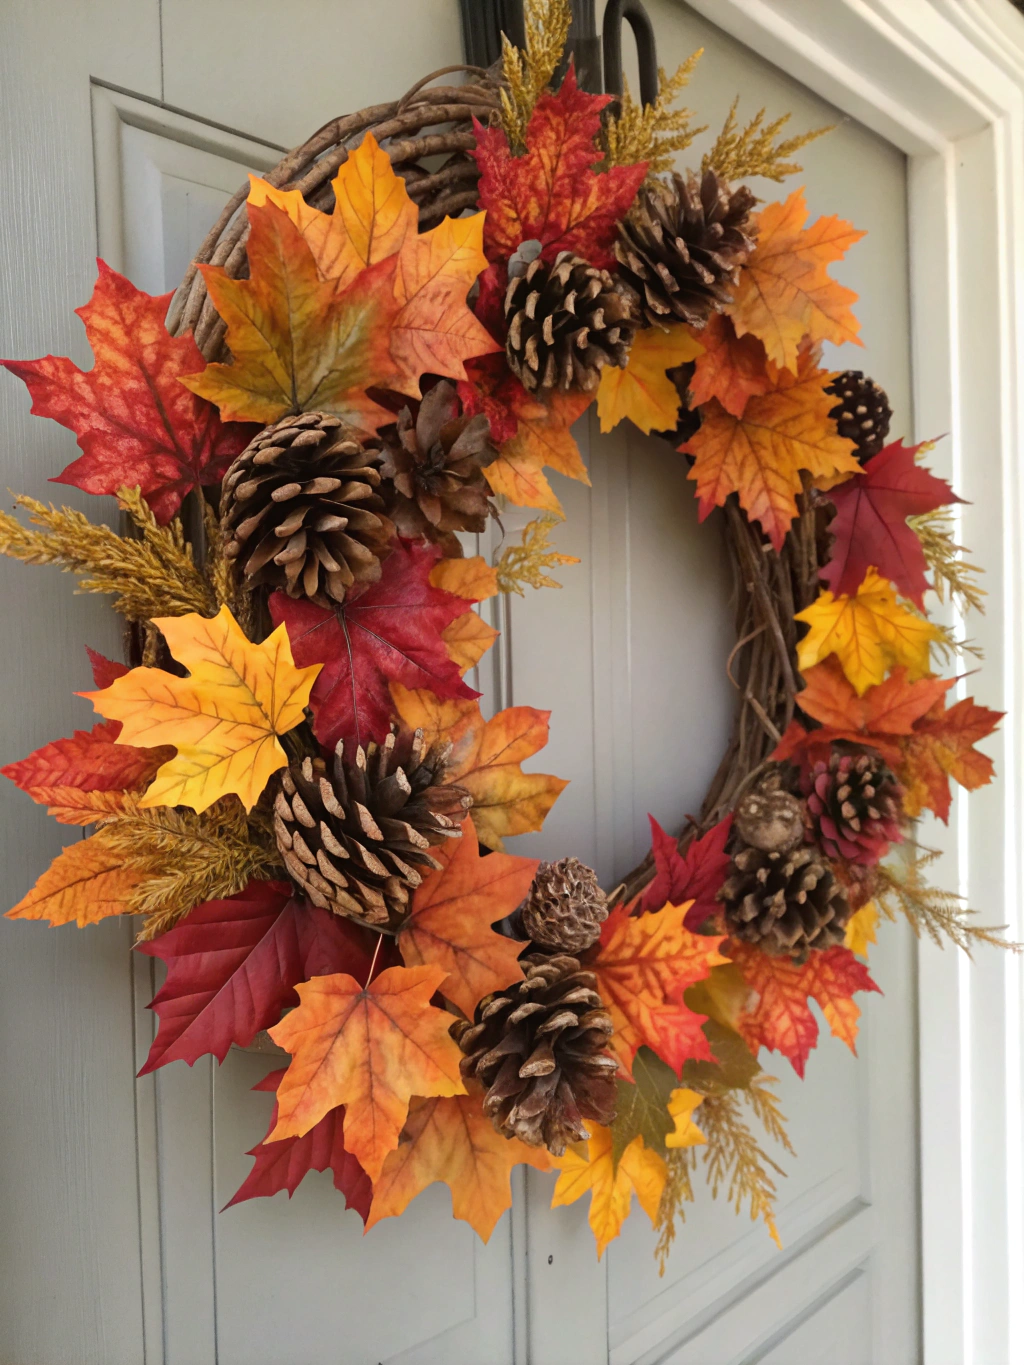
And there you have it! After following these five steps, you should now be gazing proudly at your very own, handcrafted DIY seasonal wreath. Imagine the compliments you’ll receive and the joy it will bring every time you see it adorning your door or wall.

_Caption: Ta-da! Your gorgeous, handcrafted DIY seasonal wreath is complete and ready to shine._
This project is all about expressing your creativity and adding a personal touch to your home decor. Each DIY seasonal wreath will be unique, reflecting your style and the spirit of the season you’ve chosen to celebrate. Whether it’s bursting with spring pastels, radiating summer sunshine, glowing with autumnal hues, or sparkling with winter magic, your wreath is a testament to your DIY skills.
We’d absolutely love to see what you’ve created! Share a picture of your final result in the comments below, or tag us on social media. And if you have any tips or tricks you discovered along the way, please share those too – our community of DIY enthusiasts is always eager to learn from each other!
Pro Tips & FAQs for Your DIY Seasonal Wreath
Crafting a DIY seasonal wreath is a rewarding experience, but a few extra tips and answers to common questions can make the process even smoother.
Q1: How do I choose the right size wreath base for my door?
A good rule of thumb is that your wreath should cover about two-thirds of the width of your door. For a standard 36-inch wide door, a wreath that is 24-28 inches in diameter usually looks best. However, consider your personal preference and the style of your home. A larger wreath makes a bolder statement, while a smaller one can be more subtle. Measure your door and then decide what proportion feels right to you. Remember, the finished wreath will be larger than the base once you add greenery and embellishments.
Q2: What’s the best way to store my DIY seasonal wreath when it’s not in use?
Proper storage will help your [DIY seasonal wreath](https://www.fixdiy.site/home-decor/) last for many seasons. The best option is a dedicated wreath storage box or bag, which protects it from dust, crushing, and fading. If you don’t have one, you can gently place it in a large, sturdy cardboard box. Lay it flat, and if possible, cushion it with tissue paper or bubble wrap, especially around delicate embellishments. Store the box in a cool, dry place like a closet or under a bed, away from direct sunlight and extreme temperatures.
Q3: Can I use fresh elements in my DIY seasonal wreath?
Yes, you certainly can incorporate fresh elements, but be aware that they won’t last as long as faux or dried materials. Fresh greenery like fir, pine, or eucalyptus can look and smell wonderful, especially for holiday wreaths. Fresh flowers can also be used, but they will wilt within a few days unless they have a water source (like floral water tubes, which can be tricky to hide).
If you use fresh elements, your wreath will be more temporary. For longevity, consider using hardier fresh items like berries on branches, or opt for preserved fresh greenery which maintains its look for much longer. Many “DIY seasonal wreath tutorial, How to make a DIY seasonal wreath, Crafting a stunning DIY seasonal wreath in steps” guides often focus on faux materials for this reason.
Q4: How can I make my DIY seasonal wreath look fuller?
To achieve a fuller look for your [DIY seasonal wreath](https://www.fixdiy.site/home-decor/), start with a good amount of base greenery. Don’t skimp here! Layer different types of greenery for texture and volume. For example, use a base of flat fern, then add some bushier eucalyptus or boxwood. When adding floral elements and embellishments, vary their depth – some tucked in deeper, others more prominent. Using filler items like berry clusters, small ornaments, or even tufts of moss can help fill in any gaps. Another trick is to use a wider ribbon for your bow or to weave ribbon throughout the wreath.
Q5: My hot glue isn’t holding well. What am I doing wrong?
Hot glue is generally very effective, but a few things can cause issues. First, ensure you’re using the correct type of glue stick for your materials and hot glue gun (high-temp vs. low-temp). Make sure your glue gun is fully heated before use. Apply a generous amount of glue – too little won’t create a strong bond. Press the items together firmly and hold them for at least 10-30 seconds until the glue cools and sets.
The surfaces being glued should be clean and dry. For very smooth or non-porous surfaces, sometimes lightly scuffing the area where the glue will be applied can help it adhere better. If an item is particularly heavy, consider reinforcing the hot glue with a bit of floral wire as well.
Creating your own DIY seasonal wreath is more than just a craft project; it’s a way to infuse your home with personality and celebrate the changing seasons in style. We hope this guide has inspired you and given you the confidence to tackle this fun and rewarding DIY.
What season will your first DIY wreath be for? Let us know in the comments below!
Don’t forget to subscribe to our newsletter for more DIY tips, tutorials, and home improvement inspiration. And if you loved this project, please share it with your fellow DIY-loving friends on social media! Happy crafting!


