Introduction: Dive into a World of Color and Creativity!
Are you staring at a pile of leftover pool noodles from last summer, wondering if they’re destined for the donation bin? Or perhaps you’re on the hunt for budget-friendly ways to entertain the kids and spruce up your outdoor space? Well, get ready to unleash your inner creative genius, because we’re diving headfirst into the wonderful world of diy pool noodle crafts!
These vibrant foam tubes are not just for floating lazily in the pool; they are an incredibly versatile, affordable, and easy-to-use material for a huge range of imaginative projects. From dazzling decorations to playful toys, these “Summer pool noodle ideas” will add a splash of fun to your sunny days without breaking the bank. So, grab those noodles, and let’s get crafting! We’ll show you “How to make pool noodle crafts” that are both simple and stunning.
Table of Contents of DIY Pool Noodle Crafts
Table of Contents
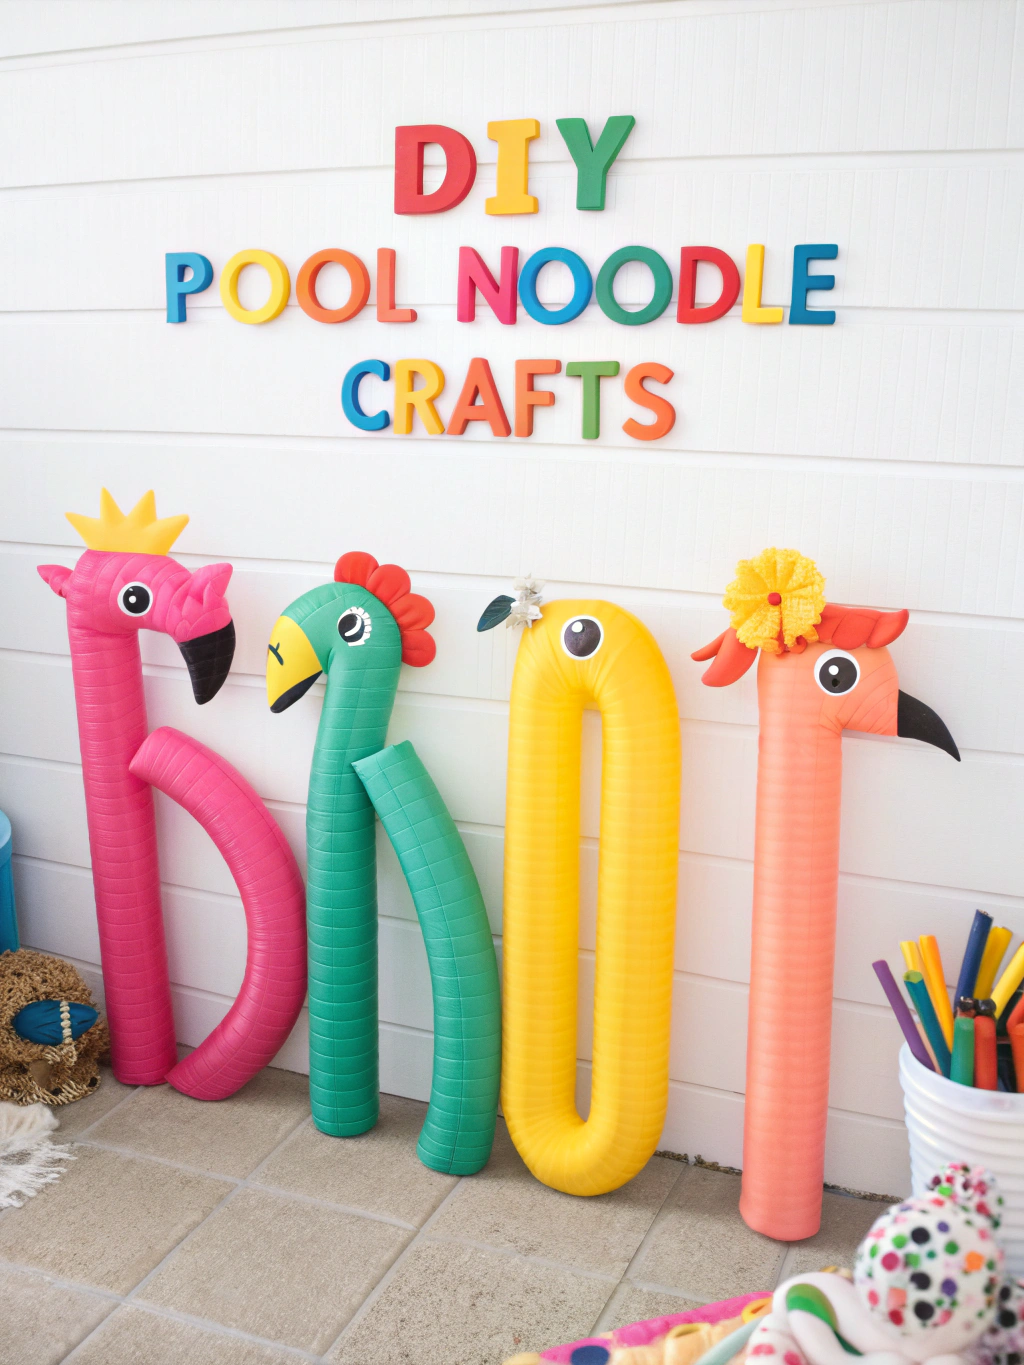
Why DIY Pool Noodle Crafts are a DIY Dream
Before we jump into the projects, let’s talk about why pool noodles are a crafter’s best friend, especially for diy pool noodle crafts.
- Affordable: You can often find them for a dollar or two, especially at the end of summer.
- Lightweight & Safe: Easy for all ages to handle and soft enough for kid-friendly projects.
- Colorful: They come in a rainbow of bright colors, reducing the need for painting (though you can paint them!).
- Easy to Cut & Shape: A simple utility knife or even sturdy scissors can often do the trick.
- Waterproof & Buoyant: Perfect for pool toys, floating decorations, and outdoor use.
- Versatile: As you’ll see, the possibilities for “Summer pool noodle ideas” are nearly endless!
What You’ll Need for Your DIY Pool Noodle Crafts
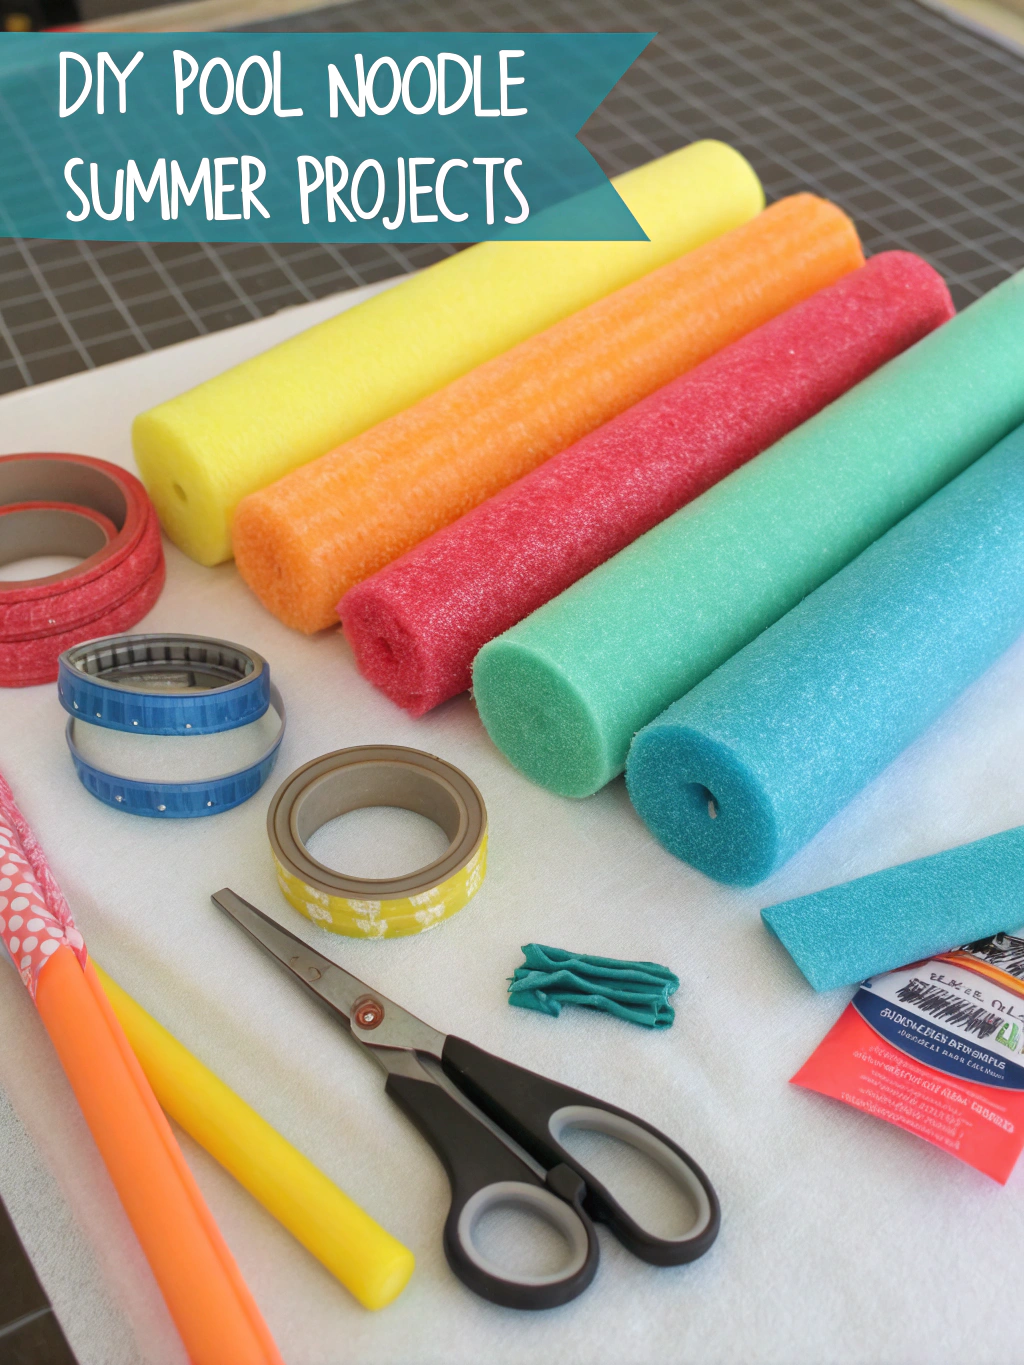
Most diy pool noodle crafts require a few basic supplies. While each project below will list specific items, here’s a general toolkit to have handy:
DIY Pool Noodle Crafts
- Pool Noodles: A variety of colors is always fun!
- Utility Knife or Serrated Knife: For clean cuts. Ensure adult supervision.
- Hot Glue Gun & Glue Sticks: A low-temp gun is often safer and works well on foam.
- Strong All-Purpose Craft Glue or Silicone Adhesive: For more durable bonds, especially for items exposed to water.
- Scissors: For cutting softer materials like craft foam or ribbon.
- Ruler or Measuring Tape: For precise cuts.
- Permanent Markers: For adding details.
- Duct Tape: Useful for securing joints or creating structural integrity.
- Optional Embellishments: Googly eyes, craft foam sheets, pipe cleaners, glitter, ribbons, waterproof paint, etc.
Now, let’s get to the fun part – the projects!
8 Easy-to-Make Summer DIY Pool noodle Crafts
Get ready to transform those humble foam tubes into something extraordinary. Here are eight fantastic “Summer pool noodle ideas” to get you started.
1. Enchanting Floating Pool Noodle Luminaries
Imagine your pool or pond glowing softly as dusk settles. These floating luminaries are incredibly easy to make and add a magical touch to any evening gathering. They’re a fantastic example of “How to make pool noodle crafts” that are both beautiful and functional.
Materials:
- Pool noodles (darker colors work well at night)
- Waterproof LED tea lights (battery-operated)
- Utility knife
- (Optional) Clear plastic cups (the short, wide kind)
- (Optional) Waterproof silicone adhesive
Step-by-Step Guide:
Step 1: Slice Your Noodles / DIY Pool Noodle Crafts
Carefully cut your pool noodle into slices about 2-3 inches thick using a utility knife. Aim for relatively straight cuts so your luminaries sit flat on the water. This initial step is crucial for most diy pool noodle crafts.
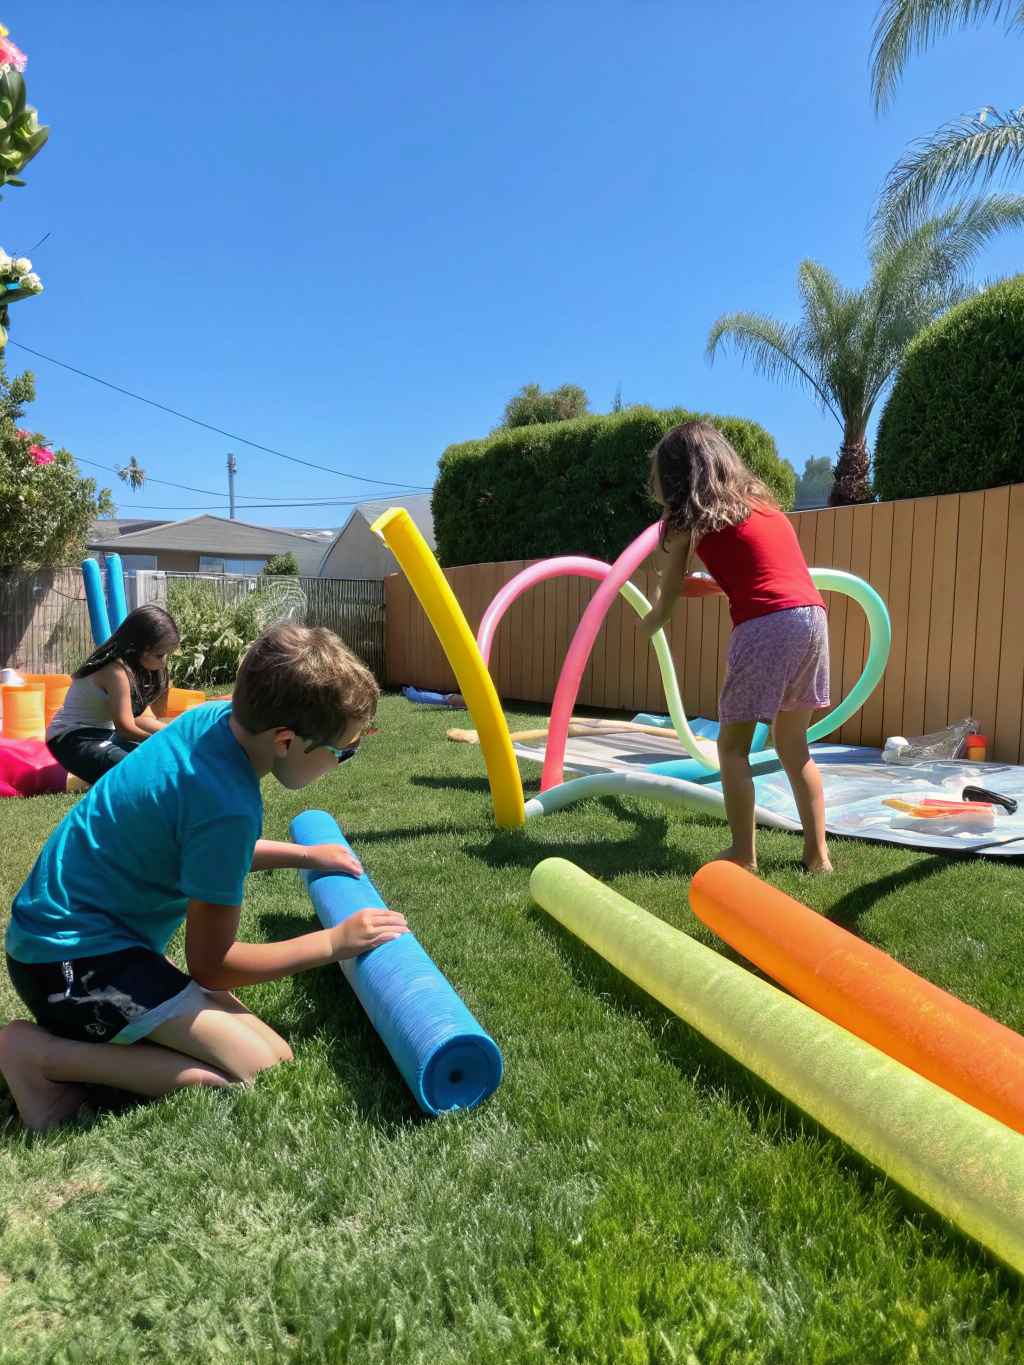
/ DIY Pool Noodle Crafts
Making consistent slices ensures your luminaries will look uniform. If you’re making many, a miter box can help keep cuts straight. Be mindful of your fingers when using a sharp knife!
Step 2: Hollow Out the Center / DIY Pool Noodle Crafts
On one flat side of each noodle slice, carefully carve out a circular indent in the center, just large enough and deep enough for your LED tea light to sit snugly inside. You don’t want to cut all the way through.
The goal here is to create a secure well for the tea light. If it’s too loose, the light might pop out. If it’s too tight, it could be hard to switch the light on and off.
Step 3: Insert the LED Tea Lights / DIY Pool Noodle Crafts
Activate your LED tea lights and place one into the hollowed-out center of each pool noodle slice. Ensure they are secure.
These little lights are the heart of your luminary! Test them before inserting to make sure they work. Most LED tea lights are water-resistant but not fully waterproof, so try to keep the light itself as dry as possible.
Step 4: (Optional) Add a Stabilizing Base / DIY Pool Noodle Crafts
If your pool gets a bit wavy or you want extra stability, you can glue the bottom of a clear plastic cup (trimmed down if necessary) to the underside of the noodle slice. This creates a wider, flatter base.
This step is particularly useful if you’re using them in a larger body of water or on a breezy evening. The silicone adhesive will provide a strong, waterproof bond.
Your floating luminaries are now ready to cast a beautiful glow! Gently place them in your pool, pond, or even a large bowl of water on your patio table.
2. Festive Summer Fun Pool Noodle Wreath
Welcome guests with a splash of color! A pool noodle wreath is a lightweight, inexpensive, and highly customizable decoration perfect for your front door, garden gate, or poolside cabana. This is one of those diy pool noodle crafts that can be adapted for any season.
Materials: / DIY Pool Noodle Crafts
- One pool noodle
- Duct tape (strong, preferably in a color that matches your noodle or decorations)
- Hot glue gun and glue sticks
- Assorted decorations: silk flowers, ribbons, small plastic toys (like mini flip-flops or sunglasses), seashells, waterproof fabric strips.
- Wire or string for hanging
Step-by-Step Guide: / DIY Pool Noodle Crafts
Step 1: Form the Wreath Base / DIY Pool Noodle Crafts
Bend your pool noodle into a circle, bringing the two ends together. Securely tape the ends together with duct tape, wrapping it several times to ensure a strong join. You want a nice, round shape.
The duct tape is key here for structural integrity. Overlap the ends slightly for a more secure connection before taping.
Step 2: Wrap or Cover (Optional) / DIY Pool Noodle Crafts
If you don’t like the look of the plain noodle or want a different base color, you can wrap the entire noodle circle with ribbon, fabric strips, or even wide burlap, securing it with hot glue as you go.
This gives a more polished look and provides a better surface for some types of glue and decorations. It’s a great way to elevate simple “Summer pool noodle ideas.”
Step 3: Decorate Your Wreath / DIY Pool Noodle Crafts
Now for the fun part! Use your hot glue gun to attach your chosen decorations all around the wreath. Think about balance, color, and theme. You could go for a beachy vibe with shells and blue ribbons, or a bright summer floral look.
Arrange your larger items first, then fill in gaps with smaller pieces. Don’t be afraid to layer! Consider the environment; if it’s for outdoor use, ensure your decorations are weather-resistant.
Step 4: Add a Hanging Loop / DIY Pool Noodle Crafts
Cut a piece of wire or strong string, form it into a loop, and securely attach it to the back of your wreath using more duct tape or by tying it tightly around the noodle (if not fully covered).
Position the loop at what you’ve decided is the top of your wreath. Ensure it’s strong enough to hold the wreath’s (albeit light) weight. Your vibrant pool noodle wreath is ready to hang!
3. Awesome DIY Pool Noodle Sprinkler
Keep the kids cool and entertained for hours with a super simple homemade sprinkler. This “How to make pool noodle crafts” project is a guaranteed summer hit and costs next to nothing.
Materials:
- One pool noodle
- Duct tape or a pool noodle end cap (if you can find one)
- Garden hose
- Skewer, nail, or small drill bit
- (Optional) Zip ties
Step-by-Step Guide:
Step 1: Seal One End of the Noodle / DIY Pool Noodle Crafts
Completely seal one end of the pool noodle. You can do this by folding the end over itself and securing it tightly with several layers of duct tape, or by using a plastic wine cork or a dedicated pool noodle end cap if available, also secured with duct tape for a watertight seal.
This seal needs to be as waterproof as possible to ensure good pressure for the sprinkler holes. Test it by trying to blow air through.
Step 2: Poke Sprinkler Holes / DIY Pool Noodle Crafts
Using your skewer, nail, or a small drill bit, poke holes along the length of the pool noodle on one or more sides. Vary the angle and spacing of the holes for a more fun and unpredictable spray pattern.
More_holes means less pressure per hole but wider coverage. Fewer holes will result in stronger jets. Experiment to see what your kids like best! Safety first – adults should do the poking.
Step 3: Attach to the Garden Hose / DIY Pool Noodle Crafts
Carefully insert the open end of your garden hose about 4-6 inches into the unsealed end of the pool noodle. Ensure a snug fit. Wrap the connection point tightly with duct tape to create a seal and hold the hose in place. For extra security, you can use a zip tie over the duct tape.
The goal is to make this connection as leak-proof as possible so water is forced out through your sprinkler holes. This is a key step in “How to make pool noodle crafts” that involve water.
Step 4: Turn on the Water and Play! / DIY Pool Noodle Crafts
Lay your new sprinkler on the lawn, turn on the water slowly at first, and watch the fun begin! Adjust the water pressure as needed.
You can prop it up on rocks or hang it from a low tree branch for different effects. Kids will love running through these “diy pool noodle crafts”.
4. Speedy Pool Noodle Race Cars & Boats
Unleash some friendly competition with these easy-to-make pool noodle race cars (for land) or boats (for water). This is a fantastic craft for parties or just a fun afternoon activity.
Materials:
- Pool noodle pieces (about 6-8 inches long per vehicle)
- Craft foam sheets (for sails, wheels, spoilers)
- Wooden skewers or thin dowels
- Waterproof markers
- Utility knife
- Scissors
Step-by-Step Guide:
Step 1: Create the Vehicle Body
Cut your pool noodle into sections. For boats, you can shape one end into a point for the bow. For cars, keep them cylindrical or slightly flatten one side for stability.
This is where kids can get creative with the basic shape of their racer!
Step 2: Make Wheels or Sails
For cars, cut out four circles from craft foam for wheels. For boats, cut out triangular or rectangular sail shapes from craft foam.
You can make the wheels more robust by gluing two foam circles together for each wheel. Encourage decorating the sails with waterproof markers.
Step 3: Assemble Your Racers
For Boats: Poke a wooden skewer into the top of the noodle boat to act as a mast. Cut small slits in your craft foam sail and slide it onto the skewer.
For Cars: To attach wheels, you can either glue them directly to the sides of the noodle (less roll-y) or use shorter skewer pieces as axles. Push a skewer through the noodle from one side to the other, then attach foam wheels to each end. This might require careful poking so the axle is straight.
This step requires a bit of engineering. Ensure sails are positioned to catch wind (or breath!) and wheels are aligned for smooth rolling.
Step 4: Decorate and Race!
Use waterproof markers to add racing stripes, numbers, or other fun details to the cars and boats. Once decorated, it’s race time! For boats, a gentle breeze, a fan, or blowing on them can propel them across the water in a pool or bathtub. Cars can be raced on any smooth surface.
This is one of the most interactive “Summer pool noodle ideas”—let the games begin!
5. Whimsical Pool Noodle Monsters & Characters
Let imaginations run wild by creating a whole cast of colorful pool noodle monsters, animals, or characters. These are great for imaginative play, party decorations, or even as friendly pool companions.
Materials:
- Pool noodles in various colors
- Large googly eyes
- Pipe cleaners (for hair, antennae, arms)
- Craft foam (for mouths, teeth, wings, feet)
- Hot glue gun (low temp recommended) or strong craft glue
- Scissors
- Utility knife
Step-by-Step Guide:
Step 1: Design Your Creature
Decide what kind of creature you want to make. Will it be tall and skinny, short and round, have lots of arms, or funny hair? Sketching a quick idea can help.
This is where the fun really begins with these diy pool noodle crafts. Encourage creativity!
Step 2: Cut Noodle Pieces for the Body and Limbs
Use a utility knife (adults only) to cut the pool noodle into sections for the main body. Cut smaller pieces or different colored noodle sections for arms, legs, necks, or snouts. You can cut noodles into rings, curves, or even try to sculpt basic shapes.
Think about how the pieces will join together. Flat surfaces are easier to glue.
Step 3: Assemble Your Creature
Use a hot glue gun (low-temp is safer for foam and little fingers if kids are helping) or strong craft glue to attach the body parts. Hold pieces together firmly until the glue sets.
For stronger joints, especially for limbs that might get pulled, you can insert short pieces of wooden dowel or skewer (blunt ends) into both pieces before gluing.
Step 4: Add Features and Personality
Now, bring your creature to life! Glue on googly eyes. Cut out mouths, teeth, tongues, ears, or wings from craft foam and attach them. Twist pipe cleaners to make crazy hair, antennae, or bendy arms and legs, and poke them into the noodle or glue them on.
This is where the character truly emerges. The more expressive the features, the more fun the monster! These “Summer pool noodle ideas” are all about personality.
These noodle monsters can be surprisingly durable and are great fun in or out of the pool.
6. Playful Pool Noodle Garland & Party Decor
Need quick, cheap, and cheerful decorations for a summer party, BBQ, or kid’s room? A pool noodle garland is incredibly simple and adds a big pop of color.
Materials:
- Pool noodles in various bright colors
- Strong string, twine, or thin rope
- Utility knife or serrated knife
- Ruler
Step-by-Step Guide:
Step 1: Cut Noodle Slices
Using your knife and ruler, cut the pool noodles into slices of consistent thickness. Aim for about 1-2 inches thick per slice. The more slices you cut, the longer your garland will be.
Using multiple colors will make your garland extra festive. You can also vary the thickness for a different look.
Step 2: String the Noodle Slices
Take your string or twine and begin threading it through the center hole of each noodle slice. You can use a long needle or simply push the string through.
Alternate colors in a pattern, or go for a random, vibrant mix. This part of “How to make pool noodle crafts” is great for kids to help with.
Step 3: Space and Secure (Optional)
If you want the noodle slices to stay in a specific position on the string, you can tie a small knot on either side of each slice. Otherwise, they can slide freely, which can also be a nice effect.
For a denser look, push the slices close together. For a more spaced-out garland, leave gaps or use knots.
Step 4: Hang Your Garland
Once you’ve strung enough noodle slices to reach your desired length, tie loops at each end of the string for easy hanging. Drape your colorful garland over doorways, along fences, on party tables, or around trees.
These are so light they can be hung almost anywhere with just a bit of tape or a few thumbtacks. What an easy way to add cheer with diy pool noodle crafts!
7. Toddler-Safe Pool Noodle Bumpers & Edge Protectors
Pool noodles aren’t just for fun; they can be practical too! Their soft, foamy nature makes them perfect for creating temporary, inexpensive bumpers for sharp corners and edges, helping to childproof your home.
Materials:
- Pool noodle
- Utility knife
- Strong double-sided tape
Step-by-Step Guide:
Step 1: Measure and Cut the Noodle
Measure the length of the edge or corner you want to protect. Cut a piece of pool noodle to this length using your utility knife.
Precision isn’t paramount, but a good fit looks neater.
Step 2: Slit the Noodle Lengthwise
Carefully make a slit down one side of the pool noodle piece, from one end to the other. Be sure not to cut all the way through to the other side; you just want to open it up so it can fit over an edge.
This creates a “C” shape in profile, allowing the noodle to grip onto furniture edges. This is a common technique in many practical diy pool noodle crafts.
Step 3: Apply Double-Sided Tape
Apply strips of strong double-sided tape to the inside surfaces of the slit noodle. This will help it adhere securely to the furniture.
Make sure to use a tape that won’t damage your furniture finish when removed. Test in an inconspicuous area if unsure.
Step 4: Attach the Bumper
Peel off the backing from the double-sided tape and carefully press the slit pool noodle onto the sharp edge or corner. Press firmly to ensure good adhesion.
This is great for coffee table corners, fireplace hearths, bed rails for toddlers transitioning to a big bed, or even playpen edges. A simple, effective safety solution from “Summer pool noodle ideas” that extends beyond just summer.
8. Handy Floating Drink Caddy or Cooler
Keep your favorite summer beverages within easy reach while you’re relaxing in the pool with a DIY floating drink caddy. This is one of the most popular “Summer pool noodle ideas” for adult pool time.
Materials:
- A few pool noodles (2-3 should suffice, depending on caddy size)
- A lightweight plastic container or tub (e.g., a Tupperware-style container, a small plastic bin)
- Strong, waterproof nylon rope or waterproof silicone adhesive
- Utility knife
Step-by-Step Guide:
Step 1: Plan Your Caddy Frame
Place your plastic container on a flat surface. Arrange pieces of pool noodle around it to create a buoyant frame that will hold the container afloat. You’ll likely need four pieces for a rectangular container, cut to match the lengths of the sides.
The noodles should fit snugly around the container to keep it stable in the water.
Step 2: Cut Noodle Pieces to Size
Measure and cut your pool noodle pieces to fit the sides of your container. If your container has rounded corners, you might need to cut slight angles on the ends of your noodle pieces for a tighter fit when they meet at the corners.
Precise cuts will make assembly easier and the final product more stable. Knowing “How to make pool noodle crafts” like this requires a bit of measurement.
Step 3: Assemble the Floating Frame
There are two main ways to assemble the frame and attach it to the container:
- Rope Method: Lay out your cut noodle pieces to form the frame shape. Thread nylon rope through the center holes of the noodles, lashing them together tightly at the corners. Then, create a sort of “net” or harness with the rope that goes around and under your container, securing it to the noodle frame.
- Glue Method: Apply waterproof silicone adhesive generously to the sides of the plastic container and press the corresponding pool noodle pieces firmly against it. Also, glue the ends of the noodle pieces where they meet at the corners. Allow to cure completely according to the adhesive instructions (this might take 24 hours).
The rope method is often more durable for repeated in-and-out of water use. The glue method can be sleeker if done neatly.
Step 4: Test and Float!
Once your caddy is assembled and any glue is fully cured, it’s time to test it! Gently place it in the pool. Add a few (unopened) cans or plastic bottles to check its buoyancy and stability.
Adjust as needed. If it seems tippy, you might need thicker noodles or a wider frame. Now you can enjoy your drinks without leaving the pool – a true diy pool noodle crafts win!
Showcasing Your Awesome DIY Pool Noodle Crafts Creations
Look at that! With a little imagination and a few simple supplies, you’ve transformed humble pool noodles into a collection of fun, functional, and fabulous creations. Whether it’s the gentle glow of your luminaries, the festive cheer of your wreath, or the peals of laughter from kids enjoying the sprinkler, these projects are sure to brighten your summer.
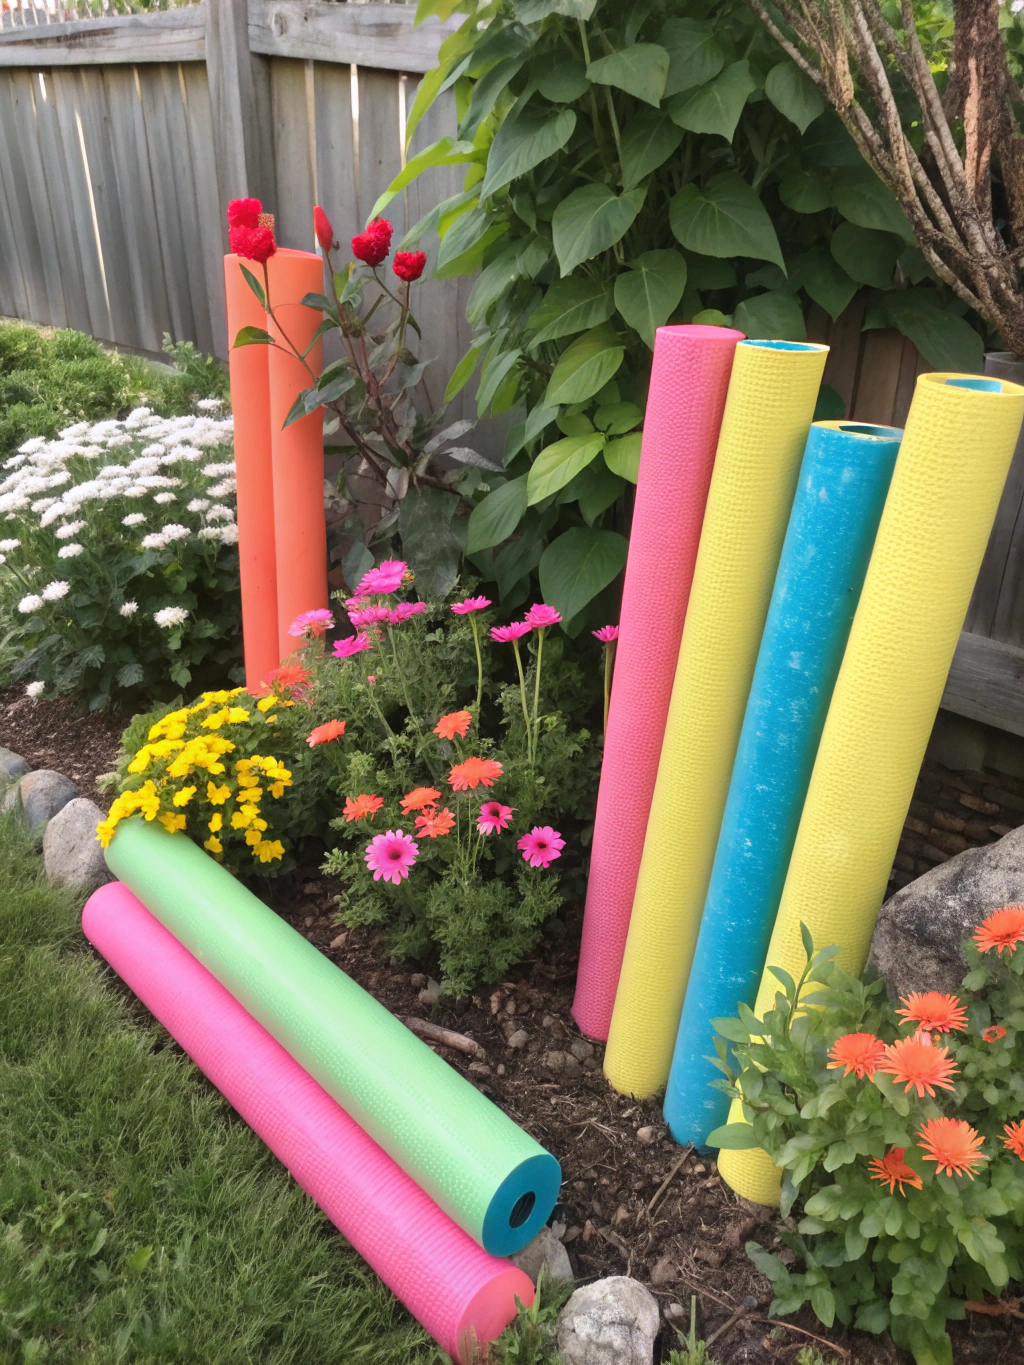
The beauty of diy pool noodle crafts lies in their simplicity and the endless possibilities for customization. These eight ideas are just a starting point. What other fantastic creations can you dream up? We’d love to see your finished projects and hear any tips or variations you discovered along the way! Share your pictures and experiences in the comments below.
Pro Tips for Perfecting Your DIY Pool Noodle Crafts
To help you get the best results with your noodle projects, here are a few extra tips:
- Cutting Cleanly: For the smoothest cuts, a sharp serrated knife (like a bread knife) often works better than a straight utility knife, especially on thicker noodles. Always cut on a protected surface and away from yourself. For very precise, straight cuts, a miter box can be a helpful guide.
- Choosing Adhesives: Hot glue is great for quick assembly of lightweight decorative elements. For crafts that will be handled a lot or exposed to water, a strong, waterproof silicone adhesive or an industrial-strength craft glue (like E6000, with proper ventilation) is recommended for a more durable bond. Always test glue on a scrap piece first.
- Painting Noodles: Yes, you can paint pool noodles! Acrylic craft paints work, but they can sometimes crack or flake off as the noodle flexes. For better results, try a flexible spray paint designed for plastics (like Krylon Fusion for Plastic®) or mix your acrylic paint with a fabric medium to increase flexibility. Priming the noodle with a plastic-friendly primer can also help paint adhere.
- Adding Weight: For some diy pool noodle crafts that need to stand up or stay put (like game targets or certain decorations), you might need to add weight to the base. You can insert a piece of dowel or PVC pipe filled with sand into the bottom of the noodle or glue the noodle to a heavier base material like a wooden disc.
- Safety First: Always supervise children when using sharp tools like knives or scissors, or when working with a hot glue gun. Ensure any small parts used in crafts for very young children are securely attached to prevent choking hazards.
FAQs: Your DIY Pool Noodle Crafts Questions Answered
Q1: What’s the best way to cut pool noodles for crafts?
A serrated knife (like a bread knife or an electric carving knife for many cuts) generally gives the cleanest cut on pool noodles. A sharp utility knife also works well, especially for more detailed shaping. For perfectly straight, repetitive cuts, using a miter box as a guide with your knife can be very helpful. Always cut on a stable, protected surface and prioritize safety.
Q2: Can I paint pool noodles for my DIY projects?
Absolutely! While pool noodles come in many vibrant colors, painting allows for custom shades and designs. Acrylic craft paints can be used, but for better flexibility and durability, consider mixing them with a fabric medium or using spray paints specifically designed for plastic. Test on a small, inconspicuous area first, as some solvents in paints can slightly melt the foam. A light coat is often better than a thick one. Applying a plastic primer can also improve paint adhesion for your diy pool noodle crafts.
Q3: Are diy pool noodle crafts safe for kids?
Generally, yes! Pool noodles themselves are made from non-toxic foam and are soft and lightweight, making them great for kids’ crafts. However, adult supervision is crucial during the crafting process, especially when cutting tools or hot glue guns are involved. For finished crafts intended for young children, ensure any small parts (like googly eyes or other embellishments) are very securely attached to prevent them from becoming choking hazards. Always consider the age-appropriateness of the craft and its intended use.
Q4: Where can I find more “Summer pool noodle ideas” and inspiration?
The internet is brimming with inspiration! A quick search on Pinterest or Google for “Summer pool noodle ideas” or “diy pool noodle crafts for kids” will yield thousands of results. For even more “Diy pool noodle crafts, Summer pool noodle ideas, How to make pool noodle crafts“, websites like HGTV often feature creative DIY projects for all seasons. Don’t forget to check out craft blogs and YouTube for video tutorials too!
Q5: How do I make my pool noodle crafts last longer, especially if used outdoors or in water?
For longevity, especially for items frequently exposed to sun and water:
- Use waterproof adhesives like silicone or marine-grade glue.
- If painting, use paints designed for outdoor use or plastics, and consider a clear sealant over top.
- Store your crafts out of direct, harsh sunlight when not in use, as UV rays can degrade the foam and fade colors over time.
- For items used in chlorinated pool water, rinse them with fresh water after use to help preserve the material.
- Reinforce joints or high-stress areas with internal dowels or extra secure fastenings.
These simple steps can significantly extend the life of your creative diy pool noodle crafts.
Get Noodling and Share Your Creations!
We hope these eight easy diy pool noodle crafts have sparked your imagination and shown you just how versatile these colorful foam tubes can be. From practical solutions to playful decorations and engaging toys, there’s a pool noodle project for everyone.
So, what are you waiting for? Grab those noodles, gather your supplies, and get crafting! We can’t wait to see what amazing “Summer pool noodle ideas” you bring to life.
Don’t forget to share your creations, tips, or any other pool noodle craft ideas in the comments below! If you found this guide helpful, please share it with your fellow DIY enthusiasts on social media. And for more creative DIY projects and home improvement tips, be sure to subscribe to our newsletter! Happy crafting!

