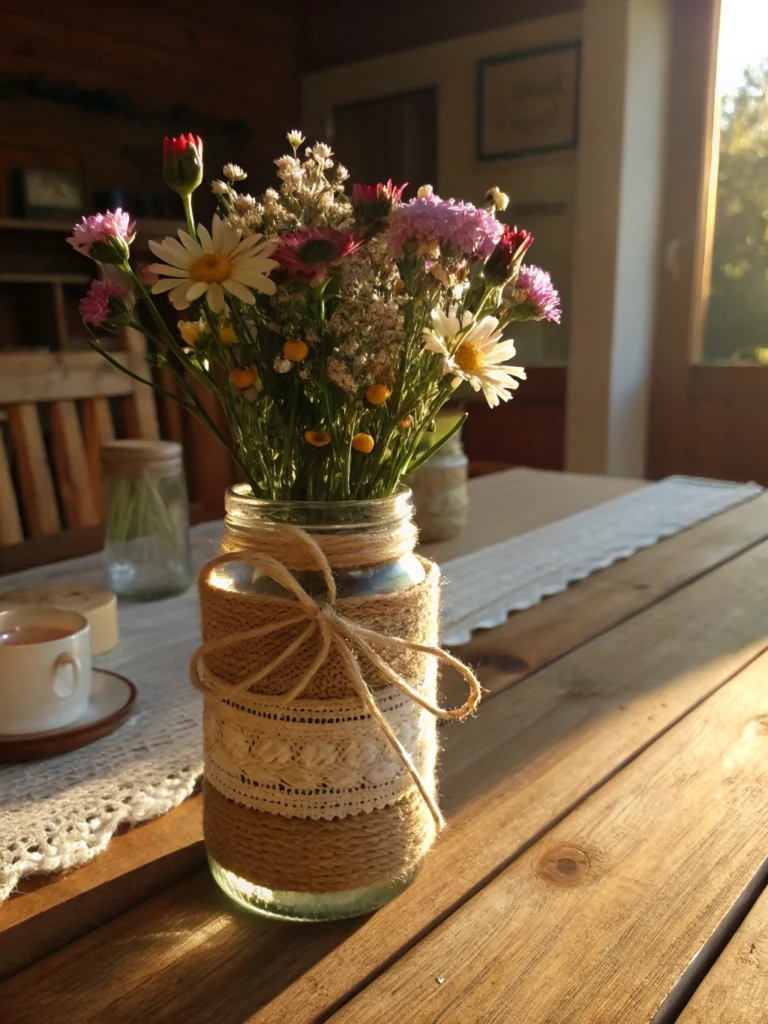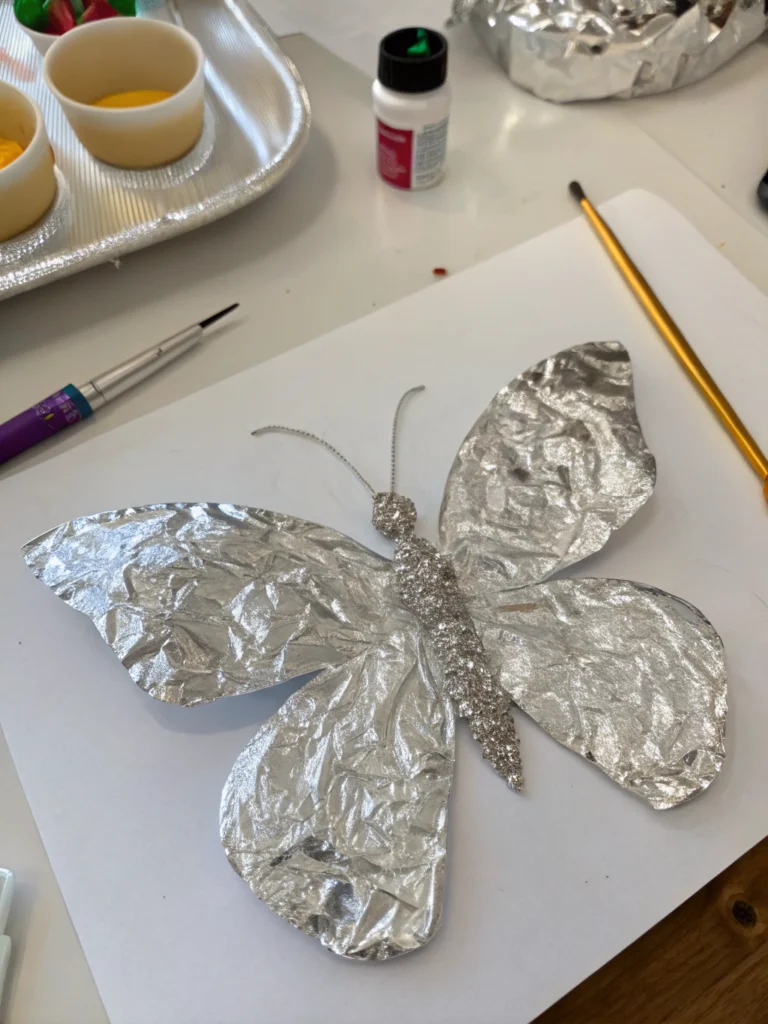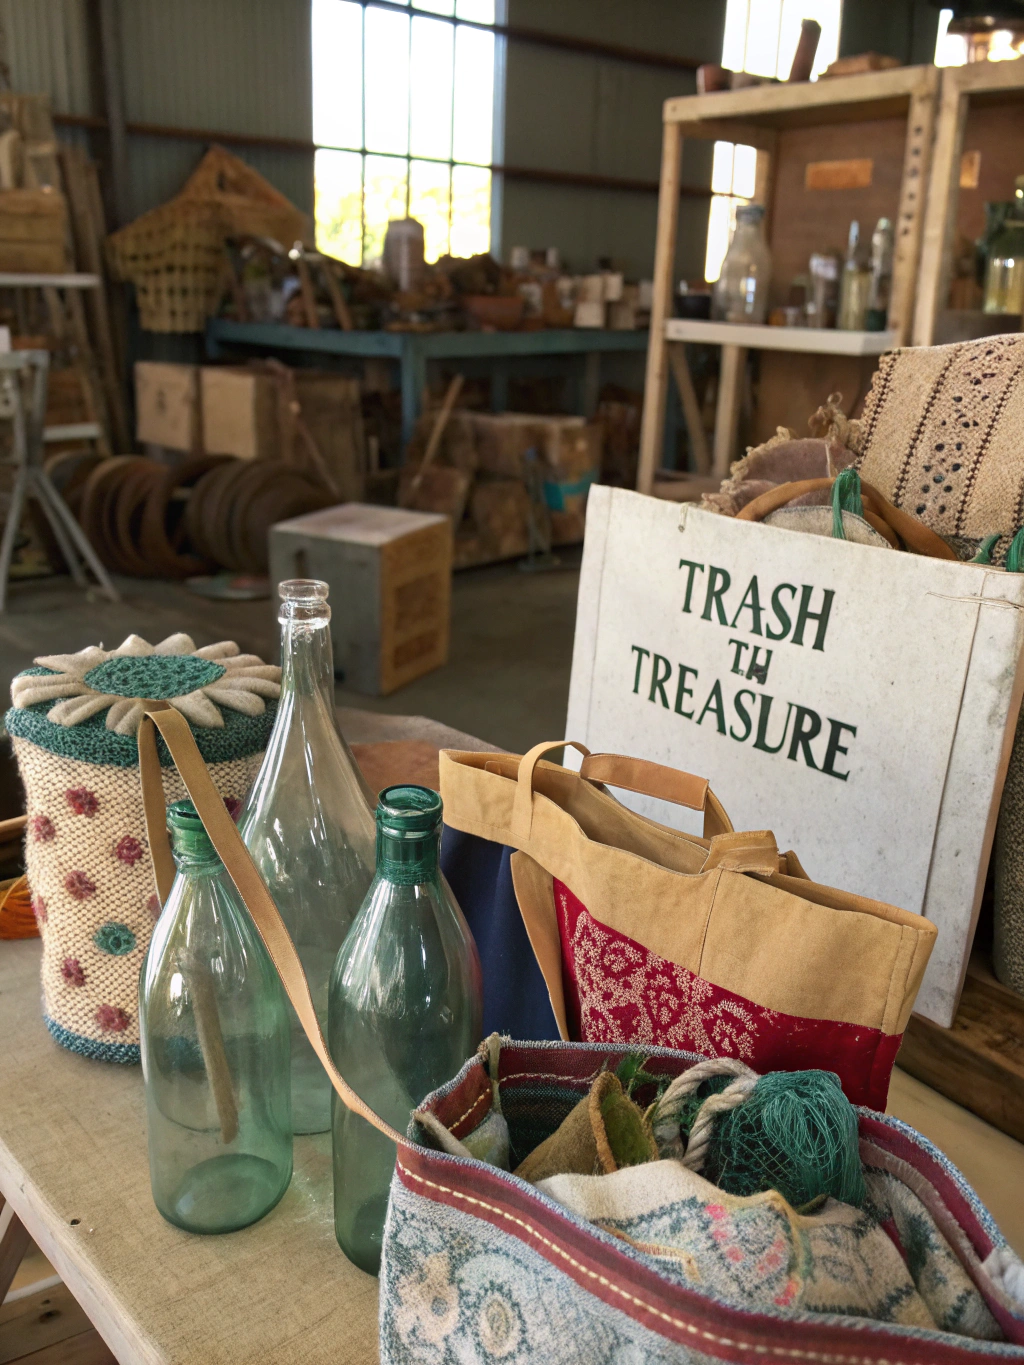
*Caption: Unlock your creativity with these inspiring trash to treasure crafts – turning everyday discards into delightful decor!*
Introduction
Are you tired of seeing perfectly good “junk” pile up, wondering if there’s a better fate for it than the landfill? Well, you’re in the right place! With a little imagination and some elbow grease, you can embark on exciting trash to treasure crafts that not only save you money but also add a unique, personal touch to your home.
This guide is packed with inspiration to help you see the potential in the discarded and transform it into something truly special. We’ll explore how to upcycle trash into treasure, giving old items a dazzling new life. Get ready to unleash your inner artist and discover the joy of creating beautiful things from what others might overlook. Let’s dive into the world of DIY trash to treasure ideas!
The beauty of trash to treasure crafts lies in their accessibility and eco-friendliness. Almost anything can be a candidate for an upcycling project, from old clothes and broken furniture to glass jars and tin cans. It’s about looking beyond an item’s original purpose and envisioning its new possibilities. This not only challenges your creativity but also contributes positively to the environment by reducing waste. So, before you toss that old item, pause and ask yourself: “Could this be my next treasure?”
Trash to Treasure Crafts
Table of Contents
What You’ll Need for Your Trash to Treasure Adventures
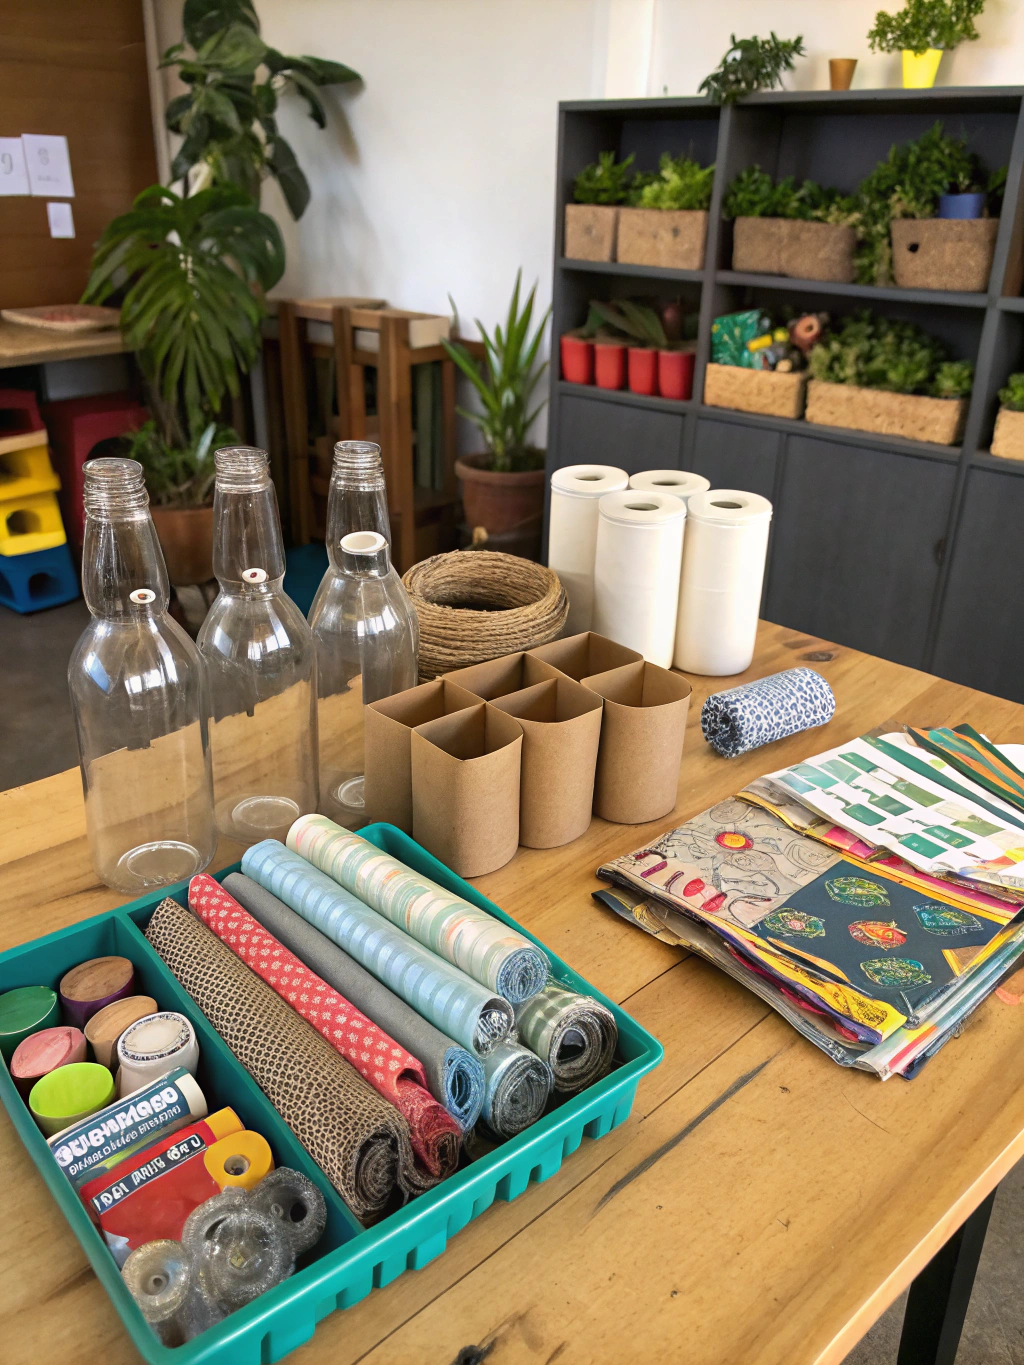
*Caption: Gather these common tools and materials, and you’re ready to start your upcycling journey!*
Before you roll up your sleeves and dive into your first trash to treasure crafts project, it’s helpful to have a basic toolkit ready. While specific projects will have unique requirements, these are some general supplies that come in handy for most upcycling endeavors:
- Cutting Tools: Trash to Treasure Crafts
- Sharp scissors (for fabric, paper, and light materials)
- Craft knife or utility knife (for precision cuts on cardboard, plastic, etc.)
- Box cutter (for heavier-duty cutting)
- Wire cutters (for, well, wire!)
- Adhesives: Trash to Treasure Crafts
- Hot glue gun and glue sticks (a crafter’s best friend for quick bonds)
- Strong craft glue or E6000 (for more durable adhesion on various surfaces)
- Mod Podge (for decoupage and sealing)
- Wood glue (if you’re working with wooden items)
- Paints & Finishes: Trash to Treasure Crafts
- Acrylic paints (versatile and come in many colors)
- Spray paint (for quick, even coverage on larger items or tricky shapes)
- Chalk paint (great for a matte, vintage look, often requires minimal prep)
- Paintbrushes (various sizes and types)
- Sandpaper (different grits for smoothing surfaces)
- Primer (helps paint adhere better and provides a smooth base)
- Sealant or varnish (to protect your finished masterpiece)
- Fasteners & Hardware: Trash to Treasure Crafts
- Small nails, tacks, or staples
- Screws and a screwdriver set
- Twine, rope, or ribbon (for decorative touches or hanging)
- Picture hanging kits
- Safety Gear: Trash to Treasure Crafts
- Safety glasses (especially when cutting or using power tools)
- Gloves (to protect your hands from paint, glue, or sharp edges)
- Dust mask (when sanding or spray painting)
- Cleaning Supplies: Trash to Treasure Crafts
- Soap and water
- Rubbing alcohol (great for cleaning surfaces before painting or gluing)
- Old rags or paper towels
- Measuring & Marking Tools: Trash to Treasure Crafts
- Ruler or measuring tape
- Pencil or marker
- The “Trash” Itself! This is the star of the show. Keep an eye out for:
- Glass jars and bottles
- Tin cans
- Old wooden crates, pallets, or drawers
- Cardboard boxes
- Old picture frames
- Fabric scraps, old clothes, or linens
- Broken jewelry
- Wine corks
- Old books or magazines
- Plastic containers
Remember, the key to successful trash to treasure crafts is resourcefulness. Look around your home, visit thrift stores, or even (safely and legally) check out curbside finds. You’ll be amazed at what you can repurpose! For more advanced techniques and inspiration, especially if you’re considering structural DIY projects like trash to treasure crafts, deeper tutorials can expand your skillset.
7 Best Upcycles You’ll Love: Step-by-Step Guides Trash to Treasure Crafts
Now for the fun part! Let’s explore seven fantastic trash to treasure crafts projects that are both achievable and incredibly rewarding. These ideas range in difficulty, so there’s something for everyone, whether you’re a seasoned crafter or just starting your upcycling journey.
Project 1: Tin Can Herb Planters Trash to Treasure Crafts
Transform humble tin cans into chic and practical herb planters for your kitchen windowsill or patio. This is one of the best trash to treasure crafts, how to upcycle trash into treasure, DIY trash to treasure ideas for adding a touch of green to your space.
Step 1: Clean and Prepare Your Cans

*Caption: Step 1 – Giving those tin cans a good scrub is crucial for a perfect paint finish in your trash to treasure crafts project.*
First things first, thoroughly wash your tin cans with soap and water. Remove any labels – soaking them in hot water can help, or use a bit of oil to dissolve stubborn adhesive. Dry them completely. It’s important to ensure there are no sharp edges where the lid was removed. If there are, carefully use pliers to bend them inwards or file them down.
This initial cleaning step is vital. Any grease, dirt, or leftover food residue can prevent paint from adhering properly, leading to a patchy or peeling finish. Taking a few extra minutes here will save you frustration later and ensure your herb planters look professional.
Step 2: Prime and Paint
Next, apply a coat of metal primer to the outside of your cans. Primer helps the paint stick better to the smooth metal surface and can prevent rust if your planters will be exposed to moisture. Let the primer dry completely according to the manufacturer’s instructions.
Once primed, it’s time for color! Acrylic paints or spray paints work well. Apply thin, even coats, allowing each coat to dry before applying the next. Two or three coats usually do the trick for vibrant, solid coverage. Get creative with colors, patterns, or even try a distressed look by lightly sanding the edges after the paint dries. This is where your personal style shines through in these trash to treasure crafts.
Step 3: Add Drainage and Plant
Using a hammer and a large nail (or a drill with a small bit), carefully create a few drainage holes in the bottom of each can. This is crucial for healthy plants, as it prevents waterlogging and root rot.
Finally, add a small layer of gravel or small stones to the bottom for extra drainage, then fill with potting soil and your favorite herbs. Parsley, basil, mint, chives, or cilantro are all great choices for a kitchen herb garden. Water them lightly, and place your new, stylish planters in a sunny spot!
Project 2: Vintage Book Page Wreath Trash to Treasure Crafts
Give old, damaged books a beautiful new purpose by transforming their pages into an elegant wreath. This is a fantastic example of DIY trash to treasure ideas.
Step 1: Prepare Your Book Pages and Wreath Form
Choose an old book (thrift stores are great for this) – preferably one with slightly yellowed pages for that vintage charm. Carefully tear out the pages. You’ll need quite a few, depending on the size of your wreath. For each page, roll it into a cone shape, starting from one corner and rolling diagonally. Secure the end with a small dab of hot glue or craft glue. Make dozens of these cones; the more you have, the fuller your wreath will be.
You’ll also need a wreath form. A
flat cardboard circle (cut from an old box) or a craft store foam wreath form will work perfectly. If using cardboard, cut out a ring – the width will determine how wide your wreath appears. This preparation is key for a sturdy base for your trash to treasure crafts project.
Step 2: Attach Cones to the Wreath Form
Begin gluing your paper cones to the wreath form using a hot glue gun. Start from the outer edge, placing the pointed ends of the cones towards the center of the wreath and the wider, open ends facing outwards. Overlap the cones slightly as you go, working your way around the form.
Once the outer layer is complete, start a new layer slightly inwards, overlapping the first. Continue this process, layering the cones and filling in any gaps, until the entire front and sides of the wreath form are covered. Aim for a full, textured look. This methodical layering is what gives the wreath its beautiful, dimensional appearance – a hallmark of the best trash to treasure crafts, how to upcycle trash into treasure, DIY trash to treasure ideas.
Step 3: Add Finishing Touches
Once all your_cones are_glued and the_glue has_set, inspect your_wreath for_any sparse areas and_add more cones if_needed. You can leave the wreath as is for a simple, elegant look, or add embellishments. Consider a light dusting of glitter spray for a bit of sparkle, or tie a burlap or lace ribbon around it for a rustic or romantic touch.
Attach a loop of twine or ribbon to the back for hanging. This book page wreath makes a beautiful statement piece for your door, above a mantel, or as wall decor in any room needing a touch of vintage charm. It’s a truly lovely way to demonstrate how to upcycle trash into treasure.
Project 3: Upcycled Wine Bottle Vases/Candle Holders Trash to Treasure Crafts
Don’t toss those empty wine bottles! With a little creativity, they can become stunning vases or atmospheric candle holders. This is a classic among trash to treasure crafts.
Step 1: Clean and Prepare the Bottles
The first step, as always, is thorough cleaning. Soak the wine bottles in hot, soapy water to help loosen the labels. If the labels are stubborn, a bit of Goo Gone or a paste of baking soda and cooking oil can help remove the adhesive residue. Rinse well and let them dry completely, inside and out.
Make sure the inside is completely dry, especially if you plan to paint the interior or use them for fairy lights. Any moisture can affect the paint or potentially short out electronics. This careful preparation ensures a beautiful and lasting result for your DIY trash to treasure ideas.
Step 2: Decorate Your Bottles
This is where your creativity takes center stage! There are countless ways to decorate your wine bottles:
- Painting: Spray paint them a solid color, create ombre effects, or hand-paint designs. Chalk paint gives a lovely matte finish. You can also pour paint inside the bottle and swirl it around for a unique interior-coated look.
- Twine Wrapping: Starting at the bottom, apply hot glue in sections and tightly wrap twine or jute rope around the bottle, working your way up. This creates a rustic, textured look.
- Decoupage: Use Mod Podge to apply fabric scraps, pretty paper napkins, or even sheet music to the bottles.
- Etching: For a more sophisticated look, use etching cream (following safety instructions carefully!) to create frosted designs on the glass.
- Fairy Lights: Simply clean the bottle and insert a string of battery-operated fairy lights for an instant, magical ambiance.
Experiment with different techniques to find what you love. The possibilities are endless when you’re learning how to upcycle trash into treasure.
Step 3: Style and Display
Once your decorations are complete and fully dry, it’s time to display_your creations. If you’ve made vases, add a few fresh or artificial flowers. For candle holders, you can either place a taper candle in the neck of the bottle (ensure it’s secure) or, for a safer option with wider-mouthed bottles, use them to house tea lights or small pillar candles. Grouping several decorated bottles of different heights and styles can create a stunning centerpiece.
These upcycled wine bottles are not only beautiful but also incredibly versatile. They can add a touch of elegance, rustic charm, or whimsical fun to any space, proving that trash to treasure crafts can be truly transformative.
Project 4: Plastic Bottle Organizers Trash to Treasure Crafts
Combat clutter with these super simple and surprisingly sturdy organizers made from plastic bottles. This is a practical and eco-friendly trash to treasure crafts idea.
Step 1: Clean and Cut Your Bottles
Gather various plastic bottles – soda bottles, water bottles, or even larger detergent bottles work well. Wash them thoroughly and remove any labels. Let them dry completely.
Decide on the height you want your organizers to be. Using a sharp craft knife or sturdy scissors, carefully cut the bottles. It’s often easiest to make an initial puncture with the knife and then finish the cut with scissors for a cleaner edge. If the cut edge is a bit jagged, you can trim it or carefully smooth it with fine-grit sandpaper. Safety first when handling sharp tools!
Step 2: Decorate (Optional but Fun!)
While you can leave the plastic organizers plain, decorating them adds a personal touch and makes them more attractive. Here are a few ideas:
- Paint: Use acrylic paints suitable for plastic. You might need a primer for better adhesion.
- Washi Tape: Cover the cut edges or create patterns with colorful washi tape.
- Fabric or Paper: Wrap the bottles in fabric scraps or decorative paper, securing with
Mod Podge or strong craft glue. - Markers: Use permanent markers to draw designs or label your organizers.
This step allows you to customize your organizers to match your decor or a specific theme, showcasing how DIY trash to treasure ideas can be both functional and stylish.
Step 3: Organize Your Bits and Bobs
Once your plastic bottle organizers are ready, put them to use! They are perfect for:
- Desk supplies: pens, pencils, markers, paper clips.
- Craft supplies: paintbrushes, beads, buttons, glitter.
- Bathroom essentials: cotton balls, Q-tips, makeup brushes.
- Workshop items: screws, nails, small tools.
You can arrange them individually, or hot glue several together to create a multi-compartment organizer. This project is a fantastic way to teach kids about recycling and organizing, and it’s a quick win for anyone looking for simple trash to treasure crafts.
Project 5: Denim Pocket Wall Organizer Trash to Treasure Crafts
Don’t throw away those old jeans! The pockets are perfect for creating a handy and stylish wall organizer. This is a prime example of how to upcycle trash into treasure.
Step 1: Harvest Jean Pockets and Prepare a Backing
Take your old pairs of jeans and carefully cut out the back pockets. Try to cut as close to the seams as possible to get the entire pocket intact. You’ll also want a bit of the surrounding denim fabric to allow for sewing or gluing later. The more pockets you have, the bigger your organizer can be.
Next, you’ll need a backing piece of fabric. This could be a larger piece of denim from the same jeans (like a leg panel), a piece of canvas, burlap, or even a sturdy piece of felt. Cut it to the desired size and shape for your wall organizer. Consider a rectangle, square, or even a long banner shape.
Step 2: Arrange and Attach Pockets
Lay out your denim pockets on the_backing fabric, arranging them in a way that is both visually appealing and functional. Play around with the placement until you’re happy. You can align them in neat rows or go for a more eclectic, overlapping design.
Once you’ve decided on the layout, it’s time to attach the pockets. You can either sew them onto the backing fabric using a sewing machine or by hand (a backstitch will be sturdy). Alternatively, if you prefer a no-sew method, use strong fabric glue. Make sure to apply glue only to the edges that were originally sewn to the jeans, leaving the pocket opening accessible. This is a key step in creating useful trash to treasure crafts.
Step 3: Add Hanging Mechanism and Use
After all the pockets are securely attached and any glue has dried, add a way to hang your organizer. You can sew loops of ribbon or denim to the top corners, insert grommets for a more industrial look, or even attach the fabric to a wooden dowel or branch.
Hang your new denim pocket organizer on the wall and fill it with small items – craft supplies, mail, keys, sunglasses, or even small kids’ toys. It’s a charming and practical addition to an entryway, craft room, or kid’s bedroom, and one of the best trash to treasure crafts, how to upcycle trash into treasure, DIY trash to treasure ideas for using up old clothing.
Project 6: Old CD/DVD Mosaic Coasters or Picture Frame Trash to Treasure Crafts
Scratched CDs or DVDs that are no longer usable can be broken up and used to create stunning mosaic designs. These shimmering pieces are perfect for coasters or embellishing a picture frame.
Step 1: Prepare Your CDs/DVDs and Base

*Caption: Step 1 – Safely breaking old CDs creates beautiful, iridescent pieces for your mosaic trash to treasure crafts.*
Gather your old CDs or DVDs. To break them into smaller pieces, place a CD inside an old cloth or between sheets of newspaper (shiny side up is often recommended for easier breaking). Gently tap it with a hammer. The CD will shatter into irregular pieces. Be careful of sharp edges – wearing safety glasses and gloves is highly recommended. Some CDs have a clear plastic layer on top of the shiny layer; try to separate this if it peels off easily, as the shiny backing is what you want.
For coasters, you can use square ceramic_tiles, pieces of wood, or even thick cardboard as your base. For a picture frame, use an old, plain wooden or plastic frame. Ensure your base surface is clean and dry. This initial prep is crucial for your DIY trash to treasure ideas involving mosaics.
Step 2: Arrange and Glue Mosaic Pieces
Begin arranging your CD pieces onto your base. Play with the shapes and sizes, fitting them together like a puzzle, leaving small gaps between them for grout (if you choose to grout). The iridescent side of the CD pieces should face up.
Once you have a layout you like, start gluing the pieces down one by one using strong craft glue like E6000 or a clear-drying adhesive. Press each piece firmly and allow the glue to dry completely, usually for several hours or overnight. This careful placement is key to beautiful trash to treasure crafts.
Step 3: Grout (Optional) and Seal
If you want a more traditional mosaic look and to fill the gaps, you can apply grout. Mix pre-mixed grout according to the package directions. Spread it over the mosaic, pushing it into the gaps between the CD pieces with a putty knife or a craft stick. Wipe away excess grout from the surface of the CD pieces with a damp sponge before it dries completely. Let the grout cure as per instructions.
Whether you grout or not, it’s a good idea to seal your finished mosaic project, especially for coasters that will be exposed to moisture. Use a clear acrylic sealer spray or a brush-on sealant. This will protect the CD pieces and make your creation more durable. This step truly shows how to upcycle trash into treasure with a professional finish.
Project 7: Egg Carton Seed Starters
Before you recycle those cardboard egg cartons, use them as perfect, biodegradable seed starters for your garden. This is one of the simplest and most eco-friendly trash to treasure crafts.
Step 1: Prepare Your Egg Carton
Take a standard cardboard egg carton (not foam or plastic, as cardboard will biodegrade). If it has a tall lid, you can cut it off or leave it attached to use as a tray underneath. Each individual cup of the egg carton will serve as a mini pot for a seed.
No major cleaning is usually required, but ensure it’s dry and doesn’t have any food residue. This is one of the quickest DIY trash to treasure ideas to get started with.
Step 2: Fill with Soil and Plant Seeds
Fill each cup of the egg carton with good quality seed starting mix. Don’t pack it down too tightly; keep it light and airy.
Plant your seeds according to the package directions, usually one or two seeds per cup. Gently press them into the soil and cover lightly. Water gently – a spray bottle works well to avoid dislodging the seeds. Label your egg carton rows if you’re planting different types of seeds.
Step 3: Nurture and Transplant
Place your egg carton seed starters in a warm, sunny spot, like a windowsill. Keep the soil consistently moist but not waterlogged. You can cover the carton loosely with plastic wrap to create a mini greenhouse effect until the seeds sprout.
Once your seedlings have grown a few true leaves and are strong enough (and the weather is appropriate for transplanting outdoors), you can plant them directly into your garden or larger pots. The beauty of cardboard egg cartons is that you can cut apart the individual cups and plant the whole thing – carton cup and all – into the ground. The cardboard will naturally break down in the soil. This is a fantastic way to show how to upcycle trash into treasure for a sustainable gardening solution.
The Final Result: Your Home, Uniquely Yours!
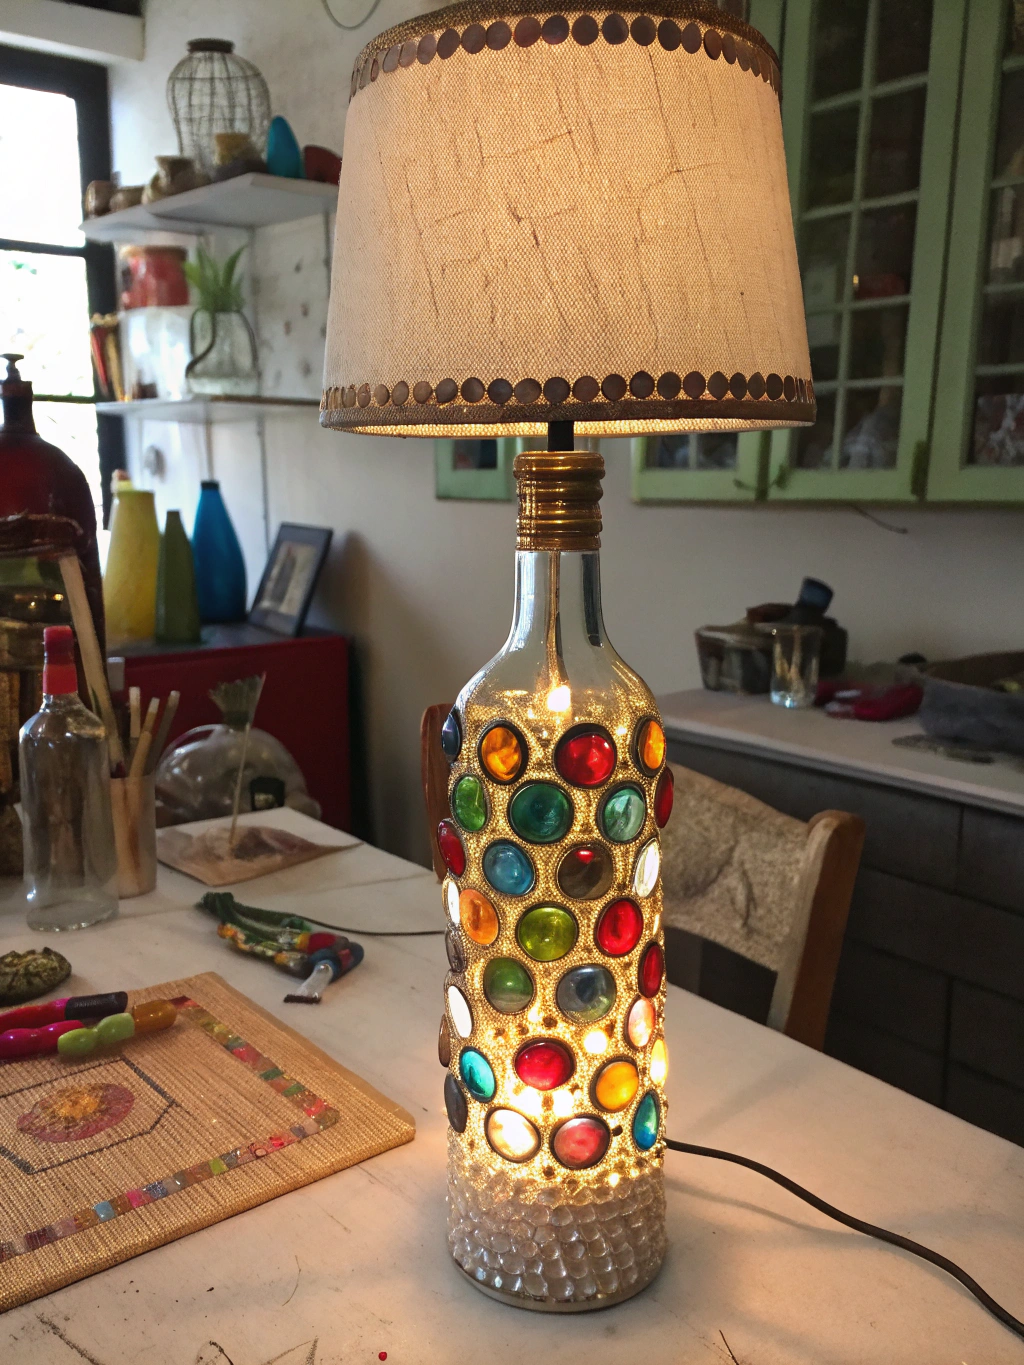
*Caption: Behold the beauty! Your completed trash to treasure crafts bring personality and sustainability to your living space.*
And there you have it! Seven inspiring trash to treasure crafts projects that prove with a little imagination, what was once destined for the bin can become a cherished item in your home. From stylish tin can herb planters brightening your kitchen to a unique denim pocket organizer keeping you tidy, each creation tells a story of resourcefulness and creativity. The real reward isn’t just the finished product, but the joy of the making process and the knowledge that you’ve given something old a vibrant new life. Imagine the satisfaction of a guest admiring your vintage book page wreath or your shimmering CD mosaic coasters, and you proudly saying, “I made that from trash!”
These projects are just the tip of the iceberg. The world of upcycling is vast and incredibly rewarding. Once you start looking at everyday objects with an eye for their potential, you’ll find DIY trash to treasure ideas everywhere. For more fantastic crafting concepts, check out these “Best trash to treasure crafts, How to upcycle trash into treasure, DIY trash to treasure ideas” from Good Housekeeping. We encourage you to experiment, adapt these ideas, and make them your own. Don’t be afraid to try something new or even to “fail” – sometimes the most unexpected outcomes are the most beautiful. Happy crafting!
Pro Tips & FAQs for Your Trash to Treasure Masterpieces
To help you on your upcycling journey, here are some extra tips and answers to frequently asked questions about trash to treasure crafts.
What are the easiest trash to treasure crafts for beginners?
If you’re new to upcycling, start with projects that require minimal tools and complex steps. Tin can planters, plastic bottle organizers, and egg carton seed starters are excellent starting points. Decorating glass jars (like pickle or jam jars) with paint or twine is also very beginner-friendly. The key is to choose items that don’t require much deconstruction or specialized skills to transform. Many wonderful DIY trash to treasure ideas are surprisingly simple!
How do I find good “trash” for my projects?
Your own home is the first place to look! Check your recycling bin, garage, attic, and closets for items you no longer use. Beyond that, thrift stores, flea markets, and garage sales are treasure troves. Sometimes, friends or family might be getting rid of items you could use. Always ensure you’re obtaining items legally and safely (e.g., don’t trespass to get “curbside finds” unless it’s clearly bulk trash day in your area). Learning how to upcycle trash into treasure often starts with just keeping an open mind about what constitutes “trash.”
What are some safety precautions for trash to treasure crafts?
Safety is paramount! Always:
- Wear safety glasses when cutting, hammering, or if there’s a risk of flying debris (like breaking CDs).
- Use gloves to protect your hands from sharp edges, hot glue, or harsh chemicals/paints.
- Work in a well-ventilated area, especially when using spray paints, strong adhesives, or solvents. A dust mask is also good for sanding or when airborne particles are present.
- Be careful with sharp tools like craft knives and scissors. Always cut away from yourself.
- Read and follow the manufacturer’s instructions for all D_I_Y supplies, especially glues, paints, and sealants.
- Keep flammable materials away from heat sources.
These precautions will help ensure your [trash to treasure crafts](https://www.fixdiy.site/diy-floating-shelves/) experience is enjoyable and accident-free.
How can I make my upcycled projects look more professional and less “trashy”?
The key to a polished finish lies in preparation and attention to detail:
- Clean Thoroughly: Make sure your base item is spotless before you begin.
- Proper Prep: Sand surfaces smooth, use primer before painting, etc.
- Good Quality Materials: Invest in decent paints, glues, and brushes. Cheap materials can sometimes lead to a cheap-looking result.
- Neatness Counts: Take your time with cutting, painting, and gluing. Clean up any drips or smudges immediately.
- Consider the Finish: A coat of sealant or varnish can elevate the look and protect your work.
- Harmonize with Your Decor: Choose colors and styles that complement your existing home decor. This makes the item look intentional rather than out of place.
The best trash to treasure crafts, how to upcycle trash into treasure, DIY trash to treasure ideas often look like they were store-bought, thanks to this attention to detail. Check out more expert advice on achieving quality finishes from sources like Good Housekeeping.
Where can I get more inspiration for trash to treasure crafts?
Inspiration is everywhere!
- Pinterest: A visual goldmine for upcycling ideas. Search for “trash to treasure,” “upcycled crafts,” or specific items like “wine bottle crafts.”
- DIY Blogs and Websites: Many talented crafters share their projects online (like this one!).
- Crafting Magazines and Books: Often feature upcycling projects.
- Home Decor Stores: Look at trendy items and think about how you could recreate a similar look with upcycled materials.
- Nature: Sometimes natural elements can be incorporated into your crafts.
Don’t forget to browse resources like this article on **[“Best trash to treasure crafts, How to upcycle trash into treasure, DIY trash to treasure ideas”](https://www.goodhousekeeping.com/home/craft-ideas/how-to/g139/genius-upcycling-ideas/)** for a curated list of genius ideas to spark your creativity.
We hope this comprehensive guide has ignited your passion for trash to treasure crafts! There’s a unique satisfaction in transforming the unwanted into something beautiful and useful.
What are your favorite trash to treasure transformations? Share your ideas, experiences, or photos of your own projects in the comments below! We’d love to see what treasures you’ve created.
Don’t forget to subscribe to our newsletter for more DIY tips, upcycling inspiration, and home improvement hacks delivered straight to your inbox. And if you found this post helpful, please share it with your fellow craft enthusiasts on social media! Happy upcycling!

