Introduction
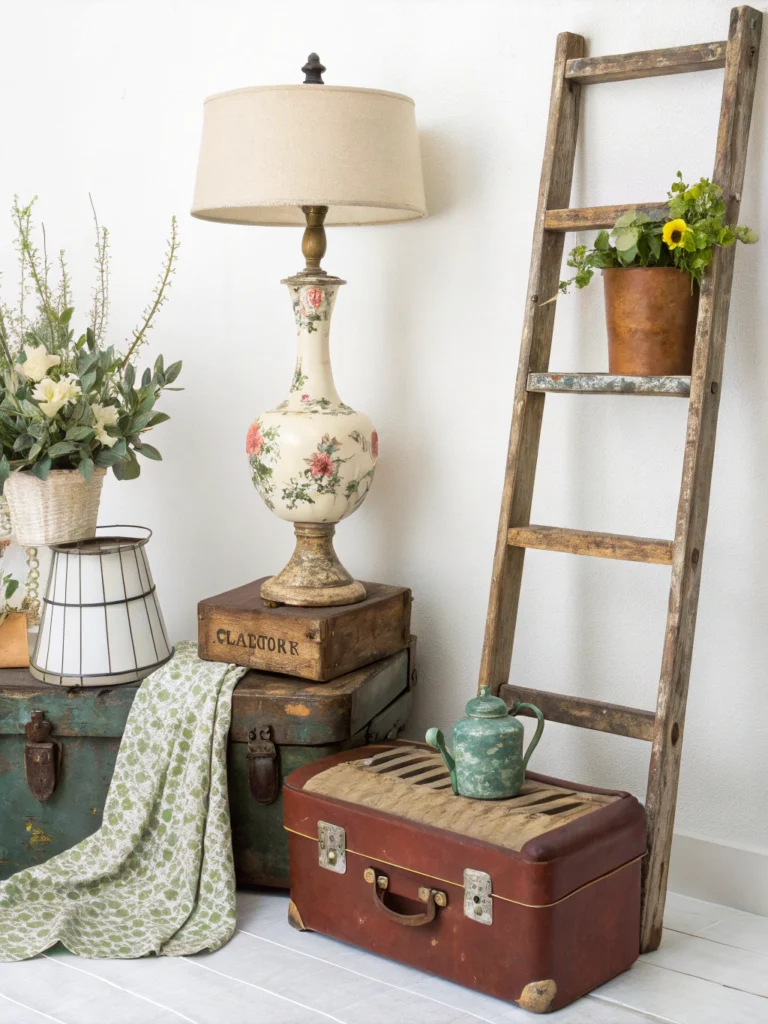
Ever look at that pile of “junk” in your garage – old tins, forgotten clothes, maybe a wobbly chair – and feel a pang of guilt knowing it’s destined for the landfill? You’re not alone! Many home improvement enthusiasts want to be more sustainable but feel overwhelmed by complex DIYs. That’s where the magic of beginner upcycling projects comes in.
It’s all about transforming everyday “trash” into treasure, giving items a new lease on life, and adding unique, personal touches to your home without needing a workshop full of fancy tools. This guide will walk you through seven easy ways to start your upcycling journey, proving that anyone can get creative and make a positive impact. Let’s dive into the exciting world of beginner upcycling projects and discover how simple it can be!
Table of Contents of Beginner Upcycling Projects
Table of Contents
Feeling inspired to tackle some beginner upcycling projects but not sure where to begin? It’s a common feeling! Many people see amazing transformations online but think they need years of experience or a massive budget. The truth is, some of the most rewarding upcycles are surprisingly simple. The key is starting small, understanding basic techniques, and letting your creativity flow. This post is designed to demystify the process and show you exactly how to start upcycling as a beginner. We’ll break down easy projects that are perfect for those new to the game, focusing on readily available materials and straightforward steps. Get ready to unleash your inner crafter!
What You’ll Need for Your First Beginner Upcycling Projects
Before you dive headfirst into transforming your finds, it’s good to have a basic toolkit ready. Don’t worry, you likely already have many of these items around your home! For most beginner upcycling projects, the essentials are quite simple.
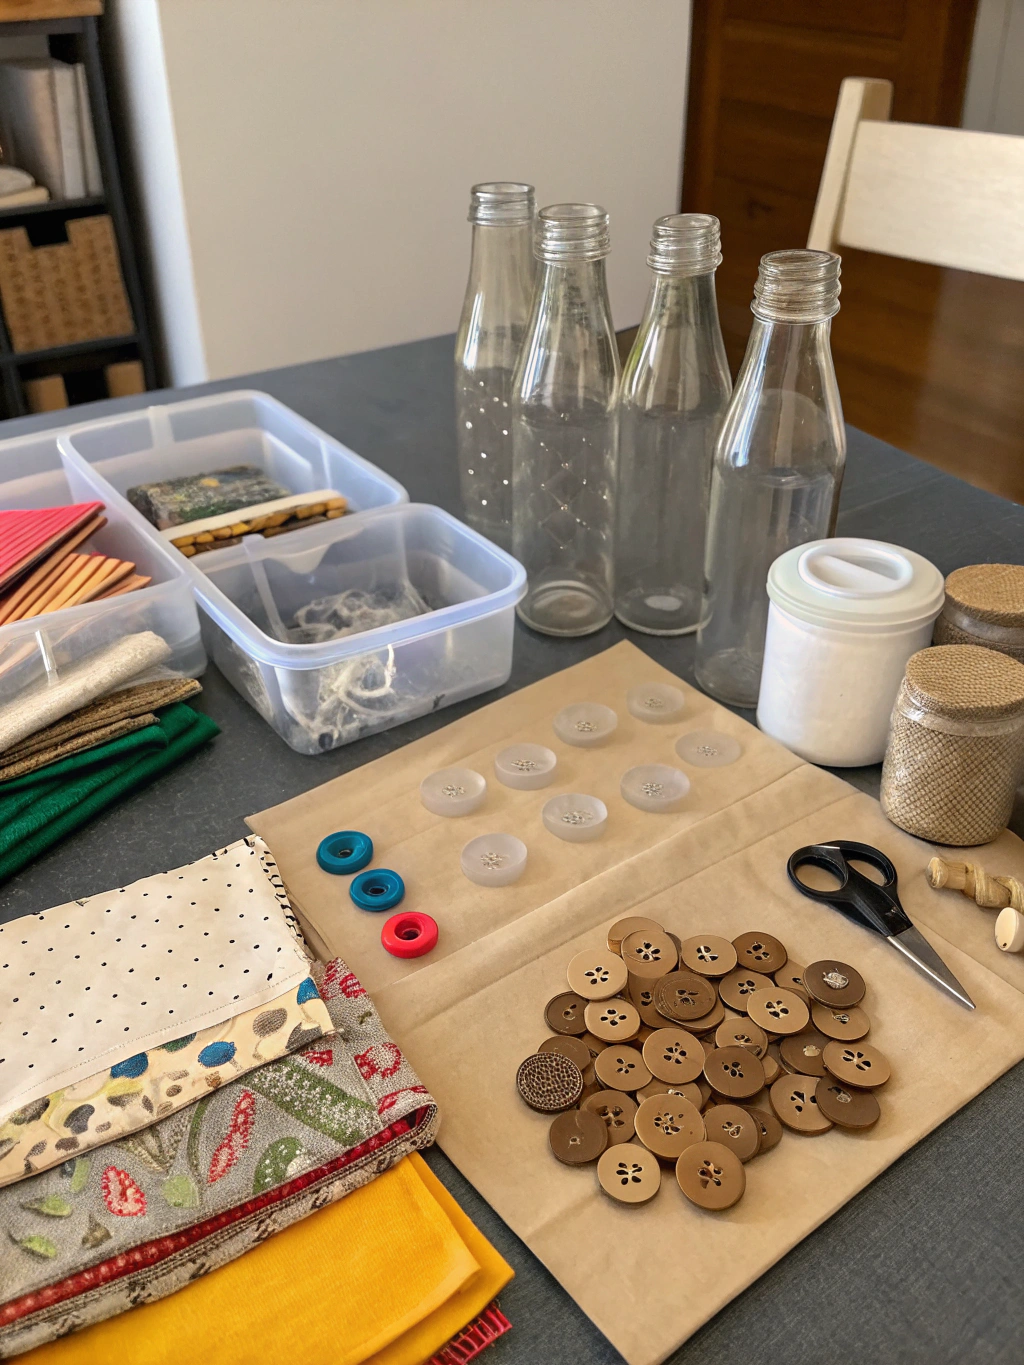
Caption: Your basic toolkit for countless beginner upcycling projects – simple, accessible, and ready for creativity!
Here’s a general list of what will come in handy for the projects we’ll explore and other easy upcycling projects for beginners:
- Cleaning supplies: Soap, water, rags, and maybe some white vinegar or rubbing alcohol for stubborn grime. A clean surface is crucial for any successful upcycle!
- Adhesives: A good quality all-purpose glue (like E6000 or a strong PVA glue), hot glue gun and glue sticks, and perhaps some wood glue if you’re tackling wooden items.
- Cutting tools: Sharp scissors, a craft knife (like an X-Acto knife) with a cutting mat, and potentially a small hand saw for very simple wood cuts.
- Paints and finishes: Acrylic craft paints are fantastic for beginners – they’re water-based, come in tons of colors, and are easy to clean up. You might also consider spray paint (use in a well-ventilated area!), chalk paint (great for a distressed look with minimal prep), and sealants like a clear acrylic spray or varnish to protect your finished piece.
- Brushes and applicators: A variety of paintbrushes (small for details, larger for coverage), foam brushes, and even old rags or sponges for different paint effects.
- Sandpaper: A few different grits (e.g., 80, 120, 220) are useful for smoothing rough edges or preparing surfaces for paint.
- Measuring tools: A ruler or tape measure.
- Safety gear: Gloves to protect your hands, safety glasses especially when cutting or using spray products, and a dust mask if you’re doing a lot of sanding.
- Decorative embellishments (optional but fun!): Fabric scraps, ribbons, buttons, twine, stencils, glitter – let your imagination run wild!
Remember, this is a general list. Each specific project will have its own nuanced requirements, but having these basics on hand will set you up for success with a wide range of beginner upcycling projects. Many inspiring ideas for “Beginner upcycling projects, Easy upcycling projects for beginners, How to start upcycling as a beginner” often use just these simple tools.
7 Easy Ways to Start Your Beginner Upcycling Projects Journey
Ready to get your hands dirty? Here are seven fantastic and easy upcycling projects for beginners to kickstart your creative adventure. We’ll cover a variety of materials and techniques, so you’re sure to find something that sparks your interest!
Project 1: Tin Can Planters/Organizers Beginner Upcycling Projects
Old tin cans – from beans, tomatoes, or coffee – are an upcycler’s goldmine! They’re sturdy, readily available, and incredibly versatile. This is one of the most classic beginner upcycling projects for a reason.
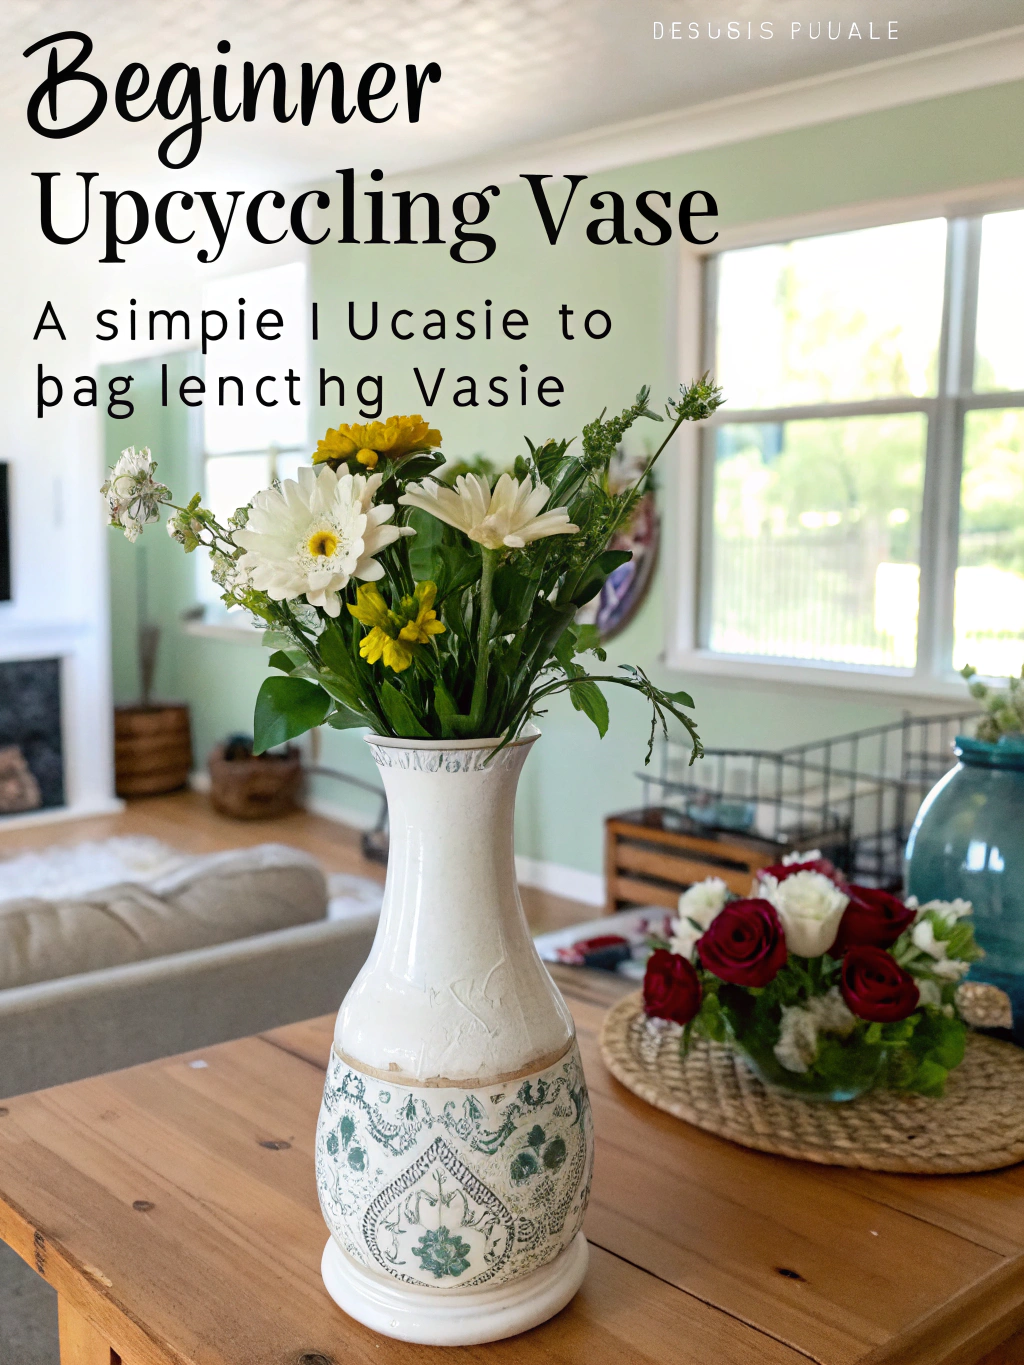
Caption: Step 1 in tin can upcycling: a clean, primed can ready for its colorful transformation – a core step in many beginner upcycling projects.
Step 1: Clean and Prep Your Cans
First things first, you need a clean canvas. Thoroughly wash your tin cans with soap and water to remove any food residue and labels. If the label adhesive is stubborn, try soaking the can in hot, soapy water or using a bit of cooking oil or adhesive remover. Be super careful with the top edge of the can, as it can be sharp. If you have a can opener that cuts from the side, even better! Otherwise, consider gently hammering down any sharp edges or covering them with a thick layer of hot glue or Sugru later.
Why this matters: Paint and glue won’t adhere well to a dirty or greasy surface. A smooth, clean start ensures your beautiful design lasts.
Common pitfall: Not removing all the label glue, leading to a bumpy or uneven paint finish. Take your time here!
Step 2: Prime and Paint
Once your cans are clean and completely dry, it’s time for the fun part – adding color! If you’re using a light paint color or want extra durability, apply a coat of metal primer first. This helps the paint stick better and prevents rust. Let the primer dry completely according to the manufacturer’s instructions.
Next, apply your chosen paint. Acrylic craft paints work wonderfully. You might need two or three thin coats for full coverage, allowing each coat to dry before applying the next. Spray paint is also an option for quick, even coverage (remember to do this outdoors or in a very well-ventilated space).
Why this matters: Primer creates a uniform base and enhances paint adhesion. Thin coats of paint prevent drips and create a more professional finish.
Common pitfall: Applying paint too thickly, resulting in drips and a long drying time. Patience is key!
Step 3: Decorate and Seal
This is where your creativity truly shines! Once the base paint is dry, you can decorate your cans. Consider:
- Wrapping them with twine or colorful yarn.
- Gluing on fabric scraps, lace, or patterned paper (decoupage style).
- Painting on designs – stripes, polka dots, freehand patterns.
- Using stencils for more intricate looks.
- Adding embellishments like buttons, beads, or small charms.
After your decorations are complete and any glue has dried, it’s a good idea to apply a sealant. A clear acrylic spray or a brush-on varnish will protect your design from scratches and moisture, especially if you plan to use them as planters. If using for planters, don’t forget to drill a few small drainage holes in the bottom before adding soil.
Why this matters: Sealing protects your hard work and makes your upcycled item more durable.
Common pitfall: Over-decorating or using materials that aren’t suitable for the can’s intended use (e.g., delicate paper on an outdoor planter without sealing).
Project 2: T-Shirt Tote Bags (No-Sew Option!) Beginner Upcycling Projects
Got old t-shirts you no longer wear but can’t bear to part with? Turn them into reusable tote bags! This is an incredibly easy upcycling project for beginners, and there’s even a no-sew version.
Step 1: Choose and Prepare Your T-Shirt
Select a t-shirt. Cotton or cotton-blend shirts work best. Graphic tees can look especially cool as bags. Lay the t-shirt flat and smooth it out.
For the no-sew version, turn the t-shirt inside out.
Why this matters: A flat, smooth surface makes cutting easier and more accurate. Working inside out for the no-sew version hides the fringe.
Common pitfall: Choosing a t-shirt that’s too thin or stretchy, which might not hold its shape well as a bag.
Step 2: Cut the Sleeves and Neckline
Using sharp fabric scissors, cut off both sleeves along the seam. Then, widen the neckline by cutting around it – this will become the bag’s opening. You can make it a deep scoop or a wider boat neck style, depending on your preference.
Why this matters: These cuts define the handles and opening of your tote bag.
Common pitfall: Cutting the neckline too wide, which could make the bag sag or things fall out easily. Start with a smaller cut; you can always make it bigger.
Step 3: Create the Bag Bottom (No-Sew Method)
With the t-shirt still inside out (for the no-sew version), decide how deep you want your bag to be. Mark a line across the bottom edge of the shirt. Then, cut vertical strips (fringe) from the bottom edge up to this line, about 1 inch wide and 3-4 inches long. You’ll be cutting through both layers of the t-shirt.
Once all the fringes are cut, take a front strip and its corresponding back strip and tie them together in a double knot. Continue this process all the way across the bottom of the shirt, tying each pair of fringes tightly. This creates the bottom seam of your bag. For extra security, you can go back and tie adjacent knots together. Turn the bag right side out, and you’re done!
Why this matters: The knotted fringe creates a strong, durable bottom for your bag without any sewing.
Common pitfall: Not tying the knots tightly enough, leading to gaps where small items could fall out. Double knots are your friend!
For a sewn version: Simply turn the t-shirt inside out, pin the bottom edge closed, and sew a straight seam across. Then turn it right side out.
Project 3: Mason Jar Organizers or Vases Beginner Upcycling Projects
Mason jars are another DIY darling. They’re perfect for beginner upcycling projects because they can be transformed in so many simple ways.
Step 1: Clean Your Jars
Just like the tin cans, start by thoroughly washing your mason jars and lids with soap and water. Remove any labels. If you want to paint the jars, make sure they are completely dry.
Why this matters: A clean surface is essential for paint or embellishments to adhere properly.
Common pitfall: Not drying the jars completely, especially inside, which can affect paint adhesion or cause mildew if used for storage.
Step 2: Paint or Decorate
There are countless ways to decorate mason jars:
- Painting: Acrylic paints work well. You can paint the outside, or for a cool effect, pour some paint inside, swirl it around to coat the interior, and then pour out the excess. Let it dry upside down on newspaper. Chalk paint gives a lovely rustic, matte finish.
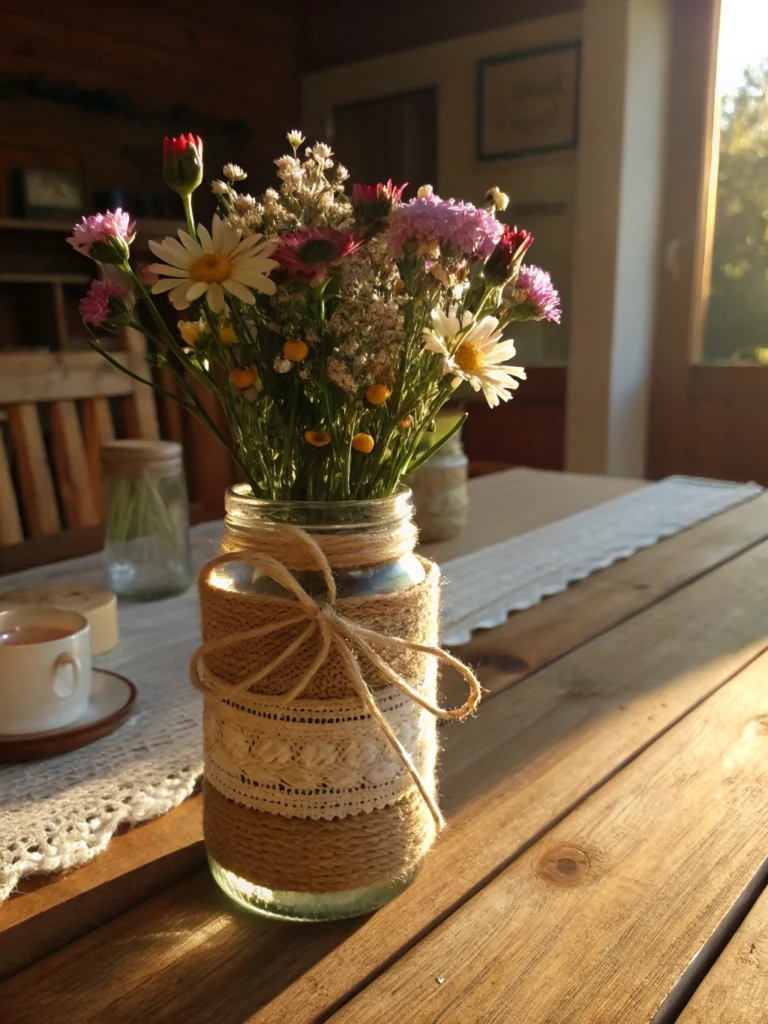
- Wrapping: Wrap jars with twine, lace, ribbon, or burlap for a rustic or shabby chic look. Secure with hot glue.
- Etching: Use etching cream (follow safety instructions carefully!) and stencils to create frosted designs.
- Glitter: Apply glue to the jar (or parts of it) and sprinkle with glitter. Seal with a clear spray once dry to prevent glitter fallout.
- Fabric Lids: Cut a circle of fabric slightly larger than the lid insert. Place it on top of the insert and screw the band on to hold it in place.
Why this matters: This is where you personalize your jars to match your decor or intended use.
Common pitfall: If painting the inside for use as a vase, ensure the paint is waterproof or use a plastic liner, as water can cause some paints to peel.
Step 3: Add Functionality
Think about how you want to use your upcycled jars.
- Desk Organizers: Use them to hold pens, pencils, scissors, or makeup brushes.
- Vases: Perfect for fresh or artificial flowers.
- Pantry Storage: Store dry goods like pasta, rice, or spices (ensure lids are airtight if needed).
- Bathroom Storage: Hold cotton balls, Q-tips, or bath salts.
- Lanterns/Candle Holders: Place a tea light or LED candle inside (be cautious with real flames and ensure the jar doesn’t get too hot).
Why this matters: Defining the jar’s purpose helps guide your decoration choices and ensures it’s practical.
Common pitfall: Not considering the best lid type for the intended use (e.g., needing an airtight seal for food storage).
Project 4: Wine Cork Coasters or Trivets Beginner Upcycling Projects
Don’t throw away those wine corks! They can be upcycled into stylish and functional coasters or trivets. This is a fantastic easy upcycling project for beginners that also helps clear out your collection.
Step 1: Collect and Prepare Corks
Gather your wine corks. You’ll need a fair amount, depending on the size of the coaster or trivet you want to make. For a standard coaster, 10-15 corks might be enough. For a trivet, you could need 30 or more. Try to use corks that are roughly the same height for an even surface. If some are stained, you can try gently sanding the ends or just embrace the character they add.
Why this matters: Uniform cork height creates a stable, flat surface for your coaster or trivet.
Common pitfall: Using corks of vastly different heights, which will result in a wobbly and impractical coaster.
Step 2: Arrange and Glue Your Corks
Decide on the shape of your coaster or trivet (square, rectangle, hexagon, or even round if you’re feeling ambitious). Lay out your corks in the desired pattern on a flat, protected surface. A piece of parchment paper or a non-stick craft mat is ideal.
Once you’re happy with the arrangement, start gluing the corks together. A hot glue gun works best for this as it sets quickly. Apply a line of hot glue to the side of one cork and press it firmly against another. Continue adding corks, ensuring they are level and tightly packed. For larger trivets, you might want to glue them to a thin corkboard or felt backing for extra stability, cutting the backing to shape once the glue is dry.
Why this matters: A strong bond between corks is essential for a durable coaster. Careful arrangement ensures the final shape is neat.
Common pitfall: Using too little glue, causing the coaster to fall apart, or too much glue, leading to messy overflow.
Step 3: Finishing Touches (Optional)
Once the glue is completely dry and your cork creation is solid, you can add some finishing touches if you like. You could tie a ribbon or twine around the perimeter for a decorative accent. If you didn’t use a backing, you might want to sand the bottom slightly if any glue an unevenness is present.
Why this matters: Finishing touches can elevate the look of your upcycled item and add a bit of personal flair.
Common pitfall: Overhandling the coaster before the glue has fully cured. Hot glue sets fast but achieves full strength after a few minutes.
Project 5: Denim Pocket Organizers Beginner Upcycling Projects
Old jeans beyond repair? Don’t toss them! The back pockets are perfect for creating handy little wall organizers. This is a super simple sew or no-sew beginner upcycling project.
Step 1: Cut Out the Pockets
Carefully cut out the back pockets from an old pair of jeans. Try to cut as close to the pocket stitching as possible, leaving a small border of denim around the pocket itself. If you want a neater edge or plan to sew a loop, leave a bit more fabric at the top.
Why this matters: A clean cut makes for a neater finished organizer.
Common pitfall: Cutting too close and accidentally snipping through the pocket stitching itself, causing it to unravel.
Step 2: Create a Hanging Loop (Optional)
If you want to hang your pocket organizer, you can create a loop.
- Sewn Loop: Cut a small strip of denim (about 3 inches long and 1 inch wide). Fold it in half lengthwise, tuck the raw edges in, and sew it into a loop. Then, hand-sew or machine-sew this loop to the top back of the pocket.
- No-Sew Loop: Use a strong fabric glue or hot glue to attach a small D-ring, a loop of ribbon, or even a sturdy paperclip to the back of the pocket. You could also punch a hole using a grommet kit.
Why this matters: A hanging loop makes it easy to display and use your organizer.
Common pitfall: Making the loop too small for the hook or nail you plan to use, or not securing it strongly enough.
Step 3: Decorate and Use
You can leave your denim pockets as they are for a classic look, or decorate them! Consider:
- Adding fabric paint designs.
- Sewing on buttons or patches.
- Embroidering a small motif.
These pockets are great for holding small items like keys, mail, pens, craft supplies, or even a small plant (in a waterproof liner). You can hang a single pocket or create a whole series of them.
Why this matters: Personalization makes it your own! Finding creative uses makes the project more rewarding.
Common pitfall: Overfilling the pocket, which can cause it to sag or tear if not reinforced.
Project 6: Magazine Page Bowls or Coasters Beginner Upcycling Projects
Got stacks of old magazines? Transform their colorful pages into beautiful and surprisingly sturdy bowls or coasters using a simple rolling and coiling technique. This beginner upcycling project is a bit more time-consuming but very meditative.
Step 1: Prepare Your Magazine Strips
Tear or cut pages from old magazines. For a more uniform look, try to select pages with similar color palettes or patterns, or just go for a vibrant mix! Cut these pages into long strips, about 1-2 inches wide. The length doesn’t have to be exact, but consistency in width helps.
Why this matters: Consistent strip width leads to a more uniform and neat final product. The colors you choose will dictate the look of your bowl or coaster.
Common pitfall: Using paper that’s too thick (like cardstock), which can be difficult to roll tightly. Standard magazine paper is ideal.
Step 2: Roll the Strips into Tight Coils
Take one paper strip and start rolling it up as tightly as possible from one end. You can use a thin dowel, a knitting needle, or even a toothpick to help start the roll and keep it tight. Once you reach the end of the strip, secure it with a small dab of glue (a glue stick or liquid white glue works fine). Slide the rolled coil off your tool. This is your basic building block. Repeat this process to create many, many coils. This is the most time-consuming part, so put on some music or a podcast!
Why this matters: Tight, well-glued coils are essential for the structural integrity of your bowl or coaster.
Common pitfall: Rolling the coils too loosely, which will make them less sturdy and harder to assemble.
Step 3: Assemble Your Bowl or Coaster
- For Coasters: Arrange several of your paper coils flat on a piece of parchment paper in your desired coaster shape (e.g., a circle or square). Apply glue to the sides of the coils where they touch each other and press them together. Let it dry completely. You can then coat the entire coaster with a few layers of Mod Podge or a clear varnish to make it water-resistant and more durable.
- For Bowls: Start by gluing several coils together to form a flat base, similar to a coaster. Once the base is dry and solid, start gluing more coils around the edge of the base, angling them slightly upwards to begin forming the walls of the bowl. Continue adding coils layer by layer, building up the height of the bowl. Ensure each coil is well-glued to its neighbors and the layer below. Let the entire bowl dry thoroughly for at least 24 hours. Once dry, coat the inside and outside with several layers of Mod Podge or clear varnish for strength and durability.
Why this matters: Careful assembly and proper gluing ensure your creation is strong and holds its shape. Sealing protects it from moisture and wear.
Common pitfall: Not using enough glue or not allowing enough drying time between stages, leading to a flimsy or misshapen final product. For bowls, ensure the first few layers forming the walls are very well secured to the base.
Project 7: Repurposed Glass Bottle Vases or Candle Holders Beginner Upcycling Projects
Empty wine bottles, olive oil bottles, or any interestingly shaped glass bottles can be easily transformed into elegant vases or atmospheric candle holders. This is a wonderfully easy upcycling project for beginners with stunning results.
Step 1: Clean and Remove Labels
Thoroughly clean the inside and outside of your glass bottles. Removing labels can sometimes be tricky. Soaking in hot, soapy water often works. For stubborn labels, try applying cooking oil or peanut butter, letting it sit for a while, then scraping. Goo Gone or a similar adhesive remover can also be effective. Rinse well and let dry completely.
Why this matters: A pristine, clean bottle is the perfect canvas for your creative touches.
Common pitfall: Leaving behind sticky label residue, which will mar the finish of your upcycled bottle.
Step 2: Decorate Your Bottle
Here are some ideas for decorating your glass bottles:
- Painting: Use glass paints for a translucent look or acrylic paints for opaque coverage. You can paint the entire bottle, create patterns, or even try a “dipped” effect by only painting the bottom portion. Spray paint also works well for an even coat.
- Twine/Yarn Wrapping: Starting at the bottom or top, apply a line of hot glue or strong craft glue and begin wrapping twine, yarn, or thin rope tightly around the bottle. Continue adding glue and wrapping until the desired area is covered.
- Etching: Use etching cream and stencils to create frosted designs. (Always follow safety precautions with etching cream).
- Decoupage: Apply thin paper cutouts (from napkins, tissue paper, or magazines) to the bottle using Mod Podge.
- Fairy Lights: Simply clean the bottle and insert a string of battery-operated fairy lights for an instant magical lantern.
Why this matters: Decoration transforms a plain bottle into a stylish piece of home decor.
Common pitfall: If painting, ensure the paint is suitable for glass and that the surface is very clean and grease-free for good adhesion.
Step 3: Use as a Vase or Candle Holder
Once your decorations are dry and complete:
- As a Vase: Fill with water and add fresh flowers. Even a single stem in a beautifully upcycled bottle can look striking.
- As a Candle Holder: Insert a taper candle into the neck of the bottle. Ensure it fits snugly and safely. For wider-mouthed bottles, you could place a pillar candle or tea light inside (if the opening allows and it’s safe to do so, never leave burning candles unattended).
Why this matters: The final use dictates any practical considerations, like ensuring a candle fits securely.
Common pitfall: Forgetting that some paints are not waterproof; if using as a vase with water, consider painting only the outside or sealing the inside if painted. If using with real candles, ensure no flammable decorative materials are too close to the flame. Many people find inspiration for these types of “Beginner upcycling projects, Easy upcycling projects for beginners, How to start upcycling as a beginner” from home decor magazines, adapting them for their own style.
The Beautiful Result of Your Beginner Upcycling Projects Beginner Upcycling Projects
Imagine stepping back and admiring your handiwork: that once-forgotten tin can is now a vibrant desk organizer, the old t-shirt a chic shopping bag, and those wine corks a stylish set of coasters. This is the true joy of beginner upcycling projects!
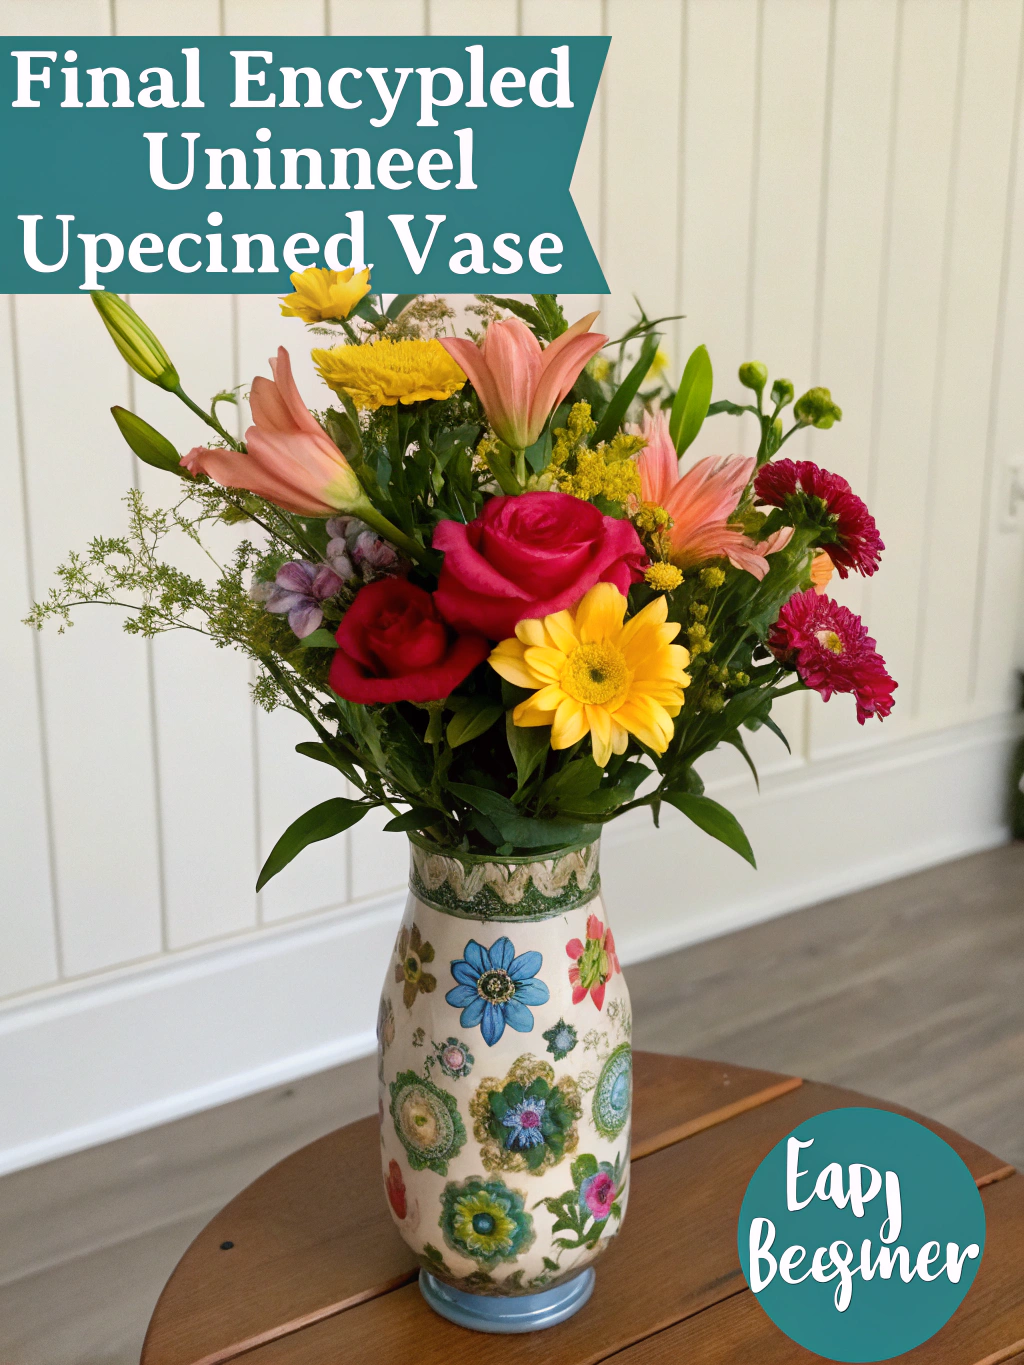
Caption: Your finished beginner upcycling projects – from trash to treasured home accents, full of personality and eco-friendly charm!
You’ve not only created something new and useful but also diverted waste from landfills, saved money, and infused your home with unique, personalized pieces. Each item tells a story – a story of creativity, resourcefulness, and a little bit of DIY magic. These easy upcycling projects for beginners are just the starting point. As you gain confidence, you’ll start seeing potential in all sorts of discarded items!
We’d absolutely love to see what you create! Share photos of your finished beginner upcycling projects in the comments below, or tag us on social media. What are your favorite items to upcycle? Do you have any go-to tips for fellow beginners? Let’s inspire each other!
Pro Tips & FAQs for Beginner Upcycling Projects
Getting started with beginner upcycling projects is exciting, but a few extra tips and answers to common questions can make your journey even smoother.
What are the easiest items to upcycle for a beginner?
Some of the easiest items to start with include:
Beginner Upcycling Projects
- Glass Jars and Bottles: Minimal prep, great for painting, decoupaging, or simply adding fairy lights.
- Tin Cans: Sturdy and versatile for planters, organizers, or decorative containers.
- Old T-shirts: Can be turned into tote bags, cleaning rags, or yarn with simple cutting techniques.
- Cardboard Boxes: Can be decorated and used for storage, or cut up for craft projects.
- Wine Corks: Easy to glue together for coasters, trivets, or bulletin boards.
How do I find materials for beginner upcycling projects?
Look around your own home first! Check your recycling bin, garage, attic, and closets. You’ll be surprised what you find. Beyond that:
Beginner Upcycling Projects
- Thrift Stores/Charity Shops: Treasure troves for old furniture, picture frames, fabric, and more.
- Flea Markets and Garage Sales: Great for unique finds at low prices.
- Ask Friends and Family: They might have items they’re looking to get rid of.
- Online Marketplaces (Facebook Marketplace, Craigslist): People often give away items for free that are perfect for upcycling.
What safety precautions should I take when upcycling?
Safety first! When tackling any beginner upcycling projects, always:
Beginner Upcycling Projects
- Wear appropriate safety gear: Gloves when handling rough materials or chemicals, safety glasses when cutting or using tools that create debris, and a dust mask when sanding or using spray paints.
- Work in a well-ventilated area: Especially important when using spray paints, strong adhesives, or chemical strippers.
- Handle sharp tools with care: Always cut away from yourself. Keep blades sharp, as dull blades require more pressure and are more dangerous.
- Read and follow manufacturer’s instructions: For paints, glues, sealants, and any chemical products.
- Be mindful of old paint: If upcycling very old painted items (pre-1978), be aware of the potential for lead paint. Test kits are available, and specific precautions are needed if lead is present.
Do I need expensive tools for easy upcycling projects for beginners?
Absolutely not! Many easy upcycling projects for beginners can be done with basic craft supplies you might already have: scissors, glue, craft paint, and brushes. As you tackle more complex projects, you might invest in a few more specialized tools, but start simple. A good hot glue gun, a craft knife, and some sandpaper are great additions to your beginner toolkit.
How can I make my upcycled projects look professional?
The key to a professional-looking finish often lies in the preparation and patience:
Beginner Upcycling Projects
- Clean thoroughly: A clean surface is essential for good adhesion of paint or glue.
- Proper prep: Sanding rough surfaces, priming before painting, etc., makes a big difference.
- Apply thin, even coats of paint: Avoid thick, gloopy layers that can drip or look amateurish. Multiple thin coats are better than one thick one.
- Take your time: Don’t rush the drying process for paints or glues.
- Seal your work: A good sealant protects your project and gives it a finished look.
- Practice: Like any skill, the more you practice, the better your results will be! Start with simple beginner upcycling projects to build your confidence.
Ready to transform your “trash” into something truly special? Dive into these beginner upcycling projects and unleash your inner creative! Don’t forget to subscribe to our newsletter for more DIY inspiration, tips, and tricks delivered straight to your inbox. Happy upcycling!

