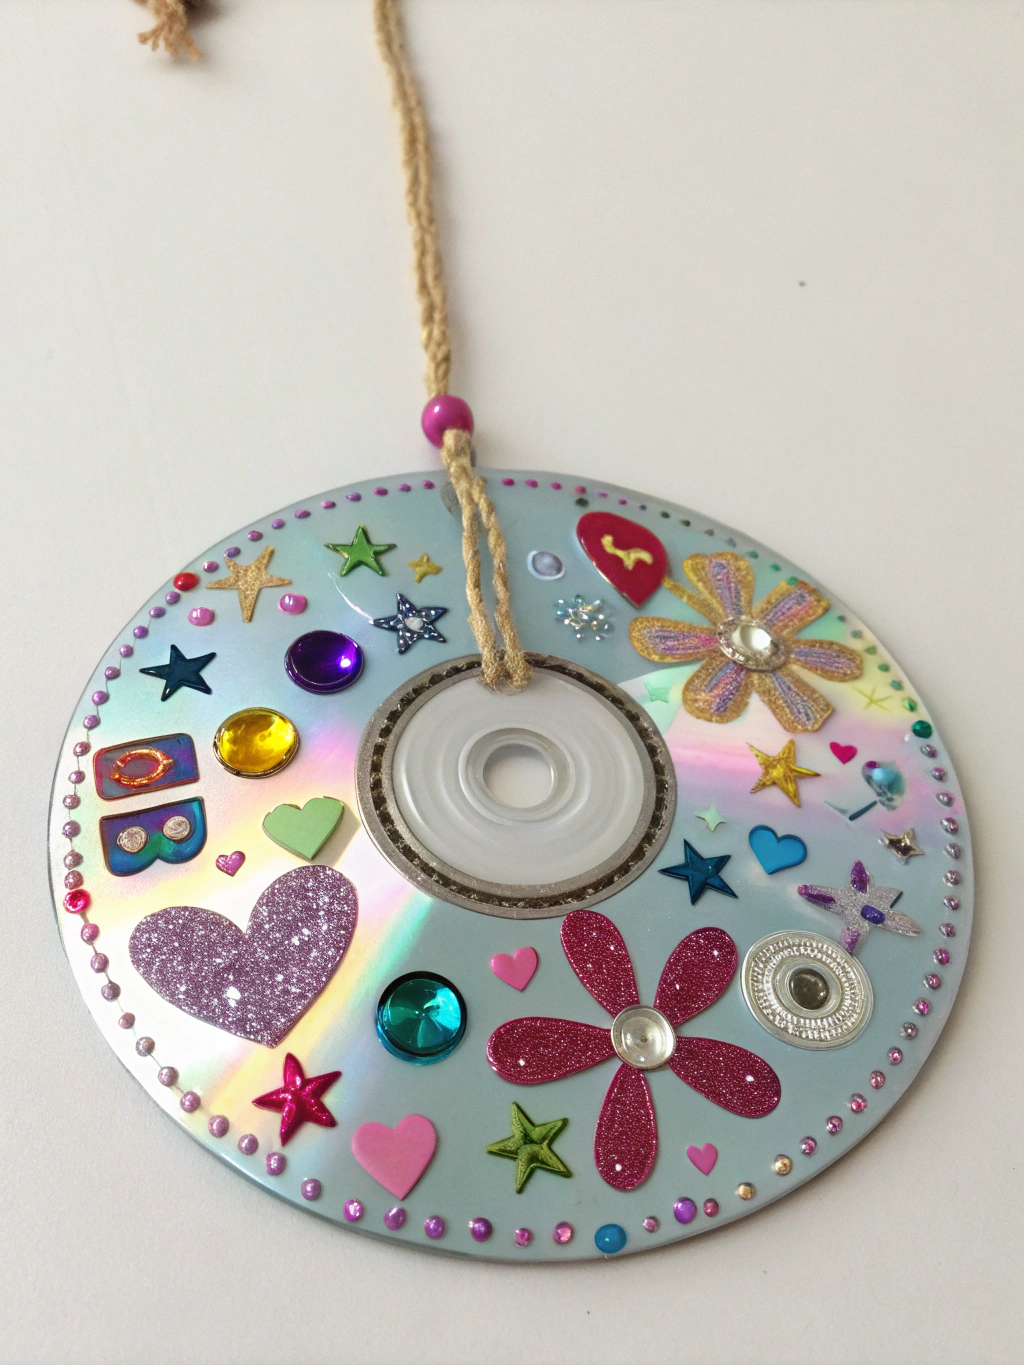
Unleash your creativity with these amazing [CD crafts ideas](https://www.fixdiy.site/)!
Introduction
Got a towering stack of old CDs and DVDs gathering dust? Don’t toss them just yet! You’re sitting on a treasure trove of potential for some truly dazzling CD crafts ideas. It’s a common DIYer’s dilemma: what to do with obsolete media in an increasingly digital world? Instead of contributing to e-waste, let’s transform those shiny discs into something beautiful and functional. This guide will walk you through 7 fantastic DIY projects, proving that upcycling can be both fun and rewarding. From shimmering mosaics to unique home decor, get ready to breathe new life into your old collection and discover some incredible, creative CD crafts ideas. Let’s dive in and get those crafty hands busy!
Remember those mix CDs you made in high school, or the software discs that are now laughably outdated? Each one holds a bit of history, and now, a lot of creative potential. We’re not just talking about simple cut-and-paste; we’re exploring innovative ways to repurpose old discs creatively. Think beyond the obvious and imagine them as a versatile crafting material. Their reflective surfaces can add a touch of sparkle to any project, and their sturdy nature makes them surprisingly durable.
This journey into CD crafts ideas isn’t just about making pretty things; it’s about sustainable crafting. By upcycling, you’re reducing waste and making a small but significant impact on the environment. Plus, there’s an immense satisfaction in taking something old and forgotten and turning it into a conversation piece. So, whether you’re a seasoned crafter or a curious beginner, prepare to be inspired. We’ll cover everything from basic techniques to more elaborate designs, ensuring there’s something for everyone.
CD Crafts Ideas
Table of Contents
What You’ll Need for Your CD Craft Adventures
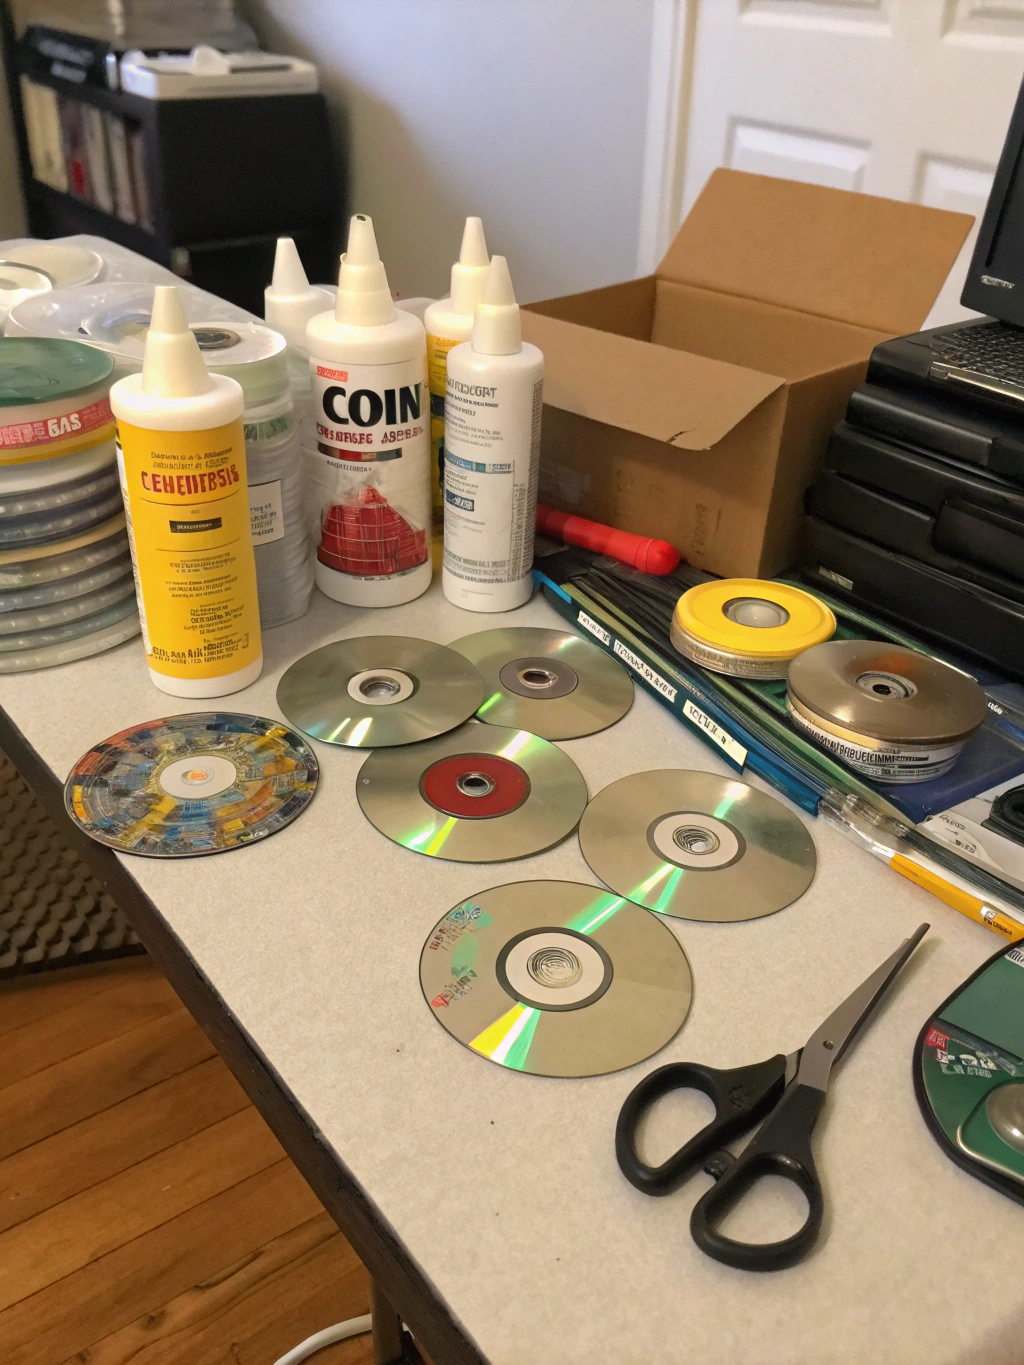
Embarking on these CD crafts ideas requires a few basic supplies. Most of these you might already have tucked away in your craft corner or garage! Having the right tools and materials on hand will make the creative process smoother and more enjoyable.
CD Crafts Ideas
Gather your supplies – your CD crafting journey awaits!
Here’s a general list of what you’ll commonly use across various projects. Specific projects might have a few additional items, but this covers the essentials:
- Old CDs or DVDs: The star of the show! The more, the merrier.
- Strong Craft Glue: E6000, hot glue gun with glue sticks, or super glue.
- Sharp Scissors or Craft Knife: For cutting CDs (with caution!). Heavy-duty kitchen shears can also work.
- Safety Goggles: Essential when cutting CDs to protect your eyes from flying shards.
- Gloves: To protect your hands.
- Ruler and Permanent Marker: For measuring and marking.
- Sandpaper (fine grit): To smooth rough edges after cutting.
- Acrylic Paints or Spray Paints: For adding color and patterns.
- Paintbrushes: Various sizes.
- Felt or Cork Sheets: For backing coasters or other items.
- Decorative Embellishments: Glitter, beads, rhinestones, fabric scraps, yarn – let your imagination run wild!
- Old Picture Frames, Flower Pots, Mirrors: Items you want to embellish.
- Newspaper or Craft Mat: To protect your work surface.
- Rubbing Alcohol and Cotton Balls: For cleaning CD surfaces before crafting.
Before you begin any project, it’s a good idea to clean your CDs. A quick wipe with rubbing alcohol will remove any dust, fingerprints, or grime, ensuring better adhesion for paints and glues. Also, remember that safety comes first, especially when cutting CDs. Always wear safety goggles and work in a well-ventilated area if using strong adhesives or spray paints. Now that you’re prepped, let’s explore some fantastic projects!
Project 1: Shimmering CD Crafts Ideas
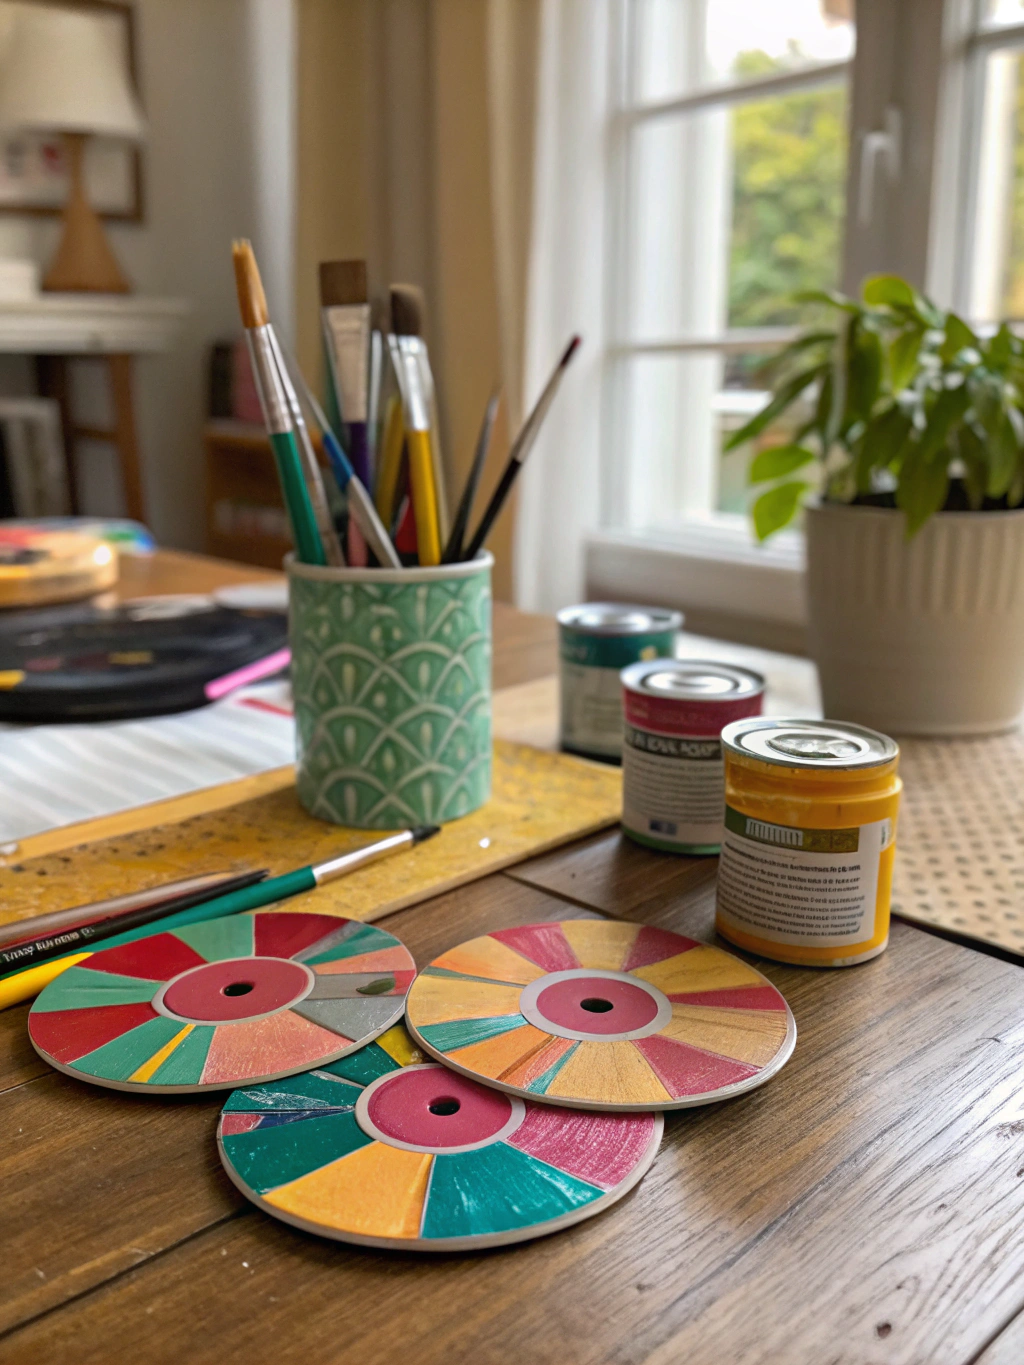
One of the most popular and visually stunning CD crafts ideas is creating mosaic coasters. The iridescent quality of CDs lends itself perfectly to this art form, catching the light beautifully. This project is relatively simple but yields impressive results.
Step 1: Prepare Your CD Crafts Ideas
First, gather your old CDs. You’ll need about 1-2 CDs per coaster, depending on the size of your mosaic pieces. Clean them thoroughly with rubbing alcohol to remove any oils or dirt. This ensures your paint or glue will adhere properly.
CD Crafts Ideas
Step 1: Carefully cutting CDs into small, shimmering mosaic pieces.
Next, it’s time to break or cut your CDs into small mosaic pieces. Safety first! Wear safety goggles and gloves. You can do this by carefully bending the CD until it snaps, or for more controlled shapes, use heavy-duty scissors or a craft knife (score and snap). Aim for pieces of various sizes and shapes; irregularity adds to the charm. Be mindful of sharp edges – you can lightly sand them down if needed. Some crafters find that briefly heating the CD with a hairdryer can make it slightly easier to cut, but exercise caution.
The key here is patience. Cutting CDs can be a bit tricky, and the pieces can be sharp. Work slowly and methodically. The more varied your pieces, the more interesting your mosaic will look. Consider separating the clear plastic layer from the shiny foil layer if you want a more delicate, translucent effect for some pieces.
Step 2: Create Your Coaster Base CD Crafts Ideas
You can use square ceramic tiles, pre-cut wooden squares, or even the CDs themselves as a base. If using CDs, you might want to glue two together (shiny sides out, or one shiny side up and the bottom covered with felt later) for extra thickness and stability.
Paint your base with a dark color (black or dark blue often works best) if you plan to leave gaps between your mosaic pieces, as this helps the shiny CD fragments pop. Let the paint dry completely. This step is crucial for a professional-looking finish in your recycled CD decorations.
Step 3: Arrange and Glue Mosaic Pieces
Now for the fun part! Start arranging your CD pieces onto the coaster base. Play around with the placement until you’re happy with the design. You can create a random pattern or try to form a specific image or geometric design.
Once you have a layout you like, carefully glue each piece down using strong craft glue. Apply a small dab of glue to the back of each fragment and press it firmly onto the base. Leave small gaps between the pieces, similar to traditional tile mosaics. Let the glue dry completely, usually for several hours or overnight, depending on the glue used. This step is key for durable and beautiful DIY CD art.
Step 4: Grout (Optional) and Seal CD Crafts Ideas
For a more traditional mosaic look and to fill the gaps, you can apply grout. Mix pre-mixed grout according to the package instructions and carefully spread it over your coaster, ensuring it fills all the crevices. Wipe away excess grout from the CD pieces with a damp sponge before it dries. Let the grout cure fully.
If you skip grouting, ensure your pieces are closely packed. Finally, apply a coat of clear sealant (like Mod Podge Outdoor or a spray-on acrylic sealer) over the entire coaster. This will protect your design, add extra shine, and make it water-resistant. Glue a piece of felt or cork to the bottom to prevent scratching surfaces. Your shimmering CD mosaic coasters are now ready! These make fantastic gifts or a stylish addition to your own home.
Project 2: Dazzling CD Crafts Ideas Wind Chimes
Transform your old discs into a mesmerizing garden feature with this CD crafts ideas project. The way CDs catch the sunlight and spin in the breeze makes them perfect for wind chimes. This is a delightful way to add some sparkle and gentle sound to your outdoor space.
Step 1: Gather and Prepare Your Discs CD Crafts Ideas
You’ll need several CDs for this – around 5 to 10, depending on how elaborate you want your wind chime to be. Clean them thoroughly. You can leave them as they are for a purely reflective look, or get creative!
CD Crafts Ideas
Step 1: Decorating CDs with vibrant patterns for a unique wind chime.
Consider painting designs on them with acrylics, using permanent markers to draw mandalas, or even decoupaging them with colorful paper. If you paint them, make sure to seal them with a waterproof varnish to protect them from the elements. Some people like to cut the CDs into different shapes too – like crescents or teardrops – but whole CDs work wonderfully.
Step 2: Drill Holes for Hanging CD Crafts Ideas
This is a crucial step. You’ll need to drill small holes in your CDs for stringing them together. Use a small drill bit. It’s often easier to drill through CDs if you place them on a piece of scrap wood.
For a typical wind chime design, drill one hole at the “top” of each CD (this will be for hanging it from the main support) and one or two holes at the “bottom” if you plan to hang other CDs or embellishments from it. If you’re using one CD as the main support from which others hang, drill multiple holes around its perimeter. Be gentle while drilling to avoid cracking the disc.
Step 3: Assemble Your Wind Chime
Now, use fishing line, durable string, or thin wire to connect your CDs. Decide on your design. You could have a central CD with several others hanging below it at different lengths, or string them in a spiral.
Cut lengths of string. Thread one end through a hole in a CD and tie it securely. You can add beads or small bells to the string between CDs for extra visual appeal and sound. If you want the CDs to spin freely, using fishing swivels (found in tackle shops) can be a great addition between the string and the CD.
Step 4: Create a Hanger and Add Finishing Touches
For the top of your wind chime, you can use a larger CD with multiple holes, a sturdy plastic lid, a small wooden dowel, or even a tree branch. Attach your strings of CDs to this top piece.
Ensure everything is securely tied. Add any final embellishments – perhaps some waterproof ribbons or more beads. Find a sunny, breezy spot in your garden or on your porch to hang your beautiful, upcycled CD wind chime. The way it reflects light and gently chimes is truly captivating. This is one of those “Upcycled CD craft projects, Creative CD crafts ideas, How to repurpose old discs creatively” that brightens any outdoor area.
Project 3: Quirky CD Animal Sculptures for Kids CD Crafts Ideas
Engage the little ones with this fun and easy CD crafts ideas project. Old CDs make excellent bases for creating adorable animal figures. This is a fantastic way to spark creativity and teach kids about recycling.
Step 1: Brainstorm Animal Ideas and Gather Supplies CD Crafts Ideas
Talk to your kids about what animals they’d like to make. Fish, owls, ladybugs, caterpillars, and turtles are all great choices that work well with the round shape of a CD.
Step 1: Little hands painting CDs to form the bodies of cute animals.
Gather your CDs, plus construction paper, craft foam, googly eyes, pipe cleaners, feathers, paint, markers, scissors (kid-safe!), and glue. Having a variety of materials will allow for more imaginative creations.
Step 2: Decorate the CD Body
Let the kids paint the CD, which will serve as the animal’s body. For example, paint it red with black spots for a ladybug, or blue and green for a fish. Acrylic paints work best.
Alternatively, they can cover the CD with colored paper or craft foam. Once the base color is dry, they can add details like scales, stripes, or spots using markers or more paint. This is a great opportunity to teach them about different animal patterns.
Step 3: Add Features and Limbs
This is where the animals really come to life! Use construction paper or craft foam to cut out fins, wings, ears, tails, beaks, or legs. Glue these onto the CD body.
Googly eyes are a must for most animal crafts! Pipe cleaners can be bent into antennae for insects or legs for spiders. Feathers can be used for bird wings or tails. Encourage the kids to be as creative as possible. For a caterpillar, you could even link several decorated CDs together.
Step 4: Display Their Masterpieces
Once the glue is dry, their CD animals are ready! You can add a loop of string or a magnet to the back so they can be hung up or displayed on the fridge.
These “Easy CD crafts for kids” are not only fun but also help develop fine motor skills and encourage imaginative play. Plus, they’ll have a new toy or decoration they made themselves! It’s a wonderful way to spend an afternoon, creating unique recycled CD decorations.
Project 4: Elegant CD Mosaic Picture Frame CD Crafts Ideas
Give an old picture frame a glamorous makeover with a CD mosaic. This project is similar to the coasters but on a larger scale, and the results can be truly stunning. It’s a fantastic way to elevate a simple frame into a piece of art.
Step 1: Prepare Frame and CDs CD Crafts Ideas
Choose a picture frame with a flat, wide border – wooden frames work best. If it’s a dark wood, you might not need to paint it. If it’s light-colored or you want a contrasting background for your mosaic, paint the frame first (e.g., black, silver, or a color that complements your decor). Let it dry completely.
Step 1: Preparing CD shards to embellish a picture frame with a mosaic design.
Clean your CDs and cut them into mosaic pieces, just like for the coasters. Remember your safety gear! Try to get a variety of shapes and sizes. For a more intricate look, cut some very small pieces to fill in tinier gaps.
Step 2: Design and Glue Your Mosaic CD Crafts Ideas
Remove the glass and backing from the picture frame. Start arranging your CD pieces on the frame’s border. You can work section by section.
Apply strong craft glue to the back of each CD piece and press it onto the frame. You can follow the contours of the frame or create geometric patterns. Some people like to use the outer edge of the CD (the part with the rainbow effect) strategically. Take your time with this; a well-thought-out design makes all the difference for these DIY CD art pieces.
Step 3: Grout and Clean (Optional but Recommended)
Once all the pieces are glued down and the glue is fully cured, you can grout the frame. This fills the gaps and gives it a professional, finished look, especially for “CD mosaic projects”.
Apply grout over the mosaic, pressing it into the crevices. Before it dries completely, wipe away the excess grout from the surface of the CD pieces with a damp sponge. This can be a bit meticulous, but the result is worth it. Let the grout cure for the recommended time.
Step 4: Seal and Reassemble
After the grout is fully cured (or if you skipped grouting, after the glue is dry), apply a clear sealant over the mosaic to protect it and enhance the shine.
Once the sealant is dry, reinsert the glass, your chosen photo, and the backing into the frame. Your dazzling CD mosaic picture frame is now ready to display your favorite memories in style! This is a fantastic example of how to “repurpose old discs creatively”.
Project 5: CD Sun Catcher Mobile CD Crafts Ideas
Create a beautiful sun catcher mobile that will dance and shimmer in the light, casting rainbows around your room. This CD crafts ideas project is relatively simple and can be customized in many ways.
Step 1: Decorate Your CDs
You’ll need several CDs. Decide if you want them whole, cut into shapes, or just the shiny inner part. You can paint them with translucent glass paints for a stained-glass effect, or leave them plain to maximize their reflective quality.
Step 1: Applying colorful translucent paints to CDs for a sun catcher effect.
Another idea is to scratch patterns onto the non-label side with a sharp point, then rub acrylic paint into the scratches and wipe off the excess, leaving the pattern colored. For an even more intricate look, consider making “CD mandalas” using permanent markers.
Step 2: Drill Holes and Prepare Hanging Mechanism
Drill one or two small holes in each CD or CD piece for hanging. For the mobile’s structure, you can use an embroidery hoop (just the inner ring), a sturdy piece of wire bent into a circle, or even a small, decorative tree branch.
If using an embroidery hoop or wire circle, decide how many strands you want hanging down and mark their positions evenly around the hoop.
Step 3: String Your Sun Catchers
Cut lengths of fishing line or clear nylon thread. Tie one end to a CD or CD piece. You can enhance each strand by adding beads (glass or crystal beads work beautifully as they also catch light) above and below the CD pieces.
Create several such strands of varying lengths for a more dynamic mobile. This step in creating unique uses for old CDs allows for a lot of personalization.
Step 4: Assemble and Hang Your Mobile
Tie the other end of each strand to your hoop or branch, ensuring they are securely fastened and spaced out as planned.
Finally, attach three or four longer pieces of fishing line to the hoop/branch, bring them together at the top, and tie them to a swivel hook or a small metal ring for hanging. Find a sunny window and hang your beautiful CD sun catcher mobile. Watch as it transforms sunlight into a cascade of colors.
Project 6: Upcycled CD Wall Art / Mural CD Crafts Ideas
If you have a large collection of old CDs and an empty wall, why not create a stunning piece of large-scale CD crafts ideas wall art or a mural? This can be a real statement piece.
Step 1: Plan Your Design CD Crafts Ideas
This is the most crucial step for a large piece. Do you want a geometric pattern, a flowing abstract design, or perhaps even an image (like a giant flower or a landscape) made of CDs? Sketch your design on paper first.
Step 1: Planning the layout for an impressive CD wall art installation.
Consider the colors of the CDs themselves – some have different hues on their shiny side. You can also paint some or all of the CDs to fit your color scheme. Maybe you want to use both the shiny side and the label side for variety.
Step 2: Prepare Your CDs and Wall
Clean all your CDs. If you’re painting any, do this now and let them dry completely. Prepare your wall surface – make sure it’s clean and dry.
If your design is complex, you might want to lightly sketch the outlines on the wall with a pencil as a guide. This is particularly helpful for larger, more ambitious “Upcycled CD craft projects, Creative CD crafts ideas, How to repurpose old discs creatively”.
Step 3: Attach CDs to the Wall
There are several ways to attach CDs to a wall. For a permanent installation, strong adhesive like construction glue or heavy-duty double-sided mounting tape works well. Apply adhesive to the back of each CD and press it firmly onto the wall.
For a less permanent solution, you could use removable poster strips or even create a large panel (e.g., a thin sheet of plywood) onto which you glue the CDs, and then hang the panel on the wall. Start from a central point or one edge of your design and work outwards. Use a level if you’re creating geometric patterns to ensure straight lines.
Step 4: Add Details and Finishing Touches
Once all the main CDs are in place, step back and look at your mural. Are there any gaps you want to fill with smaller CD pieces or other embellishments like mirrors or colored glass gems?
You could also incorporate lighting, like LED strip lights around the edge or intertwined with the CDs, to enhance the reflective qualities, especially at night. This kind of “Recycled CD decorations” can transform an entire room.
Project 7: Festive CD Christmas Ornaments
Old CDs can be magically transformed into beautiful, shimmering Christmas ornaments. This is a wonderful CD crafts ideas project for the holiday season, and great for involving the whole family.
Step 1: Gather Materials and CD Preparation
You’ll need CDs, of course. Also gather glitter, paints (acrylics or spray paints in festive colors like gold, silver, red, green), ribbons, craft glue, scissors, and perhaps some small festive embellishments like tiny pom-poms, sequins, or jingle bells.
Step 1: Coating CDs with sparkling festive paints for Christmas ornaments.
Clean your CDs. You can either use the whole CD as a base or cut them into festive shapes like stars or bells (be careful and use safety gear). If cutting, it’s easier to trace your shape on the CD first with a permanent marker.
Step 2: Decorate Your Ornaments
This is where the festive fun begins! Paint your CDs or CD shapes. Spray paint gives a quick, even coat. While the paint is still wet, you can sprinkle glitter on for extra sparkle.
Alternatively, apply glue in patterns (swirls, snowflakes, stripes) and then sprinkle glitter over the glue. You can also cut pictures from old Christmas cards and decoupage them onto the CDs. For a mosaic ornament, glue small, shiny CD fragments onto a whole CD base.
Step 3: Add Hanging Loops and Embellishments
Once your decorated CDs are completely dry, it’s time to add a hanging loop. You can drill a small hole at the top and thread a piece of festive ribbon or metallic string through it, tying a knot to form a loop.
Alternatively, if you don’t want to drill, you can hot glue a loop of ribbon securely to the back of the ornament. Add any final touches – a small bow at the top, a jingle bell, or some sequins.
Step 4: Deck the Halls!
Your beautiful, upcycled CD Christmas ornaments are ready to adorn your tree or be given as thoughtful, handmade gifts!
These ornaments catch the Christmas lights beautifully, adding a unique shimmer to your holiday decor. This project is a perfect example of how to repurpose old discs creatively during the festive season, making your celebrations a little more personal and eco-friendly.
Final Result: Your Transformed Treasures! CD Crafts Ideas
Just look at what you can achieve with a stack of old, unwanted discs and a bit of imagination! From practical coasters to dazzling wall art, these CD crafts ideas prove that upcycling is not just environmentally friendly, but also a fantastic outlet for creativity.

CD Crafts Ideas
Behold! A collection of stunning items, all crafted from old CDs.
You’ve learned how to cut, paint, glue, and assemble CDs into a variety of beautiful and useful items. Each project offers a unique way to highlight the inherent beauty of these shiny discs – their iridescence, their reflective qualities, and their surprisingly versatile nature. Whether you’ve made a set of shimmering coasters, a whimsical wind chime, or a collection of festive ornaments, you’ve successfully transformed potential waste into treasure.
We’d absolutely love to see what you’ve created! Share photos of your finished CD craft projects in the comments below, or tag us on social media. Got any other ingenious CD crafts ideas or tips? Don’t keep them to yourself – inspire fellow DIY enthusiasts by sharing your insights!
Pro Tips & FAQs for CD Crafts Ideas
To help you get the best results and troubleshoot any potential issues, here are some pro tips and frequently asked questions about working with CD crafts ideas.
Q1: What’s the safest way to cut CDs for craft projects?
Safety first! Always wear safety goggles to protect your eyes from flying shards. Heavy-duty kitchen shears or strong craft scissors can cut through CDs, but it can be tough. For more intricate cuts or cleaner edges, scoring the CD with a sharp craft knife (like an X-Acto knife) along a ruler and then snapping it can work. Some crafters find that gently heating the CD with a hairdryer for a very short time can make it slightly more pliable, but be extremely cautious not to overheat or melt it,
which can release fumes. Always work on a protected surface and keep fingers clear of the cutting path. Fine-grit sandpaper can be used to smooth any sharp edges afterward. For “Crafts with old CDs and DVDs”, this is a key skill.
Q2: How can I separate the shiny layer from the plastic on a CD?
This can be a bit tricky and not all CDs separate easily. One common method is to use packing tape. Apply a piece of strong packing tape firmly to the label side of the CD. Then, quickly rip it off. Often, this will pull the label and the thin metallic layer with it, leaving you with a clear plastic disc. You might need to repeat this a few times. Another method involves scoring the edge of the CD and then trying to peel the layers apart. Some people also find that soaking the CD in hot water for a few minutes can help loosen the layers.
The clear disc can then be painted on the back for a smooth, glossy finish on the front, or used for its transparency in other “Unique uses for old CDs”.
Q3: What kind of paint works best on CDs?
Acrylic paints are generally the best choice for painting CDs. They adhere well to the plastic surface (especially if it’s lightly scuffed or primed) and come in a vast array of colors. Spray paints also work well for even coverage, particularly if you’re painting many CDs at once – ensure you use a spray paint suitable for plastic. For a stained-glass effect on clear CD parts, translucent glass paints are ideal. Permanent markers
(like Sharpies) are also great for drawing designs directly onto the CD surface. Always ensure the CD is clean (wipe with rubbing alcohol) before painting for best adhesion when exploring “Creative CD crafts ideas”.
Q4: Are there any eco-friendly considerations when crafting with CDs?
Absolutely! The primary eco-friendly aspect of [**CD crafts ideas**](https://www.fixdiy.site/) is upcycling – diverting these items from landfills. CDs are made from polycarbonate plastic, which is not easily recyclable in most municipal programs. When crafting, try to use non-toxic glues and paints where possible, especially if kids are involved or if the items will be handled frequently.
If cutting or breaking CDs creates small, unusable shards, collect them carefully and dispose of them responsibly (check if any specialized e-waste recycling near you might take them, though this is rare for fragments). The goal is to maximize the reuse of the material in your “Upcycled CD craft projects, Creative CD crafts ideas, How to repurpose old discs creatively”. For more ideas on upcycling, check out resources like Good Housekeeping’s upcycling ideas.
Q5: Can I use DVDs the same way as CDs for these crafts?
Yes, generally DVDs can be used interchangeably with CDs for most of these craft projects. They are similar in size and material. DVDs often have a slightly different shimmer, sometimes appearing more purple or gold than the typical silver/rainbow of CDs, which can add a nice variation to your projects. Some DVDs are double-layered and might be slightly thicker or behave differently when cut, but for the most part, the techniques for “Crafts with old CDs and DVDs” apply to both.
Get Crafty and Share Your Creations!
We hope these 7 CD crafts ideas have sparked your imagination and shown you the incredible potential hidden in those old discs. Upcycling is a rewarding way to reduce waste, exercise your creativity, and create unique items for your home or as gifts. For more DIY inspiration beyond CDs, don’t forget to explore other CD crafts ideas on our site.
Now it’s your turn! Pick a project, gather your supplies, and start transforming those CDs. Which project are you most excited to try? Do you have any other brilliant ideas for repurposing old discs? Share your thoughts, experiences, and photos in the comments below. We love seeing our community’s creations!
If you enjoyed this guide, please consider sharing it with your fellow crafty friends on social media or Pinterest. And for more DIY tips, tutorials, and upcycling inspiration, sign up for our newsletter so you never miss out on a creative opportunity! Happy crafting!

