Introduction
There’s something truly special about the 4th of July. The smell of barbecue in the air, the crackle of fireworks against the night sky, and the vibrant sea of red, white, and blue. If you’re like me, you love adding a personal touch to the festivities, but finding unique decorations that don’t break the bank can be a real challenge. That’s why creating a beautiful diy 4th of july banner is the perfect solution. It’s a project that infuses your home with patriotic spirit and a whole lot of heart. Forget the generic, store-bought decor; we’re going to craft a show-stopping piece that will have all your guests asking, “Wow, where did you get that?”
This comprehensive guide will walk you through everything you need to know, from selecting the right materials to mastering the assembly. Whether you’re a seasoned crafter or a curious beginner, you’ll find this project fun, rewarding, and surprisingly simple. Let’s get ready to make this Independence Day your most stylish one yet!
Table of Contents
Why Make Your Own Decorations? The Joy of DIY
Before we dive into the nuts and bolts—or in this case, the fabric and twine—let’s talk about why this project is so worthwhile. In a world of mass-produced everything, taking the time to create something with your own two hands is a powerful act. It’s a way to slow down, engage your creativity, and make memories.
First, there’s the undeniable charm of personalization. When you make your own banner, you control every single detail. You can choose the exact shades of red, white, and blue that match your home’s aesthetic. You can decide on the message— “FREEDOM,” “USA,” “PARTY IN THE USA,” or your family’s name. This isn’t just a decoration; it’s a reflection of your personal style.
Second, it’s a fantastic way to get the whole family involved in some homemade 4th of July crafts. Lay out the materials on the kitchen table and let the kids paint their own pennants (the small, triangular flags). It becomes a treasured family activity rather than just another item on your to-do list. These are the moments that build lasting traditions.
Finally, there’s the unbeatable sense of pride. Every time you walk past your mantelpiece or see your banner fluttering on the porch, you’ll feel a spark of accomplishment. You made that! It’s a conversation starter and a testament to your creativity. Plus, it’s a wonderfully sustainable option, especially if you use fabric scraps you already have on hand.
A Deeper Dive into Your Materials
The quality and type of materials you choose will have a big impact on the final look and feel of your banner. While the list below gives you the basics, let’s explore the options so you can create a banner that’s truly you.
Choosing the Perfect Fabric
The foundation of your banner is the fabric for the pennants. Each type offers a different aesthetic:
- Burlap: This is my personal favorite for a rustic, farmhouse-chic vibe. It’s affordable, durable, and its textured surface adds a ton of character. It does have a tendency to fray, but we’ll cover how to manage that in the steps below. A little fraying can even add to its rustic charm!
- Canvas/Duck Cloth: If you want a cleaner, more durable option, canvas is the way to go. It’s sturdy, holds paint exceptionally well, and provides a crisp, smooth surface for your designs. It’s perfect for a more modern or polished look.
- Felt: For a no-fray, easy-to-cut option, felt is a fantastic choice. It comes in vibrant colors and is incredibly forgiving for beginners. It gives the banner a soft, slightly more playful feel, making it great for projects involving kids.
Paint, Stencils, and Appliques
How you add the “red, white, and blue” is where your creativity shines:
- Acrylic Craft Paint: This is the go-to for most DIYers. It’s inexpensive, comes in every color imaginable, and is versatile. For fabric projects, you can mix it with a “fabric medium” (available at craft stores) to make it softer and more flexible once dry, which helps prevent cracking.
- Fabric Paint: Specifically designed for textiles, this paint soaks into the fibers rather than sitting on top. It remains flexible after drying and is often machine-washable (though you likely won’t be washing your banner).
- Stencils vs. Freehand: Stencils are your best friend for achieving perfect, uniform letters and stars. They take the guesswork out of spacing and shaping. However, there’s a certain charm to a freehand-painted design that feels more organic and personal. A combination of both—stenciled letters and freehand stars—can be a great compromise.
What You’ll Need for Your Banner
Alright, time to gather your supplies! Having everything laid out before you begin makes the whole process smoother and more enjoyable. Think of it as your mise en place for crafting.
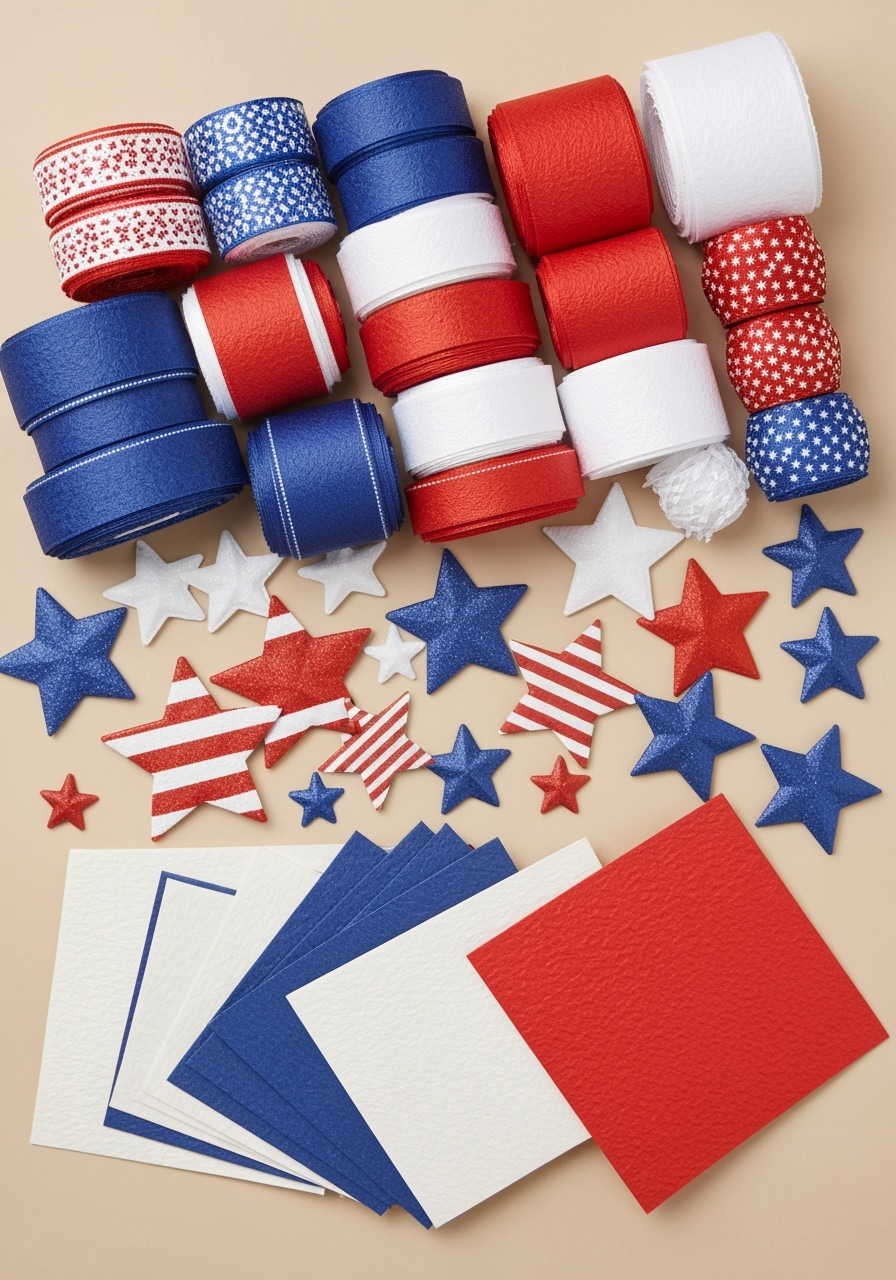
Here’s a checklist of what you’ll need:
- Fabric: About 1/2 yard of your chosen material (burlap, canvas, or felt). This will be enough for a 5-7 pennant banner.
- Twine or Ribbon: At least 6-8 feet of jute twine for a rustic look, or a sturdy ribbon for a different style.
- Acrylic Craft Paint: In patriotic red, white, and blue.
- Paint Brushes: A few different sizes. A medium flat brush for filling in letters and a small detail brush for stars or stripes.
- Letter Stencils: Optional, but highly recommended for crisp lettering.
- Sharp Scissors or a Rotary Cutter & Mat: A rotary cutter will give you the cleanest edges, especially on burlap.
- Ruler or Measuring Tape: For uniform pennants.
- Pencil or Chalk: For marking your fabric.
- Hot Glue Gun & Glue Sticks: For assembling the banner.
- Newspaper or a Drop Cloth: To protect your work surface from paint.
How to Make a DIY 4th of July Banner: 5 Easy Steps
Now for the fun part! We’re going to break down how to make this beautiful banner into five simple, manageable steps. Put on some music, pour yourself a glass of iced tea, and let’s get crafting.
Step 1: Prepare and Cut Your Pennants
The first step is creating the individual flags, or “pennants,” that will form your banner. Consistency here is key to a professional-looking result.
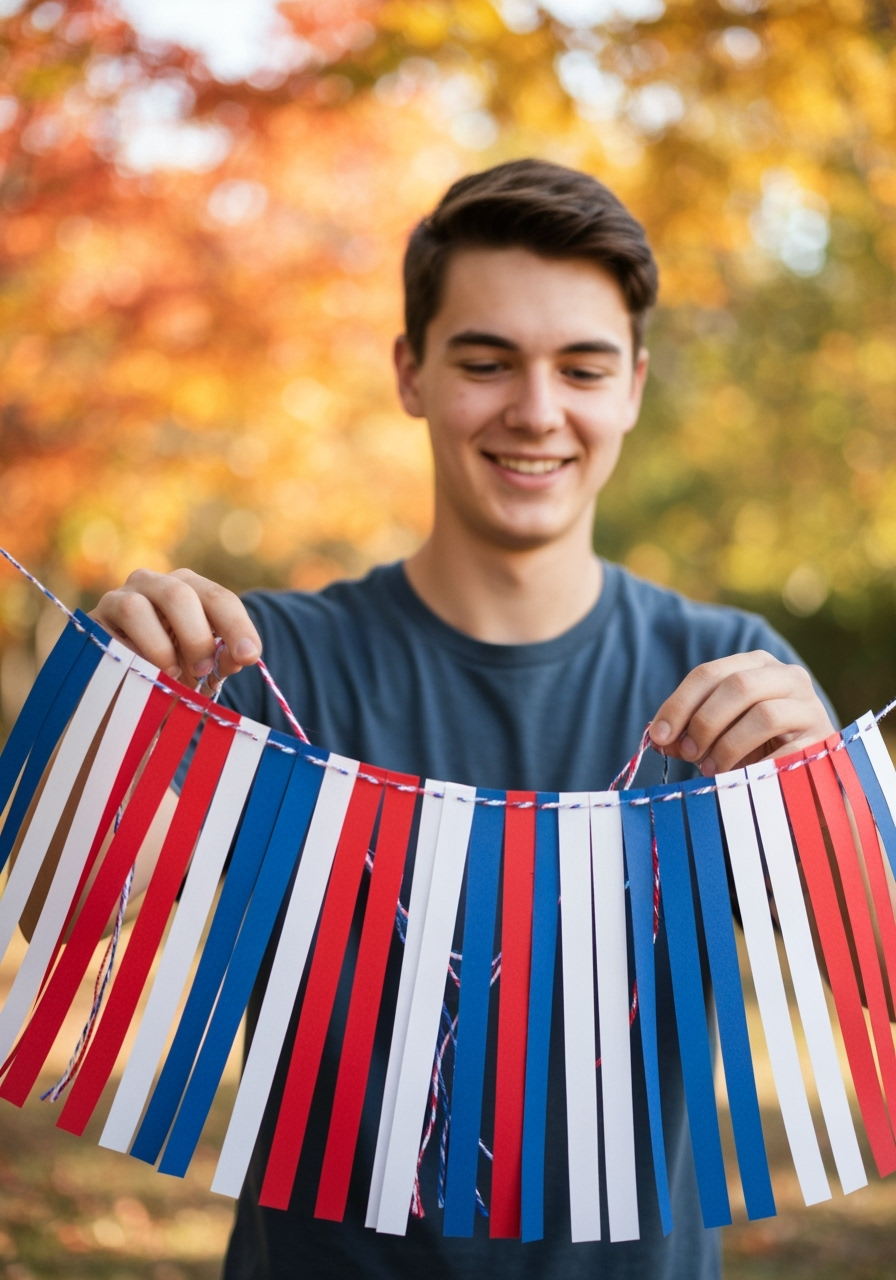
First, decide on the size. A good standard size is about 6 inches wide at the top and 8 inches long from top to bottom point. Using your ruler and pencil, mark out your first pennant on the fabric. A simple way to do this is to draw a 6-inch horizontal line for the top. Find the center of that line (at 3 inches) and measure down 8 inches to make a mark for the point. Then, connect the ends of the top line to the bottom point to form your triangle.
Once you have one perfect pennant cut out, you can use it as a template for the rest. This ensures all your pieces are identical. Simply lay your template onto the fabric, trace around it, and cut. Using a sharp rotary cutter and a self-healing mat will give you the cleanest, straightest edges and prevent the fabric from bunching up. If you’re using burlap and want to minimize fraying, you can apply a thin line of clear-drying glue (like Fray Check) along the cut edges.
Step 2: Design and Stencil Your Layout
This is where your banner starts to take on its personality. Before you touch a paintbrush, plan out your design. Lay your cut pennants on your work surface in the order they’ll appear. Decide what you want your banner to say—”USA,” “JULY 4TH,” “STARS & STRIPES”—and assign one letter to each pennant.
Once you have the order, it’s time to stencil. Place the first letter stencil in the center of its designated pennant. A good tip is to use a small piece of painter’s tape to hold the stencil securely in place. This prevents it from wiggling around while you paint, which is the number one cause of smudged designs. Use your pencil to lightly trace the outline of the letter. Repeat this for all your letters.
For any pennants that will feature stars, you can either use a star stencil or draw them freehand. If you’re going freehand, lightly sketch the stars with your pencil first. This planning stage is crucial; it allows you to perfect the spacing and composition before committing with paint. It’s much easier to erase a pencil line than to undo a paint mistake!
Step 3: Paint, Paint, Paint!
Let the patriotic painting begin! Squeeze a small amount of your red, white, and blue paint onto a paper plate or palette. Using your medium-sized brush, begin filling in your stenciled letters. The key to clean lines is a technique called “dabbing” or “pouncing.” Instead of using long brush strokes that can push paint under the stencil’s edge, use an up-and-down dabbing motion. Start with a small amount of paint on your brush and build up the color in thin layers. This gives you more control and prevents bleeding.
For stars and other design elements, switch to your smaller detail brush. This is your chance to get creative! You could paint bold blue stars on a white pennant, or create a classic flag design with red and white stripes. Don’t be afraid to mix and match.
A fun pro-tip: If you love a bit of sparkle, sprinkle some fine silver or gold glitter onto the paint while it’s still wet. It will add a beautiful, subtle shimmer when it catches the light. This is one of the best parts about making easy DIY 4th of July decorations—you can customize them completely.
Step 4: Dry and Add Finishing Touches
Patience is a virtue, especially in the world of DIY. You must let your painted pennants dry completely. Rushing this step can lead to smeared paint and a messy assembly. Depending on the thickness of your paint and the humidity in your area, this could take anywhere from one to four hours. To be safe, let them sit for a few hours or even overnight.
Once the paint is bone dry to the touch, you can add any extra embellishments. This step is optional but can elevate your banner from great to gorgeous. Consider hot-gluing small red, white, or blue buttons to the corners of the pennants. You could also tie tiny bows from thin ribbon and attach them.
If you notice any pencil marks are still visible after painting, a simple pencil eraser should take them right off the fabric. This is the final quality-check before the grand assembly.
Step 5: Assemble Your Masterpiece
It’s time for the final step! Your beautifully painted pennants are ready to become a cohesive banner. Lay out your twine or ribbon and arrange your dried pennants on top of it in the correct order. Make sure to leave about 18-24 inches of extra twine on each end for easy hanging.
The easiest and most secure way to attach the pennants is with a hot glue gun. Flip one pennant over (face down). Run a thin, straight bead of hot glue along the top edge of the pennant. Carefully press the twine into the hot glue. Be careful with your fingers! Hold it in place for a few seconds until the glue sets.
Continue this process for all your pennants. Pay close attention to the spacing between them. For a balanced look, aim for about 1-2 inches of space between each pennant. Using a ruler here can help ensure your spacing is perfectly even across the entire banner. Once all the pennants are attached, your diy 4th of july banner is complete!
The Final Result: Ready to Dazzle!
Step back and admire your handiwork. You’ve just created a stunning, one-of-a-kind piece of patriotic decor that’s filled with personality and charm. It’s ready to be the star of your Independence Day celebration.
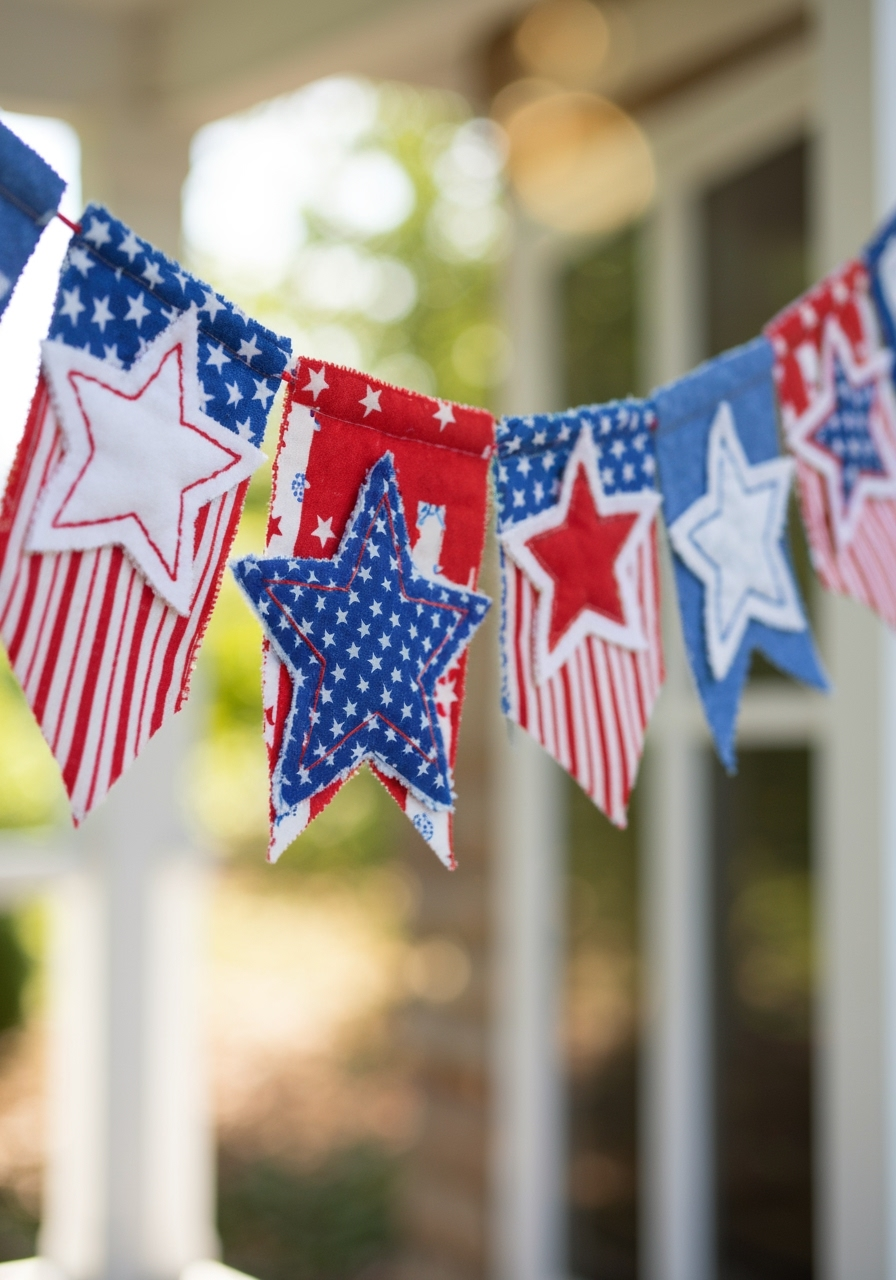
Hang it across your fireplace mantel, drape it over a doorway, string it along a porch railing, or make it the backdrop for your barbecue buffet table. Wherever you display it, it’s sure to bring a smile to your face and a festive spirit to your home.
We would absolutely love to see what you created! Share a photo of your finished banner in the comments below or tag us on social media. Your creativity could inspire another fellow DIYer!
Pro Tips & Frequently Asked Questions
You’ve mastered the basics, but here are a few extra tips and answers to common questions that will take your banner-making skills to the next level.
How can I make my DIY banner weatherproof for outdoor use?
This is a great question! To protect your banner from a summer shower, you can spray it with a clear, waterproof sealant spray (like Scotchgard Outdoor Water Shield). Apply 2-3 light, even coats, letting it dry completely between each application. While this won’t make it hurricane-proof, it will definitely help it withstand dew, humidity, and light rain, allowing you to confidently hang it on your front porch or garden fence.
What are some kid-friendly ways to help with this 4th of July craft?
Making this banner is a perfect family activity. For younger children, let them be in charge of painting the “background” pennants—the ones without letters. Give them a brush and let them create abstract red, white, and blue designs. Older kids can help with tracing stencils, painting inside the lines, or even stamping star shapes using a star-shaped sponge or a carved potato stamp. They’ll be so proud to see their work on display!
I don’t have fabric. What are some alternative materials for a DIY 4th of July banner?
No fabric? No problem! You can easily adapt this project using heavy-duty cardstock or scrapbook paper. Simply cut the pennant shapes from paper and decorate them with paint, markers, or glitter. Instead of hot glue, you can use a hole punch to make two small holes at the top corners of each paper pennant and then thread your twine through them. This creates a slightly different but equally festive look.
How do I store my banner so I can reuse it next year?
To keep your banner looking great for years to come, proper storage is key. The best way is to gently roll it up, rather than folding it. Folding can create permanent creases in the fabric and paint. Roll the banner around an empty paper towel tube to keep it smooth. Then, wrap it in a layer of tissue paper to protect it from dust and store it in a dry place like a closet or a storage bin.
What are other easy DIY 4th of July decorations I can make to match my banner?
Once you start making your own decor, it’s hard to stop! To create a cohesive look, you can paint mason jars in red, white, and blue to use as “Homemade 4th of July crafts, Easy DIY 4th of July decorations, How to make a DIY 4th of July banner”, or even create a matching wreath for your front door using fabric scraps left over from your banner. There are endless ideas out there, and a great resource for inspiration is Country Living’s craft projects, which has dozens of patriotic ideas to get your creativity flowing.
Thank you for joining me on this creative journey! Crafting a diy 4th of july banner is more than just making a decoration; it’s about creating joy, starting traditions, and celebrating in style.
Now I want to hear from you! What will your banner say? Do you have any other tips for making amazing holiday crafts? Drop a comment below—let’s build a community of creative home-improvers together. And don’t forget to subscribe to our newsletter for more projects like this delivered straight to your inbox

