Hey there, fellow DIY enthusiast! Ever scrolled through Pinterest on June 30th, panicking because you still don’t have an amazing outfit for Canada Day? And those store-bought shirts? Often generic and overpriced. Well, fret no more! This year, let’s ditch the last-minute scramble and create a show-stopping diy canada day shirt that’s as unique as you are. Crafting your own patriotic tee isn’t just fun; it’s a fantastic way to express your Canadian pride and unleash your inner artist. Plus, imagine the compliments!
This guide will walk you through creating the best DIY Canada Day shirt in just five simple steps. We’ll cover everything from gathering your supplies to adding those perfect finishing touches. So, grab a cup of coffee (or a Nanaimo bar smoothie, if you’re feeling extra Canadian!), and let’s get ready to make some magic. You’ll be surprised at how easy and rewarding it is to design apparel that truly stands out from the crowd.
Table of Contents
What You’ll Need for Your DIY Canada Day Shirt
Before we dive into the creative process, let’s gather our tools and materials. Having everything ready will make your DIY experience smooth and enjoyable. Think of it as your pre-flight checklist for crafting success!
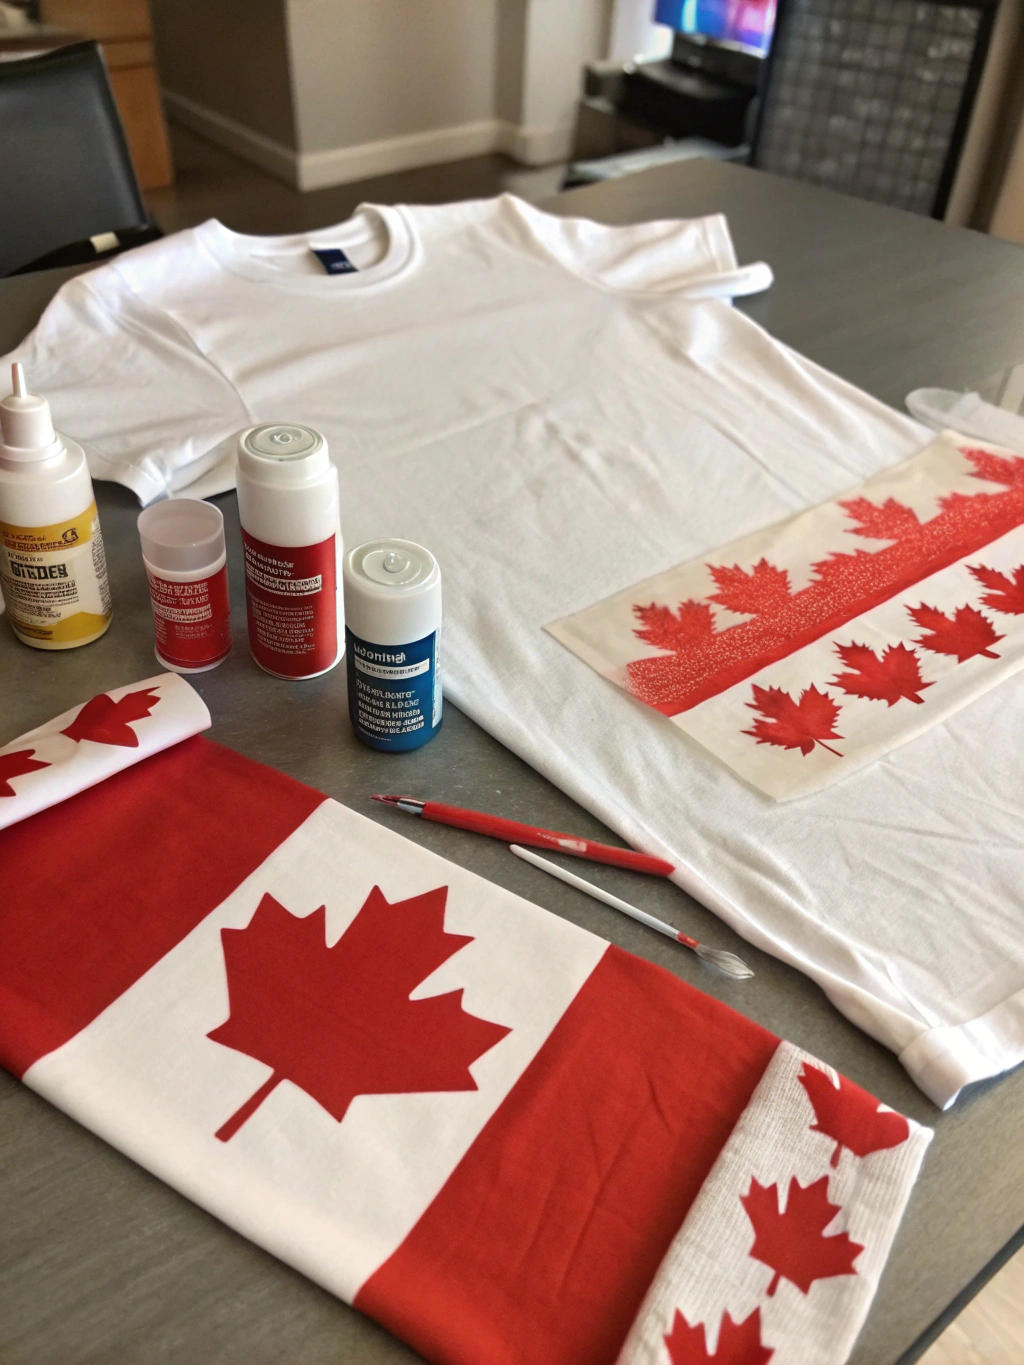
(Image: What You Need)
Caption: All the essential supplies you’ll need to create your awesome DIY Canada Day shirt.
Here’s what you’ll want to have on hand:
- A plain t-shirt: White, red, or even black can work wonderfully. Cotton or a cotton blend is usually best for paints and transfers.
- Fabric paint: Red and white are classic choices, but feel free to get creative! Acrylic paint mixed with a fabric medium also works.
- Paintbrushes: A variety of sizes will be helpful – small ones for details and larger ones for filling in areas.
- Stencils: Maple leaves, “Canada,” or other patriotic designs. You can buy these or make your own from cardstock or freezer paper.
- Freezer paper (optional, for stenciling): If you’re making your own stencil, this is a game-changer.
- Craft knife or scissors: For cutting out stencils.
- Cardboard or a thick magazine: To place inside the shirt to prevent paint from bleeding through.
- Iron and ironing board: For setting fabric paint or applying iron-on transfers.
- Parchment paper or a thin cloth: To protect your design while ironing.
- Pencil or fabric chalk: For lightly sketching your design.
- Ruler: For straight lines and precise placement.
- Optional embellishments: Fabric markers, glitter glue, sequins, iron-on vinyl, or even tie-dye supplies for a truly unique look!
Having these items neatly laid out will prevent any mid-project “Oh no, where’s the…?” moments. Trust me, a little preparation goes a long way in the world of DIY!
Step-by-Step Guide to Your Perfect DIY Canada Day Shirt
Alright, creative Canucks, it’s time for the fun part! Let’s transform that plain tee into a patriotic masterpiece. Follow these five steps, and you’ll be rocking your custom diy canada day shirt in no time.
Step 1: Prepare Your T-Shirt and Workspace
First things first, let’s get our canvas ready. Pre-wash your t-shirt without fabric softener. This removes any sizing or chemicals that might interfere with paint adhesion. Once it’s washed and dried, give it a good iron to create a smooth, wrinkle-free surface. This is crucial for a clean design application.
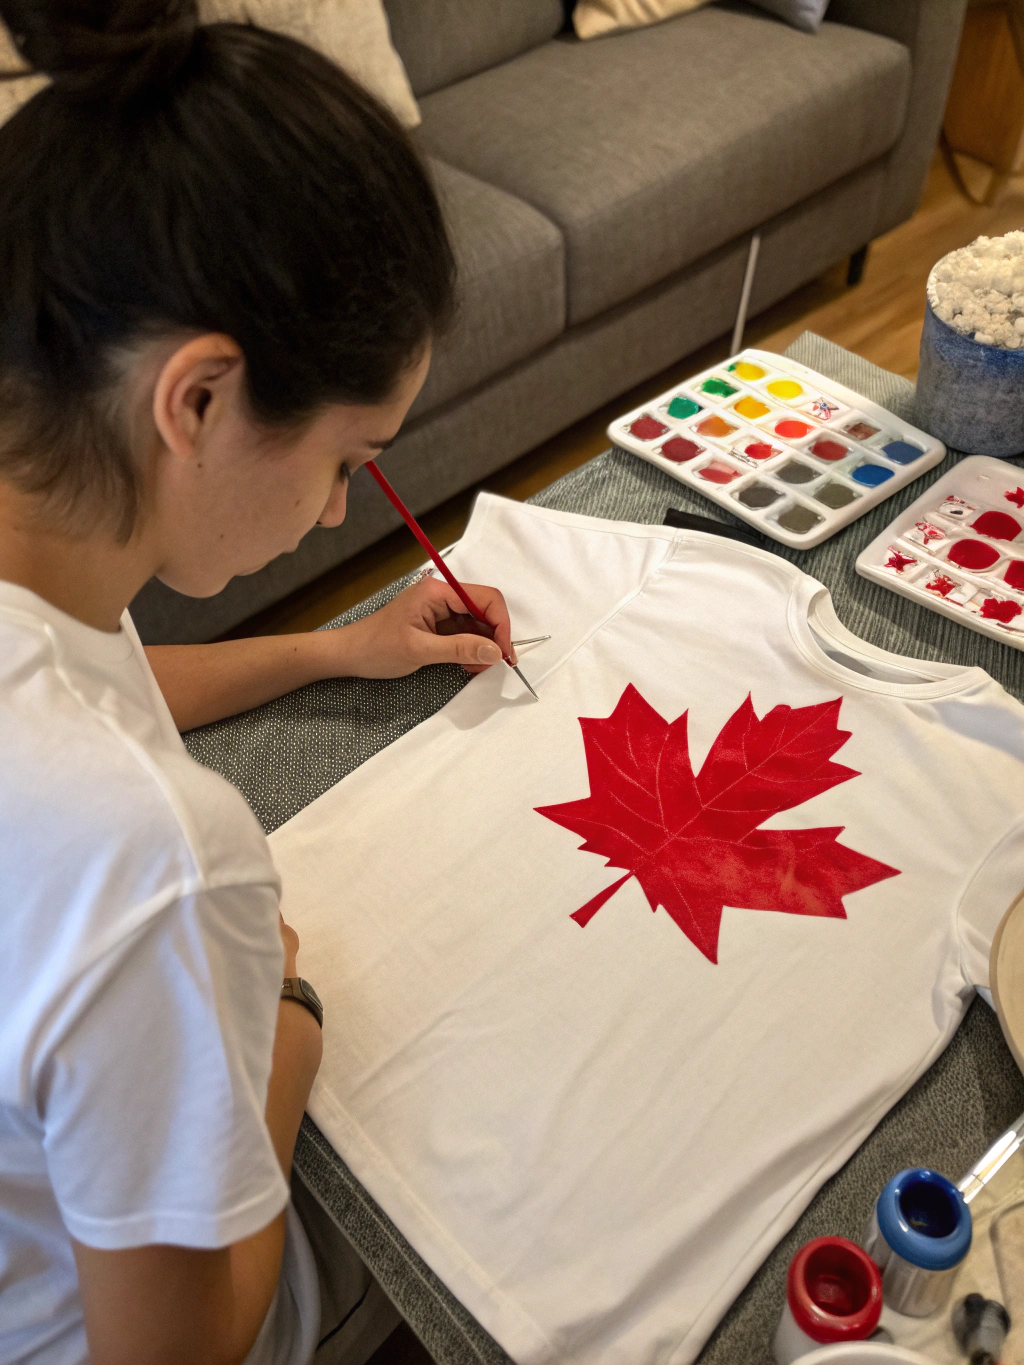
Next, set up your workspace. Cover your table with newspaper or an old tablecloth to protect it from paint spills. Lay your ironed shirt flat. Now, slide that piece of cardboard or thick magazine inside the shirt. This is a super important tip – it prevents paint from seeping through to the back of your shirt. Nobody wants an accidental two-sided design unless it’s planned!

Caption: Step 1: Prepping your t-shirt and workspace for your Canada Day creation
Why this matters: A clean, smooth, and protected surface is the foundation of a professional-looking DIY project. Skipping the pre-wash or the cardboard insert can lead to patchy paint or unwanted bleed-through, which can be frustrating. Taking these few extra minutes now will save you headaches later.
Step 2: Design and Stencil Your Masterpiece
This is where your creativity truly shines! Decide on your design. Will it be a classic maple leaf? The word “Canada” in a cool font? Maybe a playful moose sporting a Canadian flag? For some fantastic “DIY Canada Day shirt ideas, Best DIY Canada Day shirt designs, How to make a DIY Canada Day shirt,” check out online resources for inspiration.
If you’re using a pre-made stencil, position it on your shirt. You can use a bit of painter’s tape to hold it in place, especially if it’s a detailed design. If you’re making your own stencil (freezer paper stencils are amazing!), draw or print your design onto the paper side of the freezer paper. Carefully cut it out using a craft knife. Then, place the freezer paper stencil shiny-side down onto your shirt and iron it with a dry iron (no steam!). The waxy side will temporarily adhere to the fabric, creating crisp paint lines.
Lightly sketch your design onto the shirt with a pencil or fabric chalk if you’re going freehand or want guidelines. Remember, light strokes are key, as you don’t want them showing through the paint.
Why this matters: A well-planned and executed design is what makes your shirt special. Stencils help achieve clean, sharp edges, which can be tricky freehand, especially for beginners. Freezer paper stencils are particularly good because they create a seal that prevents paint from bleeding under the edges.
Common Pitfall: Rushing the design placement. Take your time to ensure it’s centered and straight. Use a ruler if needed! Also, if using freezer paper, make sure your iron isn’t too hot, or it could melt the plastic too much.
Step 3: Apply the Paint! It’s Time for DIY Canada Day Shirt Magic!
Now for the most satisfying part – adding color to your diy canada day shirt! If you’re using fabric paint, give it a good shake or stir. Dip your brush into the paint, dabbing off any excess on the side of the container or a paper plate. You want enough paint on your brush to cover the fabric, but not so much that it blobs or runs.
If you’re using a stencil, apply the paint using an up-and-down dabbing motion (stippling) rather than brushing side-to-side. This technique helps prevent paint from seeping under the stencil’s edges. Apply a thin, even coat first. It’s always better to apply two thin coats than one thick, goopy one. Let the first coat dry slightly before applying a second if needed for opacity.
If you’re painting freehand, take your time and use steady strokes. For larger areas, you can use a wider brush, and for details, switch to a fine-tipped one. Remember, fabric paints often appear slightly different when wet compared to when they’re dry, so keep that in mind.
Why this matters: Proper paint application is key to a vibrant and durable design. Thin coats dry faster and are less likely to crack or peel over time. The stippling motion for stencils is a pro tip for achieving those coveted crisp lines.
Common Pitfall: Using too much paint, which can lead to bleeding, long drying times, and a stiff design. Also, peeling off a stencil while the paint is still very wet can sometimes cause smudging. For freezer paper stencils, it’s usually best to peel them off while the paint is still slightly tacky, but for thicker plastic stencils, waiting until it’s almost dry might be better. Check your paint instructions!
Step 4: Drying and Setting Your Design
Patience, young grasshopper! One of the most crucial yet often overlooked steps in creating a lasting diy canada day shirt is allowing the paint to dry completely. Drying times can vary depending on the type of paint and how thickly it was applied, but generally, allow at least 24 hours. Resist the urge to touch or move it too soon! Find a safe, flat spot where your shirt can dry undisturbed.
Once the paint is thoroughly dry to the touch (and I mean completely dry – no tackiness!), it’s time to heat set it. Most fabric paints require heat setting to make them permanent and washable. This process bonds the paint to the fabric fibers. Always check the instructions on your specific fabric paint, but a common method is to use an iron.
Turn your iron to the setting recommended for your t-shirt fabric (usually cotton or a cotton-blend setting, no steam). Place a piece of parchment paper or a thin, clean cloth (like a tea towel) over the painted design. This protects both your design and your iron. Iron over the design for 3-5 minutes, keeping the iron moving to avoid scorching any single spot. Some people prefer to iron from the inside of the shirt as well.
Why this matters: Heat setting is what makes your beautiful design withstand washing and wear. If you skip this step, your hard work might literally wash down the drain after the first laundry cycle. The drying time beforehand ensures the paint doesn’t smudge or transfer during the ironing process.
Common Pitfall: Ironing directly on the paint without a protective layer, which can melt the paint onto your iron (a sticky mess!). Also, not letting the paint dry completely before heat setting can lead to a smeared design.
Step 5: The Grand Reveal and Finishing Touches
This is the moment you’ve been waiting for! Once your shirt has cooled down after heat setting, carefully remove the cardboard from inside. Step back and admire your incredible, custom-made diy canada day shirt! You did it!
Now, consider any optional finishing touches. Want to add some sparkle? Use fabric glitter glue. Want to outline your design or add small details? Fabric markers are perfect for this. Perhaps some hand-stitched embroidery accents? Or maybe you want to go wild and tie-dye the rest of the shirt for a truly bohemian Canada Day vibe! For more advanced techniques or “DIY Canada Day shirt ideas, Best DIY Canada Day shirt designs, How to make a DIY Canada Day shirt,” you can explore various craft tutorials online.
Once you’re happy with all your embellishments (and they’re dry/set according to their instructions), your shirt is ready to wear. Remember to follow care instructions for your fabric paint when washing – usually, this means turning the shirt inside out and washing on a gentle cycle with cold water. Air dry or tumble dry on low.
Why this matters: The reveal is your reward! Finishing touches can elevate your design from great to absolutely amazing. Proper care ensures your creation lasts for many Canada Days to come.
Common Pitfall: Getting impatient and washing the shirt too soon before the paint is fully cured (even after heat setting, some paints recommend waiting 72 hours before the first wash). Always read the label!
Your Awesome DIY Canada Day Shirt: The Final Result!
Ta-da! Behold your masterpiece – a unique, personalized DIY Canada Day shirt that’s bursting with patriotic spirit and your own creative flair. You’ve transformed a simple tee into a wearable piece of art that’s sure to turn heads and spark conversations at any Canada Day celebration.
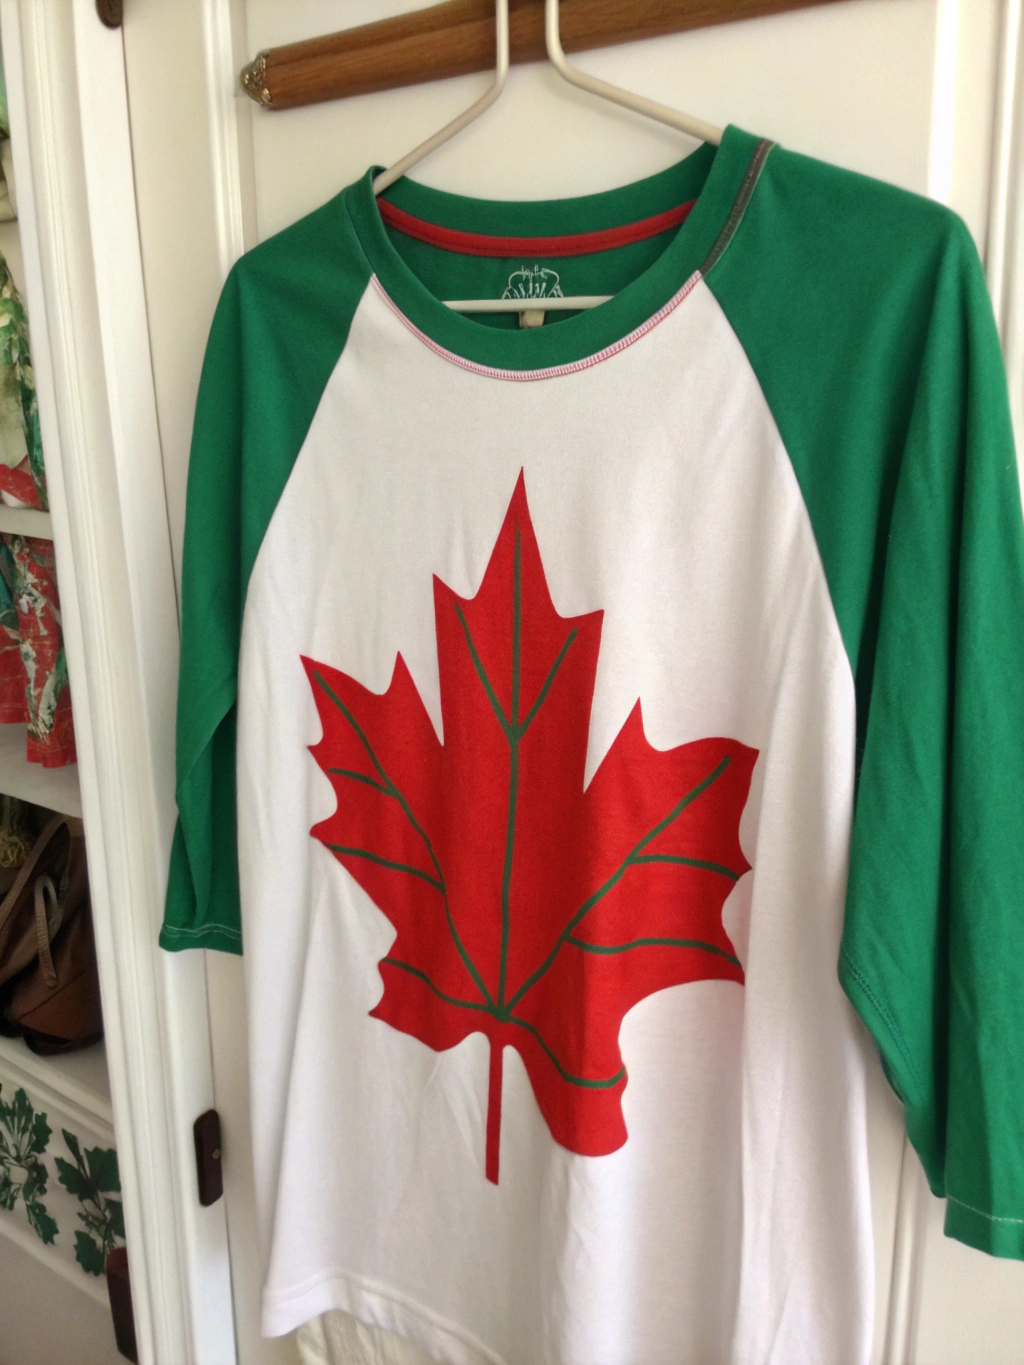
(Image: Final Result)
Caption: The stunning final result! Your very own custom-designed DIY Canada Day shirt, ready for the festivities.
Imagine the pride in saying, “Thanks, I made it myself!” when someone compliments your awesome shirt. Not only have you saved some money, but you’ve also created something truly one-of-a-kind. This project is perfect for individuals, families looking for a fun activity, or even as a group project with friends.
We’d absolutely LOVE to see what you’ve created! Share photos of your DIY Canada Day shirt in the comments below or tag us on social media. Got any extra tips or tricks you discovered along the way? Share those too! The DIY community thrives on shared knowledge and inspiration.
Pro Tips & FAQs for Your DIY Canada Day Shirt Project
To help you nail your DIY Canada Day shirt project, here are a few extra pro tips and answers to frequently asked questions:
(Collapsible Section 1: What’s the best type of t-shirt material for a DIY Canada Day shirt?)
Q: What’s the best type of t-shirt material for a DIY Canada Day shirt?
A: 100% cotton is generally the easiest to work with for fabric paints and iron-on transfers as it absorbs paint well and can handle the heat from an iron. Cotton blends (like 50/50 cotton-polyester) can also work, but always test a small, inconspicuous area first, especially with heat applications. Avoid 100% polyester or very stretchy synthetic fabrics unless your paint or transfer material specifically states it’s suitable for them, as paint may not adhere well or heat may damage the fabric.
(Collapsible Section 2: How can I make my DIY Canada Day shirt design last longer?)
Q: How can I make my DIY Canada Day shirt design last longer?
A: The key is proper heat setting and aftercare. Ensure you heat set the fabric paint thoroughly according to its instructions. When washing, always turn the shirt inside out, use cold water, and opt for a gentle cycle. Avoid harsh detergents or bleach. Air drying is best, but if you must use a dryer, use a low heat setting. Never iron directly on the painted design after it’s set; iron on the reverse side or with a pressing cloth if needed.
(Collapsible Section 3: Any easy DIY Canada Day shirt ideas for beginners?)
Q: Any easy DIY Canada Day shirt ideas for beginners?
A: Absolutely! Simple stencils are your best friend. A single, bold maple leaf in red on a white shirt is classic and easy. You can also use letter stencils to spell out “CANADA” or “OH CANADA.” Potato stamping with a maple leaf shape cut into a potato is a fun, rustic technique. Fabric markers are also great for beginners as they offer more control, like drawing. Tie-dye is surprisingly easy and always looks festive for Canada Day—just stick to red and white!
(Collapsible Section 4: Can I use regular acrylic paint instead of fabric paint for my DIY Canada Day shirt?)
Q: Can I use regular acrylic paint instead of fabric paint for my DIY Canada Day shirt?
A: You can, but with a caveat. Regular acrylic paint will dry very stiff on fabric and can crack or peel off, especially after washing. To use regular acrylics, you MUST mix them with a “fabric medium” or “textile medium” (available at craft stores). This medium makes the acrylic paint more flexible and permanent on fabric. Follow the medium’s instructions for mixing ratios and heat setting. Without the medium, your design likely won’t last.
(Collapsible Section 5: Where can I find more inspiration for Best DIY Canada Day shirt designs?)
Q: Where can I find more inspiration for Best DIY Canada Day shirt designs?
A: The internet is your oyster! Pinterest is a goldmine for visual ideas.
A quick search for “DIY Canada Day shirt ideas” or “Canada Day crafts” will yield tons of results. Craft blogs, YouTube tutorials, and even sites like Etsy (to see what others are selling) can spark creativity. Don’t forget to check out great resources like HGTV for broader “DIY Canada Day shirt ideas, Best DIY Canada Day shirt designs, How to make a DIY Canada Day shirt,” that can be adapted for shirts. Think about Canadian symbols: beavers, moose, hockey sticks, the flag, provincial flowers, or even famous landmarks!
And there you have it! Everything you need to know to create an unforgettable diy canada day shirt. We hope this guide has inspired you to get crafty and show off your Canadian pride in style.
What are you waiting for? Gather your supplies, unleash your creativity, and get ready to make a statement this Canada Day!
We’d love to hear from you! Did you try this tutorial? What design did you create? Share your experiences, photos, and any extra tips in the comments below. Don’t forget to share this post with your fellow DIY-loving friends and family!
Happy Canada Day, and happy crafting!
For more DIY projects and home improvement tips, be sure to subscribe to our newsletter and follow us on social media!


