Introduction: From Bored Cat to Blissful Beast
Stare into the eyes of your cat. Do you see a majestic hunter, a playful kitten, or… a slightly bored roommate who just knocked your pen off the desk for the fifth time? If you’re nodding along, you’re not alone. We all want to keep our feline friends entertained and engaged, but the endless cycle of buying expensive, plastic-wrapped toys that are either ignored or destroyed in minutes can be frustrating and costly. This is where the magic of making your own DIY cat toys from household items comes in. It’s the ultimate win-win: you clear out some clutter, save money, and create something your cat will genuinely love because it’s made with care.
In this ultimate guide, we’re not just showing you one or two ideas. We’re diving deep into the world of feline fun, walking you through how to make five fantastic, engaging, and safe toys using things you likely already have. From puzzle feeders that challenge their clever minds to crinkly toys that ignite their hunting instincts, you’ll discover just how easy it is to become your cat’s favorite toymaker. So, grab your crafting scissors, and let’s turn that recycling bin into a treasure chest of entertainment!
Table of Contents
Why DIY is Purr-fectly Brilliant for Your Cat
Before we roll up our sleeves and start snipping and tying, let’s talk about why this is such a fantastic endeavor. It goes far beyond just saving a few dollars. Crafting toys for your cat taps into a deeper understanding of their needs and strengthens the bond you share.
Tuning Into Their Natural Instincts
Your fluffy couch potato is a descendant of apex predators. Domestic cats retain powerful, hardwired instincts to stalk, chase, pounce, and “kill” their prey. Store-bought toys can sometimes miss the mark, but a homemade feather wand that flits and jerks just right, or a crinkly ball that skitters across the floor, perfectly mimics the “prey” experience. Creating these toys allows you to customize the sensory experience—the sound, the texture, the movement—to what gets your specific cat excited.
Boosting Mental and Physical Health
A bored cat is often a stressed or destructive cat. Lack of stimulation can lead to over-grooming, anxiety, or redecorating your furniture with claw marks. Engaging, interactive toys provide crucial mental exercise, preventing cognitive decline and keeping their minds sharp. The physical play, of course, helps them maintain a healthy weight, improves muscle tone, and allows them to release pent-up energy in a positive way.
The Eco-Friendly and Budget-Savvy Choice
Let’s be honest: the pet industry is massive, and it generates a lot of plastic waste. By upcycling items like cardboard tubes, old t-shirts, and socks, you’re making a conscious choice to reduce your environmental paw-print. This approach embodies a sustainable mindset, where you can find great resources on how to turn waste into want. Many people are searching for answers to “DIY cat toys easy, Cheap DIY cat toys, How to make DIY cat toys from household items,” and the solution is often right in your recycling bin.
You Control the Safety
When you make a toy yourself, you know exactly what’s in it. You can avoid toxic glues, small, swallowable parts, and other hazards that can sometimes be found in mass-produced products. This peace of mind is priceless, knowing the plaything you’ve provided is not only fun but also completely safe for your cherished companion.
Safety First! A Quick Guide for Cat-Safe Crafting
Your cat’s safety is the number one priority. While DIY is fantastic, it requires a responsible approach. Always keep these guidelines in mind before, during, and after your crafting session.
Cat-Approved Materials (The “Yes” List):
- Cardboard: Toilet paper rolls, paper towel rolls, and delivery boxes are gold. They’re shreddable, chewable, and non-toxic.
- Natural Fabrics: Old cotton t-shirts, fleece, or felt are perfect. They are soft and less likely to fray into long, dangerous strands.
- Natural Fibers: Sisal rope, hemp cord, and wool (in felted forms to prevent ingestion of strands) are great for scratching and batting.
- Untreated Wood: Small, sanded blocks of wood or natural sticks from the yard (that you’ve cleaned and confirmed are from a non-toxic tree) work well.
- Wine Corks: Natural corks (not plastic ones) are fun to bat around and chew on.
- Paper: Crumpled-up packing paper or paper bags (with handles removed) make for excellent, crinkly fun.
Hazardous Materials (The “Absolutely Not” List):
- Small, Hard Embellishments: Things like googly eyes, plastic beads, bells, and sequins can easily be chewed off and swallowed, causing a choking hazard or internal blockage.
- Yarn, String, and Rubber Bands: While cats love them, these items are extremely dangerous if ingested. They can cause a life-threatening intestinal issue called a linear foreign body. If you use them, it should only be for supervised play on a wand toy, and the toy must be put away securely afterward.
- Feathers with Sharp Quills or Dyes: Use only all-natural, undyed craft feathers. Ensure the quill end is not sharp or is safely secured inside the toy.
- Toxic Glues and Adhesives: Always use non-toxic, water-based glue like Elmer’s school glue, and allow it to dry completely.
- Anything with Strong Chemical Smells: This includes plastics, treated woods, or heavily scented items that could be toxic.
- Foil & Cellophane: While cats love the crinkle, small pieces can be ingested. Use crinkly material from a clean chip bag inside a fabric toy where it can’t be eaten.
Remember the golden rule: Always supervise your cat during playtime, especially with a new toy. Inspect your DIY cat toys from household items regularly for any signs of wear and tear, and throw away any that are falling apart.
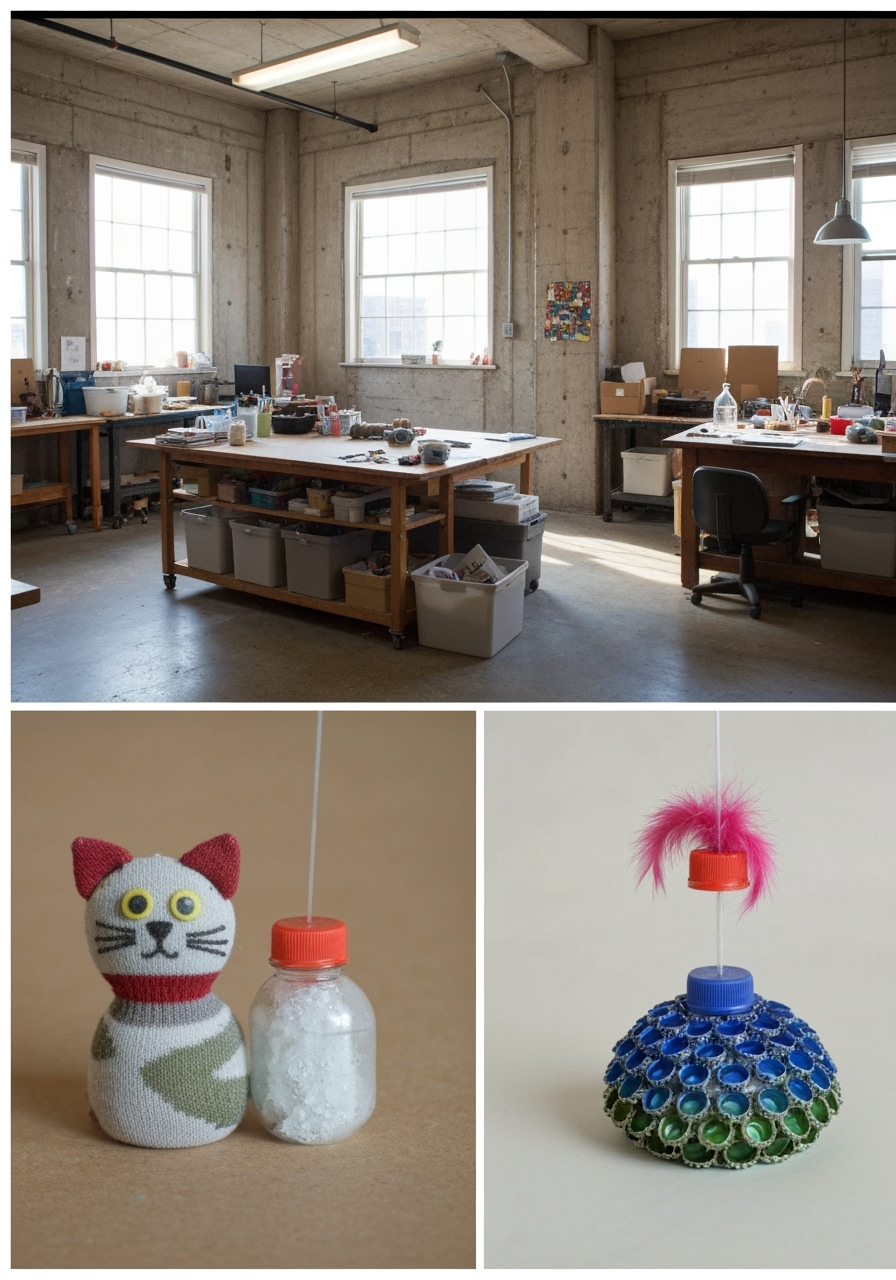
What You’ll Need: Your DIY Cat Toy Toolkit
Ready to get started? The beauty of this project is that you don’t need a specialized workshop. A quick rummage through your home will likely yield everything you need.
Caption: Gather these simple household items to start crafting your cat’s new favorite toys.
Here’s a general list of materials and tools. We’ll specify which ones you need for each of the five toys in their respective sections.
Core Materials (The Fun Stuff):
- Empty Toilet Paper or Paper Towel Rolls: The foundation of many great puzzle toys.
- An Old Cotton T-Shirt: Choose one you don’t mind cutting up. Soft, worn-in cotton is perfect.
- A Lone Sock: We all have them! Make sure it’s clean and free of holes.
- Natural Wine Corks: Start saving them from your next bottle of wine.
- Sturdy Cardboard Boxes: Delivery boxes are perfect for building and scratching.
- A Stick or Wooden Dowel: About 1-2 feet long for a wand toy. A fallen (and cleaned) branch from the yard works great.
- Catnip or Silver Vine (Optional but Recommended!): A sprinkle of this magic dust can make any toy irresistible.
- Your Cat’s Favorite Dry Kibble or Treats: For use in the puzzle toys.
Essential Tools (The Crafty Stuff):
- Sharp Scissors: A good pair of fabric scissors is ideal, but any sharp pair will do.
- Ruler or Measuring Tape: For getting those cuts just right.
- Non-Toxic Glue: A simple white school glue is your safest bet.
- A Pen or Marker: For marking your cut lines.
Now that your toolkit is assembled, it’s time to unleash your inner artisan.
Let’s Get Crafting! 5 Easy DIY Cat Toys from Household Items
Here we go—the main event! Follow these step-by-step guides to create a full set of engaging homemade cat toys. We’ll start with the easiest and work our way up to a mini-construction project for your furry friend.
Toy #1: The Cardboard Roll Treat Puzzle
This is one of the quickest and most effective DIY cat toys from household items. It turns snack time into a fun challenge that satisfies your cat’s natural foraging instincts. Instead of just getting a treat, they have to work for it, which is incredibly rewarding for them.
What You’ll Need:
- An empty toilet paper roll
- Your cat’s favorite dry treats or kibble
- Scissors
Step-by-Step Instructions:
Step 1: Prepare the Roll
Take your empty toilet paper roll and make sure it’s clean and dry. There’s no need to remove any leftover paper bits; your cat will probably enjoy shredding them off.
Alt Text: Step 1 of making a DIY cat toy: preparing to cut a toilet paper roll.
Step 2: Add the Treats
Drop a few (5-10) pieces of your cat’s favorite kibble or small, dry treats into the open roll. Don’t overfill it! The goal is to make a rattling sound that piques their interest. This sound mimics the rustle of prey, immediately grabbing their attention.
Step 3: Fold the Ends
Now, simply fold one end of the cardboard roll inwards. Press the sides in to create a closed flap, like the end of a gift-wrapping tube. Repeat on the other side, making sure the flaps are secure enough that the treats don’t fall out with a simple shake.
Step 4 (Optional): Add Challenge Holes
If your cat is a puzzle-solving pro, you can make it a little more challenging. Before folding the ends, use your scissors to carefully poke a few small holes (smaller than the treats) along the side of the tube. This allows the scent of the treats to escape more easily, making the toy even more enticing.
That’s it! Toss the puzzle feeder on the floor and watch your cat’s brain and paws get to work. They’ll have to bat, roll, and chew the toy to get their reward.
Toy #2: The Ultimate Crinkle Sock Fish
Cats are highly attuned to sound. The “crinkle” noise is irresistible to many because it sounds like a small creature scurrying through leaves. This toy combines that magic sound with a soft body, a dash of catnip, and a fun fish shape.
What You’ll Need:
- A clean, single sock (an ankle sock works well)
- Crinkly material (a clean, dry chip bag or pet food bag works perfectly)
- A tablespoon of dried catnip or silver vine
- Cotton balls or t-shirt scraps for stuffing
- Scissors
- A piece of sisal cord or a strip of t-shirt fabric (~6 inches long)
Step-by-Step Instructions:
Step 1: Make the Crinkly Filling
Take your clean, crinkly material and cut a piece roughly the size of your hand. Stuff this piece deep into the toe of the sock. This will form the main body of the “fish” and provide that all-important sound.
Step 2: Add Catnip and Stuffing
Sprinkle the catnip into the sock on top of the crinkly material. Then, add your stuffing—cotton balls or soft fabric scraps work well. Fill the sock until it’s plump and has a nice “body,” leaving about 2-3 inches of empty space at the ankle opening.
Step 3: Tie Off the Tail
This is the most crucial step for safety. Tightly tie your piece of sisal cord or t-shirt strip around the opening of the sock, cinching it closed. Use a double or even triple knot to ensure it’s completely secure. You want to make absolutely sure the contents cannot come out.
Step 4: Create the “Fish Tail”
With the sock tightly tied, take your scissors and cut the remaining fabric of the sock opening into 2 or 3 strips. This creates a frayed “tail” that’s fun for your cat to attack and carry around.
You now have a multi-sensory toy that’s soft enough for “bunny kicks,” noisy enough to entice play, and scented to drive them wild. It’s a true feline favorite.
Toy #3: The No-Sew T-Shirt “Octopus” Wand
Wand toys are fantastic for interactive play, which is vital for building your bond. This version uses upcycled t-shirt fabric to create soft, dangly “tentacles” that are much safer than string and perfect for pouncing on.
What You’ll Need:
- An old cotton t-shirt
- A stick or wooden dowel (about 1.5-2 feet long)
- Scissors
- Ruler
Step-by-Step Instructions:
Step 1: Cut the T-Shirt Strips
Lay your t-shirt flat. Cut off the bottom hem and discard it. Now, cut across the torso of the shirt to create several 1-inch-wide loops of fabric. You’ll need about 5-7 loops for a good “octopus.” For a more detailed guide on breaking down a shirt for projects like this, our tutorial on how to upcycle t-shirts without sewing is a great resource.
Step 2: Create the Tentacles
Take each fabric loop and cut it once to turn it into a long strip. You should now have 5-7 long strips of stretchy t-shirt fabric. Gather them all together, lining up one end.
Step 3: Secure the Tentacles to the Wand
Take your bundle of fabric strips and tie them securely around one end of your stick or dowel. Use a tight double knot. Position the knot about an inch from the end of the strips, so you have a small tuft of fabric above the knot and long tentacles hanging below.
Step 4: Braid for Extra Fun (Optional)
For a more durable and textured toy, you can braid some of the tentacles. Take three strips and braid them together, tying a small knot at the end. Leave the other strips dangling. This variation in texture keeps the toy interesting for your cat.
Now you’re ready for some interactive fun! Drag the octopus across the floor, flick it through the air, and watch your cat leap and bound. Always remember to put wand toys away after supervised play sessions.
Toy #4: The Cork & Feather Cha-Cha
This toy is simplicity at its finest, but it hits all the right notes for a cat. The lightweight cork skitters unpredictably across hard floors, and the feathers trigger that bird-chasing instinct.
What You’ll Need:
- A natural wine cork (not plastic)
- 2-3 all-natural, undyed craft feathers
- A small screw eye hook OR a nail and hammer
- Non-toxic glue (optional but recommended for safety)
Step-by-Step Instructions:
Step 1: Prepare the Cork
This is the most important step for making a safe toy. You need to create a secure anchor point for the feathers. The best way is to take a small screw eye hook and twist it firmly into the center of one end of the cork. If you don’t have one, you can carefully tap a small nail into the cork and then pull it out to create a pilot hole.
Step 2: Secure the Feathers
Gather your 2-3 feathers. If using a screw eye hook, you can simply insert the feather quills into the eye. For added security, add a tiny dab of non-toxic glue inside the hole or on the quills before inserting them. If you made a hole with a nail, put a small amount of non-toxic glue in the hole and firmly insert the feather quills.
Step 3: Let It Dry and Set
Let the glue dry completely for several hours. You need to be 100% sure the feathers are firmly attached and cannot be pulled out easily. Give them a gentle tug to test the bond. If they come loose, you need a stronger bond or should discard the toy.
Once dry, this lightweight toy is ready to be batted, chased, and pounced on across the living room floor. It’s a perfect example of how cheap DIY cat toys can provide hours of entertainment.
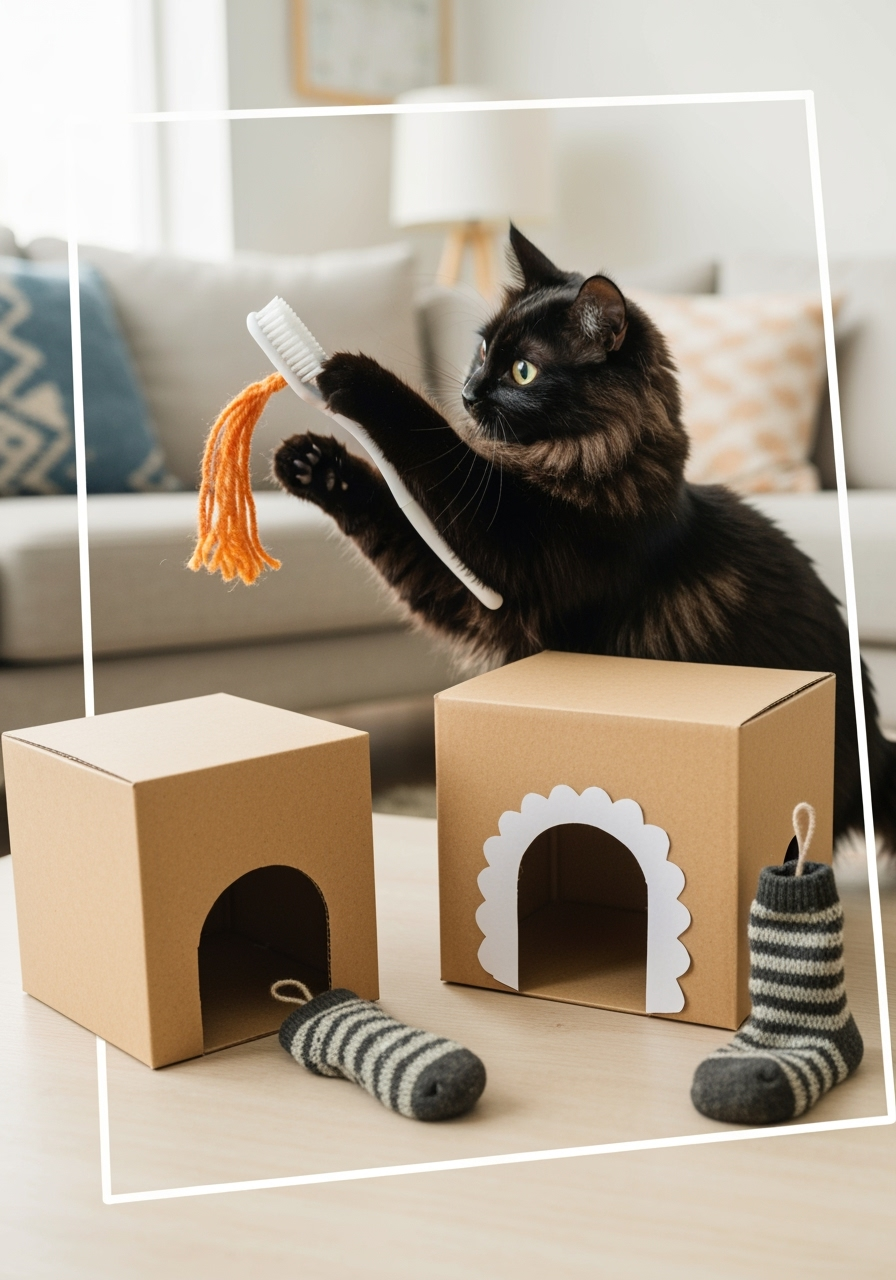
Toy #5: The Ultimate Cardboard Box Fort & Scratcher
This isn’t just a toy; it’s an environment. Cats love boxes for two reasons: they provide a secure, enclosed space to hide and observe, and they’re made of a wonderfully shreddable material. Creating a box fort is the pinnacle of making DIY cat toys from household items.
What You’ll Need:
- 2-3 sturdy cardboard boxes of various sizes
- A box cutter or very sturdy scissors
- Non-toxic glue
- A marker
Step-by-Step Instructions:
Step 1: Plan Your Design
Arrange your boxes on the floor. Think about how you want to connect them. You can place a smaller box on top of a larger one to create a multi-level fort, or place them side-by-side to create a tunnel system.
Step 2: Cut the Doors and Windows
Use your marker to draw out doorways and windows. Make the doorways large enough for your cat to easily pass through. Add some smaller “peep-hole” windows for them to peer out of or bat toys through. Carefully use your box cutter to cut out the shapes. This is a job for adults only!
Step 3: Connect the Boxes
If you’re stacking boxes, you can simply cut a hole in the “floor” of the top box and the “ceiling” of the bottom box so your cat can climb between levels. For a strong bond, you can apply non-toxic glue between the connected surfaces. If placing them side-by-side, cut connecting doorways and you can just push them together.
Step 4: Add a Built-In Scratch Pad
This is the pro move. Take a spare piece of cardboard and cut several strips that are all the same width. Stand them on their edge, side-by-side, so the corrugated part is facing up. Glue them all together into a block, and then glue this block to the floor of one of the boxes. Your cat now has a satisfying, built-in scratching surface. Finding answers to “DIY cat toys easy, Cheap DIY cat toys, How to make DIY cat toys from household items” can sometimes lead to bigger, more rewarding projects like this one.
Set up the finished fort in a corner of a room and let your cat explore their new castle. You can toss some of their other new DIY toys inside to encourage them to play.
The Big Reveal: Your Cat’s New Favorite Playthings
Take a step back and admire your work. You didn’t just make a few toys; you created a customized, safe, and exciting new world of play for your cat, all from items you were going to throw away.

Caption: Success! Your furry friend is sure to love their new collection of homemade treasures.
The joy of watching your cat pounce on the t-shirt wand you made, or cleverly extract a treat from the puzzle you folded, is incredibly rewarding. You’ve provided them with enrichment that caters directly to their instincts, and you did it all yourself.
We’d love to see your creations! Share a photo of your cat enjoying their new DIY cat toys from household items in the comments below or tag us on social media with #fixdiycats.
Pro Tips for Maximum Fun & Longevity
Making the toys is just the beginning. Use these pro tips to make playtime even better.
- The Art of Introduction: Don’t just dump all five new toys on the floor at once. Introduce one at a time. Wiggle the wand or roll the cork toy to get their attention. Let them approach and investigate on their own terms.
- The Magic of Rotation: Cats get bored with the same old things, just like we do. Keep 2-3 toys out at a time and store the others away. Every few days, rotate them. The “old” toy will feel new and exciting all over again.
- Keep Them Clean: Fabric toys can be hand-washed with a mild, unscented soap and air-dried. Cardboard toys that get soiled should be recycled. Wiping down cork or wood toys is also a good idea.
- Know When to Say Goodbye: Your DIY toys are meant to be loved, which means they will eventually be destroyed. Regularly inspect them for loose parts, sharp edges, or fraying. Once a toy starts to fall apart, it’s time to thank it for its service and toss it out to prevent any safety risks.
Frequently Asked Questions (FAQs)
Q: How can I make DIY cat toys that are easy and fast?
For truly easy and fast options, the Cardboard Roll Treat Puzzle is your best bet—it takes less than a minute! Another super-quick toy is to simply crumple up a piece of packing paper or a paper bag (with handles removed) into a tight ball. The sound and texture are often enough to get a cat playing immediately. The key to making DIY cat toys easy is to use materials that don’t require complex assembly, like toilet paper rolls, paper, or wine corks.
Q: What are the best materials for cheap DIY cat toys?
The best materials are things you’d normally recycle or throw away. Cardboard from toilet paper rolls and delivery boxes is free and cats love it. Old, clean socks and t-shirts that are no longer wearable are perfect fabric sources. Paper bags, wine corks, and even plastic bottle caps (the simple, one-piece kind that can be batted around under supervision) are fantastic for making cheap DIY cat toys. You rarely need to buy anything new!
Q: Are homemade cat toys safe for my kitten?
Yes, as long as you follow strict safety guidelines. For kittens, it’s even more important to avoid small, swallowable parts, as they are exceptionally curious. Stick to larger, sturdier toys like the T-Shirt Octopus (with well-secured knots) or a simple sock toy stuffed with soft fabric. Always supervise your kitten during play, as they are still learning what is and isn’t food. Never, ever leave them unattended with toys containing long strings, cords, or ribbons.
Q: How do I get my cat interested in a new DIY toy?
First, try rubbing a bit of catnip or silver vine on the toy to make it more appealing. Second, engage with the toy yourself. Don’t just place it on the floor; make it move like prey. Skitter the cork toy across the floor or make the wand’s feathers “fly” and “hide” behind furniture. Your active participation often cues your cat that it’s time to play. Playing just before mealtime can also be effective, as it taps into their natural “hunt, catch, kill, eat” sequence.
Q: Can I use catnip in all my DIY cat toys from household items?
Absolutely! Catnip is a safe and effective way to boost a toy’s appeal. You can sprinkle it directly into a sock toy, or even “marinate” toys like the T-Shirt Octopus or wine cork in a sealed bag with some catnip for a few hours to infuse them with the scent. Keep in mind that not all cats react to catnip (it’s a genetic trait), and kittens usually don’t respond until they are 3-6 months old. If your cat doesn’t like catnip, try silver vine powder, which is a popular alternative.
We hope this comprehensive guide has inspired you to look at your household clutter in a new light. Crafting for your cat is a fun, rewarding, and practical way to show them you care.
Now, it’s your turn! Which toy are you going to make first? Do you have any other brilliant ideas for DIY cat toys from household items? Drop a comment below—we’d love to hear from you!
And if you found this guide helpful, don’t forget to share it with your fellow cat-loving friends and sign up for our newsletter for more creative DIY projects delivered straight to your inbox.


