Introduction: Unlock Your Walls’ Potential with DIY Floating Shelves
Tired of cluttered surfaces and yearning for a stylish, modern way to display your treasures? You’re not alone! Many home improvement enthusiasts dream of sleek, minimalist storage, and DIY floating shelves are the perfect solution. They offer a clean, contemporary look without visible brackets, making your items appear to magically float on the wall. This comprehensive guide will walk you through building five stunning designs, proving that an easy DIY floating shelves project is well within your reach.
Say goodbye to bulky bookcases and hello to personalized, space-saving elegance. We’ll cover everything from basic single shelves to more intricate designs, ensuring you find the perfect fit for your style and skill level. Get ready to transform your walls and showcase your personality!
Table of Contents
Table of Contents

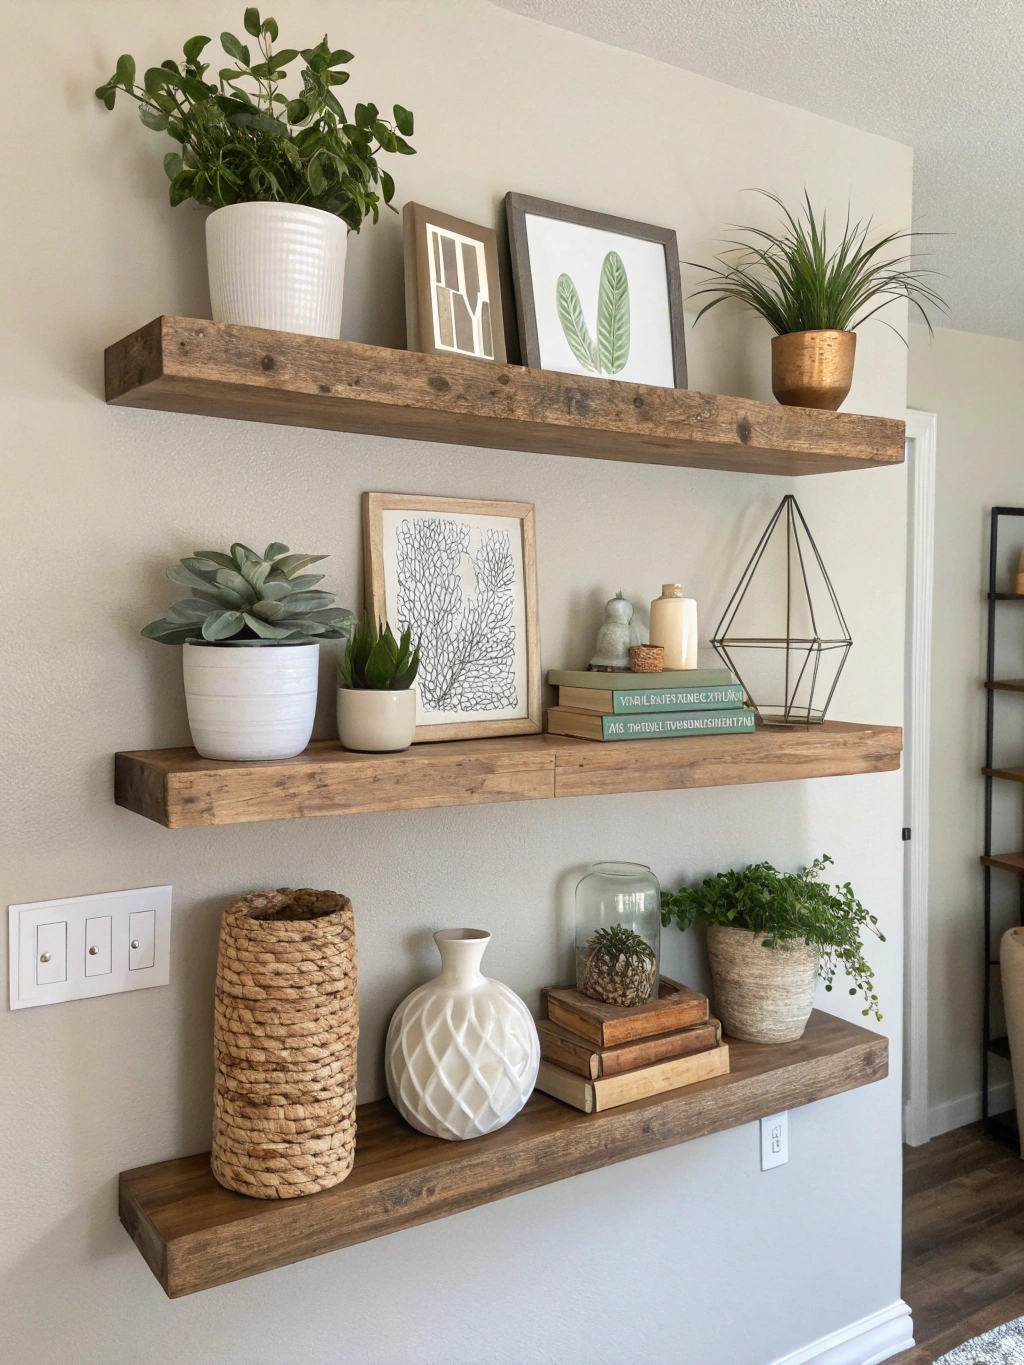
Caption: Get ready to transform your space with these stunning DIY floating shelves!
What You’ll Need: Gathering Your Supplies
Before we dive into the fun part, let’s make sure you have everything you need for your DIY floating shelves adventure. A well-prepared workspace is key to a smooth and enjoyable project.

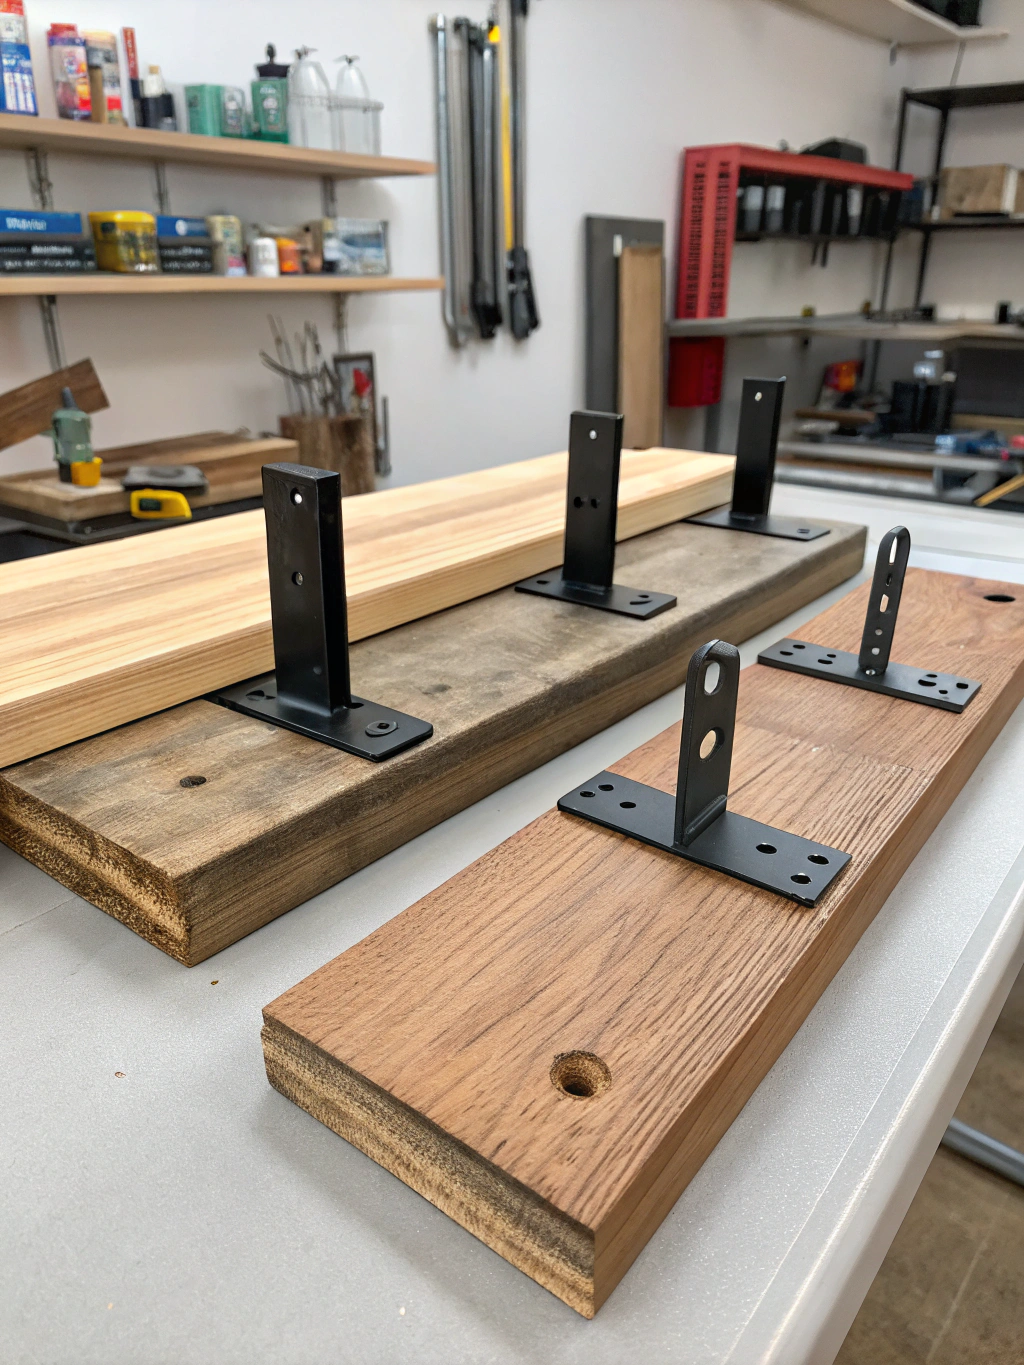
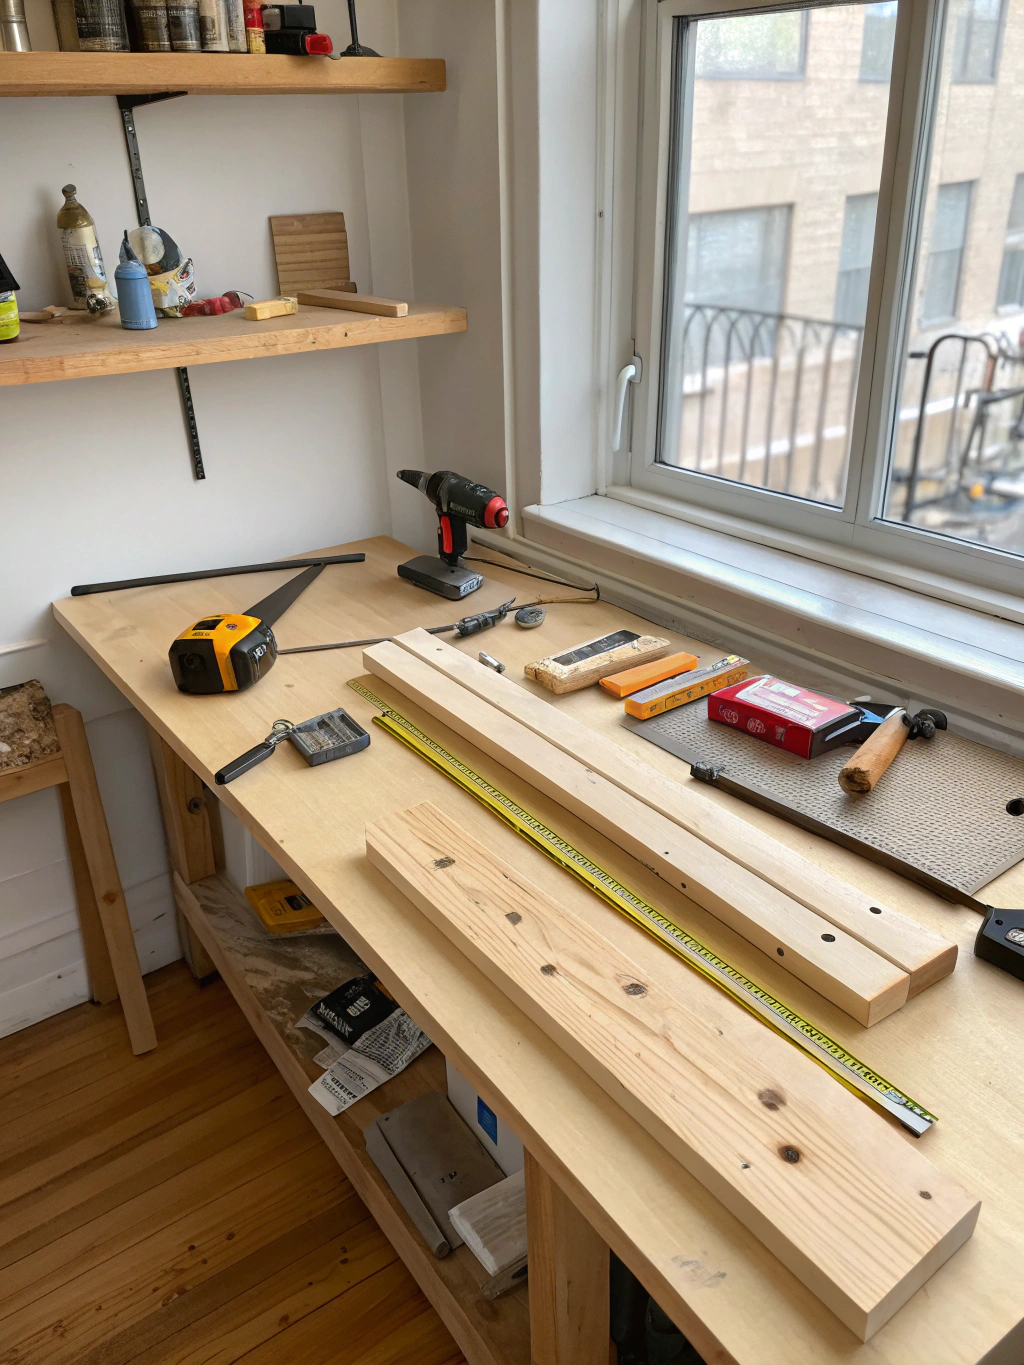
Caption: Essential tools and materials for your DIY floating shelves project.
Materials:
- Lumber: The type and thickness will depend on your chosen design and the weight of items you plan to display. Common choices include pine, oak, or even reclaimed wood for a rustic look. For heavier duty shelves, consider 2x4s or 2x6s for the internal frame.
- Plywood or MDF: Often used for the top and bottom skins of hollow-core floating shelves.
- Wood Screws: Various lengths will be needed (e.g., 1 ¼-inch, 2 ½-inch, 3-inch).
- Wood Glue: High-quality wood glue is essential for strong joints.
- Sandpaper: Various grits (e.g., 80, 120, 220) for a smooth finish.
- Wood Filler or Putty: To fill screw holes and imperfections.
- Paint, Stain, or Sealer: To finish and protect your shelves.
- Heavy-Duty Wall Anchors (if not screwing into studs): Crucial for ensuring your shelves are securely mounted. Toggle bolts or molly bolts are good options.
Tools:
- Measuring Tape
- Pencil
- Level (a 24-inch or 48-inch level is ideal)
- Stud Finder
- Drill/Driver: With various drill bits and a countersink bit.
- Circular Saw or Miter Saw: For cutting lumber accurately. A hand saw and miter box can work for simpler cuts.
- Jigsaw (optional): Useful for more intricate designs or cutting notches.
- Clamps: To hold pieces together while glue dries.
- Safety Glasses
- Dust Mask
- Gloves
- Putty Knife
- Paintbrushes or Rollers
Having these items readily available will make your DIY floating shelves tutorial go much smoother. For more inspiration and detailed guides on various home decor projects, you can explore resources like DIY & Crafts which offer a wealth of ideas for “DIY floating shelves tutorial, How to build DIY floating shelves, Easy DIY floating shelves project“.
Design 1: The Classic Hollow-Core Floating Shelf
This is perhaps the most common and versatile DIY floating shelves design. It looks substantial yet is relatively lightweight due to its hollow construction.
Step 1: Plan and Measure Your Space
First, decide on the location, length, and depth of your shelf. Use your measuring tape to mark the desired position on the wall. Remember to use a stud finder to locate wall studs; attaching your shelf supports directly to studs is always the most secure method. If studs aren’t conveniently located, you’ll need to use appropriate heavy-duty wall anchors.
Consider what you’ll be placing on the shelf. Books are heavy, so a shelf for books will need to be sturdier and possibly shorter, or have more support, than one for lightweight decorative items. Mark the top edge of where your shelf will sit with a pencil and use your level to ensure the line is perfectly horizontal.
Step 2: Build the Internal Support Bracket (Cleat)
The magic of a “floating” shelf lies in its hidden support. For a hollow-core shelf, this is typically a ladder-like cleat made from 1x2s or 2x2s. Cut two pieces of lumber to the desired length of your shelf minus ¾ inch (to account for the end caps of the shelf box later). These will be the front and back rails of your cleat.
Next, cut several shorter pieces to act as the “rungs” of the ladder. Space these rungs about 8-12 inches apart. Assemble the cleat by screwing the rungs between the front and back rails, ensuring everything is square. Pre-drilling pilot holes will prevent the wood from splitting. This internal bracket is fundamental for learning how to build DIY floating shelves securely.

Alt text: Step 2 of building DIY floating shelves: assembling the internal support bracket.
Step 3: Mount the Support Bracket to the Wall
Position the assembled cleat on your wall, aligning its top edge with the pencil line you drew in Step 1. Use your level again to double-check that it’s perfectly horizontal. Once you’re satisfied with the placement, screw the cleat securely into the wall studs using 3-inch wood screws.
If you can’t hit studs, use appropriate heavy-duty wall anchors designed for your wall type (drywall, plaster, etc.). Ensure the cleat is rock-solid; this is the foundation of your floating shelf. A wobbly cleat means a wobbly shelf!
Step 4: Construct the Shelf Box
Now, it’s time to build the “skin” or box that will slide over the cleat. You’ll typically use ¾-inch plywood or MDF for this. Cut two pieces for the top and bottom of the shelf, both to your desired final shelf length and depth. Cut two smaller pieces for the ends and one for the front edge.
Assemble the box by gluing and screwing (or nailing with a brad nailer for a cleaner look) the front, top, bottom, and end pieces together, leaving the back open. Ensure all corners are square. The inside dimensions of this box should be just slightly larger than your wall-mounted cleat so it can slide over it snugly.
Step 5: Attach the Shelf Box to the Cleat
Carefully slide the constructed shelf box over the wall-mounted cleat. It should be a snug fit. Once it’s fully seated, secure the shelf box to the cleat by driving screws from the top of the shelf down into the “rungs” of the cleat. You can also add screws from the bottom up.
Countersink the screw heads slightly so you can fill them with wood putty later for a seamless finish. This step firmly unites the shelf to its hidden support, completing the “floating” illusion.
Step 6: Finishing Touches
Fill all screw holes and any small gaps with wood filler. Once dry, sand the entire shelf smooth, starting with a coarser grit sandpaper and moving to a finer grit for a flawless finish. Wipe away all sanding dust with a tack cloth or damp rag.
Finally, paint or stain your shelf to match your decor. Apply primer if painting, and use multiple thin coats of paint or stain for the best result. A clear polyurethane topcoat can add durability, especially in high-traffic areas or for shelves holding items that might scratch the surface. This is a key part of any easy DIY floating shelves project.
Design 2: The Simple Solid Wood Floating Shelf
For a more rustic or minimalist look, a solid piece of wood can make a beautiful floating shelf. This method typically uses specialized floating shelf brackets.
Step 1: Select and Prepare Your Wood
Choose a solid piece of lumber for your shelf. This could be a 2×6, 2×8, 2×10, or even a thicker slab of wood. Reclaimed wood can add a lot of character. Cut the wood to your desired length.
Sand the wood smooth on all sides and edges. You can leave the edges sharp for a modern look or round them over slightly with sandpaper or a router for a softer feel. If you want to stain it, now is a good time to apply the stain and let it dry.
Step 2: Install Floating Shelf Hardware
For solid wood shelves, you’ll typically use blind shelf supports or floating shelf brackets. These are metal rods or plates that get mounted to the wall and then inserted into holes drilled into the back edge of your shelf.
Mark the locations for your brackets on the wall, ensuring they align with studs for maximum support. Use a level to make sure the bracket positions are perfectly horizontal. Install the brackets according to the manufacturer’s instructions.
Step 3: Drill Holes in the Shelf
This is the trickiest part of this design. You need to drill holes into the back edge of your wooden shelf that perfectly align with the rods or prongs of your installed brackets. The holes need to be straight and deep enough to accommodate the hardware.
Measure the spacing of the bracket rods very carefully and transfer these measurements to the edge of your shelf. Use a drill press if you have one for perfectly straight holes. If using a hand drill, a drill guide can be very helpful. The diameter of the drill bit should match the diameter of the bracket rods.
Step 4: Mount the Shelf
Once the holes are drilled, carefully slide the shelf onto the protruding rods of the brackets. It should be a tight fit. Push the shelf all the way back until it sits flush against the wall.
Some floating shelf hardware systems include a small set screw that can be tightened from the underside of the shelf to lock it onto the rods, preventing it from sliding off.
Design 3: The Faux Thick Beam Floating Shelf
This design gives the illusion of a chunky, solid beam but is much lighter and easier to construct using a hollow-box method similar to Design 1, but with thicker “skins.”
Step 1: Build the Support Cleat
Similar to Design 1, build a sturdy internal support cleat. For a “thick beam” look, you might use 2x3s or 2x4s for the cleat to provide more depth for the shelf box to cover. Mount this cleat securely to the wall studs.
Step 2: Construct the “Beam” Box
Use 1-inch thick lumber (e.g., 1x6s or 1x8s, depending on your desired beam thickness and depth) to create the top, bottom, front, and side pieces of your shelf box. Miter the corners where the front piece meets the top and bottom pieces for a cleaner, more seamless look if you’re comfortable with miter cuts. Otherwise, butt joints will also work.
Assemble the box around the cleat, ensuring a snug fit. Use wood glue and screws or brad nails. The goal is to create a box that looks like a solid_beam once assembled and finished.
Step 3: Finishing for a Rustic Look
For a rustic beam look, consider distressing the wood before or after assembly. You can use a hammer, chains, or other tools to create dents and marks. Apply a dark wood stain and then wipe some of it off to highlight the grain and distressed areas. A matte or satin polyurethane finish will protect it without looking too glossy. Learning how to build DIY floating shelves with this technique adds a charming, rustic touch to any room.
Design 4: The Corner Floating Shelf
Corner shelves are fantastic for utilizing often-wasted space. This design requires careful measurement and cutting.
Step 1: Measure and Plan Your Corner
Decide which corner you’ll use. Measure the angle of the corner; most are 90 degrees, but older homes can have variations. Determine the size and shape of your shelf. A simple triangular shelf is common, or you could opt for a quarter-circle.
Step 2: Cut Shelf Pieces and Supports
Cut your shelf piece from plywood or solid wood. If it’s a triangular shelf, you’ll have one 90-degree corner (or whatever your wall corner angle is) and two 45-degree angles at the front points.
You’ll need support cleats for the two wall edges that meet in the corner. Cut two pieces of 1×2 lumber to the length of the wall-contacting sides of your shelf.
Step 3: Mount Support Cleats
Mount one cleat to one wall, ensuring it’s level. Then, mount the second cleat to the adjacent wall, making sure its top edge is perfectly level with the first cleat. These cleats will support the back edges of your corner shelf.
Step 4: Attach the Shelf
Apply wood glue to the top edges of the mounted cleats. Place your cut shelf piece onto the cleats. Secure it by driving screws from the top of the shelf down into the cleats. If using thinner material for the shelf, you might screw up from underneath the cleats into the shelf if there’s space. For an easy DIY floating shelves project in a corner, this method is quite effective.
Design 5: The Ledge-Style Picture Floating Shelf
Perfect for displaying photos, small art, or spice jars, these shelves have a small lip at the front to prevent items from sliding off.
Step 1: Cut Your Lumber
You’ll need three main pieces per shelf: a back piece (that attaches to the wall), a base piece (that items sit on), and a front lip piece. A common size is to use 1×4 lumber for the back, a 1×3 for the base, and a 1×2 for the front lip. Cut them all to your desired shelf length.
Step 2: Assemble the Shelf
Apply wood glue to one long edge of the 1×3 base piece and attach it to the face of the 1×4 back piece, ensuring its bottom edge is flush with the bottom edge of the 1×4. Secure with screws driven from the back of the 1×4 into the edge of the 1×3.
Next, apply glue to the front edge of the 1×3 base piece and attach the 1×2 front lip, ensuring its bottom edge is flush with the bottom of the base piece. Secure with brad nails or small finishing screws.
Step 3: Mount to the Wall
Locate wall studs. Position your assembled ledge shelf on the wall, ensuring it’s level. Screw directly through the 1×4 back piece into the wall studs. If studs aren’t available, use appropriate drywall anchors.
Step 4: Finish
Fill any nail or screw holes, sand smooth, and then paint or stain as desired. These DIY floating shelves are quick to make and incredibly useful.
Final Result: Your Stunning New DIY Floating Shelves!
And there you have it! With a bit of planning, some basic tools, and a can-do attitude, you’ve transformed a blank wall into a stylish and functional display area. Step back and admire your handiwork – those DIY floating shelves not only look fantastic but also carry the satisfaction of a job well done.

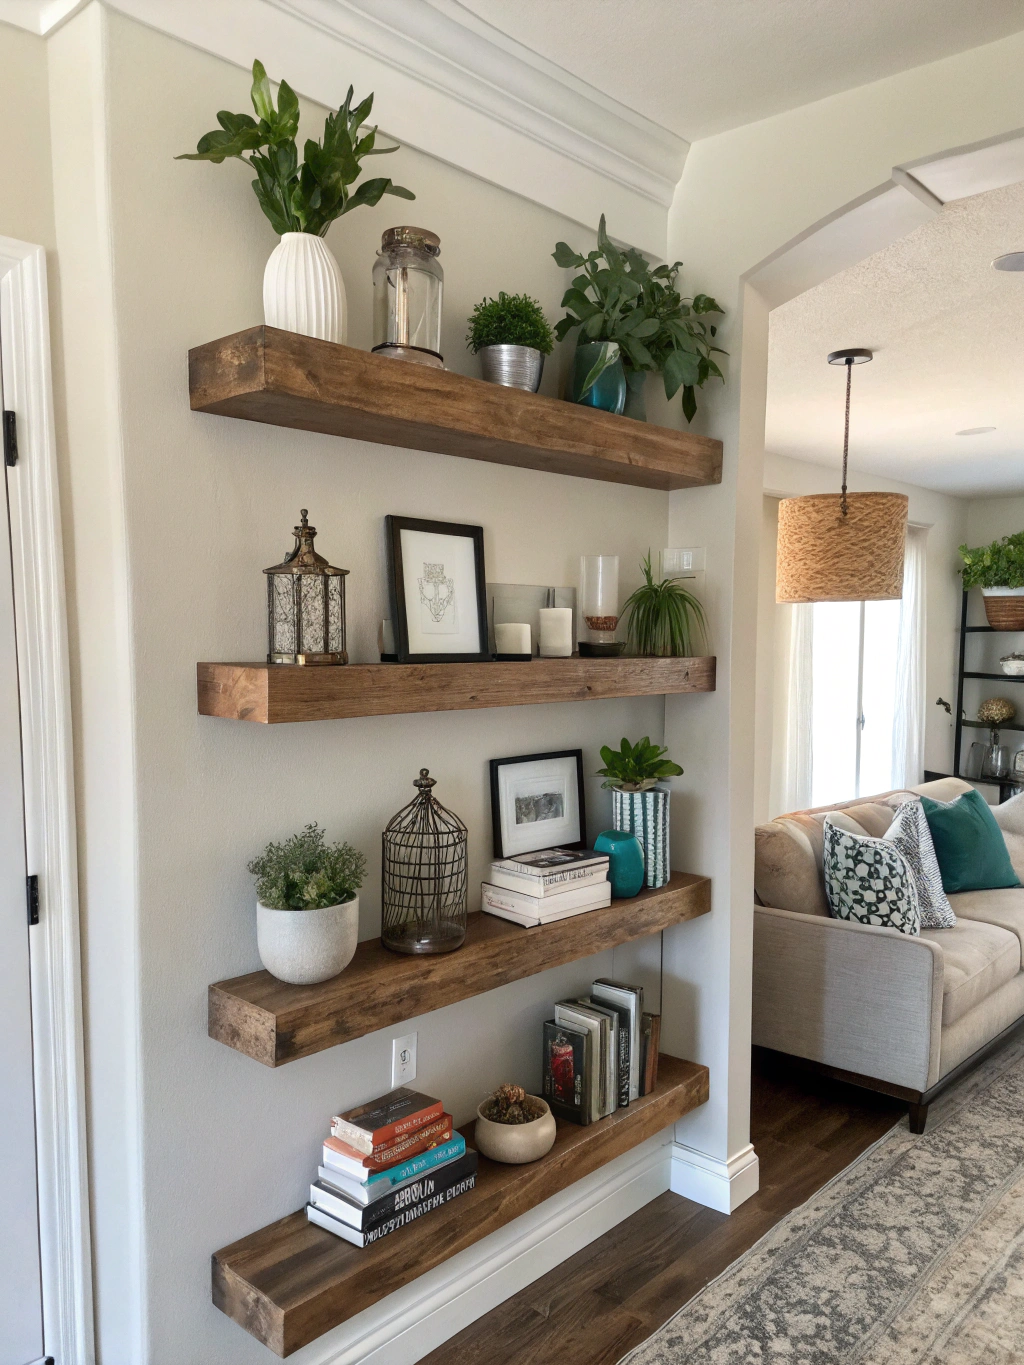
Caption: The stunning final result of your DIY floating shelves project, perfectly styled!
Imagine the possibilities: a curated collection of your favorite books, a vibrant display of succulents, cherished family photos, or even an organized spice rack in the kitchen. Your new shelves are a testament to your creativity and DIY prowess. For more complex woodworking or specific finishing techniques, checking out a detailed “DIY floating shelves tutorial, How to build DIY floating shelves, Easy DIY floating shelves project” from woodworking communities like those found via DIY & Crafts can be very beneficial.
We’d love to see what you’ve created! Share photos of your finished DIY floating shelves in the comments below, or tag us on social media. Your project might just inspire someone else to pick up their tools!
Pro Tips & FAQs for Your DIY Floating Shelves
To help you achieve the best results and troubleshoot any potential issues, here are some pro tips and frequently asked questions:
Q1: How much weight can DIY floating shelves hold?
The weight capacity of your DIY floating shelves depends heavily on several factors: the strength of the internal bracket or mounting hardware, whether it’s anchored into wall studs, the material of the shelf itself, and the shelf’s depth. Shelves secured directly into studs with robust internal cleats (like Design 1) can often hold 25-50 pounds per stud they are attached to, sometimes more. Solid wood shelves with heavy-duty blind supports can also be very strong. Always prioritize secure mounting into studs. For very heavy items, consult hardware specifications and consider distributing weight across multiple supports.
Q2: What’s the best wood for an easy DIY floating shelves project?
For beginners looking for an easy DIY floating shelves project, common pine boards (like 1x4s, 1x6s, 2x4s) are a great choice. They are affordable, readily available, lightweight, and easy to cut and sand. Plywood (birch or sanded pine) is excellent for the “skin” of hollow-core shelves as it’s stable and takes paint well. For a more premium look, hardwoods like oak or maple are beautiful but are harder to work with and more expensive.
Q3: How do I make sure my DIY floating shelves are perfectly level?
A good quality level is your best friend! Use at least a 24-inch level, or longer if your shelves are long. When marking your initial line on the wall, and when mounting your support cleat or brackets, constantly check for level. Mark lightly at first, then double-check before drilling any holes. For very long shelves, it can be helpful to have a second person hold one end of the level while you mark.
Q4: Can I build DIY floating shelves without power tools?
While power tools like a circular saw and drill make the job much faster and easier, it’s possible to build simpler **[DIY floating shelves](https://www.fixdiy.site/home-decor/)** with hand tools. A hand saw and miter box can be used for cuts (though achieving perfectly straight, square cuts repeatedly can be challenging). A manual hand drill can be used for pilot holes and driving screws, but it will be much more labor-intensive. Pre-cut lumber from a home improvement store can also minimize the cutting you need to do.
Q5: What’s the best way to finish DIY floating shelves for durability?
For a painted finish, start with a good quality wood primer. Apply 2-3 thin coats of your chosen paint (latex or enamel). For a stained finish, apply wood conditioner first (especially on softwoods like pine) to prevent blotchiness, then apply your stain. In both cases, for maximum durability, apply 2-3 coats of a clear polyurethane topcoat. Choose a sheen that you like (matte, satin, semi-gloss, or gloss). Allow adequate drying time between coats as per the product instructions.
Building DIY floating shelves is a rewarding project that adds both style and function to your home. We hope this guide has empowered you to tackle your own shelf-building adventure!
Ready to take on another project? Sign up for our newsletter for more DIY inspiration, tutorials, and tips delivered straight to your inbox. And don’t forget to share this post with your fellow DIY enthusiasts! Happy building!


