Introduction
Feeling like your entryway is a bit bland or cluttered? A stylish DIY hallway table can be the perfect solution, offering both a beautiful focal point and a practical spot to drop your keys and mail. Many home improvement enthusiasts shy away from furniture projects, thinking they’re too complex. But what if I told you that creating your very own custom DIY hallway table is not only achievable but also incredibly rewarding, even for beginners? This guide breaks down how to build a DIY hallway table into seven simple, manageable steps.
We’ll walk you through everything from gathering your materials to adding those crucial finishing touches. Get ready to transform a blank space into a welcoming and functional area with a piece you built yourself!
Table of Contents
What You’ll Need for Your DIY Hallway Table
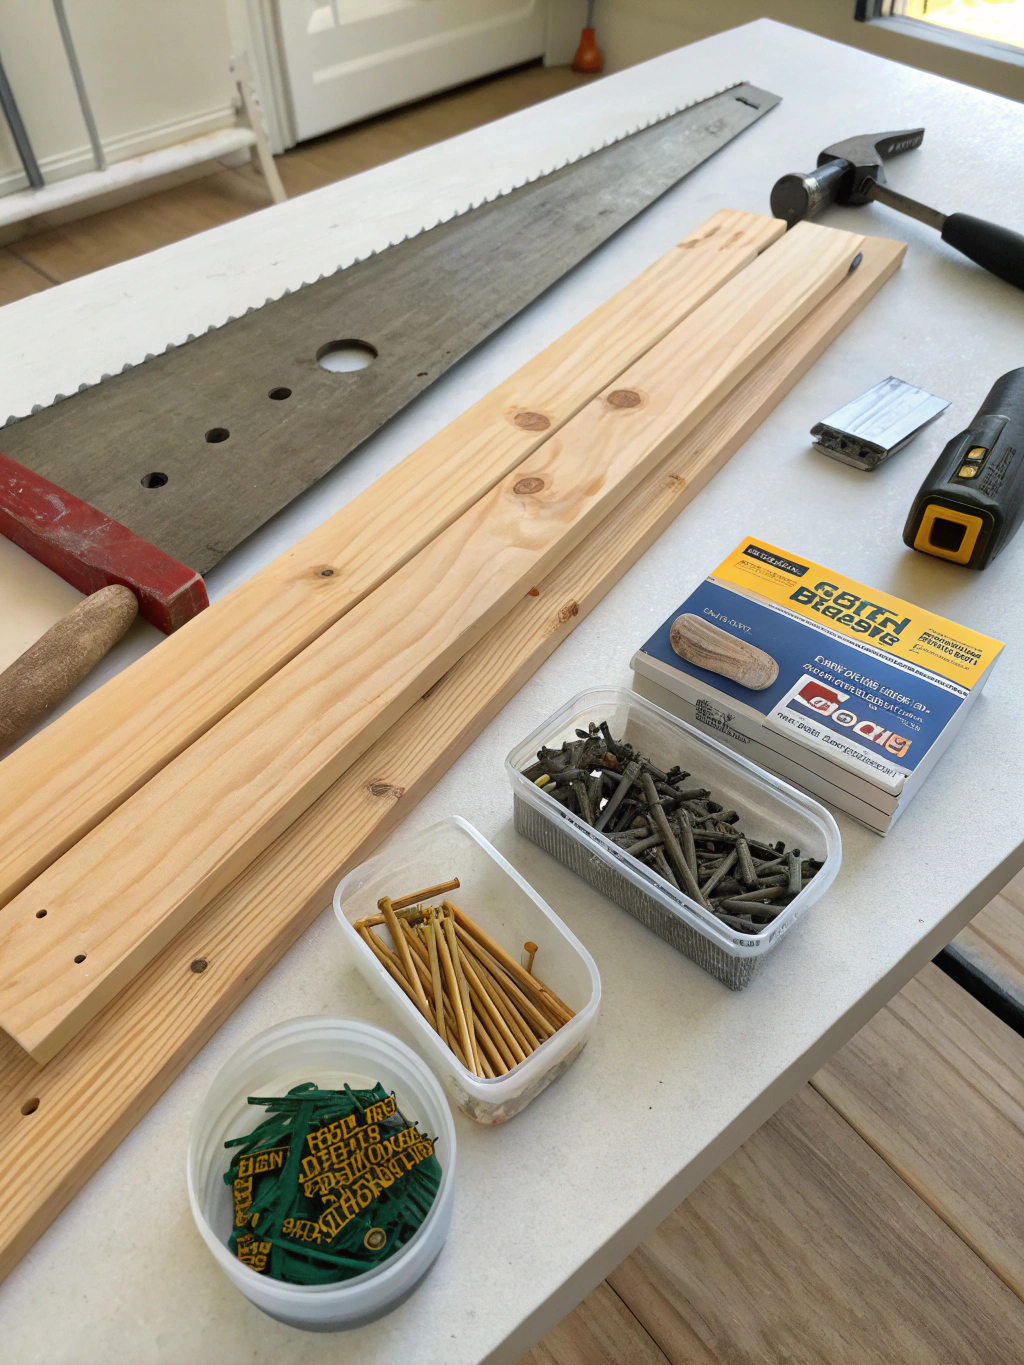
Before you dive into making your DIY hallway table, let’s gather all the necessary tools and materials. Having everything ready will make the building process much smoother and more enjoyable. Check your local hardware store or home improvement center for these items. For those looking for inspiration or alternative designs, exploring various “DIY hallway table plans, Easy DIY hallway table tutorial, How to make a DIY hallway table” can offer a wealth of ideas.

Caption: All the essentials laid out, ready for your DIY hallway table project.
Materials:
- Lumber:
- (4) 2×2 boards (for legs) – typically 8 feet long, you’ll cut them to your desired height (e.g., 30-36 inches). Pine is a good, affordable choice for beginners.
- (2) 1×4 boards (for aprons – short sides) – length will depend on your desired table depth.
- (2) 1×4 boards (for aprons – long sides) – length will depend on your desired table width.
- (1) 1×12 or 1×10 board (for tabletop) – length should be slightly longer than your long apron pieces to create an overhang. Alternatively, you can use edge-glued pine panels for a wider, seamless top.
- Wood screws: (e.g., 1 ¼-inch and 2 ½-inch pocket hole screws or general-purpose wood screws, depending on your joinery method).
- Wood glue: A high-quality PVA wood glue is essential for strong joints.
- Sandpaper: Various grits (e.g., 80, 120, 220) for smoothing the wood.
- Wood filler: To fill any screw holes or small imperfections.
- Primer (optional but recommended): Especially if you plan to paint.
- Paint or Stain: Your choice for the final finish.
- Topcoat/Sealer: Polyurethane or a similar sealant to protect the surface.
Tools:
- Measuring tape: For accurate cuts and placements.
- Pencil: For marking your cuts.
- Safety glasses: Essential for protecting your eyes.
- Ear protection: Especially when using power tools.
- Dust mask: To avoid inhaling sawdust.
- Miter saw or hand saw with miter box: For making straight and angled cuts. A miter saw will significantly speed up the process and improve accuracy.
- Drill/Driver: For drilling pilot holes and driving screws.
- Pocket hole jig (optional but highly recommended for strong, hidden joints): Kreg Jig is a popular brand.
- Clamps: Various sizes (bar clamps, C-clamps) to hold pieces together while glue dries or screws are driven.
- Orbital sander or sanding block: For a smooth finish.
- Paintbrushes or rollers: For applying paint or stain.
- Level: To ensure your table is straight and even.
- Square (carpenter’s or speed square): To ensure 90-degree angles.
Remember, investing in decent tools will not only help with this DIY hallway table project but will also serve you well for future DIY endeavors. Don’t be afraid to ask for advice at your local hardware store; staff can often guide you to the best options for your needs and budget.

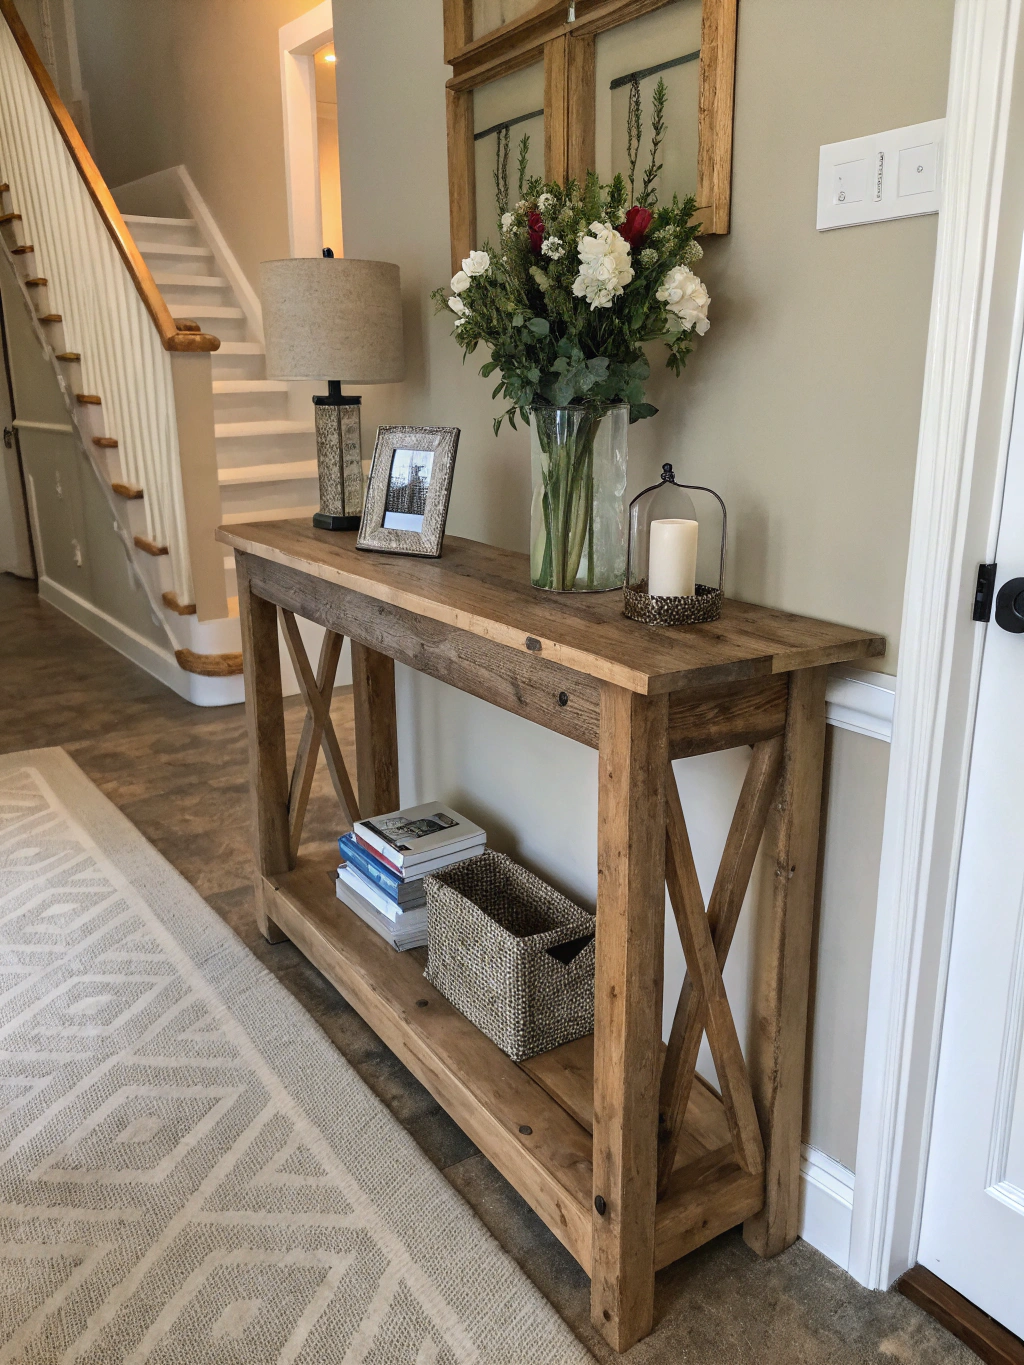
Caption: Your very own stylish DIY hallway table could soon grace your entryway.
Step-by-Step Guide to Building Your DIY Hallway Table
Now for the exciting part – actually building your DIY hallway table! Follow these seven steps carefully. Remember, measure twice, cut once! Take your time, especially if this is one of your first woodworking projects.
Step 1: Plan and Cut Your Lumber

Before you make a single cut, finalize the dimensions of your DIY hallway table. Consider the space it will occupy. A standard hallway table height is around 30-36 inches, width can vary greatly (36-48 inches is common), and depth is typically shallow (10-16 inches) to avoid obstructing the walkway. Sketch out your design with all measurements.
Once your plan is solid, it’s time to cut your lumber.
- Legs (2x2s): Cut four identical pieces to your desired height (e.g., 29 inches if your tabletop is 1 inch thick and you want a 30-inch tall table). Ensure these cuts are perfectly square.
- Aprons (1x4s): You’ll need two short apron pieces and two long apron pieces. Their length will depend on your table’s width and depth, minus the thickness of the legs they’ll attach to. For example, if your table is 36 inches wide and your legs are 1.5 inches thick (actual dimension of a 2×2), your long aprons might be 36 – (1.5 + 1.5) = 33 inches. Double-check these calculations carefully.
- Tabletop (1×12, 1×10, or panel): Cut this to your desired overall width and depth. It’s common to have a slight overhang on all sides (e.g., 1 inch). So, if your base (legs and aprons) is 36 inches wide and 12 inches deep, your tabletop might be 38 inches wide and 14 inches deep.
Why this matters: Accurate cuts are the foundation of a sturdy and professional-looking DIY hallway table. Uneven cuts can lead to wobbly tables and misaligned joints.
Common pitfalls: Not accounting for the saw blade’s kerf (the width of the cut), leading to pieces that are slightly too short. Always measure and mark precisely, and cut on the waste side of your line. Using a miter saw will greatly improve accuracy over a hand saw for beginners.
Step 2: Sand All Your Pieces
Before assembly, sand every piece of wood. It’s much easier to sand individual components thoroughly than to try and reach into corners and tight spots later. Start with a coarser grit sandpaper (like 80 or 100 grit) to remove any mill marks, rough spots, or slight imperfections from cutting. Then, progress to a medium grit (120 or 150 grit), and finally finish with a fine grit (180 or 220 grit) for a silky-smooth surface.
If you’re using an orbital sander, keep it moving constantly to avoid creating divots or swirl marks. If sanding by hand, always sand with the grain of the wood. Pay extra attention to the cut ends, as these can be particularly rough. After sanding, wipe down all pieces with a tack cloth or a slightly damp rag to remove all sawdust.
Why this matters: Proper sanding is crucial for a professional-looking finish, whether you plan to paint or stain your DIY hallway table. Stain will absorb unevenly on poorly sanded wood, and paint will highlight imperfections.
Common pitfalls: Skipping grits or not sanding thoroughly enough. Rushing this step will show in the final product. Another common mistake is over-sanding edges, which can round them more than intended if you’re aiming for a crisp look.
Step 3: Assemble the Table Aprons and Legs (Frame)

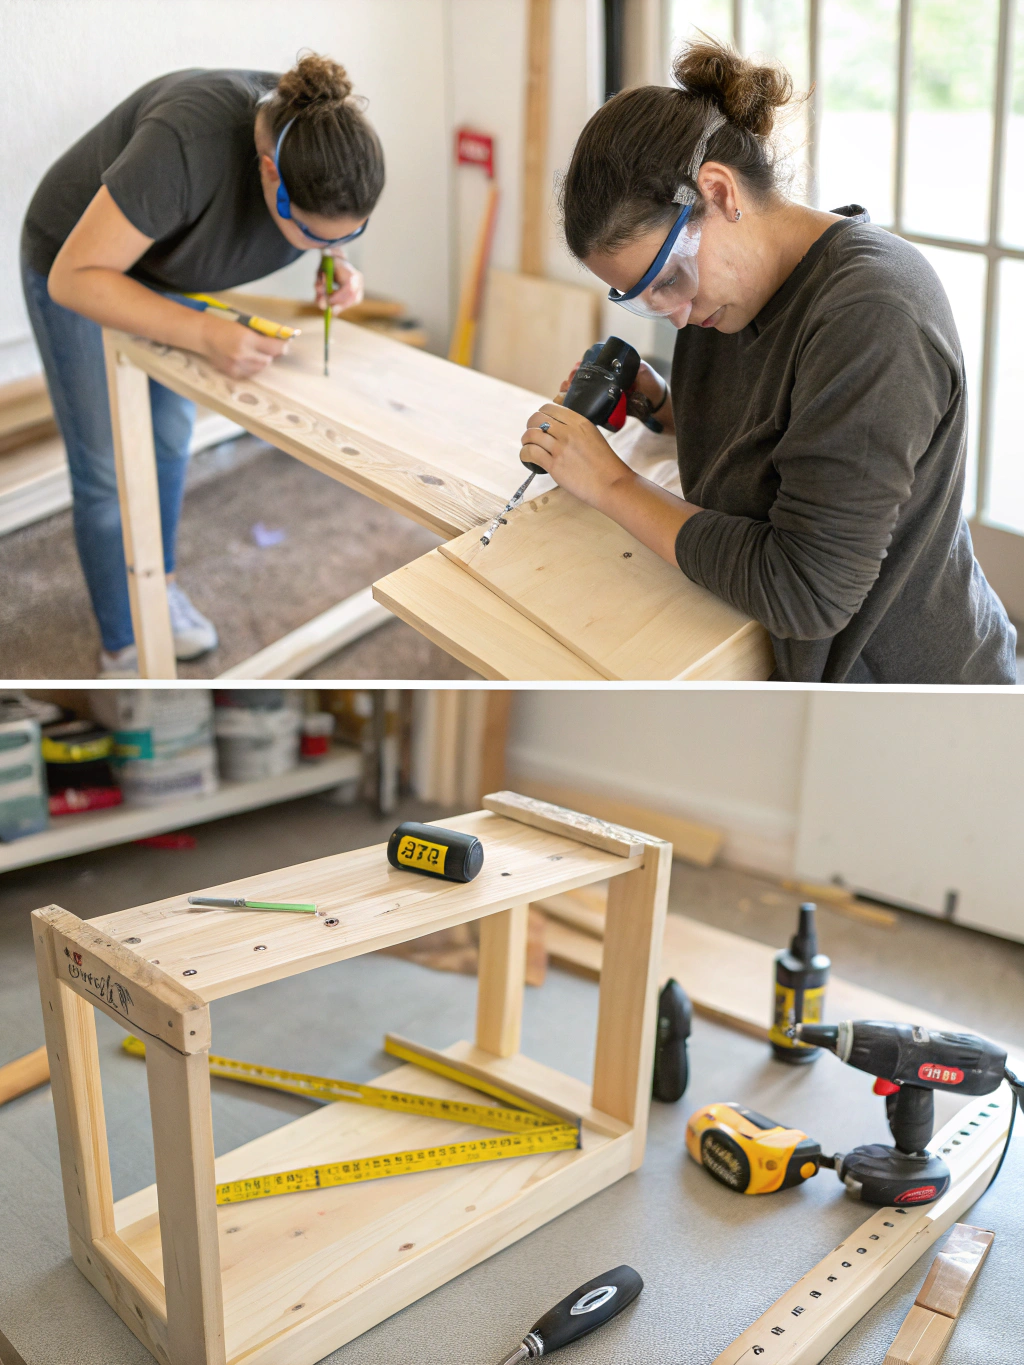
Caption: Step 3 of building a DIY hallway table: Assembling the frame by joining legs and aprons.
This is where your DIY hallway table starts to take shape! The most common and beginner-friendly way to create strong joints for the frame is using a pocket hole jig. If you have one, drill pocket holes on the inside faces of both ends of all four apron pieces. The holes should be oriented so the screws will go into the legs. Usually, two pocket holes per end of each apron piece are sufficient for 1×4 material.
If you’re not using pocket holes, you can use wood glue and screws driven through the outside of the legs into the ends of the aprons (countersink these and fill them later) or use L-brackets on the inside. However, pocket holes provide a cleaner, stronger joint.
Lay two legs parallel on your work surface. Apply wood glue to the ends of one short apron piece. Position it between the two legs, flush with the top and outer edges. Clamp it securely. Drive your pocket hole screws (or other screws) to attach the apron to the legs. Repeat this process with the other short apron and the remaining two legs to create two “H” shaped side assemblies. Next, connect these two side assemblies using the long apron pieces. Apply glue, clamp, and screw them into place, again ensuring everything is flush and square. Use a carpenter’s square at each corner to check for 90-degree angles.
Why this matters: A square and sturdy frame is essential for a stable DIY hallway table. Weak or misaligned joints will result in a wobbly table that won’t last.
Common pitfalls: Not using clamps, which can cause pieces to shift while screwing. Forgetting wood glue – screws provide clamping pressure, but glue provides much of the long-term strength. Over-tightening screws, which can strip the wood or crack the apron pieces. Ensure your drill’s clutch is set appropriately.
Step 4: Attach the Tabletop
With the frame assembled and sturdy, it’s time to attach the tabletop to your DIY hallway table. There are several ways to do this. One of the simplest methods for beginners is to screw directly through the aprons into the underside of the tabletop. To do this, you can drill angled pilot holes (countersunk) through the top inside edge of the apron pieces. Aim for about 3-4 screws along each long apron and 1-2 along each short apron.
Alternatively, you can use tabletop fasteners like Z-clips or figure-8 fasteners. These allow for wood movement (expansion and contraction with humidity changes) which is especially important for solid wood tabletops. To use these, you’ll cut small slots or recesses into the inside edge of the aprons for the Z-clips, or drill shallow recesses for the figure-8 fasteners.
Carefully center the tabletop on the assembled frame, ensuring your desired overhang is even on all sides. A measuring tape is your best friend here. Once you’re happy with the placement, clamp the tabletop to the frame to prevent it from shifting. Then, drive your screws up through the aprons (or attach your chosen fasteners) into the underside of the tabletop. Make sure your screws are not too long, or they will poke through the top surface!
Why this matters: A securely attached tabletop ensures the overall structural integrity and usability of your DIY hallway table. Allowing for wood movement helps prevent the top from cracking or warping over time.
Common pitfalls: Screws that are too long and pierce the tabletop surface. Not centering the tabletop correctly, resulting in uneven overhangs. Not allowing for wood movement if using a large, solid wood top, which can lead to issues later.
Step 5: Fill Holes and Final Sanding
Now, inspect your assembled DIY hallway table for any visible screw holes (if you didn’t use pocket holes exclusively on the inside), small gaps, or minor imperfections. Apply a good quality wood filler to these areas using a putty knife. Overfill slightly, as wood filler tends to shrink a little as it dries. Allow the filler to dry completely according to the manufacturer’s instructions.
Once the filler is dry, it’s time for the final sanding. Using your fine-grit sandpaper (220 grit is usually ideal before finishing), lightly sand all surfaces of the table again. Pay special attention to the areas where you applied wood filler, sanding them smooth and flush with the surrounding wood. Also, gently ease any sharp edges or corners for a more comfortable and professional feel, unless you specifically want a very sharp, modern look. After this final sanding, meticulously clean off all sawdust using a vacuum with a brush attachment, followed by a tack cloth. Any remaining dust will mar your finish.
Why this matters: This step is crucial for achieving a flawless, professional-looking finish. Wood filler conceals blemishes, and the final sanding creates the perfect canvas for paint or stain.
Common pitfalls: Not allowing wood filler to dry completely before sanding, which can result in it being pulled out or not sanding smooth. Leaving sanding dust on the surface, which will get trapped in the paint or stain, creating a gritty, unprofessional finish.
Step 6: Prime and Paint or Stain
This is where you get to truly customize your DIY hallway table!
If you’re painting, start with a good quality wood primer. Primer helps seal the wood, provides a uniform surface for the paint to adhere to, and can block stains or knots from bleeding through. Apply one or two thin, even coats of primer, allowing it to dry completely between coats as per the manufacturer’s instructions. Lightly sand with fine-grit sandpaper (220 grit) after the primer is dry for an ultra-smooth base.
Once primed (or if you’re going straight to paint on certain wood types), apply your chosen paint. Thin, even coats are better than one thick coat, which can lead to drips and an uneven finish. Use a good quality brush for detailed areas and edges, and a small roller for larger flat surfaces like the tabletop for a smoother finish. Allow adequate drying time between coats (usually 2-3 coats are needed).
If you’re staining, apply the stain according to the product directions. Typically, you’ll apply it with a brush or rag, let it penetrate for a few minutes, and then wipe off the excess with a clean rag, always wiping in the direction of the wood grain. The longer you leave the stain on before wiping, the darker the color will generally be. Experiment on a scrap piece of the same wood first to achieve your desired shade.
Why this matters: The finish protects the wood and defines the table’s aesthetic. A well-applied finish can elevate your DIY hallway table from a simple project to a beautiful piece of furniture.
Common pitfalls: Applying paint or stain too thickly, leading to drips, runs, or a tacky finish. Not allowing sufficient drying time between coats. Forgetting to stir paint or stain thoroughly, which can result in an inconsistent color or sheen. When staining, not wiping off excess stain can lead to a sticky, uneven surface that never properly cures.
Step 7: Apply Topcoat/Sealer
The final step in creating your durable and beautiful DIY hallway table is to apply a protective topcoat or sealer. This is especially important for a piece like a hallway table that will likely see daily use and potential spills or scratches. Polyurethane (either oil-based or water-based), polycrylic, or a good furniture wax are common choices. Water-based finishes dry faster, have lower odor, and don’t yellow over time, but oil-based polyurethane often offers greater durability.
Apply the topcoat in thin, even layers, following the manufacturer’s instructions. Use a high-quality brush designed for the type of topcoat you’re using. For large flat surfaces like the tabletop, some people prefer to use a wipe-on poly for a streak-free finish, or even a spray version if working in a well-ventilated area. Typically, 2-3 coats are recommended for good protection. Lightly sand with very fine-grit sandpaper (320 or 400 grit) between coats (once fully dry) for the smoothest possible finish, wiping away dust thoroughly before applying the next coat. Allow the final coat to cure completely (this can take several days to a few weeks for full hardness) before putting the table into heavy use.
Why this matters: The topcoat protects your paint or stain from wear and tear, moisture, and scratches, significantly extending the life and beauty of your DIY hallway table.
Common pitfalls: Applying the topcoat too thickly, which can lead to cloudiness, bubbles, or a gummy finish. Not allowing adequate drying time between coats. Shaking a can of polyurethane (especially oil-based) can introduce bubbles; stir it gently instead. Not working in a clean, dust-free environment, as dust can settle into the wet topcoat.
Your Beautiful DIY Hallway Table: The Final Result!
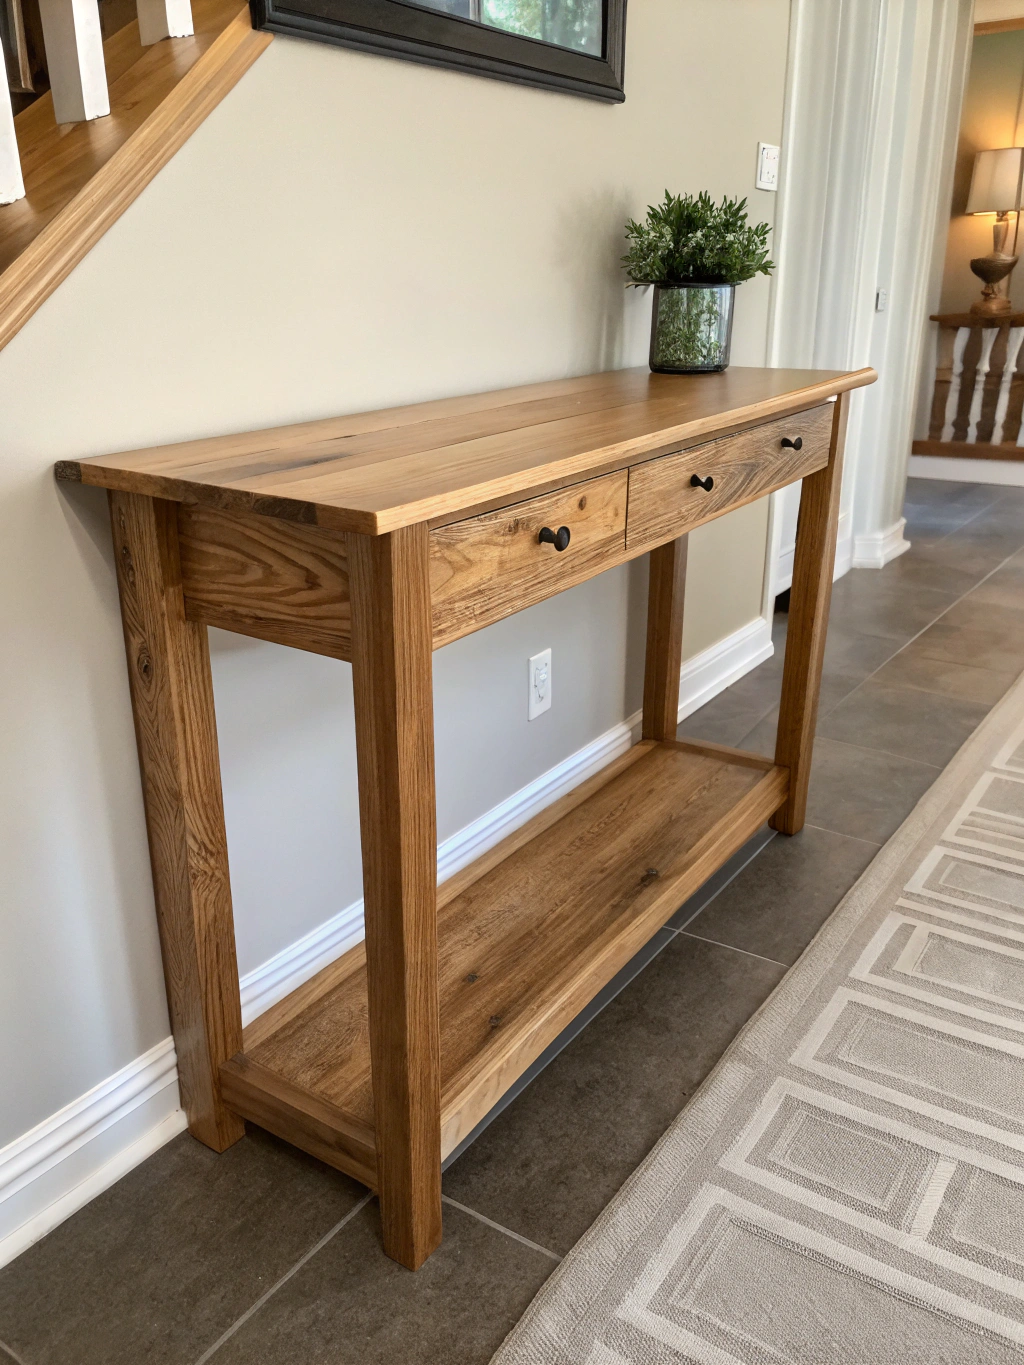
And there you have it! After these seven steps, you should be looking at a gorgeous, handcrafted DIY hallway table that’s ready to make a statement in your entryway. This piece isn’t just furniture; it’s a testament to your creativity and new-found (or honed!) DIY skills. Take a moment to admire your work – you built that!

Caption: The finished DIY hallway table, proudly displaying your handiwork and enhancing your home’s entrance.
Imagine the satisfaction of guests admiring your handiwork, or the simple daily pleasure of using a piece you made yourself. This DIY hallway table project is more than just a way to fill a space; it’s an opportunity to learn, create, and personalize your home. For more inspiration on custom furniture and decor, checking out resources like “DIY hallway table plans, Easy DIY hallway table tutorial, How to make a DIY hallway table” can spark even more ideas for your next project.
We’d love to see how your DIY hallway table turned out! Share a picture in the comments below, or let us know if you have any tips or modifications you made along the way.
Pro Tips & FAQs for Your DIY Hallway Table Project
Building your first DIY hallway table can bring up a few questions. Here are some pro tips and answers to frequently asked questions to help you along the way.
What’s the best wood for a beginner-friendly DIY hallway table?
Pine is an excellent choice for beginners. It’s affordable, readily available, lightweight, and easy to work with (cuts and sands easily). It also takes paint very well. If you plan to stain, be aware that pine can sometimes absorb stain unevenly, so using a pre-stain wood conditioner is highly recommended. Other good options include poplar (great for painting) or fir. Hardwoods like oak or maple are beautiful and durable but are more expensive and harder to work with.
How can I make my DIY hallway table extra sturdy?
The key to a sturdy [DIY hallway table](https://www.fixdiy.site/upcycling-crafts/) lies in strong joinery and square assembly. Using wood glue in addition to screws at all joints is crucial – the glue creates a bond that’s often stronger than the wood itself. Pocket hole joinery provides excellent strength for frame construction. Ensure all your cuts are precise and your frame is assembled squarely; use clamps to hold pieces firmly while the glue dries and you drive screws. Adding corner braces or even a lower shelf can also significantly increase rigidity.
Are there any easy DIY hallway table plans I can adapt?
Absolutely! The design outlined in this tutorial is a classic, simple build that’s easy to adapt. You can change the dimensions to fit your space, alter the leg style (e.g., use tapered legs or pre-made furniture legs), or add a lower shelf for extra storage. Searching online for “easy DIY console table plans” or “beginner DIY sofa table plans” will yield many variations. The core construction principles of building a frame and attaching a top will generally remain the same. Don’t be afraid to simplify existing plans to match your skill level.
How do I choose the right height for my DIY hallway table?
The ideal height for your [DIY hallway table](https://www.fixdiy.site/upcycling-crafts/) depends on its intended use and the surrounding furniture. A common height range is 30 to 36 inches. If it’s behind a sofa, aim for a height that’s level with or slightly below the sofa back. For an entryway, consider what feels comfortable to place items on. You might want to measure other tables in your home that feel right, or even mock up the height with some stacked boxes to visualize it in your space before cutting your legs.
What are some common mistakes when learning how to make a DIY hallway table for the first time?
A few common pitfalls for first-timers include:
- Inaccurate measurements and cuts: “Measure twice, cut once” is a golden rule. Even small errors can compound.
- Not sanding thoroughly: Rushing or skipping sanding steps will be evident in the final finish.
- Forgetting wood glue: Screws hold things together, but glue provides lasting strength.
- Not assembling squarely: A wobbly or lopsided table is frustrating. Use a square and clamps.
- Rushing the finishing process: Allow proper drying time for paint, stain, and topcoats. Apply thin, even coats.
Learning from these potential mistakes can make your [DIY hallway table](https://www.fixdiy.site/upcycling-crafts/) project much more successful and enjoyable.
Building your own furniture, like this DIY hallway table, is a deeply satisfying experience. Not only do you get a custom piece perfectly suited to your home, but you also gain valuable skills and confidence for future projects.
What are you waiting for? Grab your tools, get your materials, and start building!
We’d love to hear about your DIY hallway table building journey. Share your experiences, questions, or photos of your finished tables in the comments below. If you found this tutorial helpful, please consider sharing it with your fellow DIY enthusiasts or signing up for our newsletter for more home improvement tips and project ideas! Happy building!


