Hey there, fellow DIY enthusiast! Are you staring at that empty corner or bare window and thinking it needs a little… something? A splash of green, a touch of life? You’re in exactly the right place. We’re about to transform your space with a beautiful, custom DIY hanging planter. Forget expensive store-bought options that don’t quite match your style. Creating your own is not only incredibly rewarding but also surprisingly simple and budget-friendly.
Whether you’re a seasoned crafter or just starting your home improvement journey, this guide is for you. We’ll walk you through everything—from choosing the right materials to the final, triumphant moment you hang your creation. We’ve packed this post with 5 unique and inspiring ideas, detailed step-by-step instructions, and pro tips to ensure your project is a soaring success.
Ready to get your hands dirty and add a personal touch of nature to your home? Let’s dive in and create a stunning DIY hanging planter that will have your friends asking, “Where did you get that?!”
Table of Contents
Why a DIY Hanging Planter is Your Next Favorite Project
Before we start knotting ropes and picking out plants, let’s talk about why this project is so fantastic. Sure, you could buy one, but where’s the fun in that?
- Ultimate Customization: Match your planter perfectly to your decor. You choose the colors, the materials, the size, and the style. Boho-chic macrame? Minimalist leather? Rustic and upcycled? The choice is entirely yours.
- Budget-Friendly Brilliance: Home decor can be expensive, but it doesn’t have to be. A DIY hanging planter can be made with affordable materials, some of which you might already have lying around the house. It’s a high-impact project on a low-impact budget.
- The Joy of Creation: There’s a special kind of pride that comes from making something with your own two hands. Every time you glance at your flourishing plant, you’ll feel that little spark of accomplishment.
- Space-Saving Solution: Living in a small apartment or just tight on surface space? Hanging planters draw the eye upward, making rooms feel larger and airier while keeping your precious countertops and floors clear.
- Mental Health Boost: It’s no secret that plants are good for us. They purify the air and can reduce stress. The creative process of making the planter itself is a fantastic way to unwind and focus your mind.
Best Materials for Your DIY Hanging Planter
The foundation of a great project is choosing the right supplies. The best materials for a DIY hanging planter depend on the look you’re going for, your budget, and the weight of your plant. Let’s break down the core components.

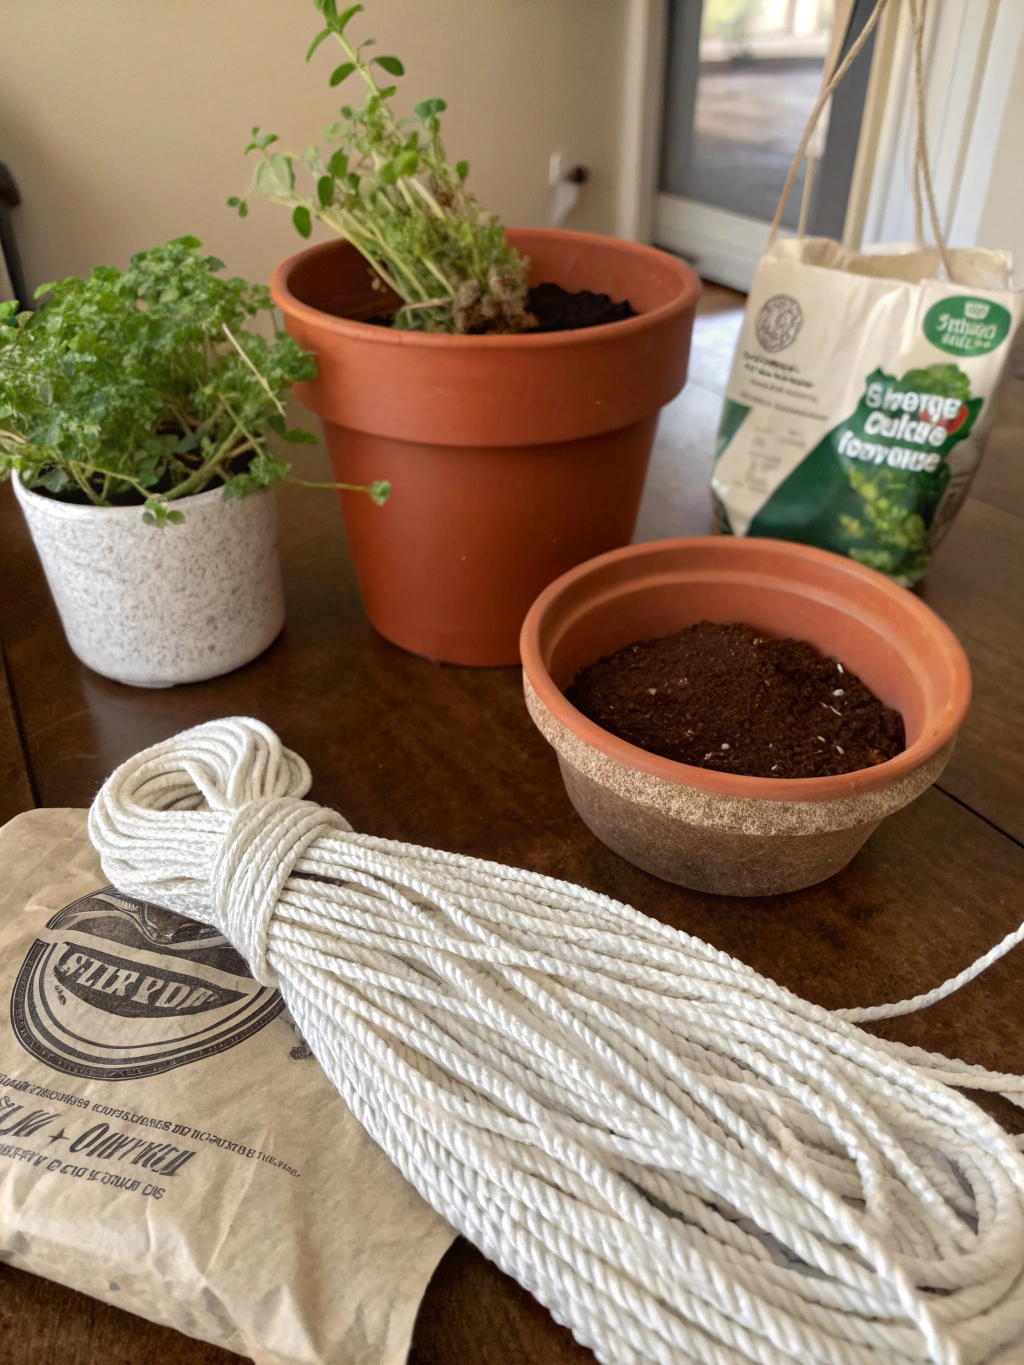
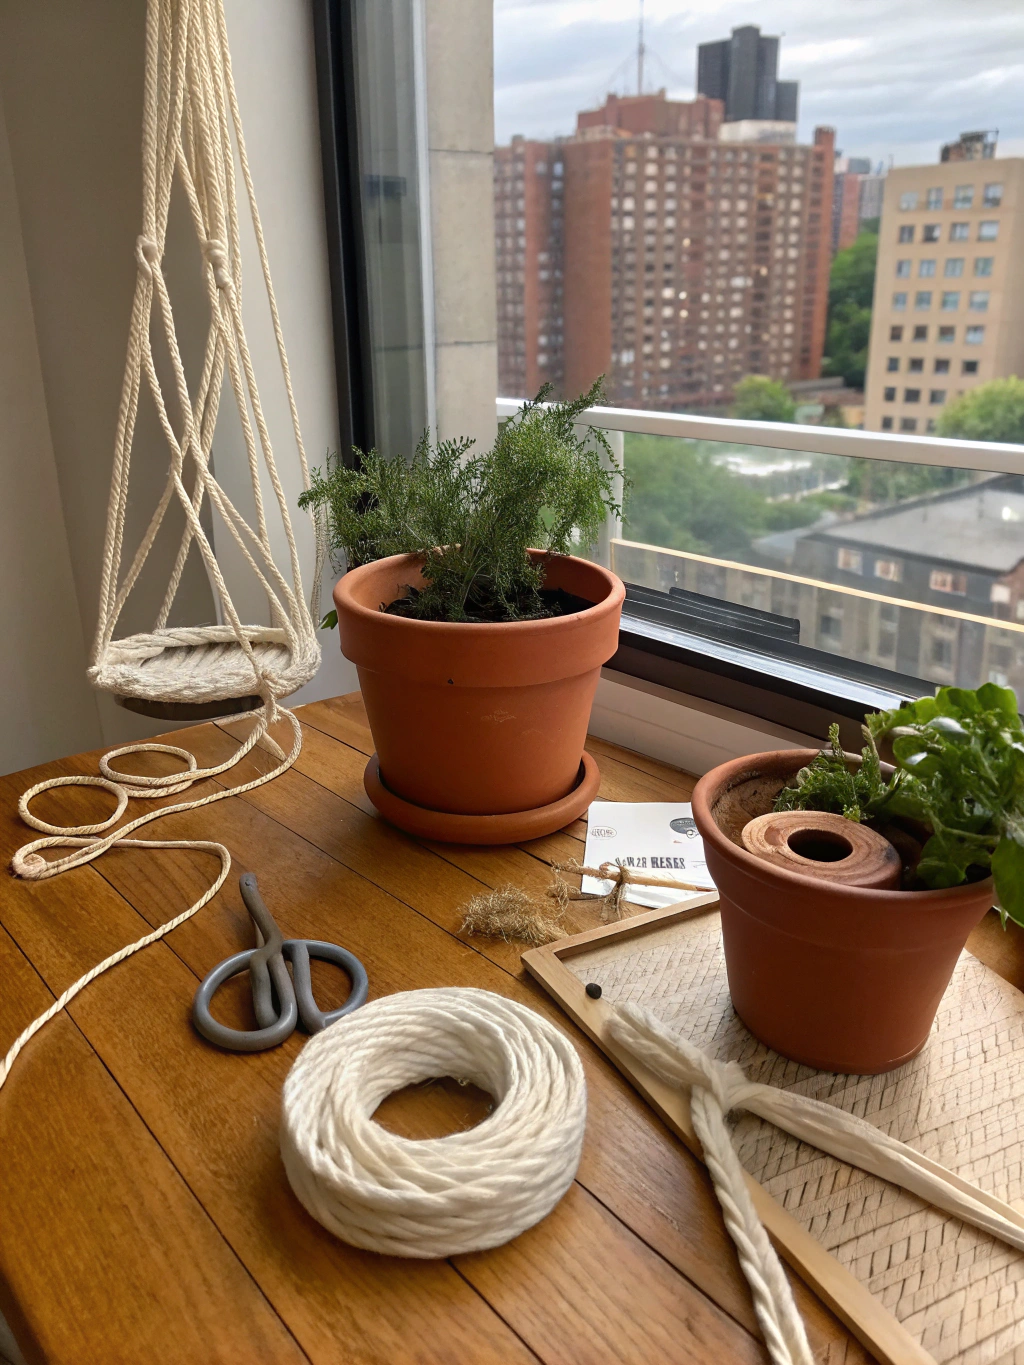
*A good project starts with good materials. Gather your ropes, pots, and tools to get started!*
For the Hanger:
- Macrame Cord: This is the classic choice for a reason. It’s strong, easy to work with, and comes in various thicknesses and colors. A 3mm to 5mm cotton cord is perfect for most beginner projects.
- Jute Twine or Hemp Cord: For a rustic, earthy, or farmhouse vibe, jute is your best friend. It’s incredibly strong and affordable.
- Yarn or T-shirt Yarn: Want a pop of color or a softer texture? A chunky yarn can create a cozy and unique holder. You can even make your own T-shirt yarn from old shirts!
- Leather or Faux Leather Straps: For a modern, minimalist, or mid-century look, leather straps are incredibly chic and surprisingly easy to assemble.
- Paracord: If you need something ultra-durable for a heavier pot or an outdoor planter, paracord is an excellent, weather-resistant option available in a rainbow of colors.
For the Pot:
- Terracotta Pots: Inexpensive, classic, and porous, which is great for plants that don’t like “wet feet.” They nearly all come with a drainage hole, which is crucial.
- Ceramic or Glazed Pots: These offer a more polished look and come in endless colors and patterns. Just make sure they have a drainage hole, or be prepared to drill one carefully.
- Upcycled Containers: Get creative! Old bowls, mugs, tin cans, glass jars, or even coconut shells can be transformed into quirky and personal planters. If your chosen container doesn’t have drainage, you can either drill holes or use it as a “cachepot” (a decorative outer pot) and place a smaller plastic pot with drainage inside.
For the Hardware:
- Wooden or Metal Rings: These are often used at the top of macrame hangers to provide a sturdy and neat point to hang from.
- Ceiling Hooks: It’s absolutely critical to use a hook that is rated for the final weight of your planter (pot + soil + water + plant). Always screw it directly into a ceiling joist or use a heavy-duty toggle bolt anchor designed for drywall. Safety first!
- S-Hooks: A simple and versatile way to hang your planter from a pre-existing bracket, rod, or hook.
5 Creative DIY Hanging Planter Ideas to Get You Started
Ready for some inspiration? Here are five distinct styles you can create. We’ll show you how to make a DIY hanging planter with a detailed guide for a classic version below, but you can adapt the principles to any of these fantastic ideas. For even more inspiration, check out these amazing “DIY hanging planter ideas, How to make a DIY hanging planter, Best materials for DIY hanging planter”.
Idea 1: The Classic Macrame Masterpiece
The bohemian queen of hanging planters! Macrame uses a series of simple knots to create an intricate, web-like holder for your pot. It looks complex, but once you learn a few basic knots (like the square knot and gathering knot), you’ll be whipping these up in no time.
- Best For: Creating a timeless, textured, and handcrafted look.
- Materials: Macrame cord, a wooden ring, scissors, a measuring tape.
Idea 2: The Modern & Minimalist Leather Strap Hanger
Sleek, sophisticated, and stunningly simple. This design typically involves a few straps of leather or faux leather that cradle the pot, secured with rivets or simple knots. It’s a quick project that packs a major design punch, perfect for modern or Scandinavian-inspired interiors.
- Best For: A quick project with a high-end, contemporary feel.
- Materials: A strip of leather/faux leather, a ruler, a craft knife, rivets and a rivet setter (or strong glue/stitching), an S-hook.
Idea 3: The Rustic & Recycled Tin Can Planter
Give a second life to an old coffee or vegetable can! This is the ultimate budget-friendly and eco-conscious option. A little paint, some holes drilled for drainage and hanging, and some sturdy twine are all you need to create a charming, rustic planter. These look amazing in a trio, perfect for a kitchen herb garden.
- Best For: A budget and eco-friendly project with a rustic, farmhouse charm.
- Materials: A clean tin can, a drill, spray paint (optional), jute twine.
Idea 4: The Unique Kokedama (Japanese Moss Ball)
Want to try something truly different? Kokedama is the Japanese art of growing plants in a moss-covered ball of soil. These living sculptures are then wrapped in string and hung. It’s a beautiful, organic way to display a plant without a traditional pot.
- Best For: A unique, living art piece that’s a real conversation starter.
- Materials: A small plant, peat moss, bonsai soil (or akadama), twine, water.
Idea 5: The Tiered Wooden Shelf Hanger
Why hang one plant when you can hang two or three? This design uses small planks of wood and rope to create a hanging, multi-level shelf. It’s perfect for displaying a collection of smaller plants, like succulents or herbs, and works wonderfully in front of a sunny window.
- Best For: Displaying multiple small plants and maximizing vertical space.
- Materials: Small wood planks, a drill with a spade bit, sandpaper, rope, and a metal ring.
How to Make a Classic DIY Hanging Planter: A Step-by-Step Guide
Let’s get down to business! We’ll walk you through creating a classic and simple macrame-style planter. This design is forgiving for beginners and doesn’t require learning a dozen complex knots.
What You’ll Need
Here’s your shopping list for this specific project. Remember, you can swap out the cord type or pot style to match your vision!

Ready, set, craft! Here are the simple components for your beautiful new planter.
- A pot (we used a 6-inch terracotta pot)
- Macrame cord (we used 4mm cotton cord)
- A 2-inch wooden or metal ring
- Sharp scissors
- A measuring tape
- A ceiling hook or bracket for hanging
Step 1: Measure and Cut Your Cords
This first step is crucial for ensuring your planter is the right length and has a nice, full tassel at the bottom. Accuracy here will save you headaches later! For a standard-length hanger designed for a 6-8 inch pot, you’ll need eight pieces of cord.
Measure and cut eight pieces of your macrame cord, each 10 feet (120 inches) long. It might seem excessively long, but knotting uses up a surprising amount of length. It’s always better to have too much cord to trim at the end than to run short mid-project.
Once all eight pieces are cut, gather them together and make sure all the ends are even. This neat bundle will be the foundation for your entire DIY hanging planter.
Step 2: Create the Top Loop
This is how your planter will hang from its ring. Take your bundle of eight cords and find the exact center. You can do this by holding all the ends together and finding the loop at the other side.
Now, slide that center loop through your wooden or metal ring. Pull the ends of the cords through the loop you just created and pull tight. This knot is called a Lark’s Head Knot. It securely attaches your cords to the ring, creating a neat and strong hanging point.
Adjust the cords so they lay flat and are evenly distributed around the ring. You should now have 16 individual strands of cord hanging down from the ring.
Step 3: Tie Your First Row of Knots
Now the fun really begins! For this simple design, we’ll use the most basic and versatile knot: the square knot. It requires four strands of cord. Since you have 16 strands, you’ll be making four square knots in this row.
Separate your 16 strands into four groups of four. Take the first group. The two middle cords will be your “filler” cords—they’ll stay straight. The two outer cords will be your “working” cords.
To tie a square knot:
- Take the left working cord and cross it over the two filler cords, forming a “4” shape.
- Take the right working cord and pass it under the crossover point of the left cord.
- Now, bring that right cord up through the loop of the “4” on the left side. Pull both working cords to tighten the knot up towards the ring. That’s the first half!
- To complete the knot, do the reverse. Take the right working cord and cross it over the two filler cords.
- Take the left working cord, pass it under the crossover, and up through the loop on the right side. Pull tight.
You’ve made one square knot! Now, repeat this process with the other three groups of four cords. Try to make all your knots at the same height, about 2-3 inches down from the main ring.
Step 4: Create the Alternating Second Row
This is the magic step that creates the “net” or “basket” that will hold your pot. You’re going to make another row of square knots, but this time, you’ll “borrow” cords from adjacent groups.
Leave the first two cords on the far left and the last two cords on the far right alone for a moment. Find the space between your first and second square knots from the previous row. Take the two right-hand cords from the first knot and the two left-hand cords from the second knot. You now have a new group of four.
About 3-4 inches below your first row of knots, tie another square knot with this new group of four. Repeat this across, creating three knots in this second row. This staggering pattern is what forms the beautiful diamond shapes in the basket.
Pro Tip: To keep your knot spacing consistent, you can place your pot in the middle while you work and use it as a visual guide for where the next row of knots should be.
Step 5: Form the Basket and Tie the Final Knot
You’re almost there! It’s time to gather everything at the bottom to create the supportive base for your pot.
Gently place your pot inside the netting you’ve created. This will help you judge where to tie the final knot. The base of the basket should sit snugly under the bottom of the pot.
Once you’re happy with the pot’s position, gather all 16 cords together underneath it. About 3-4 inches below the bottom of the pot, you’ll tie a big, final gathering knot. To do this, take an extra piece of cord (about 2 feet long) and create a loop. Lay the loop against your bundle of 16 cords, with the loop end pointing down.
Holding the loop in place, tightly wrap the long end of your extra cord around the bundle (and the loop) many times, working from top to bottom. Once you have a nice, tight wrap (about 1-2 inches long), thread the end of the wrapping cord through the loop at the bottom. Now, pull the top tail of the loop upwards. This will pull the bottom end up and under the wraps, hiding it completely and locking the knot in place. Trim the two ends of the wrapping cord closely.
Step 6: Trim the Tassel and Add Your Plant!
This is the finishing touch that makes your DIY hanging planter look polished and professional. Decide on the desired length for your tassel. Use your sharp scissors to trim all the ends of the cords in a straight, clean line. You can also cut them at an angle for a different look.
Now for the best part! Gently place your plant (in its pot) into its new home. Find the perfect spot with the right amount of light, hang it from your securely installed ceiling hook, and step back to admire your incredible handiwork.
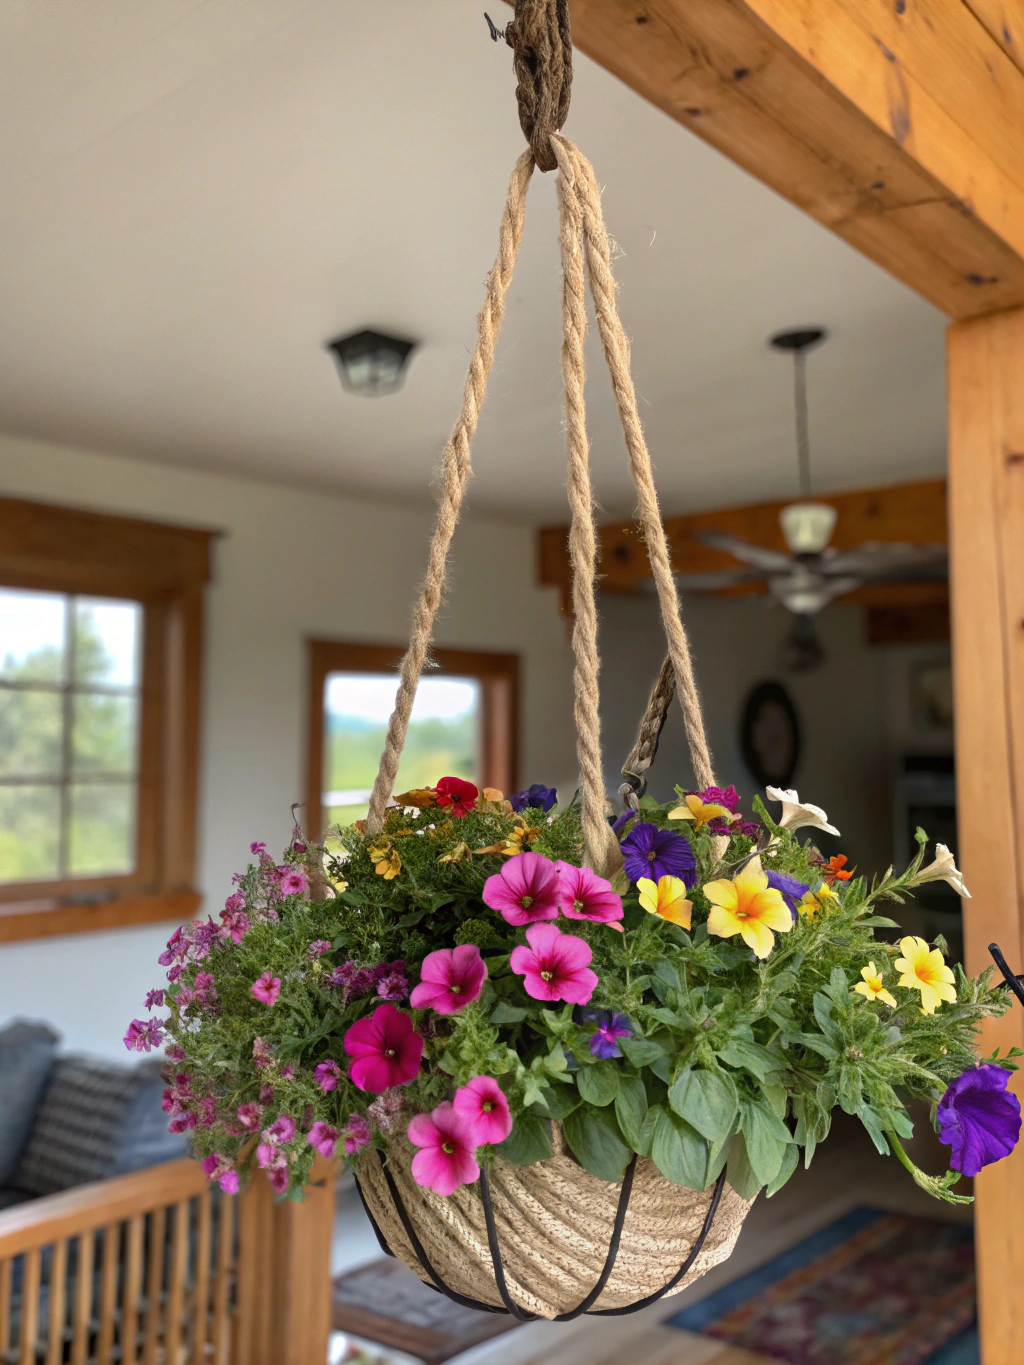
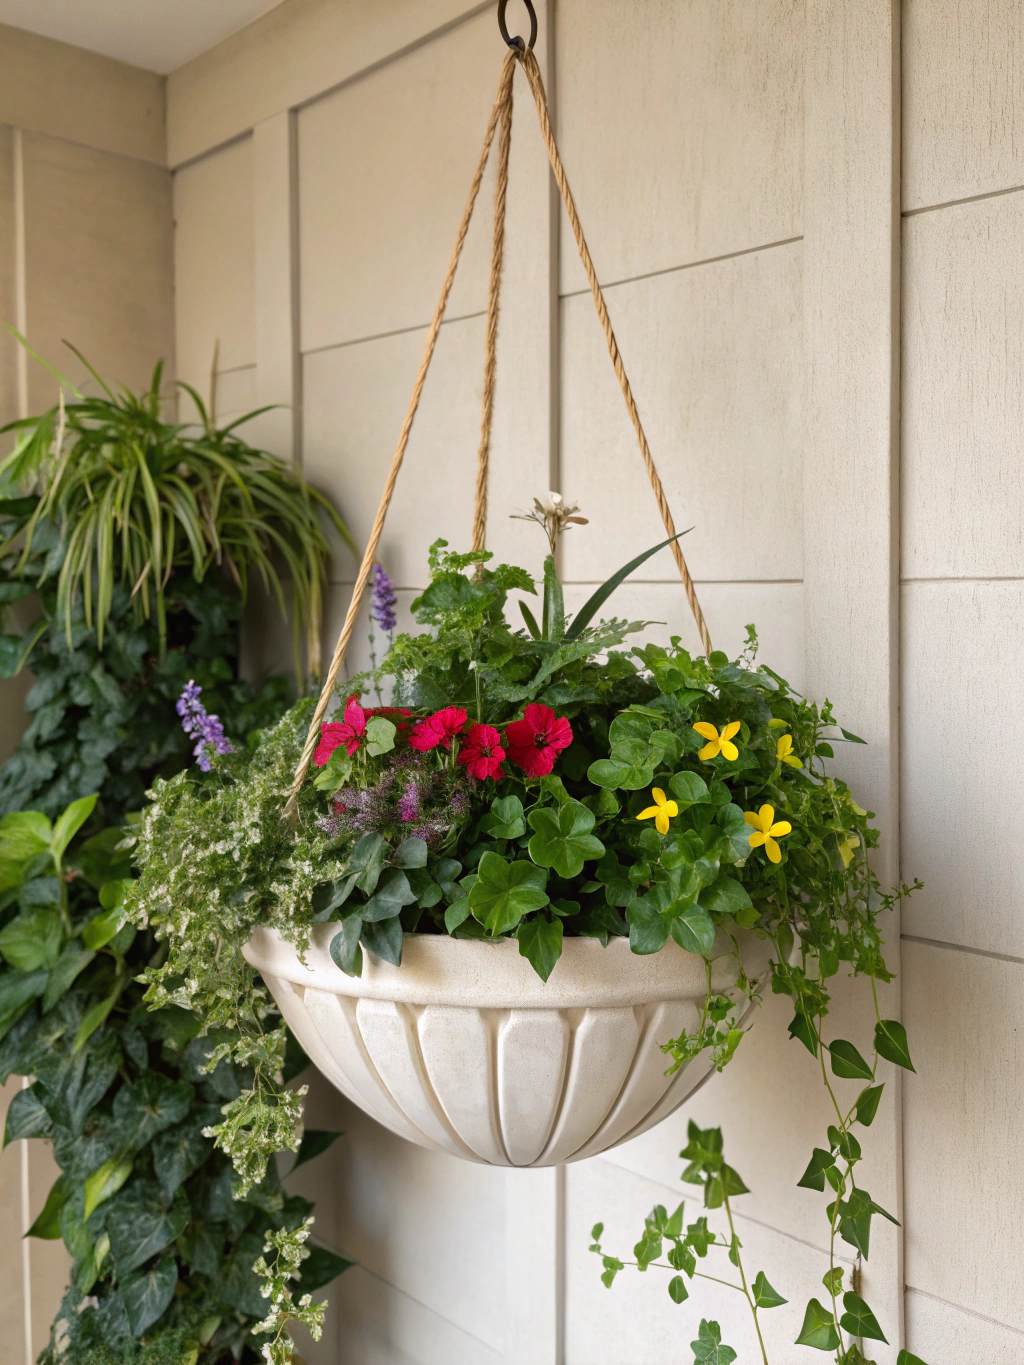
The Grand Reveal: Your Finished Masterpiece!
And there you have it! A beautiful, handcrafted piece of decor that adds life, color, and personality to your room. You took a bundle of rope and a simple pot and turned it into something truly special.

Give yourself a pat on the back! You’ve not only brightened your space but also learned a new skill. Now, find the perfect plant to show off. Trailing plants like Pothos, String of Pearls, or English Ivy look particularly stunning as they cascade down the sides.
We’d absolutely love to see your creations! Share a photo of your finished DIY hanging planter in the comments below or tag us on social media with #FixDIY.
Pro Tips & FAQs for Perfect Planters
You’ve got the basics down, but here are a few extra tips and answers to common questions to elevate your project from good to great.
What are the best plants for a DIY hanging planter?
Trailing or vining plants are a classic choice because they create a beautiful cascading effect. Consider Golden Pothos, Spider Plants, String of Pearls, English Ivy, or Philodendron. For sunny spots, a trailing succulent like Burro’s Tail looks amazing. Just be sure to match your plant’s light and water needs to the location where you plan to hang it.
How do I make sure my hanging planter is secure?
This is critically important! Never hang a planter from a simple screw in the drywall. You MUST locate a ceiling joist (a wooden beam behind the drywall) and screw your hook directly into that. Use a stud finder to locate one. If a joist isn’t in the right spot, use a heavy-duty toggle bolt or a snap-toggle anchor that is specifically designed to hold significant weight in hollow walls or ceilings. Always check the weight rating on the hook and anchor, and remember to account for the weight of the pot, soil, plant, AND water.
How do I water a hanging planter without making a mess?
There are a few easy methods. The best way is to take the planter down, place the pot in a sink or bathtub, water it thoroughly until water runs out the drainage hole, and let it drip for 15-20 minutes before hanging it back up. If it’s too difficult to take down, you can place a bowl underneath to catch drips or use a watering can with a long, thin spout to water slowly and carefully. Another great trick is to place a few ice cubes on the soil; they’ll melt slowly and give the soil time to absorb the water without overflowing.
Where can I find more DIY planter ideas?
The internet is a treasure trove of inspiration! For a huge collection of projects that cover all skill levels and styles, we highly recommend checking out these “DIY hanging planter ideas, How to make a DIY hanging planter, Best materials for DIY hanging planter”. You’re sure to find your next weekend project there!
What Are You Waiting For?
You’re now armed with the knowledge, inspiration, and step-by-step instructions to create the hanging planter of your dreams. This project is the perfect way to spend a creative afternoon and the results will bring you joy for years to come.
So, which idea will you try first? The classic macrame, the chic leather, or the rustic tin can?
Leave a comment below and let us know! We love hearing from you. And don’t forget to share this guide with a friend who needs a little more green in their life. Happy crafting


