DIY No Sew T-Shirt Bag
Transform old tees into trendy totes with this super simple DIY no sew t-shirt bag project!
Hey there, fellow DIY enthusiasts! Are you staring at a pile of old t-shirts, wondering if they’re destined for the rag pile or, worse, landfill? What if I told you that with just a pair of scissors and about 15 minutes, you could transform one of those forgotten tees into a super stylish, incredibly useful DIY no sew t-shirt bag? Yes, you heard that right – absolutely no sewing machine, no needles, no thread, and no fuss! This project is a game-changer for anyone looking for a quick, eco-friendly craft.
This DIY no sew t-shirt bag isn’t just a practical way to carry your groceries, gym gear, or beach essentials; it’s a statement! It says you’re creative, resourceful, and care about sustainability. Plus, it’s ridiculously easy and fun to make. Whether you’re a seasoned crafter or someone who thinks ‘DIY’ is a mystical language, you’ll nail this project. So, grab that old band tee or that holiday souvenir shirt that’s seen better days, and let’s get snipping!
Table of Contents
Table of Contents
Why You Absolutely Need to Make a DIY no sew t-shirt bag
Before we dive into the “how-to,” let’s talk about the “why.” In a world increasingly conscious of waste, upcycling projects like this DIY no sew t-shirt bag are more than just a crafty pastime; they’re a small step towards a greener planet.
- Eco-Friendly Champion: Giving an old t-shirt a new life means one less item in the landfill and reduces the demand for new products. Textile waste is a huge environmental issue, and every little bit of repurposing helps!
- Declutter with Purpose: We all have them – t-shirts that hold memories but no longer fit, or perhaps the design has faded. Instead of letting them take up precious drawer space, turn them into something functional and fabulous.
- Uniquely Yours: Forget mass-produced tote bags! Your DIY no sew t-shirt bag will be one-of-a-kind, reflecting your personal style. Choose a shirt with a cool graphic, a vibrant color, or a sentimental print, and you’ve got an instant conversation starter.
- Budget-Friendly Brilliance: This project costs next to nothing, especially if you’re using a t-shirt you already own. Even if you pick one up from a thrift store, it’s still incredibly economical.
- Perfect for Beginners: This is the ultimate entry-level DIY. If you can use scissors, you can make this bag. It’s a fantastic confidence booster and a great project to do with kids (with supervision for scissor use, of course!).
- Surprisingly Strong & Versatile: You’ll be amazed at how sturdy these bags can be! Perfect for carrying library books, your farmers’ market haul, or as a cute carryall for everyday essentials.
- Amazing Handmade Gifts: Need a quick, thoughtful gift? A personalized DIY no sew t-shirt bag is a fantastic option. Make one for a friend using a t-shirt that reminds you of them – talk about brownie points!
Convinced yet? I thought so! Let’s gather our minimal supplies and get started on this rewarding project.
What You’ll Need for Your T-Shirt Transformation

DIY No Sew T-Shirt Bag
Gather these simple supplies, and you’re ready to create your DIY no sew t-shirt bag!
One of the best things about this project is how few materials you need. You probably have everything on hand already!
Here’s your short and sweet list: DIY No Sew T-Shirt Bag
- An Old T-Shirt: This is your star player!
- Material: Cotton or cotton-blend t-shirts work best as they are easy to cut and the fabric has a nice feel. Thicker jersey knits are sturdier. Avoid very thin or overly stretchy fabrics if you want a robust bag, as they might distort or tear more easily with heavy loads.
- Size: A larger t-shirt (adult medium, large, or XL) will yield a bigger bag. Smaller shirts can make cute little totes, perhaps for a child or for carrying small items.
- Design: Consider the graphic on the t-shirt. How will it look when the sleeves and neckline are cut? A central design often looks fantastic. Plain shirts are great too, offering a blank canvas if you want to customize later.
- Sharp Fabric Scissors: This is crucial! Good quality fabric scissors will make clean cuts and prevent fraying or snagging, making the process much smoother. If you don’t have dedicated fabric scissors, ensure your regular scissors are very sharp. A rotary cutter and a self-healing mat can also be used if you have them, especially for ensuring straight lines.
- Ruler or Straight Edge: Essential for marking a straight line for the bottom fringe. A quilting ruler, a standard office ruler, or even a straight piece of cardboard will do.
- (Optional but Recommended) Fabric Marker or Chalk: Useful for drawing your cutting lines, especially for the neckline and the bottom edge before cutting the fringe. The marks will either be cut off or wash out. A light-colored pencil can work on dark fabrics, and a regular pencil might work on light ones, but test in an inconspicuous area first.
And that’s literally it! No glue, no sewing kit, just these basic items stand between you and your awesome new bag.
Let’s Get Crafting: Your 5-Step DIY no sew t-shirt bag Tutorial
Alright, it’s time for the main event! Follow these five simple steps, and you’ll be showing off your new DIY no sew t-shirt bag in no time. Remember to take your time with the cutting – precision makes all the difference.
Step 1: Prepare Your T-Shirt / DIY No Sew T-Shirt Bag
First things first, let’s get your t-shirt ready for its transformation. Give it a good wash and dry if it’s been lurking in the back of your closet for a while. This ensures it’s clean and any shrinkage has already occurred. Ironing it smooth will make cutting much easier and more accurate. Wrinkles are not your friend in this project as they can lead to wonky cuts.
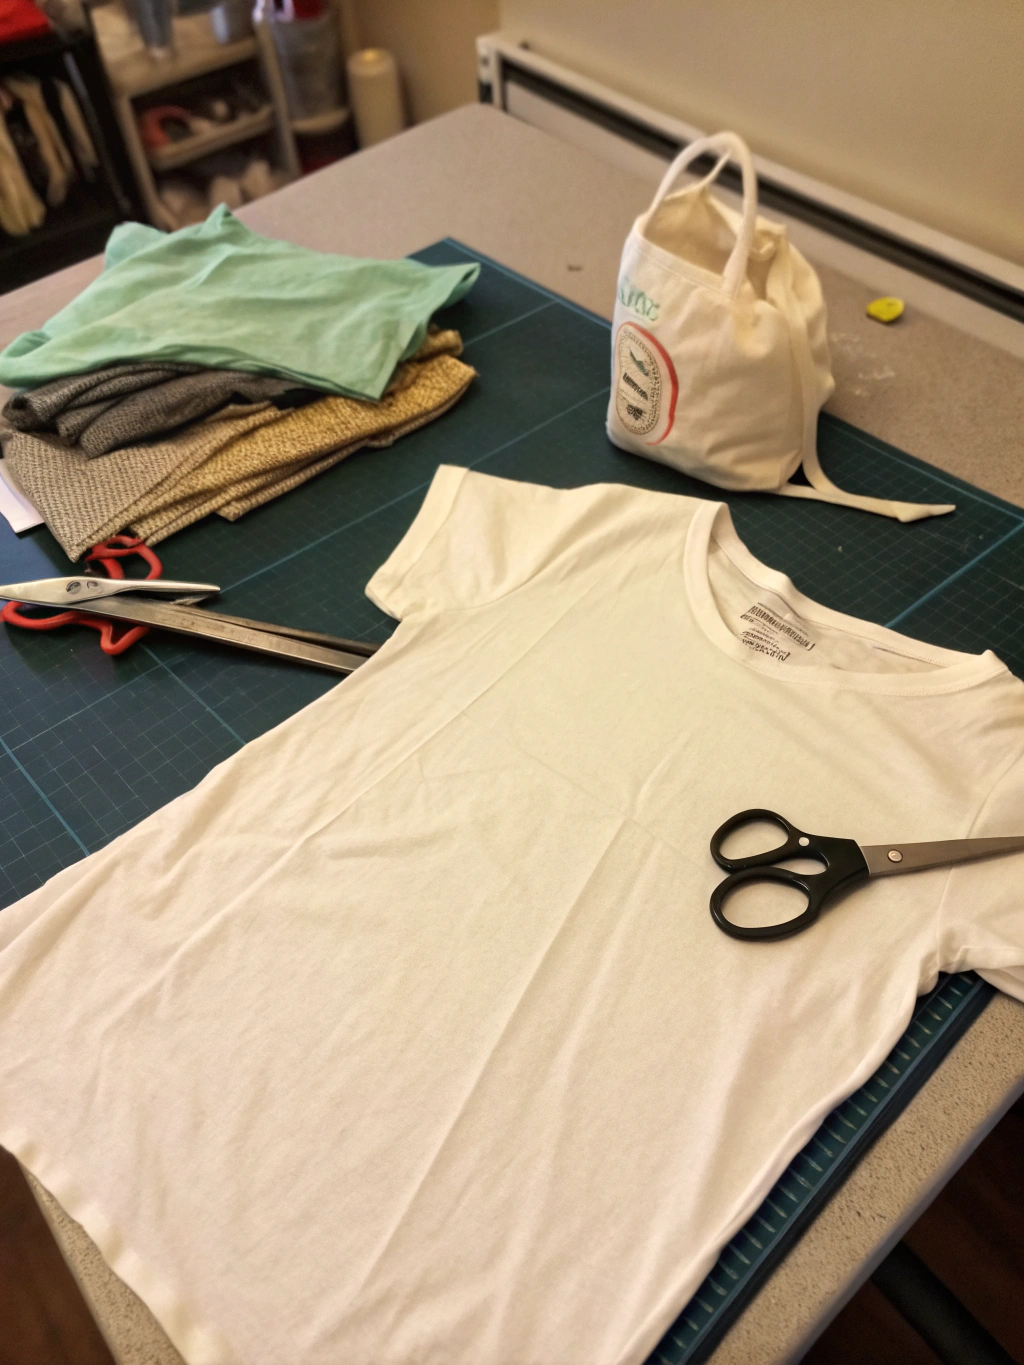
Once it’s clean and pressed, lay your t-shirt flat on a hard surface, like a table or a clean floor. Smooth out any remaining wrinkles or puckers, ensuring both the front and back layers are aligned neatly. This prep work might seem skippable, but it really sets you up for success. Take a moment to visualize your finished bag and decide roughly how deep you want it to be. This will influence where you make your bottom cuts later on.
Step 2: Cut Off the Sleeves and Widen the Neckline / DIY No Sew T-Shirt Bag
Now, we’ll shape the top of your bag and create the handles.
With the shirt still laying flat, carefully cut off both sleeves. You’ll want to cut just inside the sleeve seam, following the curve of the armhole. Cutting along this seam line naturally creates a nice handle shape. Try to make the cuts on both sides as symmetrical as possible for a balanced look. These sleeve cut-offs don’t have to go to waste either – they can be used as cleaning rags or for other tiny craft projects!
Next, widen the neckline to create the opening of your bag. The existing neckband is usually too small for a tote bag opening. You can decide how wide you want it to be – a deeper scoop or a wider boat neck style. A good starting point is to cut about 1-2 inches below the existing collar, creating a wider curve. You can use a bowl or a plate as a template to trace a nice, even curve if you’re worried about free-handing it. Remember, you’re cutting through both layers of the t-shirt (front and back) simultaneously.
Pro Tip: If you cut a little less at first, you can always trim more off. But you can’t add fabric back on! So, be a tad conservative with your initial neckline cut.
Step 3: Determine Bag Depth and Mark Your Cut Line
Think about what you’ll use your bag for. A deeper bag is great for groceries, while a shallower one might be chic for lighter items. Lay your t-shirt flat again. Decide where you want the bottom of your bag to be, keeping in mind that the fringe you’ll cut will shorten the usable depth by a few inches (usually 3-4 inches, depending on your fringe length).
Once you’ve decided on the depth, use your ruler and fabric marker or chalk to draw a straight horizontal line across the width of the t-shirt. This line marks where the top of your fringe will start. It’s crucial that this line is straight and parallel to the original hem of the shirt (if it’s still there) to ensure your bag hangs evenly. Double-check that your line goes through both layers of the t-shirt and that the fabric is perfectly flat underneath.
Step 4: Cut the Fringe
This is where the magic happens and your bag really starts to take shape! This step creates the strips that you’ll tie together to form the bottom of your DIY no sew t-shirt bag.

Carefully cutting the fringe is key to a sturdy bottom for your DIY no sew t-shirt bag.
Starting from the bottom raw edge (or the hem if you haven’t cut it off yet), cut vertical strips up to the line you marked in Step 3. You’ll be cutting through both layers of the t-shirt at the same time.
Aim for each strip to be about ¾ to 1 inch wide. The length of these strips (from the bottom edge up to your marked line) should generally be between 3 to 4 inches long. Longer fringe can be stylish but might make the tying process a bit bulkier. Consistent width is more important than perfect mathematical precision, but try to keep them relatively uniform.
Continue cutting these strips all the way across the bottom of the t-shirt.
Common Pitfalls:
- Cutting too high: Be very careful not to cut past your marked line, or you’ll have holes higher up in your bag!
- Uneven fringe: While it doesn’t have to be perfect, try to keep the width of the strips somewhat consistent for a neater look and more even tying.
- Not cutting through both layers: Ensure your scissors are sharp enough and you’re applying enough pressure to cut cleanly through both the front and back fabric layers simultaneously.
Take your time with this step. Good, clean cuts here will make the next step much easier and your bag more durable. Once you’re done cutting all the strips, you should have a lovely fringe hanging from the bottom of your shirt. Gently stretch each fringe piece; jersey knit fabric often curls a bit when stretched, which can make tying easier and give a nice finish.
Step 5: Tie the Fringe to Create the Bag Bottom
This is the final construction step – creating a strong, closed bottom for your bag by tying the fringe pieces together. It’s surprisingly effective!
There are a couple of common ways to do this:
Front-to-Back Knotting (Most Common):
- Take one front fringe strip and the corresponding back fringe strip directly behind it.
- Tie them together with a secure double knot. Pull the knots snug, but not so tight that you excessively pucker the fabric.
- Continue this process, tying each front strip to its corresponding back strip, all the way across the bottom of the bag. Make sure every pair is tied!
Alternative – Interlocking Knots for Extra Security (Slightly More Advanced Look):
- First, tie each front strip to its corresponding back strip with a single knot, as above.
- Then, to close any small gaps between these initial knots and add strength, take one strip from one knotted pair (e.g., the right strip of pair 1) and one strip from the adjacent knotted pair (e.g., the left strip of pair 2) and tie these together with another knot. Work your way across, connecting the pairs. This creates a slightly more woven and very secure bottom.
Whichever method you choose, the goal is to ensure there are no gaps left between the tied fringes where small items could fall out. Once all the fringes are tied, give the bottom a gentle tug to check its sturdiness.
Optional Tip: For a “cleaner” look on the outside, some people prefer to turn the t-shirt inside out before tying the knots. This way, the knots and the fringe ends will be on the inside of the bag. If you do this, after tying, turn the bag right-side out, and the bottom will appear smoother from the outside. However, having the fringe on the outside is also a popular decorative choice! It’s purely down to personal preference.
And that’s it! Your t-shirt is now a bag!
Voila! Your Amazing DIY no sew t-shirt bag is Ready!

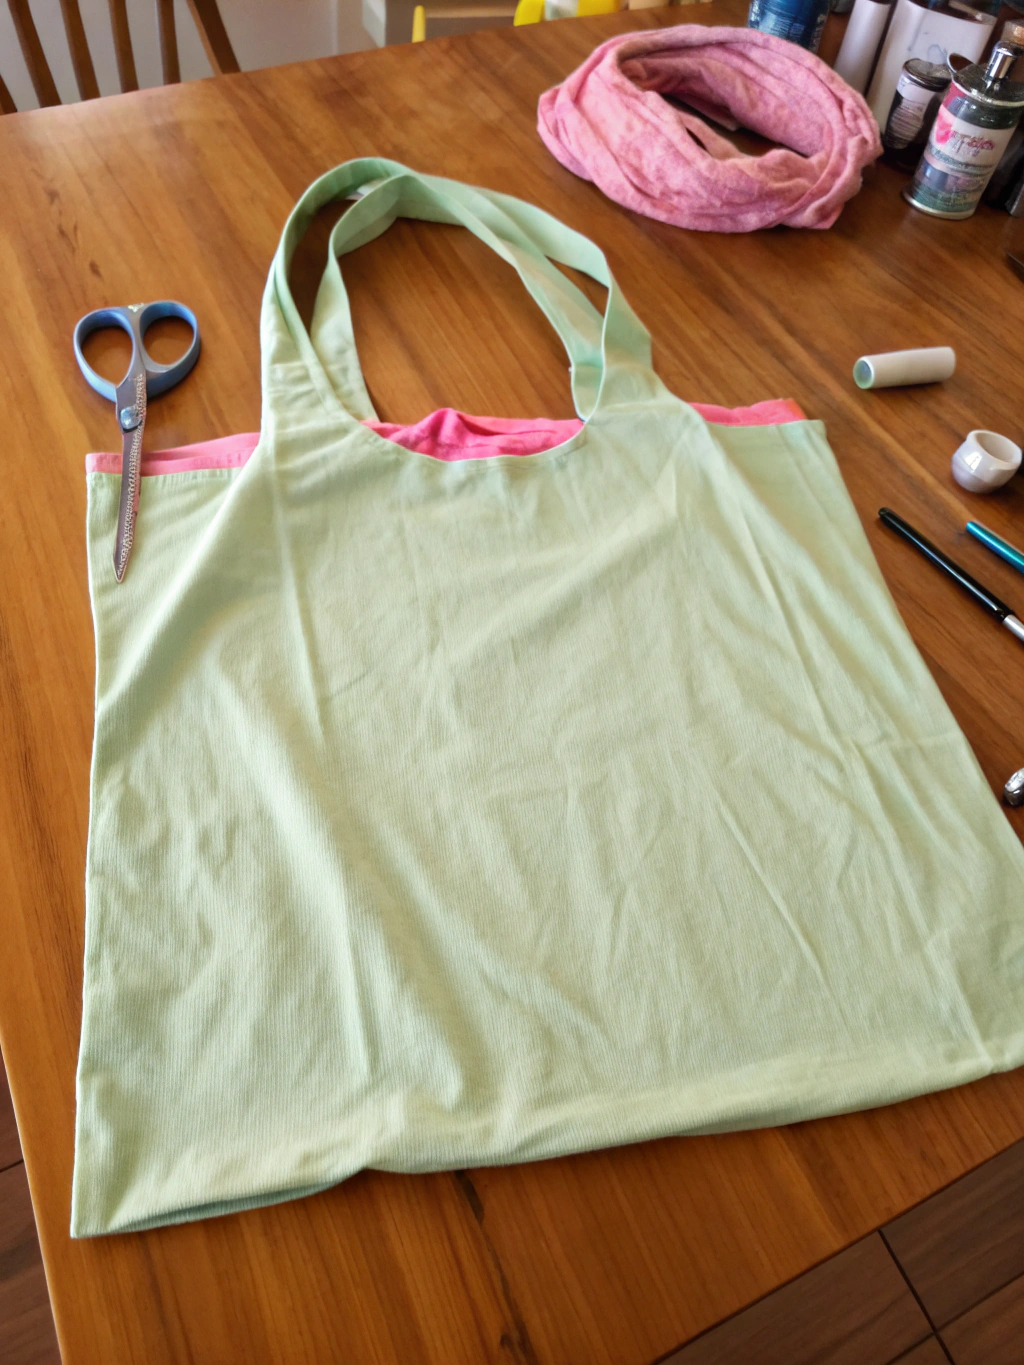
Ta-da! Your very own stylish and eco-friendly DIY no sew t-shirt bag, made by you!
Take a step back and admire your handiwork! You’ve successfully transformed an old t-shirt into a functional and fashionable tote bag without a single stitch. How cool is that? In just a few simple steps, you’ve created something practical, sustainable, and uniquely yours.
This DIY no sew t-shirt bag is now ready for action. Load it up with your library books, take it to the farmers’ market, pack your gym clothes, or simply use it as an everyday carryall. The possibilities are endless. Pat yourself on the back for this quick and rewarding DIY win!
We’d absolutely love to see your creations! Did you use a band tee? A brightly colored shirt? Share a picture of your finished DIY no sew t-shirt bag in the comments below or tag us on social media. Let us know if you have any tips or tricks you discovered along the way!
Pro Tips to Elevate Your DIY no sew t-shirt bag
Your basic DIY no sew t-shirt bag is already awesome, but if you want to take it to the next level or troubleshoot common issues, here are some pro tips:
Choosing the Perfect T-Shirt:
- Material Matters: While most cotton or cotton-blend tees work, thicker jersey knit fabrics (like those from higher-quality t-shirts) will result in a sturdier bag. Very thin or overly stretchy “tissue tees” might not hold up as well to heavy items and could stretch out of shape.
- Size and Shape: Men’s L or XL shirts often make the best-sized tote bags for general use. Consider how the t-shirt’s original shape (e.g., fitted vs. boxy) might influence the final bag.
- Graphic Placement: If your shirt has a cool graphic, visualize how it will look once the sleeves are gone and the neckline is widened. A central graphic usually works best. Sometimes, an off-center design can be quirky and fun too!
Customization Galore – Make it Uniquely Yours!
- Fabric Paint or Markers: Get creative! Add stripes, polka dots, your initials, or draw freehand designs. This is a great way to personalize a plain t-shirt bag.
- Iron-On Patches: These are a super easy way to add flair. Pick patches that reflect your hobbies or personality.
- Beads on the Fringe: Before tying the final knots, slip some wooden or colorful plastic beads onto the fringe strips for a bohemian touch.
- Dip-Dyeing or Tie-Dyeing: For a truly unique look, consider dip-dyeing the bottom of your bag (after it’s made) or even tie-dyeing the entire t-shirt before you start cutting.
- Stencils: Use stencils with fabric paint to create intricate patterns or lettering.
Fringe Variations for Different Looks:
- Thinner or Thicker Fringe: Experiment with cutting strips that are ½ inch wide for a finer fringe or 1.5 inches wide for a chunkier look.
- Longer Fringe: If you want a more dramatic fringe, simply mark your horizontal cutting line higher up on the t-shirt body, making the strips longer.
- Braided Fringe: For a very different texture (and a bit more work), you could try braiding sets of 3 fringe strips together before knotting them or incorporate small braids into the tying process.
Reinforcing for Heavy Duty Use (A Little Cheat!):
- While this is a “no sew” project, if you anticipate carrying very heavy items regularly, you could discreetly hand-stitch along the knotted bottom on the inside for extra peace of mind.
- Alternatively, when tying, ensure your double knots are extremely tight and perhaps use the interlocking knot method described in Step 5 for maximum strength. You could also cut a piece of sturdy cardboard to fit the bottom of the bag, providing a flat and more supportive base.
Washing Your Masterpiece:
- Most DIY no sew t-shirt bags can be machine washed on a gentle cycle with cold water.
- It’s best to turn the bag inside out to protect any designs and the fringe.
- Air dry by hanging it up or laying it flat. Avoid the tumble dryer if possible, as high heat can sometimes degrade the fabric or cause shrinkage over time.
Even More Easy DIY no sew t-shirt bag ideas and Inspiration
Once you’ve made one DIY no sew t-shirt bag, you might find yourself addicted! The basic technique is so versatile. Here are a few more “easy DIY no sew t-shirt bag ideas” to get your creative juices flowing:
- Tank Top Transformation: Have old tank tops? They can be even quicker to convert since you don’t need to cut off sleeves! Just widen the neckline if needed, then cut and tie the bottom fringe.
- Long-Sleeve Variations: A long-sleeved t-shirt can also be used. The sleeves can be cut off as usual, or you could get creative and incorporate them into longer, knotted handles or even tie them into a decorative bow at the top.
- Kids’ T-Shirts for Mini Totes: Old children’s t-shirts make adorable small bags, perfect for kids to carry their own treasures or as cute gift bags.
- Party/Group Craft Activity: Looking for a fun, budget-friendly craft for a party, scout troop, or community event? Making these bags is a fantastic group activity. Everyone can bring their own old t-shirt and leave with a unique creation.
- Themed Bags: Think holiday-themed t-shirts for festive shopping bags, or sports team t-shirts for game day.
- Explore More Upcycling: This is just one of many ways to give old clothes a new lease on life. For more inspiration on upcycling and other creative crafts, check out resources like these “No sew t-shirt bag tutorial, How to make a no sew t-shirt bag, Easy DIY no sew t-shirt bag ideas” which often feature a wealth of clever ideas.
The beauty of this project lies in its simplicity and adaptability. Don’t be afraid to experiment!
Frequently Asked Questions (FAQs) about No Sew T-Shirt Bags
Got questions? We’ve got answers! Here are some common queries about making your own DIY no sew t-shirt bag.
Q1: What kind of t-shirt works best for a DIY no sew t-shirt bag?
Cotton or cotton-blend t-shirts are generally the best choice. Look for medium-weight fabrics; very thin shirts might not be durable enough for heavy items, while overly thick or stiff fabrics can be harder to cut and tie neatly. Adult sizes (M, L, XL) will give you a more generously sized tote bag. Ensure the shirt is clean and preferably ironed before you start.
Q2: How strong is a no-sew t-shirt bag? Can it hold heavy items?
You’ll be surprised! When knotted properly (especially with double knots or the interlocking method), these bags can be quite sturdy. They are great for groceries, books, beach gear, etc. However, like any fabric bag, there’s a limit. For very heavy or sharp-edged items, use common sense. The strength also depends on the quality of the t-shirt fabric and how securely you tie the knots.
Q3: Can I make this t-shirt bag without a ruler?
Yes, you can, but using a ruler (or any straight edge) to mark the line for the fringe cutting is highly recommended for a neater, more even bottom. If you’re confident in your freehand cutting abilities, you can eyeball it, but your bag might end up a bit lopsided. For the sleeve and neck cuts, free-handing is more common and often fine.
Q4: How do I wash my DIY no sew t-shirt bag?
Most t-shirt bags can be machine washed on a gentle cycle with cold water. It’s a good idea to turn it inside out first to protect the fringe and any designs. Always air dry by hanging it or laying it flat. Avoid high heat from a tumble dryer, which can damage the fabric or cause the knots to loosen over time.
Q5: Are there other “how to make a no sew t-shirt bag” methods without tying knots?
While the knotted fringe method is the most common and arguably the sturdiest for a truly “no sew” approach with just scissors, some tutorials might suggest using fabric glue for other no-sew projects. However, for a t-shirt bag that needs to bear weight, fabric glue alone at the bottom edges might not be reliable enough without some form of reinforcement or specific fabric fusing techniques, which can be more complex. The beauty of the knotted method is its simplicity and strength using only the t-shirt material itself. For an alternative no-sew closure, you could also explore simple weaving techniques with the fringe if you’re feeling adventurous and want a flatter bottom, though this is more intricate than basic knotting.
Q6: Any “easy DIY no sew t-shirt bag ideas” for the leftover t-shirt scraps, like the sleeves or neckline?
Absolutely! Don’t throw those scraps away. The cut-off sleeves can be turned into small pouches (just tie one end), headbands, or even pet toys. The neckline strip, if cut carefully, can also become a headband. Smaller fabric pieces can be used as stuffing for small pillows or pet beds, or cut into strips to make t-shirt yarn for other crafting projects like crochet or macrame. Upcycling is all about minimizing waste!
Your Turn to Create and Share!
And there you have it – everything you need to know to create your very own fantastic DIY no sew t-shirt bag in just five easy steps! This project is more than just a craft; it’s a fun way to be sustainable, express your creativity, and make something genuinely useful from an item you might have otherwise discarded.
We truly believe that DIY should be accessible and enjoyable for everyone, and this no-sew tote is the perfect embodiment of that philosophy. So, go ahead, raid your closet (or your family’s!), pick out a t-shirt, and give this project a whirl. You’ve got nothing to lose and a cool new bag to gain!
We’d be thrilled to see what you create! Please share photos of your finished DIY no sew t-shirt bag in the comments section below. What t-shirt did you use? Any cool customizations? Your ideas and creations inspire our entire DIY community!
Don’t forget to share this tutorial with your friends and family who might enjoy a fun, eco-friendly project. Pin it on Pinterest, share it on Facebook, or tweet about your t-shirt bag triumph!
Want more easy DIY projects, upcycling inspiration, and home improvement tips delivered straight to your inbox? Sign up for our newsletter! And be sure to explore more upcycling crafts and other brilliant DIYs right here on our site.
Happy Crafting!


