Introduction
Is your patio or garden feeling a little… beige? You’ve got the beautiful summer blooms, but the pots they live in are looking tired and generic. This is where you can unleash your creativity with some fantastic diy painted flower pots summer designs. Transforming a plain terracotta pot into a vibrant piece of art is one of the most satisfying and budget-friendly ways to inject personality and color into your outdoor (or indoor) space. It’s a project that looks impressive but is secretly simple, making it perfect for a sunny weekend.
Forget spending a fortune on designer planters. We’re going to walk you through everything you need to know, from prepping your pots like a pro to creating seven stunning, on-trend designs that will have everyone asking, “Where did you get that?” Get ready to roll up your sleeves, grab a paintbrush, and add a personal touch to your summer sanctuary.
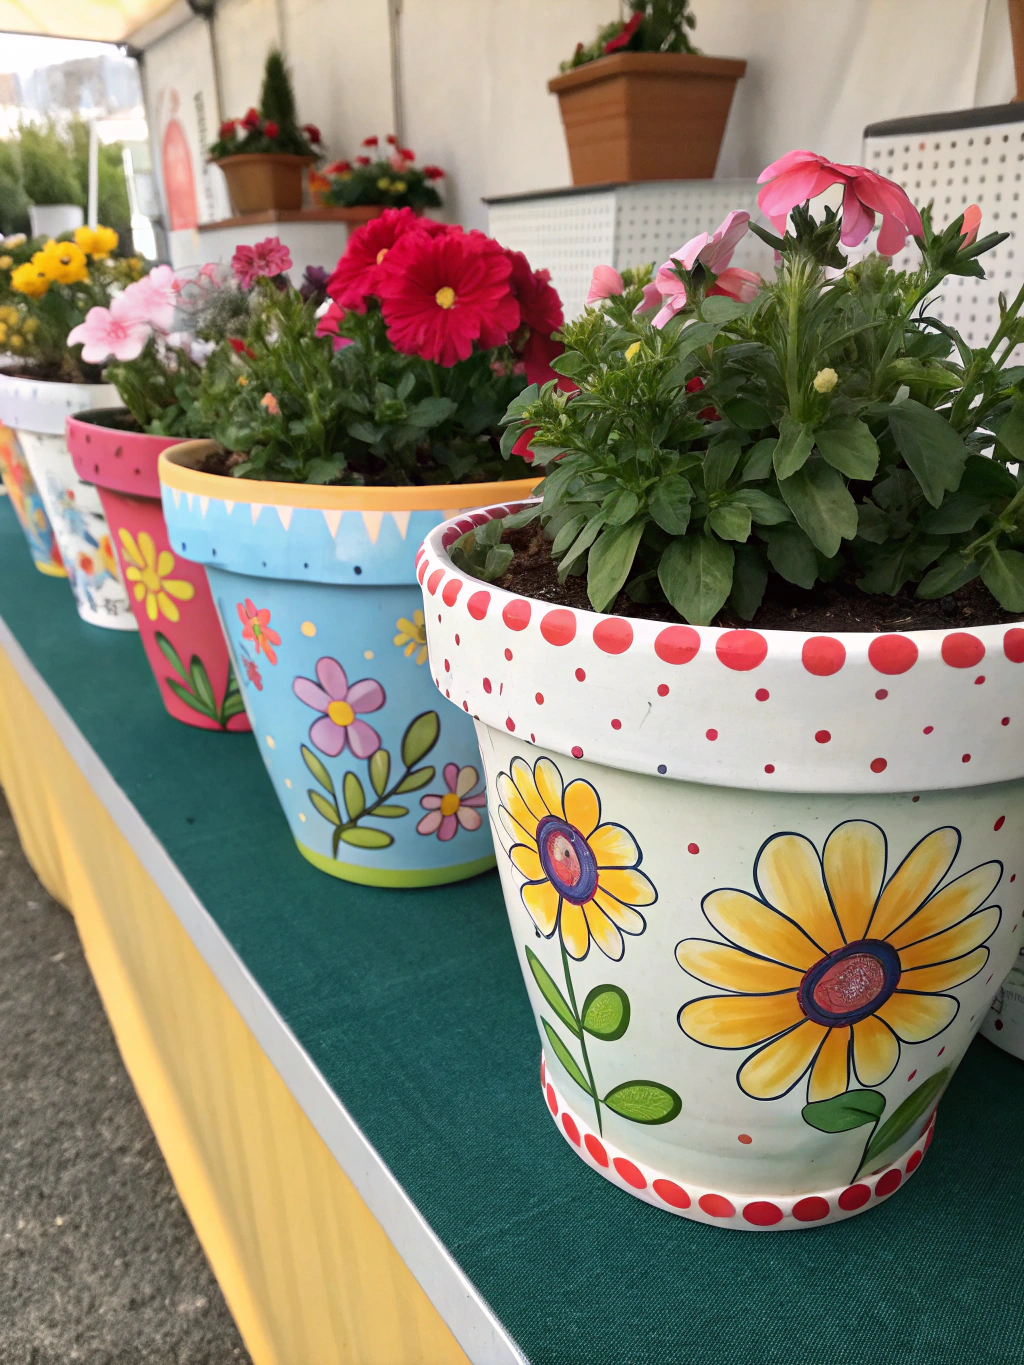
Table of Contents
Why DIY Painted Pots are the Perfect Summer Project
Before we dive into the “how-to,” let’s talk about the “why.” What makes this particular craft so rewarding?
- Ultimate Personalization: The designs are limited only by your imagination. You can match your outdoor decor, experiment with bold new colors, or even get the kids involved in a fun family activity.
- Insanely Budget-Friendly: A basic terracotta pot is incredibly cheap. With a few sample-sized pots of paint, you can create a high-end look for a fraction of the cost of store-bought decorative planters.
- Therapeutic and Fun: There’s something deeply calming about the process of painting. It’s a chance to unplug, focus on a creative task, and enjoy the satisfaction of making something beautiful with your own hands. It’s one of the best summer garden craft ideas for unwinding.
- Great for Gifting: A custom-painted pot, perhaps with a small succulent or herb already planted inside, makes a thoughtful and personal housewarming or “just because” gift.
What You’ll Need: Your Creative Toolkit
Gathering your supplies beforehand makes the whole process smoother and more enjoyable. Here’s a general list of what you’ll need to get started. Specific designs might require a few extra colors or tools, which we’ll cover in each section.
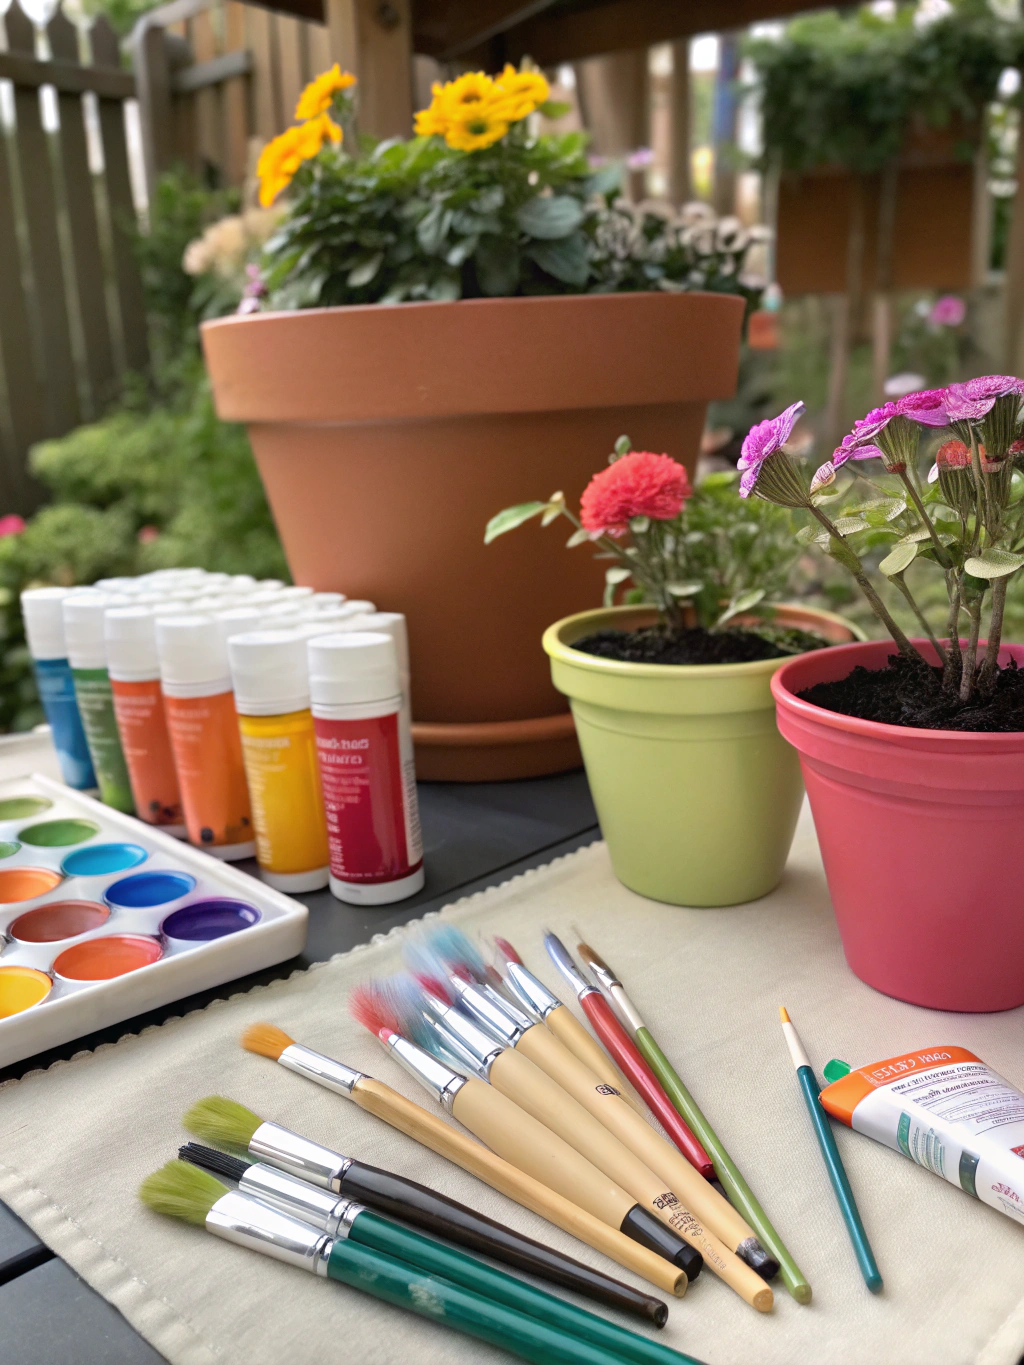
A well-prepped station is the key to a fun and mess-free crafting session.
Essential Materials & Tools:
- Terracotta Pots: Any size will do! Make sure they are clean and dry.
- Rubbing Alcohol or Soapy Water: For cleaning your pots thoroughly.
- Sandpaper (Optional): A fine-grit (around 220) is useful for smoothing any rough spots on older pots.
- Waterproof Sealant: A clear, spray-on or brush-on sealant is crucial. We recommend both an interior and an exterior coat.
- Primer: A good quality, multi-surface primer (like Kilz or Zinsser) will make your colors pop and help the paint adhere better.
- Acrylic Craft Paints: The star of the show! Choose a variety of colors that fit your summer vibe. Outdoor-rated or multi-surface acrylics are best for durability.
- Assorted Paintbrushes: A mix of flat brushes for base coats and smaller, detailed brushes for designs is ideal.
- Painter’s Tape: Your best friend for creating sharp, clean lines.
- Clear Outdoor Sealer/Varnish: A final topcoat to protect your design from sun and rain. Look for one with UV protection in a matte or gloss finish, depending on your preference.
- Pencils: For lightly sketching out your designs.
- Drop Cloth or Newspaper: To protect your work surface.
The Foundation: A Step-by-Step Guide to Prepping and Painting
Don’t skip the prep! A proper foundation is the secret to a professional-looking and long-lasting finish. This basic diy painted flower pots tutorial applies to all of the designs that follow.
Step 1: Clean Your Canvas (The Pot!)
Whether your pot is brand new from the store or has been sitting in your shed, it needs a good cleaning. New pots often have a fine dust on them, and old pots can have dirt and mineral deposits.
Simply scrub the pot inside and out with warm, soapy water and a stiff brush. If it has stubborn white mineral stains (efflorescence), a 50/50 mix of white vinegar and water can help dissolve them. Rinse thoroughly and let the pot dry completely—and we mean completely. Terracotta is porous and holds onto moisture, which can ruin your paint job. Let it sit in the sun for a full 24 hours to be safe.
Step 2: Seal the Inside
This is a pro-tip that many people miss. Terracotta is designed to breathe, wicking moisture away from the soil and through the pot walls. If you don’t seal the inside of the pot, that moisture will eventually push its way through your paint, causing it to bubble and peel.
Take your waterproof sealant and apply 2-3 coats to the entire inside of the pot. A spray-on sealant is often easiest for getting even coverage. Let it dry completely according to the manufacturer’s instructions.
Step 3: Prime for Perfection
Priming the outside of your pot does two things: it stops the porous terracotta from soaking up all your colorful paint, and it provides a bright, neutral base that makes your design colors look more vibrant.
Apply one or two thin, even coats of your multi-surface primer to the entire exterior of the pot. Don’t forget the bottom, but avoid painting over the drainage hole. Let it dry completely. Now your canvas is prepped and ready for the fun part!
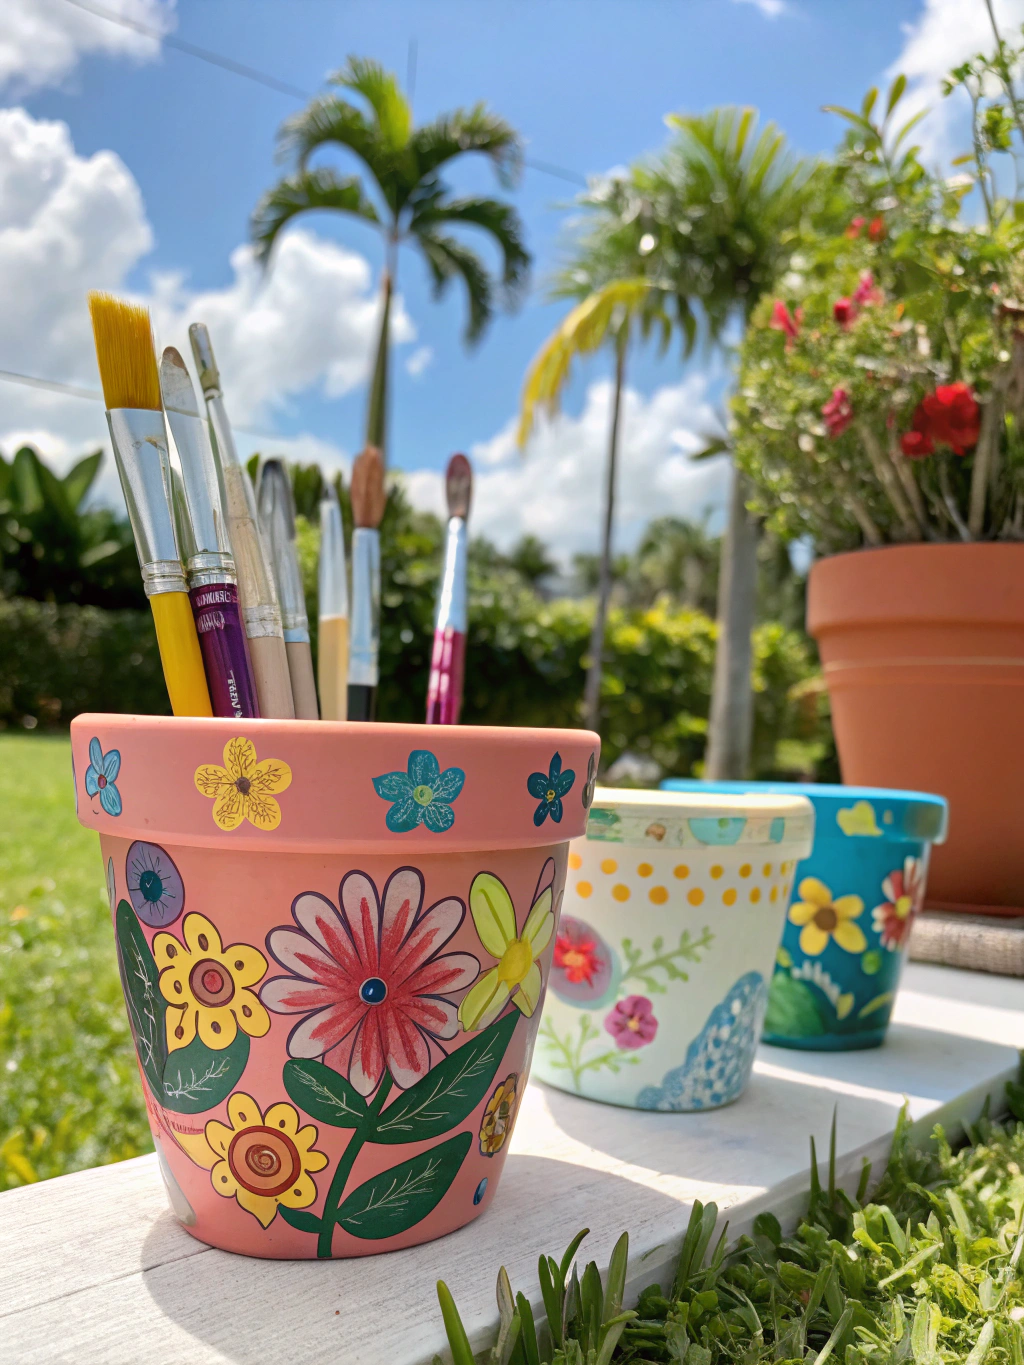
alt=”A hand priming a pot, a key step in this diy painted flower pots summer designs tutorial.”
7 Fresh Diy Painted Flower Pots Summer Designs
Now that your pots are prepped, it’s time to get creative. Here are seven fresh and fun design ideas to inspire your summer garden.
Design 1: The Sunshine Ombré
This design captures the beautiful gradient of a summer sunset and is surprisingly easy to achieve. It’s a perfect way to learn how to paint flower pots for summer with a modern, blended look.
- Vibe: Warm, modern, and serene.
- Extra Supplies: Three shades of a single color family (e.g., dark orange, medium orange, light yellow), a sponge brush or sea sponge.
- Instructions:
- Start by painting the entire pot with your lightest color (the yellow) and let it dry. This will be your base.
- Next, paint the bottom third of the pot with your darkest color (dark orange).
- While the dark paint is still wet, apply the medium orange color to the middle third of the pot.
- Now for the magic: Use a slightly damp sponge brush or sea sponge to gently dab and blot where the two colors meet. Use an up-and-down motion to blend the hard line into a soft, gradual transition.
- Continue this blending process between the medium orange and the light yellow at the top. The key is to work quickly while the paints are still wet. Don’t overthink it; the imperfections are what make it beautiful!
- Pro-Tip: If your paint dries too quickly, you can use a fine mist spray bottle with water to keep the blending area workable for a bit longer.
Design 2: Crisp Geometric Modern
For those who love clean lines and a contemporary look, this design is a showstopper. It’s all about using painter’s tape to create sharp, graphic patterns.
- Vibe: Chic, structured, and minimalist.
- Extra Supplies: High-quality painter’s tape (like FrogTape), a craft knife for clean cuts.
- Instructions:
- Apply your base coat color to the entire pot. A neutral like white, charcoal, or beige works wonderfully for this style. Let it dry for at least 24 hours so the tape doesn’t pull it up.
- Start laying down your painter’s tape to create geometric shapes—triangles, diamonds, and chevrons are popular choices. Press the edges of the tape down firmly to prevent paint from bleeding underneath.
- Once you’re happy with your pattern, paint inside the taped-off sections with your accent colors. Two to three colors usually work best to keep the design from feeling too busy.
- Apply two coats of your accent colors for full coverage.
- Here’s the most important step: Remove the tape while the final coat of accent paint is still slightly wet. Pull it off slowly and at a 45-degree angle. This gives you the crispest, cleanest lines possible. If you wait until it’s fully dry, the paint can chip and peel off with the tape.
- Pro-Tip: Use a credit card or a bone folder to burnish (rub) the edges of the tape down before you start painting. This creates a better seal and is the ultimate hack for preventing paint bleed.
Design 3: Playful Terrazzo Flecks
Inspired by the trendy flooring material, this terrazzo-style pot is full of personality and is a forgiving design for beginners. It’s one of the most popular summer garden craft ideas right now.
- Vibe: Artistic, fun, and retro-modern.
- Extra Supplies: At least 3-4 complementary accent colors, a very small detail brush.
- Instructions:
- Paint your pot with a solid, light-colored base coat (white or a pale pastel is perfect). Let it dry completely.
- Take your first accent color and your small detail brush. Begin painting small, irregular “fleck” shapes randomly across the pot. Think small blobs, skinny ovals, and imperfect triangles. Vary the size and direction of your flecks.
- Let the first color dry slightly, then repeat the process with your second accent color, overlapping some of the first flecks for a layered look.
- Continue with your remaining colors until you are happy with the density and distribution of the terrazzo pattern. The key is randomness! Don’t try to make it perfect.
- Pro-Tip: For a more authentic terrazzo look, add a few flecks of a metallic color like gold or copper. It adds a little pop of unexpected shimmer!
Design 4: Whimsical Watermelon
Nothing screams summer quite like a juicy watermelon! This fun and fruity design is perfect for adding a touch of whimsy to your patio and is a huge hit with kids.
- Vibe: Playful, sweet, and pure summer fun.
- Extra Supplies: Green paint (two shades, light and dark), pink/red paint, black paint, a fine-tipped black paint pen (optional).
- Instructions:
- Tape off the top rim of your pot. Paint the main body of the pot with your pink or red paint. This will be the “flesh” of the watermelon. Let it dry.
- Remove the tape from the rim and paint it with your light green color. This is the rind.
- Using a detail brush, paint wavy, vertical stripes with the dark green paint over the light green rim to create the classic watermelon rind pattern.
- Now for the seeds! Use a very small detail brush or a black paint pen to add small, teardrop-shaped seeds onto the pink section of the pot. Scatter them randomly.
- Pro-Tip: Before adding the black seeds, use a tiny bit of white paint to add a small highlight to one side of each seed. This little detail adds depth and makes them look more realistic.
Design 5: Coastal Blue Waves
Bring the beach to your backyard with this calming, ocean-inspired design. It’s a simple, free-flowing pattern that’s incredibly relaxing to paint.
- Vibe: Coastal, tranquil, and breezy.
- Extra Supplies: Several shades of blue paint (from dark navy to light sky blue), white paint.
- Instructions:
- Paint the entire pot with your darkest blue color and let it dry.
- Take the next-lightest shade of blue and paint a wavy, scalloped line about a third of the way up the pot. You don’t need tape for this; a hand-painted, organic line looks best. Fill in the area below the line.
- Repeat this process with each progressively lighter shade of blue, creating layered, wavy bands of color moving up towards the rim of the pot.
- For the final touch, take your pure white paint and a very fine brush. Add thin, foamy white caps to the top edge of some of your wave lines. A little bit of dry-brushing here (using a brush with very little paint on it) can create a great sea-spray effect.
- Pro-Tip: To make the colors blend more softly, you can use the same sponge-blending technique from the ombré design where the different shades of blue meet.
Design 6: Botanical Leaf Prints
Embrace the nature around you with this elegant and organic design. This technique uses real leaves as stencils to create beautiful, detailed silhouettes.
- Vibe: Earthy, sophisticated, and natural.
- Extra Supplies: A variety of interesting leaves (fern, maple, and monstera leaves work well), spray adhesive (optional but helpful), a sponge dauber.
- Instructions:
- Paint your pot with a solid base color. Dark green, charcoal, or even a deep terracotta color can look stunning. Let dry.
- Collect some fresh, flat leaves. If they’re a bit curled, you can press them in a heavy book for an hour or two.
- Apply a very light mist of spray adhesive to the back of a leaf and press it firmly onto the pot. Alternatively, you can just hold it in place carefully.
- Using a sponge dauber and a contrasting paint color (like white, gold, or a light green), gently dab paint all over and around the edges of the leaf. Be careful not to use too much paint, as it can seep under the leaf.
- Carefully peel the leaf off to reveal the silhouette underneath. The result is a beautiful, natural print.
- Repeat with different leaves and colors around the pot to create a lush, botanical collage.
- Pro-Tip: Vary the pressure of your dabbing. Lighter dabbing around the edges and heavier dabbing towards the center can create a lovely fading effect that adds a lot of dimension.
Design 7: The Polka Dot Party
Simple, classic, and always cheerful. A polka dot pot is a timeless design that you can customize in endless color combinations. This is a fantastic diy painted flower pots tutorial for a first-timer.
- Vibe: Cheerful, retro, and endlessly customizable.
- Extra Supplies: A round sponge pouncer set or the eraser end of a pencil for making perfect dots.
- Instructions:
- Paint your pot with your chosen base color and let it dry completely.
- Pour a small amount of your dot color onto a paper plate.
- For large, perfect dots, use a round sponge pouncer. For smaller dots, simply dip the flat eraser end of a new pencil into the paint.
- Press the pouncer or eraser firmly onto the pot to create your dot. Try to use even pressure for consistent size.
- You can arrange your dots in a neat grid for a structured look or scatter them randomly for a more playful, confetti-like effect. Feel free to use multiple colors for your dots!
- Pro-Tip: For a more dynamic look, use pouncers or pencil erasers of different sizes. A mix of large and small dots adds visual interest and a sense of movement to the design.
Protecting Your Masterpiece
You’ve spent all this time creating your beautiful diy painted flower pots summer designs, so the final step is crucial: sealing them! An outdoor-rated, clear acrylic sealer will protect your hard work from UV rays (which cause fading) and moisture (which causes chipping and peeling).
Apply 2-3 thin coats of your chosen sealer over the entire painted surface, allowing each coat to dry completely. A spray-on version is quick and ensures even coverage without brush marks. Whether you choose matte or gloss is purely a matter of personal taste!
The Big Reveal: Your Gorgeous Summer Pots
And there you have it! With a little bit of prep and a splash of creativity, you’ve transformed a simple clay pot into a personalized piece of garden art that will bring you joy all summer long.
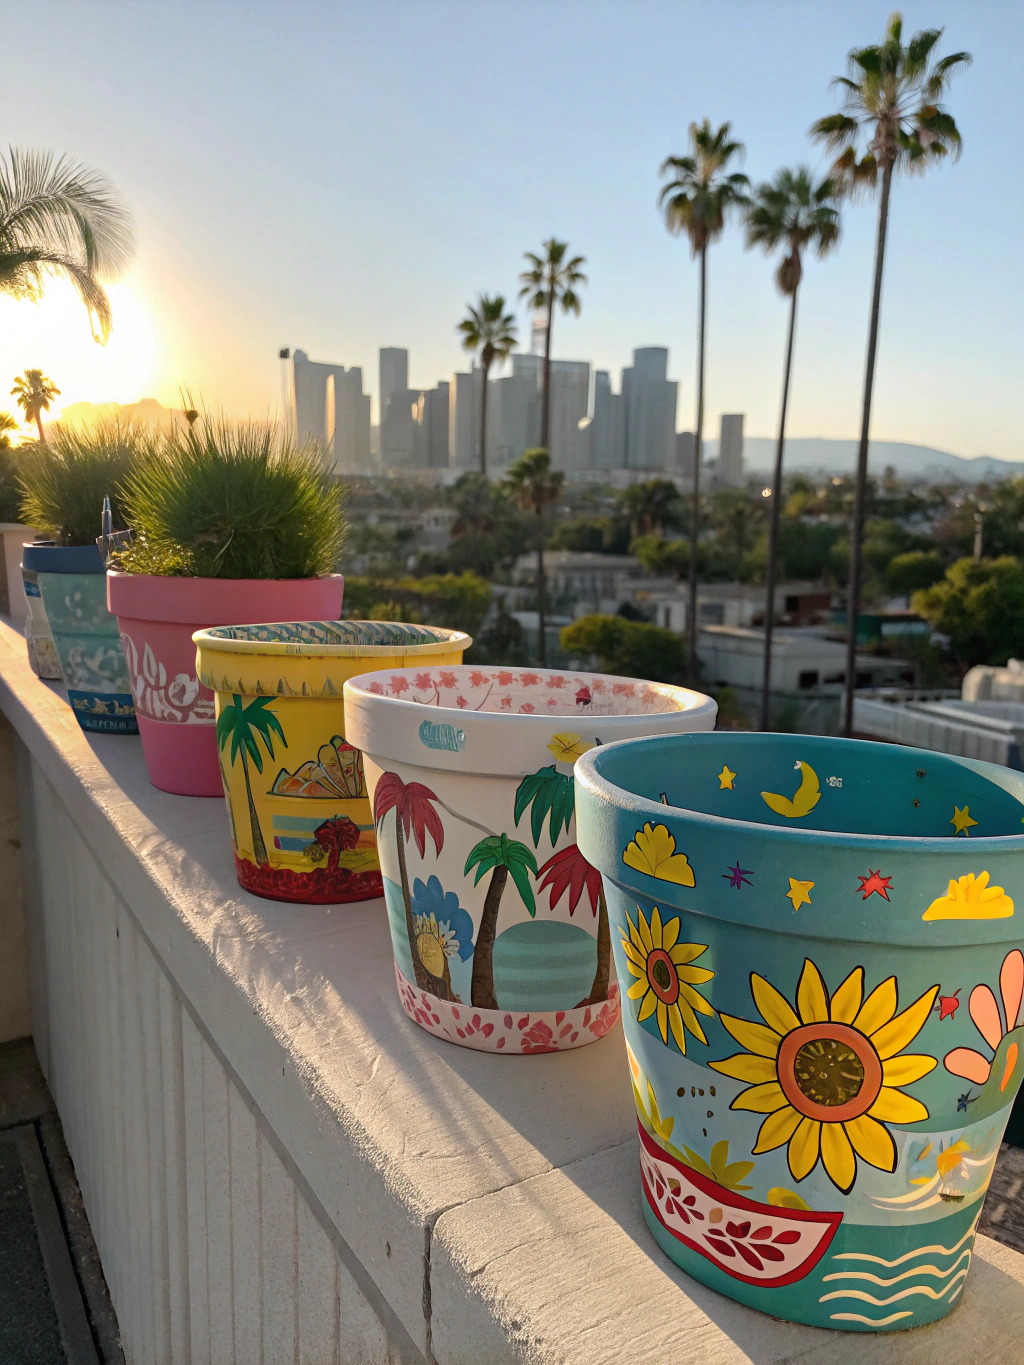
alt=”Final result of diy painted flower pots summer designs, filled with plants and decorating a garden space.”
Now, stand back and admire your work. Your garden or patio has a fresh burst of color and personality that is uniquely you.
We would absolutely love to see what you create! Share a picture of your finished pots in the comments below or tag us on social media. Your creativity could inspire someone else’s next weekend project!
Your Top Questions Answered: Pro Tips & FAQs
Here are answers to some common questions we get about painting flower pots.
What kind of paint is best for flower pots?
Multi-surface acrylic craft paint or specific outdoor-rated acrylic paint is your best bet. It’s durable, water-resistant once cured, and comes in a huge variety of colors. Avoid standard interior wall paint, as it won’t hold up to the elements.
Do I absolutely need to seal painted terracotta pots?
Yes, 100%. We can’t stress this enough. Sealing the inside prevents moisture from the soil from blistering your paint from within. Sealing the outside protects your beautiful design from rain, watering, and sun fading. It’s the key to making your pots last for many seasons.
How do I get super clean, sharp lines for geometric designs?
The secret is twofold: First, use a high-quality painter’s tape designed for delicate surfaces (like FrogTape). Second, and most importantly, remove the tape when the top coat of paint is still slightly wet. This “wet pull” technique prevents the dry paint from cracking and peeling off with the tape.
Can I use these painted pots for my indoor plants, too?
Absolutely! The same process applies. While outdoor-level sealing isn’t quite as critical for indoor pots, we still recommend it for maximum durability, especially for plants that require frequent watering. Plus, it’s a great way to coordinate your pots with your interior decor.
What are some other fun summer garden craft ideas?
If this project has sparked your creative bug, there are so many other fun things to try! You could create DIY garden markers from painted stones, build a simple birdhouse, or make a wind chime from upcycled materials. For a treasure trove of inspiration, check out these wonderful [**”Summer garden craft ideas, How to paint flower pots for summer, Diy painted flower pots tutorial,”**](https://www.countryliving.com/diy-crafts/g903/holiday-craft-projects-1209/) that will keep you busy all season long. Painting is just the beginning, and you can even apply these techniques to other garden elements like watering cans or wooden planters. Another fantastic project for your outdoor space is creating a cozy reading nook, and you can learn how with our guide to building a [diy hanging macrame chair](https://www.fixdiy.site/diy-hanging-macrame-chair/).
We hope this comprehensive guide has inspired you to tackle your own diy painted flower pots summer designs. It’s a project that delivers a huge visual impact for very little cost and is a wonderfully satisfying way to spend an afternoon.
Have a question we didn’t answer? Or a killer design idea you want to share? Drop a comment below! We’d love to hear from you. Happy painting

