Introduction
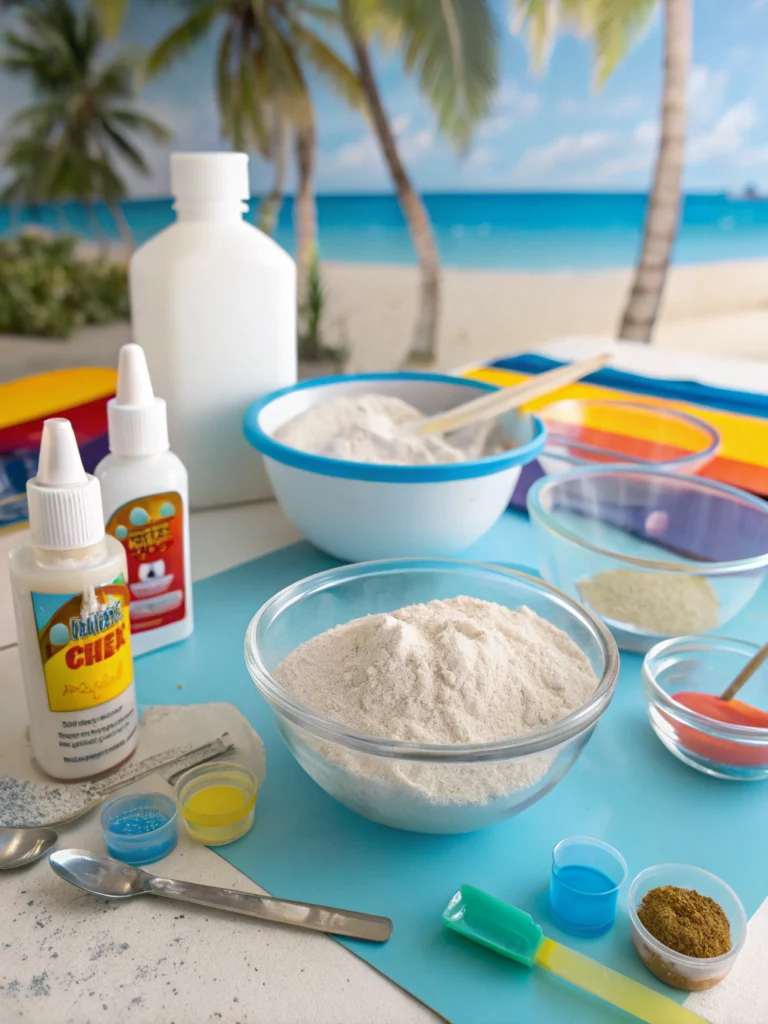
Are you looking for a fun, budget-friendly way to add a splash of color and personality to your home and garden this summer? Look no further than diy painted rocks summer! This delightful craft is perfect for all ages and skill levels, turning ordinary stones into vibrant pieces of art. Whether you’re aiming to decorate your flowerbeds, create thoughtful gifts, or simply enjoy a relaxing afternoon crafting, painting rocks is a fantastic way to unleash your inner artist. Many DIY enthusiasts struggle with finding easy yet impressive projects, but this guide will show you just how simple and rewarding rock painting can be. Get ready to transform simple stones into stunning summer-themed masterpieces!
Table of Contents
Table of Contents
Why Painted Rocks are Perfect for Summer
Summer is all about bright colors, outdoor fun, and creative expression. What better way to embrace the season than with a diy painted rocks summer project? Here’s why this craft is a summer sensation:
- Outdoor Fun: Take your painting supplies outside and enjoy the sunshine while you create. It’s a great way to get some fresh air and Vitamin D.
- Garden Decor: Painted rocks can add whimsical charm to your garden, flower pots, or pathways. Imagine little ladybugs peeking out from under leaves or cheerful suns brightening up a shady spot.
- Kid-Friendly Activity: This is an excellent activity to keep kids entertained during summer break. It’s messy, fun, and allows them to express their creativity. Plus, it’s a screen-free way to spend time together!
- Inexpensive Hobby: Rocks are free (just be sure to collect them responsibly!), and a few basic art supplies can go a long way. This makes it an incredibly affordable craft.
- Personalized Gifts: Hand-painted rocks make thoughtful and unique gifts for friends, family, or neighbors. A beautifully painted rock with a special message can brighten someone’s day.
- Community Art Projects: Many communities have “kindness rock” projects where people paint rocks with positive messages and leave them for others to find. It’s a wonderful way to spread joy and connect with your local area.
What You’ll Need for Your DIY Painted Rocks Summer Adventure
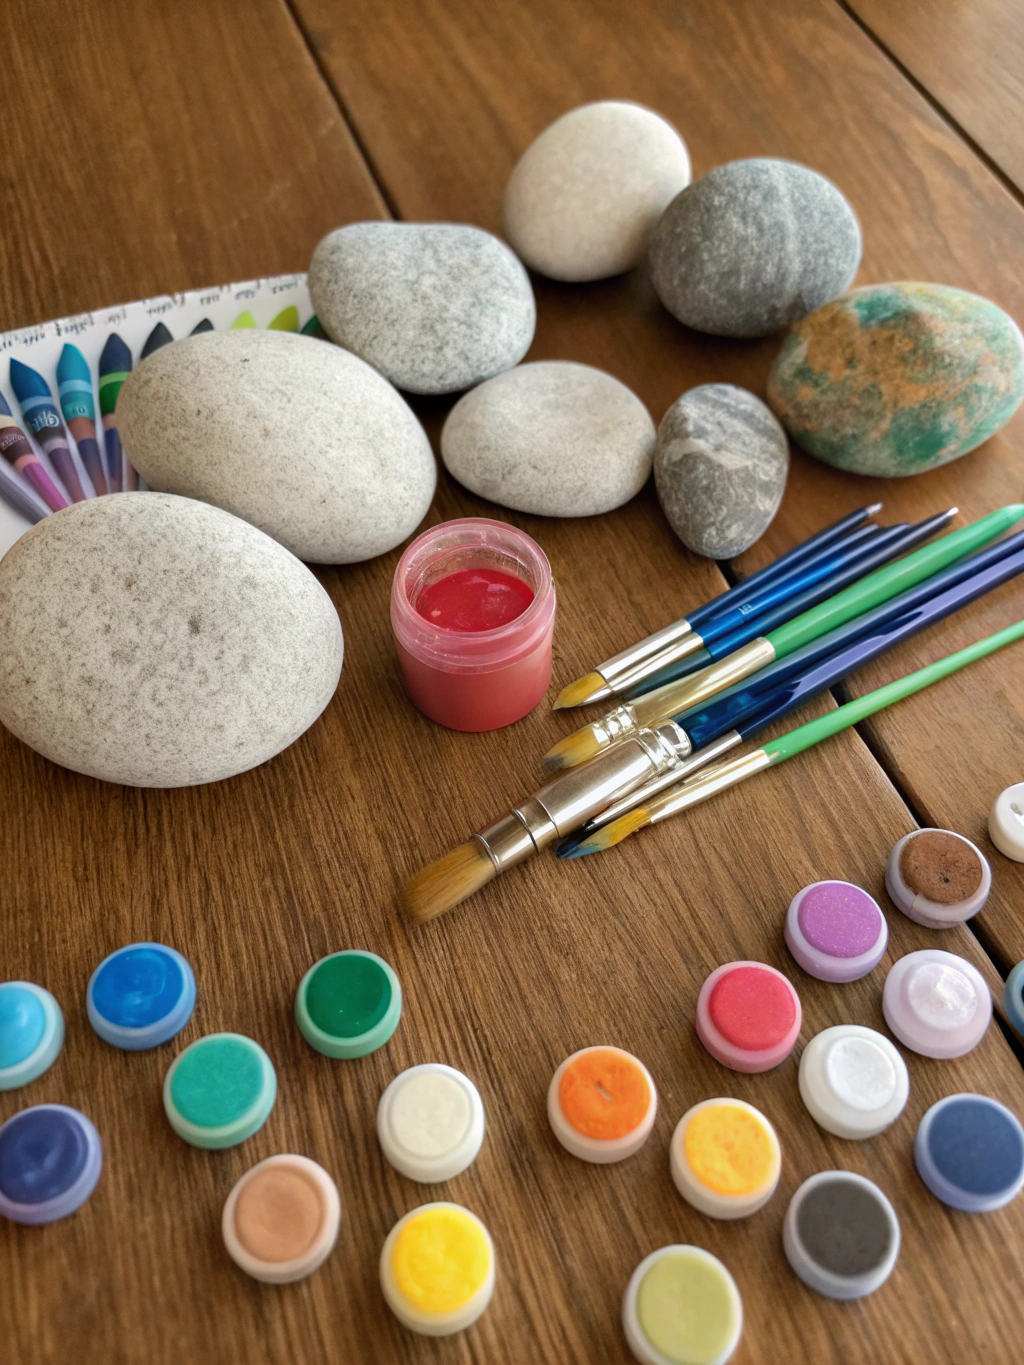
Before you dive into painting, let’s gather our supplies. Having everything ready will make the process smoother and more enjoyable. You probably have many of these items at home already!
DIY Painted Rocks Summer
Here’s a list of what you’ll need:
- Smooth Rocks: Look for rocks with a relatively flat, smooth surface. River rocks or beach stones work best. If you can’t find them in nature, craft stores often sell bags of smooth stones.
- Acrylic Paints: These are water-based, dry quickly, and come in a wide variety of vibrant colors. Craft acrylics are ideal for this project.
- Paint Brushes: A set of assorted sizes will be helpful – fine-tipped brushes for details and larger brushes for base coats.
- Water Cup: For rinsing your brushes between colors.
- Paper Towels or Old Rag: For wiping brushes and cleaning up spills.
- Palette or Paper Plate: To squeeze out your paints.
- Pencil (optional): For sketching designs onto the rocks before painting.
- Fine-Tip Permanent Markers (optional): Great for adding outlines or small details after the paint dries. Black Sharpies are a popular choice.
- Mod Podge or Clear Acrylic Sealant (spray or brush-on): This is crucial for protecting your beautiful designs from the elements, especially if they’ll be outdoors. Outdoor Mod Podge or a clear acrylic spray sealer works best.
- Old Newspaper or Craft Mat: To protect your work surface from paint.
- Apron or Old Clothes: Acrylic paint can be tricky to remove from fabric once it dries, so protect your clothing!
Now that we have our supplies, let’s get to the fun part – painting!
Prepping Your Rocks: The First Step to Success DIY Painted Rocks Summer
Before you even dip your brush in paint, a little prep work goes a long way in ensuring your diy painted rocks summer creations look their best and last longer.
- Clean Your Rocks: Wash your rocks thoroughly with soap and water to remove any dirt, sand, or debris. An old toothbrush can be helpful for scrubbing away stubborn grime.
- Dry Them Completely: Let your rocks air dry completely, or pat them dry with a towel. Paint won’t adhere well to damp surfaces. Placing them in the sun for a bit will speed up the drying process.
- Prime (Optional but Recommended): For brighter colors and better paint adhesion, consider applying a base coat of white or a light-colored acrylic paint. This acts as a primer and makes your chosen colors pop, especially on darker rocks. Let the base coat dry completely before painting your design.
DIY Painted Rocks Summer: 5 Creative Ideas to Inspire You
Alright, let’s get those creative juices flowing! Here are five fun and easy diy painted rocks summer ideas perfect for everyone, from beginners to more experienced crafters. Remember, these are just starting points – feel free to adapt them and add your own unique flair! For more inspiration, you can always check out fantastic resources like these “Summer painted rock ideas, Creative DIY rock painting for summer, How to paint rocks for summer”.
Idea 1: Sunny Citrus Slices / DIY Painted Rocks Summer
Nothing says summer quite like a zesty slice of lemon, lime, or orange! These are surprisingly easy to paint and look incredibly cheerful.
Step 1: Base Coat and Segment Lines
DIY Painted Rocks Summer
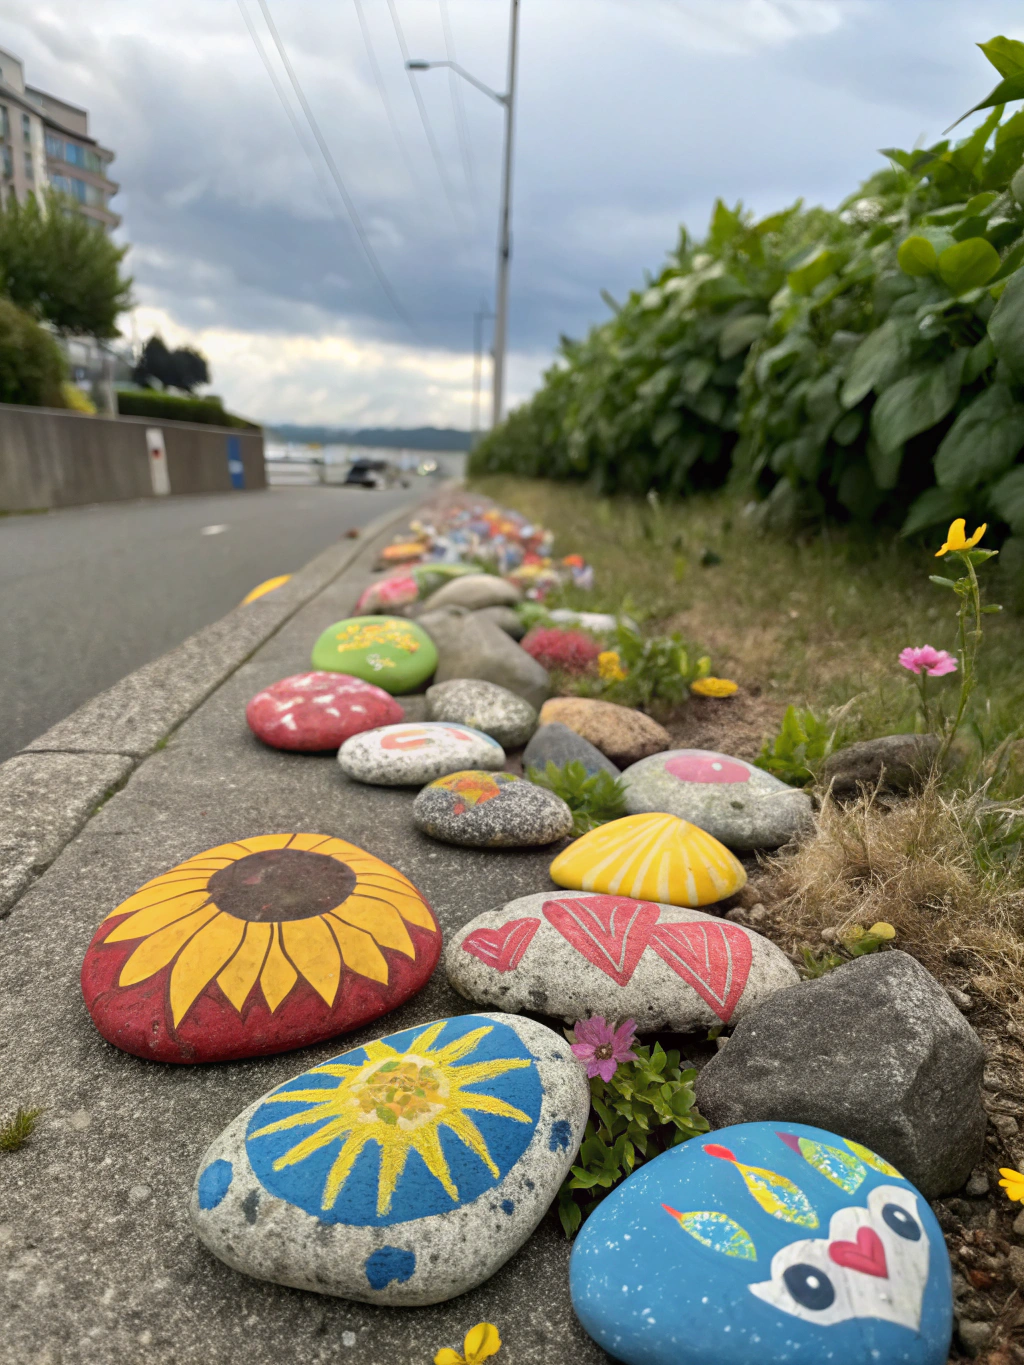
First, paint your entire rock with your chosen citrus color – bright yellow for lemon, vibrant orange for orange, or a lively green for lime. Apply two coats if needed for good coverage, letting each coat dry.
Next, using white paint and a fine-tipped brush, paint a circle in the center of your rock. Then, paint several lines radiating from this central circle to the edge of the rock, dividing it into segments, just like a real citrus slice. Don’t worry about perfect symmetry; slight imperfections add to the charm!
Step 2: Filling the Segments and Adding Details / DIY Painted Rocks Summer
Once the white lines are dry, carefully fill in the segments with a slightly lighter or varied shade of your base citrus color, or simply leave the base color showing through. If you’re feeling adventurous, you can add a touch of white along one edge of each segment line to give a little highlight and dimension.
Finally, paint a thicker white rind around the outer edge of your rock. Let it dry completely. You can even add tiny white dots or lines within the segments to mimic the juicy pulp.
Step 3: Sealing Your Citrus Slice / DIY Painted Rocks Summer
After all the paint is thoroughly dry (give it at least a few hours, or preferably overnight), it’s time to seal your creation. Apply a coat of Mod Podge or clear acrylic sealant according to the product instructions. This will protect your sunny citrus rock from moisture and wear, making it perfect for your garden or as a bright paperweight.
Idea 2: Adorable Ladybugs / DIY Painted Rocks Summer
Ladybugs are a classic summer motif and are incredibly simple to paint, making them a great project for kids and beginners.
Step 1: The Red and Black Base / DIY Painted Rocks Summer
Start by painting your entire rock a bright, cheerful red. This will be the ladybug’s body. Apply two coats for an even, vibrant color, allowing it to dry completely between coats.
Next, using black paint, create the ladybug’s head. Paint a semi-circle or a slightly rounded triangular shape at one end of the rock. Then, paint a straight black line down the center of the red body, from the head to the opposite end. This line represents the ladybug’s wing casings.
Step 2: Adding the Spots and Eyes / DIY Painted Rocks Summer
Now for the iconic spots! Using black paint and a small brush, or even the end of a paintbrush handle dipped in paint, add several black dots to each side of the red body. Vary the size and placement of the spots for a more natural look.
For the eyes, use white paint to create two small dots on the black head. Once the white paint is dry, you can add tiny black pupils in the center of each white dot for extra detail.
Step 3: Seal Your Little Critter / DIY Painted Rocks Summer
Let your ladybug dry completely. This is an important step to prevent smudging when you apply the sealant. Finally, apply a coat of clear sealant to protect your adorable bug from the elements, ensuring it stays bright and cheerful all summer long. These look fantastic nestled among plants!
Idea 3: Groovy Tie-Dye Rocks / DIY Painted Rocks Summer
Capture the carefree spirit of summer with psychedelic tie-dye painted rocks! This technique is fun, forgiving, and results in unique, eye-catching designs every time.
Step 1: White Base Coat / DIY Painted Rocks Summer
For the most vibrant tie-dye effect, start by painting your rock with a solid white base coat. This will make your colors pop. Let it dry completely. If you’re using very light-colored rocks, you might be able to skip this step, but white really enhances the effect.
Step 2: Dropping the Colors / DIY Painted Rocks Summer
Now for the fun part! Choose 3-5 bright, contrasting acrylic paint colors. Squeeze small puddles of each color onto your palette. One at a time, pick up a generous amount of paint on your brush and drip it onto the rock. Let the colors pool and spread a bit.
Continue adding drops of different colors, allowing them to touch and slightly run into each other. You can gently tilt the rock to encourage the colors to swirl and blend, creating that classic tie-dye look. Be careful not to over-blend, or you’ll end up with a muddy color. The goal is distinct areas of color that softly merge at the edges.
Step 3: Swirling and Sealing / DIY Painted Rocks Summer
While the paint is still wet, you can use a toothpick or the pointy end of a skewer to gently drag through the colors, creating swirls and patterns. Don’t overdo it; a few strategic swirls are all you need.
Let your tie-dye rock dry completely. This might take a bit longer due to the thicker application of paint. Once totally dry, seal it with Mod Podge or a clear acrylic spray to protect the vibrant design and give it a glossy finish. These are fantastic for adding a pop of retro cool to your diy painted rocks summer collection.
Idea 4: Sweet Summer Watermelons / DIY Painted Rocks Summer
Is there anything more summery than a juicy slice of watermelon? These painted rocks are irresistibly cute and surprisingly easy to make.
Step 1: Painting the Rind and Flesh
Select a nicely rounded or oval-shaped rock. Start by painting a band of dark green around one edge of the rock – this will be the outer rind. Let it dry.
Next, paint a slightly thinner band of light green or white paint just inside the dark green rind. This creates the lighter part of the watermelon rind.
Finally, fill the remaining large central area of the rock with a vibrant pink or red paint for the watermelon flesh. Apply two coats if necessary for good coverage, letting each coat dry.
Step 2: Adding the Seeds / DIY Painted Rocks Summer
Once the pink/red paint is completely dry, it’s time to add the seeds. Using black paint and a very fine-tipped brush (or a black permanent marker), carefully paint small, teardrop-shaped seeds scattered across the pink/red flesh.
Don’t make them too uniform; vary their size, angle, and spacing slightly for a more realistic look. Avoid placing seeds too close to the rind.
Step 3: Protecting Your Fruity Creation / DIY Painted Rocks Summer
Allow all the paint, especially the black seeds, to dry thoroughly. The last thing you want is smudged seeds! Once dry, apply a coat of clear sealant to protect your sweet watermelon rock. These look adorable in a fruit bowl display or dotted around your patio.
Idea 5: Inspirational Word Rocks / DIY Painted Rocks Summer
Spread positivity and inspiration with beautifully lettered word rocks. These make wonderful gifts or thoughtful additions to your garden or a public “kindness rocks” display.
Step 1: Base Coat and Design Planning
Choose rocks with a smooth, relatively flat surface, which will make lettering easier. Apply a base coat in your chosen color. Light, serene colors like pale blue, soft lavender, or cream often work well, but bright colors can also be very impactful. Let the base coat dry completely.
Think about the word or short phrase you want to use – “Hope,” “Dream,” “Love,” “Peace,” “Breathe,” or “Be Kind” are popular choices. You can lightly sketch the letters onto the rock with a pencil first to ensure proper spacing and alignment. This is a great tip for achieving neat results when learning “How to paint rocks for summer” lettering.
Step 2: Painting the Lettering
Using a contrasting paint color and a fine-tipped brush, carefully paint your chosen word or phrase. Alternatively, paint pens or fine-tip permanent markers (like Sharpies) can be easier for intricate lettering, especially for beginners. Take your time with this step.
You can enhance your word rocks with simple decorative elements around the lettering, like dots, swirls, tiny flowers, or a simple border. Keep it simple so the focus remains on the message. If you’re feeling confident, try some faux calligraphy a try by thickening the downstrokes of your letters.
Step 3: Sealing the Message
Once your lettering and any decorative elements are completely dry, apply a protective coat of sealant. This is especially important if your inspirational rocks will be placed outdoors or handled frequently. Your beautiful messages deserve to last!
Final Result: Your Summer Masterpieces!
And there you have it! With a little paint and imagination, you’ve transformed ordinary rocks into vibrant art pieces that capture the essence of summer. Whether you opted for zesty citrus, cute ladybugs, groovy tie-dye, sweet watermelons, or inspiring words, your diy painted rocks summer creations are sure to bring joy and color wherever they’re placed.
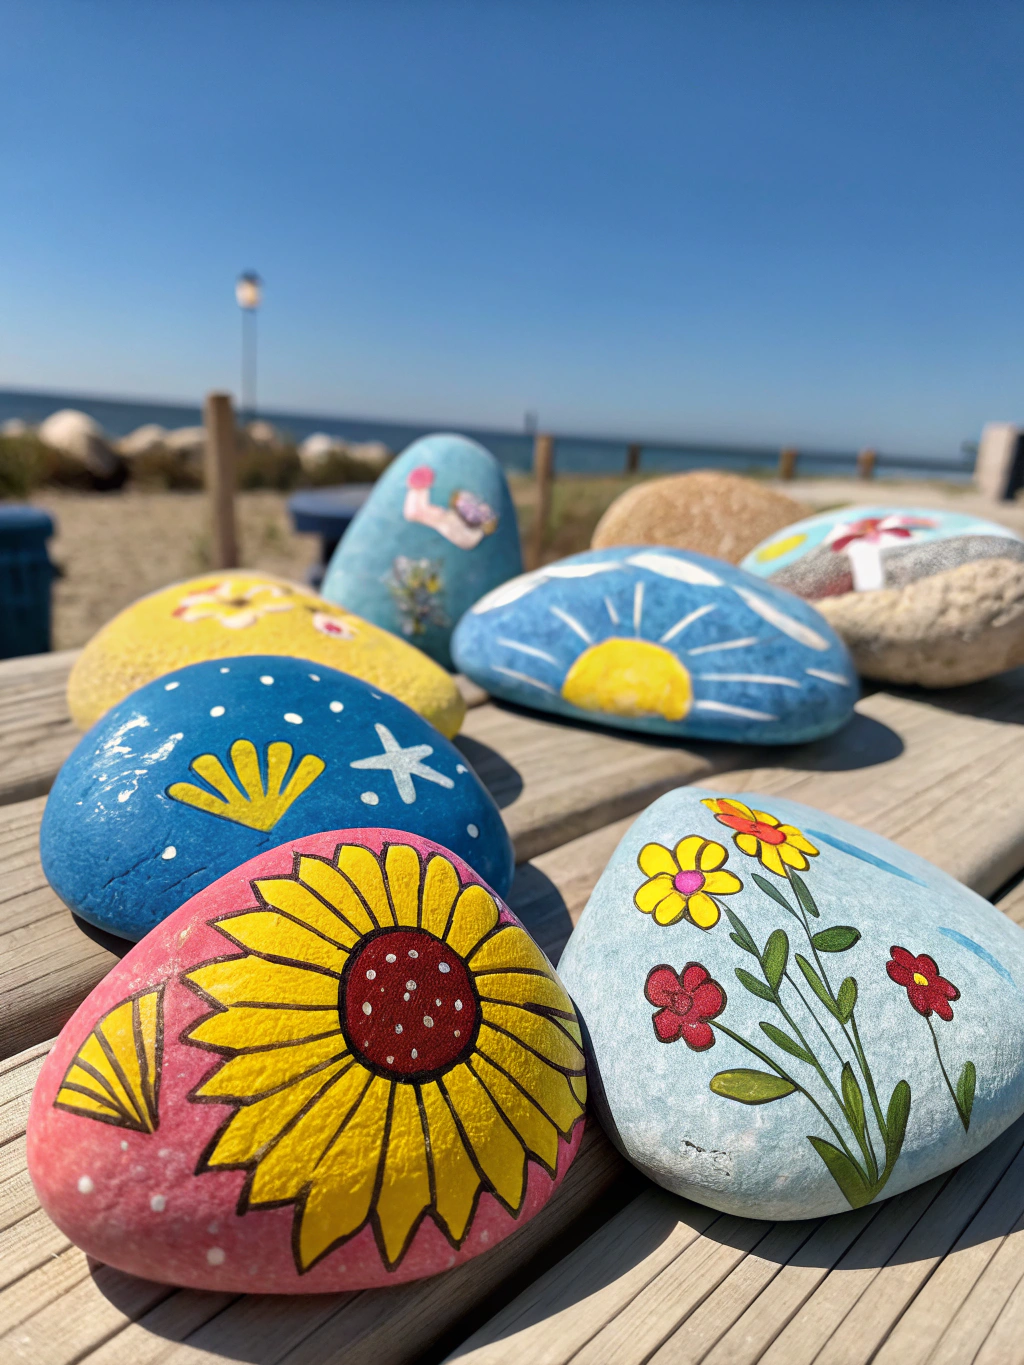
Imagine these beauties brightening up your garden, adding a whimsical touch to your porch, serving as unique paperweights, or being shared as “kindness rocks” to spread smiles in your community. The possibilities are endless!
We’d love to see what you’ve created! Share photos of your diy painted rocks summer masterpieces in the comments below or tag us on social media. What are your favorite summer rock painting ideas?
Pro Tips & FAQs for Rock Painting Success
To help you get the best results and troubleshoot any common issues, here are some pro tips and frequently asked questions:
H2: Pro Tips for Stunning Summer Painted Rocks
- Rock Selection Matters: Smoother, flatter rocks are generally easier to paint, especially if you’re doing detailed designs or lettering. Porous rocks like lava rock will soak up a lot of paint.
- Layer Your Paints: Don’t be afraid to apply multiple thin coats of paint rather than one thick coat. This results in a smoother finish and more vibrant color. Allow each layer to dry completely.
- Use the Right Brushes: A variety pack of brushes is your best friend. Fine detail brushes for outlines and small elements, and larger flat brushes for base coats.
- Toothpicks and Dotting Tools: For perfect dots (like ladybug spots or eyes), use dotting tools or the end of a paintbrush handle. Toothpicks are great for small details, dragging paint, or correcting tiny mistakes.
- Patience is Key: Allow ample drying time between coats and before sealing. Rushing this step can lead to smudged paint and a disappointing finish.
- Seal, Seal, Seal!: This is arguably the most important step for longevity, especially for outdoor rocks. Use a good quality outdoor acrylic sealant (spray or brush-on). Apply 2-3 thin coats for best protection.
- Clean-Up: Acrylic paint cleans up with soap and water while wet. Once it’s dry, it’s much harder to remove, so clean your brushes promptly.
- Practice Makes Perfect: Don’t be discouraged if your first few rocks aren’t masterpieces. Like any craft, practice improves your skills. Have fun with the process!
- Get Inspired Online: There are tons of “Summer painted rock ideas, Creative DIY rock painting for summer, How to paint rocks for summer” online. Pinterest and Instagram are goldmines for visual inspiration.
H2: FAQs: Your DIY Painted Rocks Summer Questions Answered
What kind of paint is best for DIY painted rocks summer projects?
Acrylic paints are overwhelmingly the best choice for rock painting. They are water-based (easy cleanup while wet), dry relatively quickly, are affordable, and come in a huge range of vibrant colors. Craft acrylics found in most hobby stores are perfect. For outdoor rocks, ensure you seal them properly after the acrylic paint has dried.
How do I prepare rocks for painting?
Proper preparation is key! First, wash your rocks thoroughly with soap and water to remove any dirt, moss, or debris. An old toothbrush can help. Then, let them dry completely. For very dark rocks or to make your colors pop, you can apply a base coat of white or light-colored acrylic paint (like a primer) before starting your design. This step really helps with achieving vibrant results for your [“Creative DIY rock painting for summer”](https://www.fixdiy.site/holiday-diys/).
Do I need to seal painted rocks? If so, what should I use?
Yes, absolutely! Sealing your painted rocks is crucial, especially if they will be displayed outdoors or handled frequently. Sealing protects the paint from chipping, fading, and moisture damage. Use a clear acrylic sealant. You can find brush-on varieties (like Mod Podge Outdoor) or spray sealants. Apply 2-3 thin, even coats, allowing each coat to dry according to the product instructions. This will keep your [**diy painted rocks summer**](https://www.fixdiy.site/holiday-diys/) art looking great for a long time.
Where can I find good rocks for painting?
You can find rocks in many places! Your own backyard or garden might have some suitable stones. Beaches and riverbeds are often good sources for smooth, rounded rocks (but always check local regulations about collecting). If natural sources aren’t available or convenient, craft stores, home improvement stores (in the landscaping section), and online retailers sell bags of smooth craft rocks.
Any tips for painting intricate designs or lettering on rocks?
For detailed work:
- Use fine-tipped paintbrushes or paint pens.
- Sketch your design lightly with a pencil first.
- For very fine lines or lettering, acrylic paint pens or permanent markers (like Sharpies) can be easier to control than a brush.
- Rest your painting hand on a stable surface to minimize shakiness.
- Work in good lighting.
- Don’t be afraid to use tools like toothpicks for tiny dots or thin lines. Patience is your best friend here!
Learning [“How to paint rocks for summer”](https://www.fixdiy.site/holiday-diys/) with details just takes a bit of practice!
Get Creative and Share Your Summer Rock Art!
Painting rocks is more than just a craft; it’s a way to connect with nature, express your creativity, and spread a little joy. We hope these diy painted rocks summer ideas and tips have inspired you to pick up a brush and transform some ordinary stones into extraordinary summer treasures.
What are you waiting for? Gather your supplies, find some rocks, and let your imagination run wild! Whether you’re decorating your garden, making gifts, or participating in a kindness rock project, have fun with it.
We’d love to hear from you!
- Which summer painted rock idea is your favorite?
- Do you have any other cool rock painting tips or themes to share?
- Show us your creations! Post a picture in the comments below or tag us on your favorite social media platform.
Happy painting, and enjoy a wonderfully creative summer! If you’re looking for more fun projects, check out our other diy painted rocks summer tutorials. And don’t forget to sign up for our newsletter for more DIY inspiration delivered straight to your inbox!

