Introduction
Are you dreaming of a bedroom makeover that’s both stylish and budget-friendly? Look no further than a DIY pallet wood headboard! This project is perfect for adding a touch of rustic charm and a unique, personal statement to your space. Forget spending a fortune on a new headboard; with a little creativity and some reclaimed pallet wood, you can craft a stunning centerpiece that reflects your personality. This guide will walk you through creating your very own masterpiece, turning humble materials into a beautiful and functional DIY pallet wood headboard. Let’s get started on this rewarding home improvement adventure!
Table of Contents
What You’ll Need
Before we dive into the fun part, let’s gather our supplies. Having everything ready beforehand makes the whole process smoother and more enjoyable. You’ll find that most of these items are readily available at your local hardware store, or you might even have some lying around your workshop already!

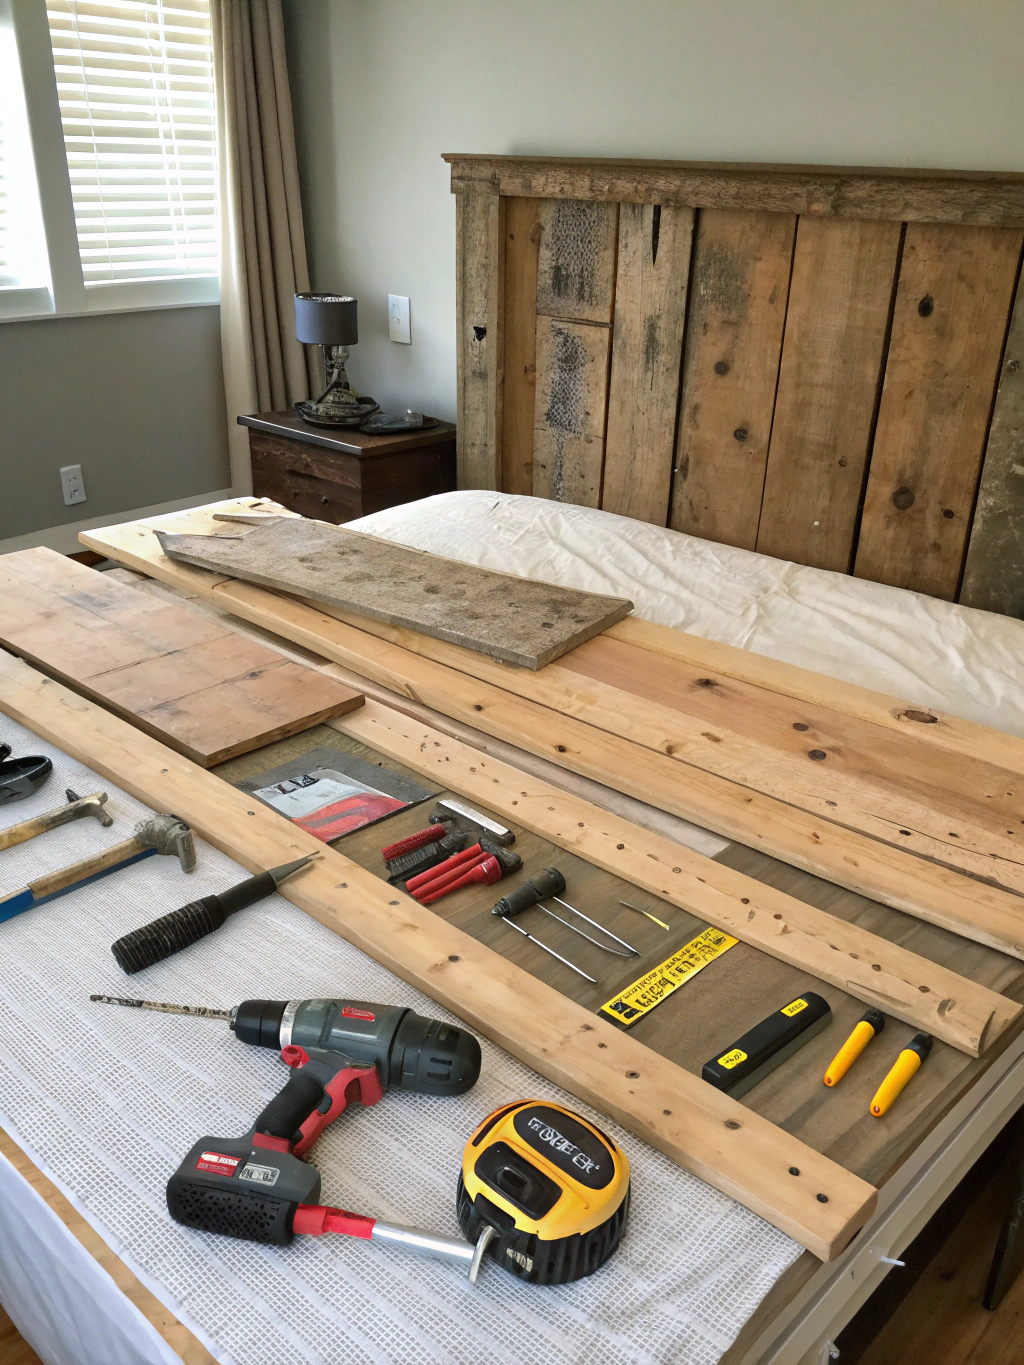
Caption: All the essential tools and materials to create your custom DIY pallet wood headboard.
Materials:
- Wooden Pallets: The star of the show! Aim for 2-3 pallets, depending on the size of your bed and desired headboard height. Look for heat-treated (HT) pallets, not chemically treated (MB).
- Wood Screws: Various lengths (e.g., 1.5-inch and 2.5-inch) will be handy.
- Wood Glue: For extra strong joints.
- Sandpaper: Various grits (e.g., 80, 120, 220) for smoothing the wood.
- Wood Stain or Paint (Optional): To customize the look of your headboard.
- Wood Finish/Sealer (Optional but Recommended): To protect the wood and enhance its durability.
- Heavy-duty Hanging Hardware (e.g., D-rings or French cleat): For mounting the headboard to the wall.
Tools:
- Safety Glasses: Essential for protecting your eyes.
- Work Gloves: To protect your hands from splinters.
- Pry Bar or Pallet Buster: For disassembling the pallets.
- Hammer or Mallet: Useful for disassembling pallets.
- Circular Saw or Jigsaw: For cutting the pallet wood to size. A miter saw can also be very helpful for straight cuts.
- Power Drill: For drilling pilot holes and driving screws.
- Measuring Tape: For accurate measurements.
- Level: To ensure your headboard is straight.
- Pencil: For marking cuts.
- Orbital Sander (Optional but Recommended): Makes sanding much faster and easier.
- Paint Brushes or Rags: If you’re staining or painting.
- Stud Finder: If you plan to mount the headboard directly to wall studs.
Step-by-Step Guide to Your DIY Pallet Wood Headboard
Now that you’ve gathered your tools and materials, it’s time to start building! Follow these seven easy steps to create a beautiful and sturdy DIY pallet wood headboard. Remember, patience is key, and don’t be afraid to embrace the imperfections – they add to the rustic charm!
Step 1: Disassemble Your Pallets
This is often the most labor-intensive part, but crucial for getting usable wood. Carefully pry the planks from the pallet frame using your pry bar and hammer. Work slowly to avoid splitting the wood. Some people prefer using a reciprocating saw with a wood/nail cutting blade to cut through the nails, which can be faster but leaves nail heads in the wood (which can also be a cool rustic look!).

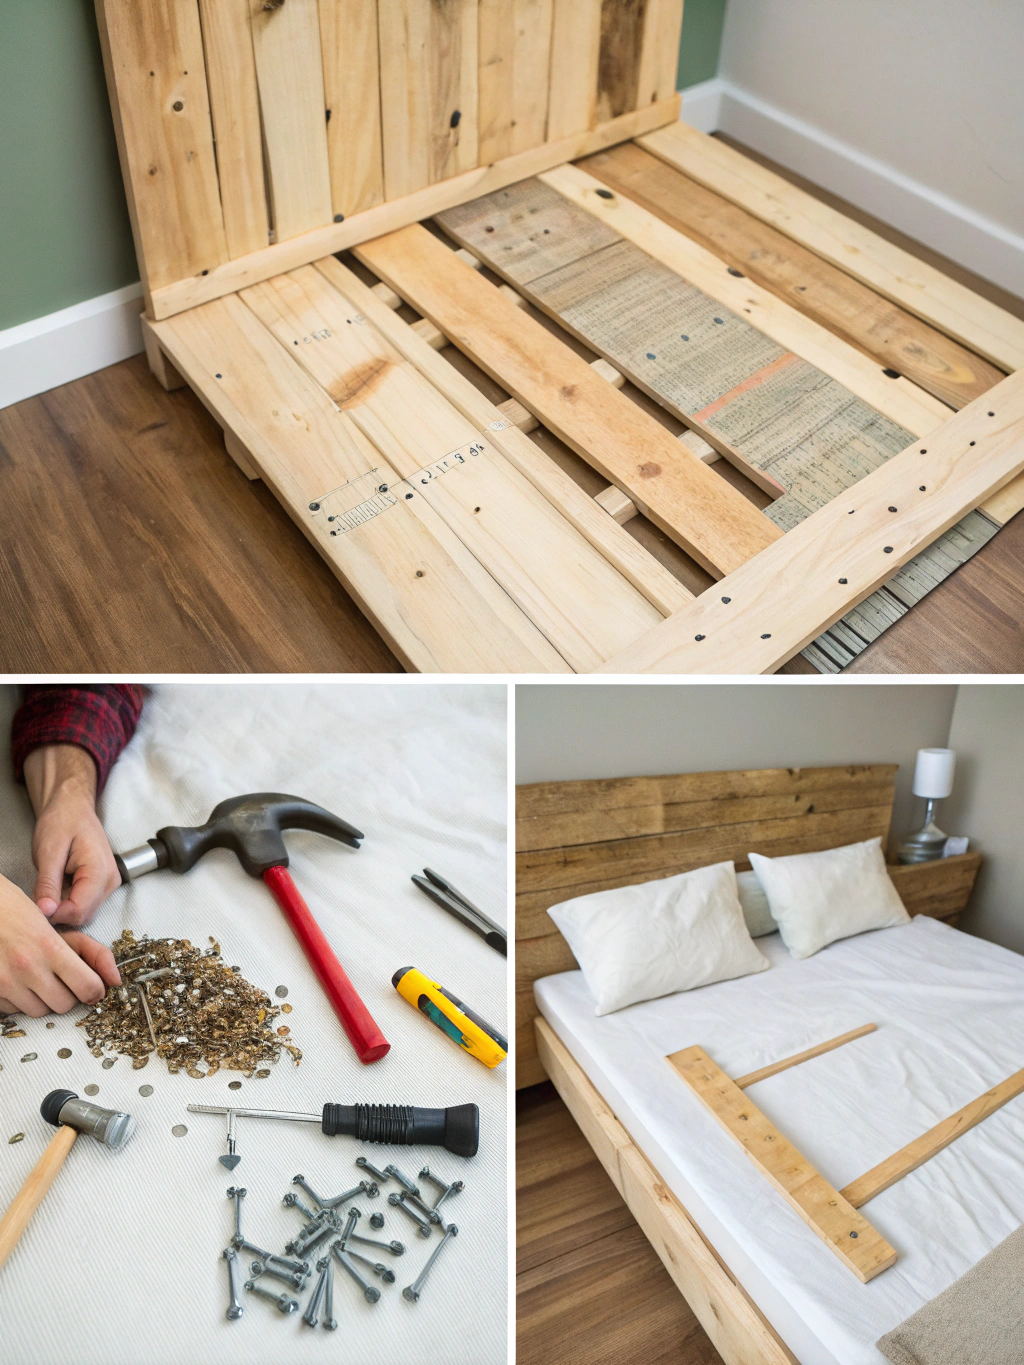
Caption: Step 1 – Carefully disassembled pallet planks, the foundation of your DIY pallet wood headboard.
Why this matters: Cleanly disassembled planks give you more usable material and make the subsequent steps much easier. Rushing this can lead to a lot of wasted wood.
Common pitfall: Using too much force and splitting the planks. Take your time and work the pry bar GENTLY under the wood, wiggling it loose.
Step 2: Clean and Prepare the Wood
Pallet wood can be dirty and rough. Once disassembled, give each plank a good scrub with soapy water and a stiff brush. Let them dry completely. After drying, inspect each piece for stray nails or staples and remove them carefully.
This step is vital for both aesthetics and safety. You don’t want dirt and grime on your finished headboard, and hidden metal pieces can damage your tools or cause injury.
Common pitfall: Not allowing the wood to dry thoroughly. Damp wood can warp and won’t take stain or paint well. Patience is a virtue here!
Step 3: Sanding for Smoothness
Now it’s time to sand those planks. Start with a coarser grit sandpaper (like 80-grit) to remove any major splinters, rough spots, and old markings. Then, move to a medium grit (120-grit) and finally a fine grit (220-grit) for a smooth finish. If you have an orbital sander, this will go much quicker.
Sanding transforms rough pallet wood into something touchable and refined. It also prepares the surface for any stain or paint you plan to apply, ensuring better adhesion and a more professional look for your DIY pallet wood headboard.
Common pitfall: Skipping grits or not sanding enough. This can leave the wood feeling rough or result in an uneven finish if you’re staining.
Step 4: Design and Cut Your Planks
Measure the width of your bed. Your headboard should typically be the same width or slightly wider. Decide on the desired height. Lay out your sanded planks on a flat surface to a_rrange them in a pattern you like. You can stagger the planks, align them perfectly, or even create a herringbone or chevron pattern if you’re feeling ambitious! For more inspiration on designs, you can check out various DIY decor projects to craft this weekend pictures.
Once you’re happy with the layout, mark your planks for cutting. Use your circular saw, jigsaw, or miter saw to cut the planks to the desired lengths. Remember the old adage: measure twice, cut once!
This is where your DIY pallet wood headboard really starts to take shape. Planning your design ensures you make the most of your wood and achieve the look you’re aiming for.
Common pitfall: Not accounting for the thickness of support beams (if you’re adding them to the back) when determining final dimensions. Or, cutting all planks the same length when a staggered look is desired, limiting design options.
Step 5: Assemble the Headboard
There are a couple of ways to assemble your headboard. One common method is to attach the planks to two or three vertical support beams made from sturdier pieces of pallet wood or new lumber (like 1x3s or 1x4s). Lay your cut headboard planks face down in your desired arrangement. Apply wood glue to the back of each plank where it will meet the support beams.
Then, position your support beams across the planks (perpendicular to them) and secure them by drilling pilot holes and driving screws through the support beams into each headboard plank. Ensure the screws aren’t too long, or they’ll poke through the front!
This step brings all your hard work together, creating a solid structure. The glue adds extra strength, ensuring your headboard will last. For more visual guidance, searching for a DIY pallet wood headboard tutorial, Best DIY headboards with pallets, How to make a DIY pallet wood headboard can be very helpful.
Common pitfall: Not using pilot holes, which can cause the wood to split, especially with pallet wood. Also, misaligning planks during assembly.
Step 6: Finishing Touches (Stain, Paint, Seal)
This is where you can truly customize your DIY pallet wood headboard to match your bedroom decor. If you like the natural, rustic look, you might skip staining or painting. Otherwise, apply your chosen wood stain or paint according to the manufacturer’s instructions. Allow it to dry completely.
Once dry, apply a coat or two of wood sealer (like polyurethane) to protect the wood from moisture and wear, and to make it easier to clean. This is especially important in a bedroom environment.
Finishing not only enhances the beauty of the wood but also protects your creation, ensuring it stays looking great for years to come.
Common pitfall: Applying stain or sealer too thickly, which can lead to a sticky, uneven finish. Multiple thin coats are better than one thick coat. Also, not allowing adequate drying time between coats.
Step 7: Mount Your Headboard
The final step! Decide how you want to mount your headboard. You can attach it directly to your bed frame (if compatible), mount it to the wall, or even have it as a freestanding piece pushed between the bed and the wall (though mounting is more secure).
For wall mounting, use a stud finder to locate wall studs for a secure attachment. Heavy-duty D-rings or a French cleat system are excellent choices for hanging. Ensure the headboard is level before permanently attaching it.
Proper mounting ensures your headboard is safe and stable. A securely mounted headboard completes the professional look of your project. If unsure about mounting, searching “How to make a DIY pallet wood headboard” might offer specific mounting tutorials.
Common pitfall: Not hitting studs when wall-mounting or using hardware that isn’t strong enough for the weight of the headboard. This can be a safety hazard.
The Final Result: Your Custom Charm!
And there you have it! Step back and admire your beautiful, handcrafted DIY pallet wood headboard. You’ve not only saved money but also created a unique piece of furniture that adds character and warmth to your bedroom. What a transformation!

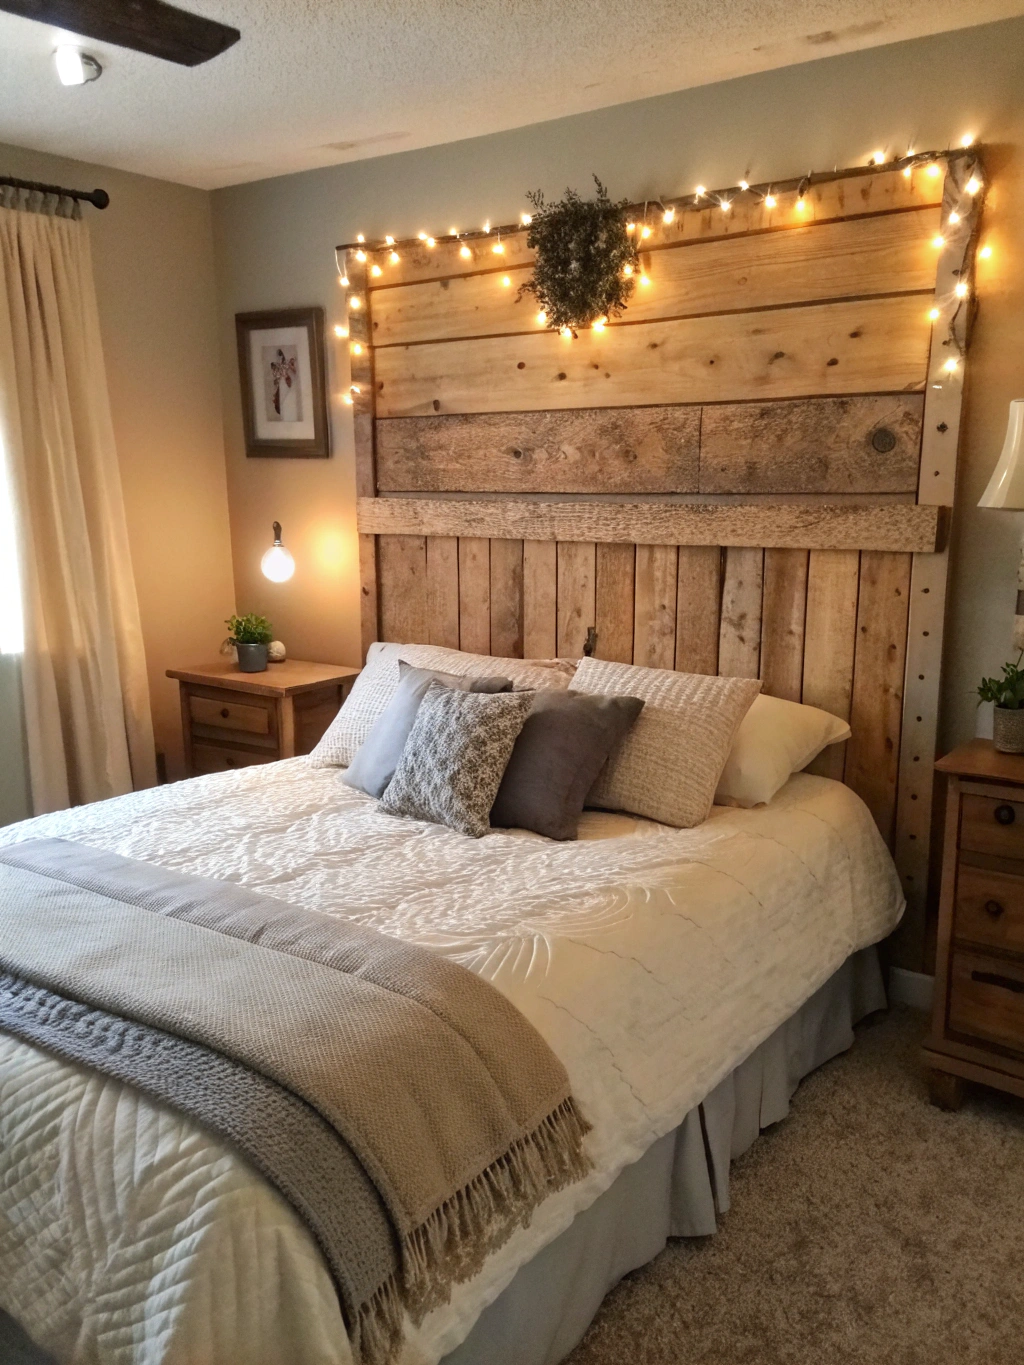
Caption: The stunning final result – your very own custom DIY pallet wood headboard, adding rustic elegance to the bedroom.
This project is a fantastic way to get creative and upcycle materials. The natural variations in pallet wood mean that no two headboards will ever be exactly alike. Yours is truly one-of-a-kind! We’d love to see what you’ve created. Share photos of your finished DIY pallet wood headboard in the comments below, along with any tips or tricks you discovered along the way!
Pro Tips & FAQs for Your Pallet Project
Building a DIY pallet wood headboard is rewarding, but you might have a few questions. Here are some pro tips and frequently asked questions to help you out:
How do I know if a pallet is safe to use?
Look for the IPPC stamp on the pallet. You want pallets marked “HT” for Heat Treated. Avoid pallets marked “MB” for Methyl Bromide, as this is a chemical treatment. If there’s no stamp or it’s illegible, it’s best to err on the side of caution and find another pallet, especially for indoor furniture. Also, avoid pallets that look like they’ve had chemical spills or are excessively oily.
What’s the best way to find free pallets?
Many businesses receive goods on pallets and are often happy to give them away. Try asking at local hardware stores, garden centers, pet food stores, or small industrial businesses. Always ask for permission before taking pallets. Sometimes you can find them listed for free on online marketplaces too.
Can I make a DIY pallet wood headboard without disassembling the entire pallet?
Yes, some simpler designs involve cutting a pallet to size and cleaning/sanding it without fully disassembling it. However, this often leaves the chunky pallet blocks visible and may not give as refined a look. Fully disassembling gives you more control over the plank arrangement and a cleaner finish. Many DIY pallet wood headboard tutorials online show both methods.
What if I don’t have all the power tools?
While power tools make the job easier and faster, you can still make a DIY pallet wood headboard with hand tools. A hand saw can replace a circular saw (it’ll just take more elbow grease), and you can sand by hand. Some hardware stores also offer tool rental services, which can be a cost-effective option for a one-off project. Alternatively, some stores will cut lumber to size for you if you purchase it there, though this may not apply to pallet wood.
How long will this DIY pallet wood headboard project take?
This can vary greatly depending on your skill level, the tools you have, and the complexity of your design. Disassembling and sanding the pallets usually takes the most time. Plan for a weekend project. For instance, Day 1 could be pallet disassembly, cleaning, and initial sanding. Day 2 could be cutting, assembly, and finishing. Rushing often leads to mistakes, so take your time and enjoy the process!
We hope this comprehensive guide inspires you to create your own stunning DIY pallet wood headboard! It’s a project that combines creativity, sustainability, and practicality, resulting in a piece you can be proud of.
Ready to tackle more DIY projects? Check out our tutorial for DIY pallet wood headboard to add some festive flair to your home.
Don’t forget to share this post with your fellow DIY enthusiasts and leave a comment below with your questions or to show off your finished headboard! Sign up for our newsletter for more DIY inspiration, tips, and tutorials delivered straight to your inbox. Happy building!


