Introduction
Are you staring at that pile of old wooden pallets, wondering if they could be more than just…well, pallets? You’re not alone! Many home improvement enthusiasts, just like you, are discovering the incredible potential hidden within these humble wooden structures. Get ready to unleash your creativity, because today we’re diving deep into the world of DIY pallet wood projects. From rustic charm to modern chic, pallet wood offers an affordable and sustainable way to add unique, handcrafted pieces to your home and garden. This guide will walk you through everything you need to know, plus 7 fantastic ideas to get you started on your pallet crafting journey. So, grab your safety goggles, because we’re about to transform trash into treasure!
Table of Contents
Table of Contents

DIY Pallet Wood Projects
Unleash your creativity with these amazing DIY pallet wood projects.
The Allure of Pallet Wood: Why DIYers Love It : DIY Pallet Wood Projects
What’s the big deal with pallet wood, anyway? For starters, it’s incredibly versatile. Whether you’re dreaming of new DIY pallet wood furniture ideas or simpler decorative items, pallets provide a fantastic raw material. They often come with a weathered, rustic look that adds instant character to any piece. This “aged” aesthetic is highly sought after and can be expensive to replicate with new lumber.
Beyond aesthetics, pallet wood is also a champion of sustainability. By upcycling pallets, you’re diverting waste from landfills and giving new life to existing materials. This eco-friendly aspect resonates deeply with many DIYers who are conscious of their environmental impact. Plus, let’s be honest, finding free or very cheap materials for your DIY pallet wood projects is a huge win! This affordability opens up a world of possibilities, allowing you to experiment and build larger pieces without breaking the bank. The sense of accomplishment from transforming discarded wood into something beautiful and functional is truly rewarding.
Safety First: Handling Pallet Wood
Before you even think about dismantling your first pallet, let’s talk safety. Not all pallets are created equal, and some can pose health risks if not handled correctly. Your top priority for any DIY pallet wood projects should be sourcing safe wood.
Identifying Safe Pallets:
- Look for the “HT” Stamp: This indicates the pallet was heat-treated, rather than chemically treated, to prevent pests. Heat-treated pallets are generally safe for indoor and outdoor projects.
- Avoid “MB” Stamps: This means the pallet was treated with Methyl Bromide, a toxic fumigant. These pallets are NOT safe for DIY projects, especially those intended for indoor use or contact with food (like a kitchen shelf or garden planter for edibles).
- Check for Spills or Stains: If a pallet has visible chemical spills, strange odors, or looks like it was used to transport hazardous materials, steer clear. It’s better to be safe than sorry.
- Consider the Source: Pallets from grocery stores, hardware stores, or garden centers are often safer bets than those from industrial chemical plants.
Protective Gear:
- Gloves: Heavy-duty work gloves are essential to protect your hands from splinters, rough wood, and protruding nails.
- Safety Glasses: Always wear eye protection when dismantling pallets, cutting wood, or sanding. Wood chips and debris can fly!
- Dust Mask: Sanding and cutting pallet wood can create a lot of dust. A good quality dust mask (N95 or P100) will protect your lungs.
- Sturdy Shoes: Protect your feet from falling wood pieces or tools.
Dismantling pallets can be challenging. The wood can be brittle, and nails are often driven deep. Take your time, use the right tools (like a pallet buster or a pry bar and hammer), and work methodically to avoid injury and salvage as much usable wood as possible for your DIY pallet wood projects.
What You’ll Need for Your DIY Pallet Wood Projects
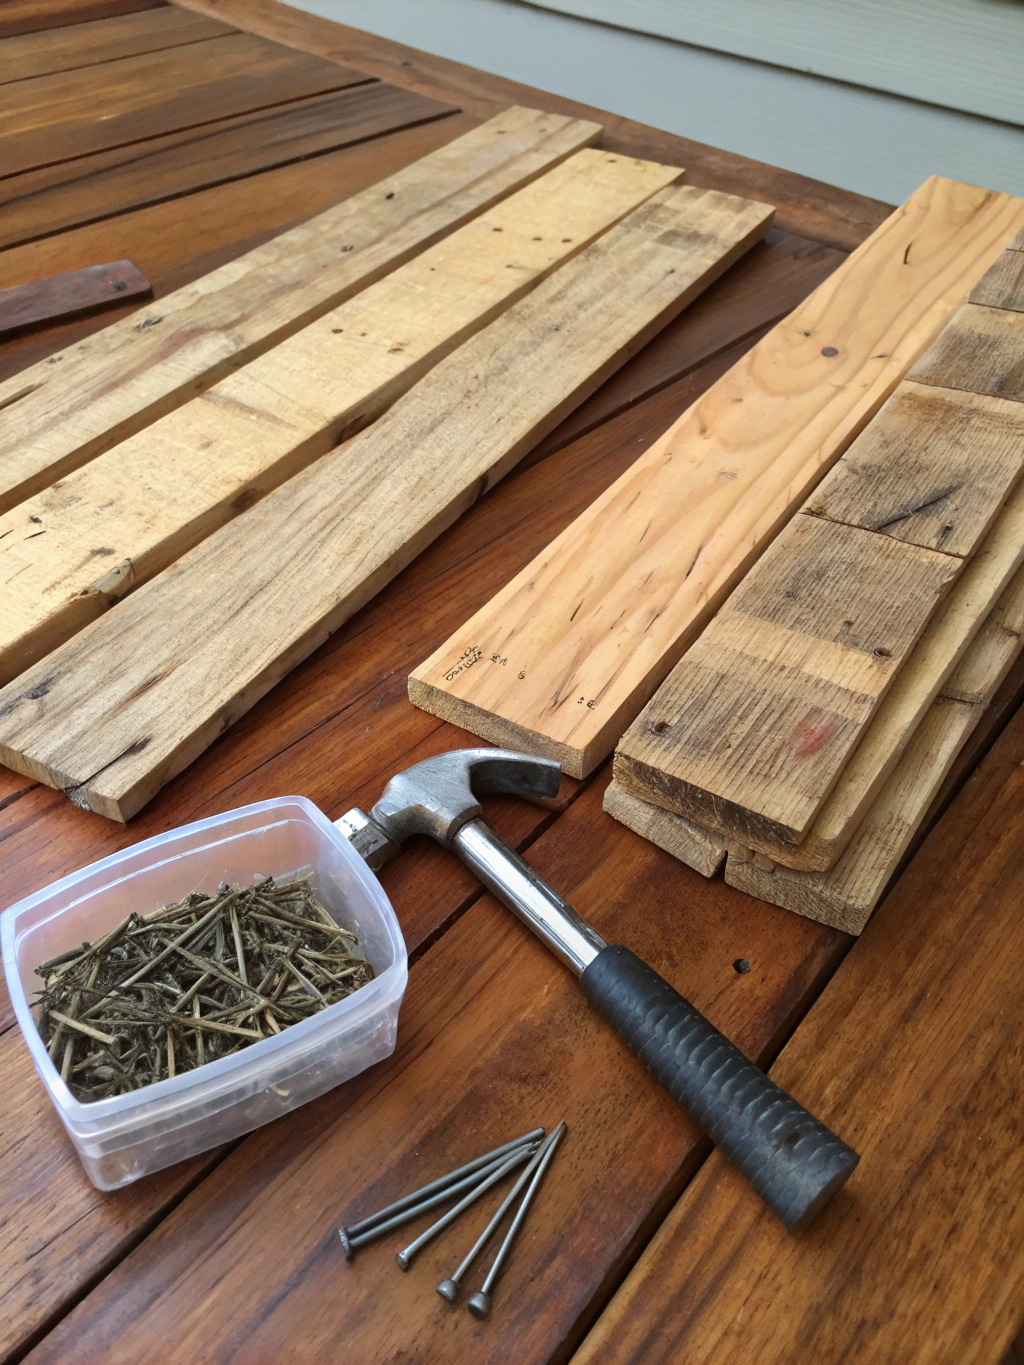
Having the right tools and materials on hand will make your DIY pallet wood projects smoother and more enjoyable. While specific projects might require a few unique items, here’s a general list to get you started:

DIY Pallet Wood Projects
Gather these essentials before starting your DIY pallet wood adventure.
Materials: DIY Pallet Wood Projects
- Pallets: Obviously! Look for HT (Heat Treated) stamped pallets.
- Wood Screws/Nails: Various sizes depending on your project.
- Wood Glue: For stronger joints.
- Sandpaper: Various grits (e.g., 80, 120, 220) for smoothing the wood.
- Wood Finish: Stain, paint, varnish, or oil to protect and beautify your creation.
- Cleaning Supplies: Soap, water, and a stiff brush for cleaning pallet wood.
Tools: DIY Pallet Wood Projects
- Safety Gear: Gloves, safety glasses, dust mask. (Don’t skip these!)
- Measuring Tape: For accurate cuts.
- Pencil: For marking.
- Pry Bar / Pallet Buster: For dismantling pallets.
- Hammer or Mallet: For dismantling and assembly.
- Saw: A hand saw will work, but a circular saw, jigsaw, or miter saw will make cuts faster and more precise.
- Drill/Driver: For pre-drilling holes and driving screws.
- Sander: An orbital sander or belt sander will save you a lot of time and effort, though hand sanding is also an option.
- Clamps: To hold pieces together while glue dries or during assembly.
- Level: To ensure your projects are straight and even.
- Paint Brushes/Rags: For applying finishes.
Having these items ready will set you up for success with a wide range of DIY pallet wood projects.
7 Best DIY Pallet Wood Projects You Can Build Today
Ready to get building? Here are seven fantastic DIY pallet wood projects that are both fun to make and incredibly stylish. We’ll start with a detailed guide for a rustic shelf, then explore other exciting ideas. For even more inspiration and specific plans, you can explore resources like these offering great “DIY pallet wood furniture ideas, Easy pallet wood project plans, How to build a pallet wood shelf”.
Project 1: The Rustic Pallet Wood Shelf – A Weekend Winner
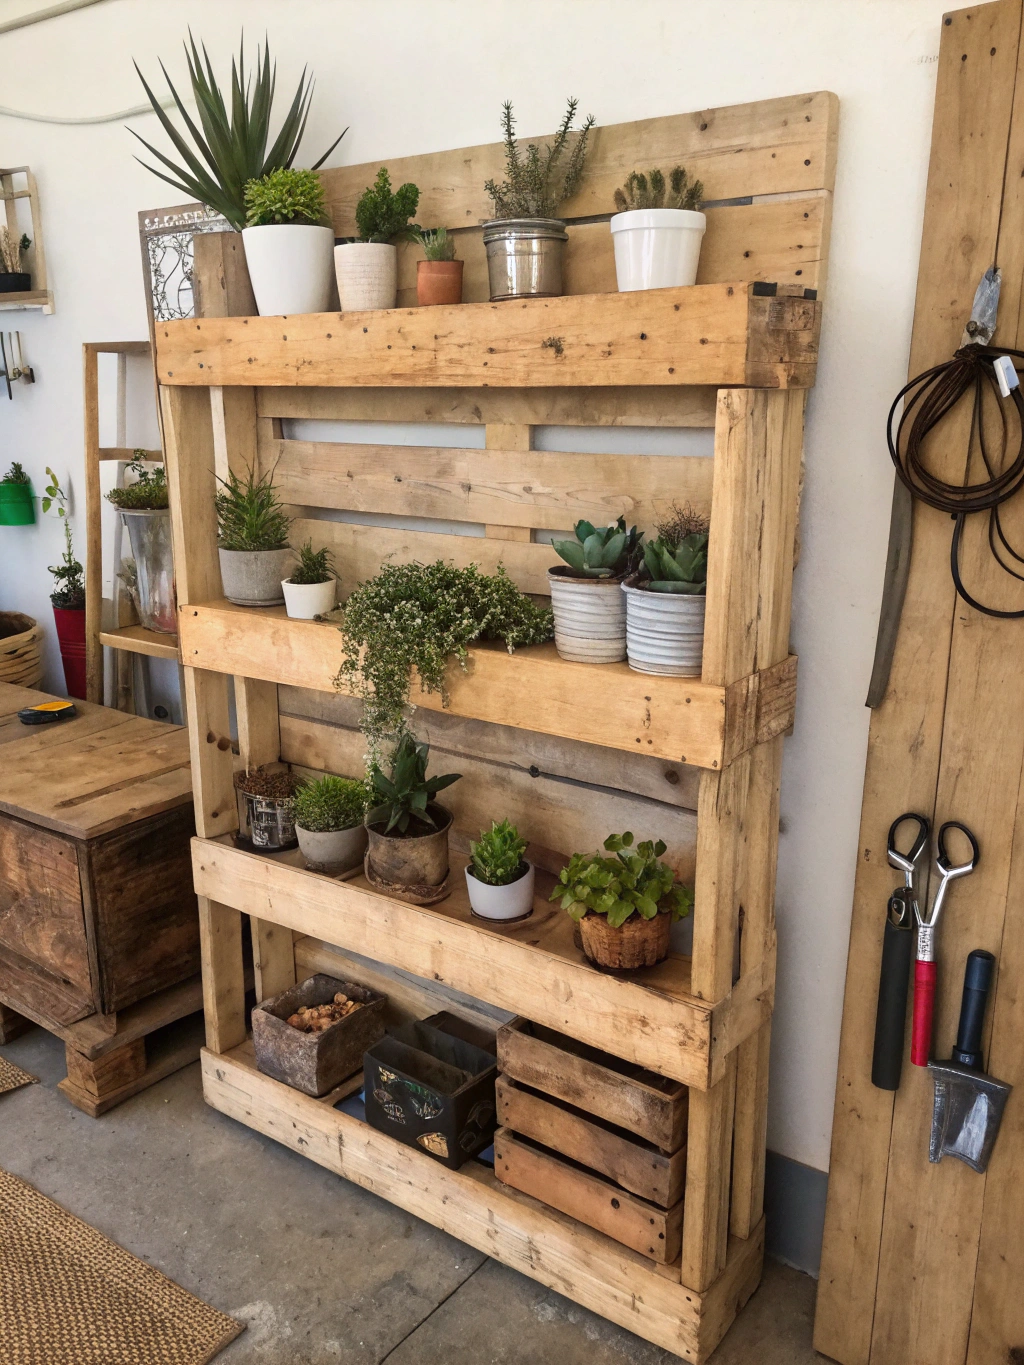
This versatile shelf is a perfect beginner-to-intermediate project and answers the common question of “How to build a pallet wood shelf”. It can be used in your living room, bathroom, kitchen, or even outdoors. We’ll guide you step-by-step.
What You’ll Need (For the Shelf): DIY Pallet Wood Projects
- 1-2 Pallets (depending on size and wood quality)
- Wood screws (1.5-inch and 2.5-inch)
- Wood glue
- Sandpaper (80, 120, 220 grit)
- Your choice of wood finish (stain, paint, or clear sealer)
- Tools: Pallet buster/pry bar, saw, drill, sander, measuring tape, pencil, clamps, level.
Step-by-Step Guide to Your Pallet Wood Shelf
Step 1: Safely Dismantle Your Pallet(s)
Carefully disassemble your pallet. The goal is to salvage as many full-length planks as possible with minimal splitting. Use your pry bar to gently separate the deck boards from the stringers (the thicker support pieces). Work slowly, prying a little at a time on each nail. Once the boards are off, remove any remaining nails using the claw of your hammer or a nail puller. This is often the most time-consuming part of any DIY pallet wood projects, so patience is key!
Why it matters: Cleanly dismantled wood is easier to work with and results in a neater final product. Rushing can lead to broken boards and frustration.
Common pitfalls: Using too much force and splitting the wood. Not removing all nail fragments, which can damage your saw blades or cause injury.
Step 2: Clean and Cut Your Shelf Pieces
Once dismantled, thoroughly clean the pallet wood. Use a stiff brush and soapy water to remove dirt, grime, and any loose debris. Let the wood dry completely.
For a simple two-shelf unit (approx. 24 inches wide, 12 inches high, 5 inches deep), you’ll typically need:
- Back Pieces (x2): Cut two pallet planks to 24 inches long.
- Shelf Pieces (x2): Cut two pallet planks to 24 inches long.
- Side Supports (x2): Cut two pieces from the pallet stringers (or thicker planks) to 12 inches long. These will also act as the depth of your shelf.
Measure twice, cut once! Ensure your cuts are straight and accurate for easier assembly. Consider the natural character of the wood; sometimes, slight imperfections add to the charm of DIY pallet wood projects.
Why it matters: Clean wood is essential for a good finish and hygiene, especially if the shelf is used indoors. Accurate cuts ensure a stable and good-looking shelf.
Common pitfalls: Not letting wood dry completely before cutting, leading to binding or rough cuts. Inconsistent measurements.
Step 3: Sanding for a Smooth Finish
Now it’s time to sand all your cut pieces. Start with a coarser grit sandpaper (like 80-grit) to remove any major roughness, splinters, and old markings. Progress to a medium grit (120-grit) and finish with a fine grit (220-grit) for a smooth-to-the-touch surface. Pay extra attention to edges and corners. Remember to wear your dust mask!
Why it matters: Sanding not only makes the wood feel nice but also prepares it for staining or painting, allowing the finish to absorb evenly. It also removes potential splinters.
Common pitfalls: Skipping grits, which leaves a rough surface. Not sanding edges properly. Forgetting safety gear during sanding.
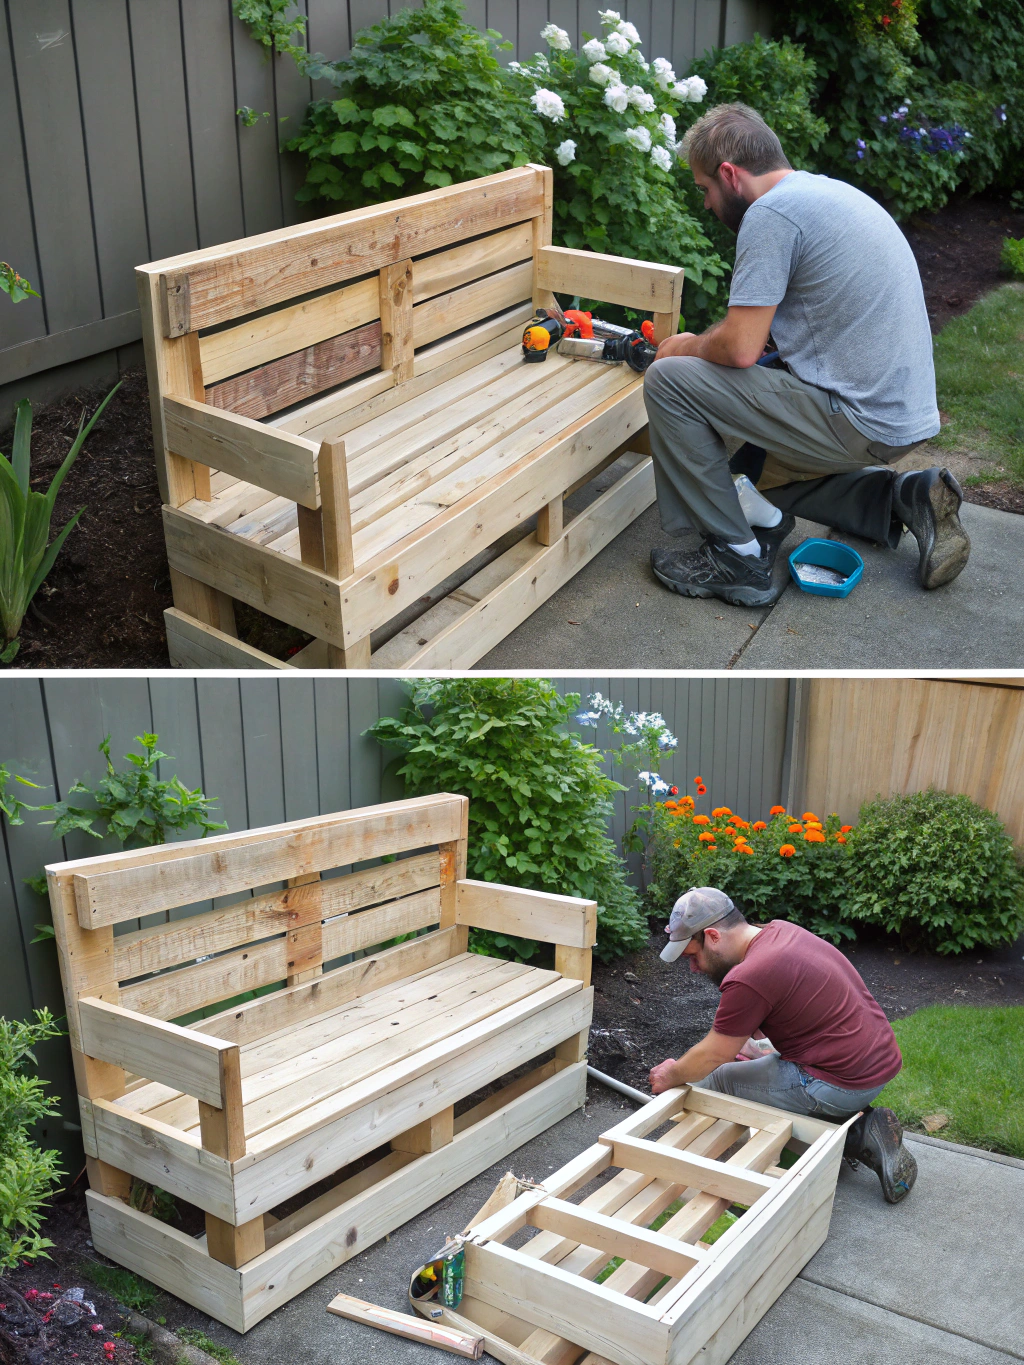
Step 4: Assembling Your Pallet Wood Shelf
This is where your shelf starts to take shape!
- Attach Shelf Pieces to Side Supports: Take one 12-inch side support and one 24-inch shelf piece. Apply wood glue to the edge of the shelf piece where it will meet the support. Pre-drill pilot holes through the side support into the shelf piece to prevent splitting, then secure with 1.5-inch screws. Repeat for the other side support, ensuring the shelf is level. Do the same for the second shelf piece, positioning it at your desired height (e.g., to create two equal shelf spaces). Clamps can be very helpful here to hold pieces steady.
- Attach Back Pieces: Lay your assembled shelf frame face down. Apply glue to the back edges of the side supports and shelves. Position your 24-inch back pieces across the frame. Pre-drill and secure them with 1.5-inch screws. Using two back pieces often provides better stability and a more complete look.

Careful assembly ensures a sturdy and beautiful pallet wood shelf. This is a key stage in many [DIY pallet wood projects](https://www.fixdiy.site/home-decor/).
Why it matters: Proper assembly with glue and screws ensures a strong, durable shelf. Pre-drilling prevents wood from splitting, which is common with older pallet wood.
Common pitfalls: Not using glue for added strength. Over-tightening screws and stripping holes or cracking wood. Not checking for level and square during assembly.
Step 5: Finishing Touches (Stain or Paint)
Once your shelf is assembled and any glue has dried, give it a final light sanding if needed. Wipe away all dust with a tack cloth or damp rag. Now, apply your chosen finish. Whether you opt for a rustic stain, a vibrant paint color, or a clear protective coat, follow the manufacturer’s instructions. You might need multiple coats for the desired look and protection.
Why it matters: Finishing protects the wood from moisture and wear, enhances its appearance, and can help your shelf match your existing decor.
Common pitfalls: Applying finish over dusty surfaces. Not allowing adequate drying time between coats. Applying finish too thickly, leading to drips.
Final Result of Your Pallet Wood Shelf
Stand back and admire your handiwork! You’ve successfully transformed humble pallet wood into a beautiful and functional piece of furniture. This shelf isn’t just a storage solution; it’s a testament to your creativity and a great conversation starter.

Your completed rustic pallet wood shelf – a stunning addition to any room, and a proud achievement in [DIY pallet wood projects](https://www.fixdiy.site/home-decor/)!
This method serves as a great foundation for many DIY pallet wood projects. We’d love to see your finished shelves! Share your pictures and any tips you discovered in the comments below.
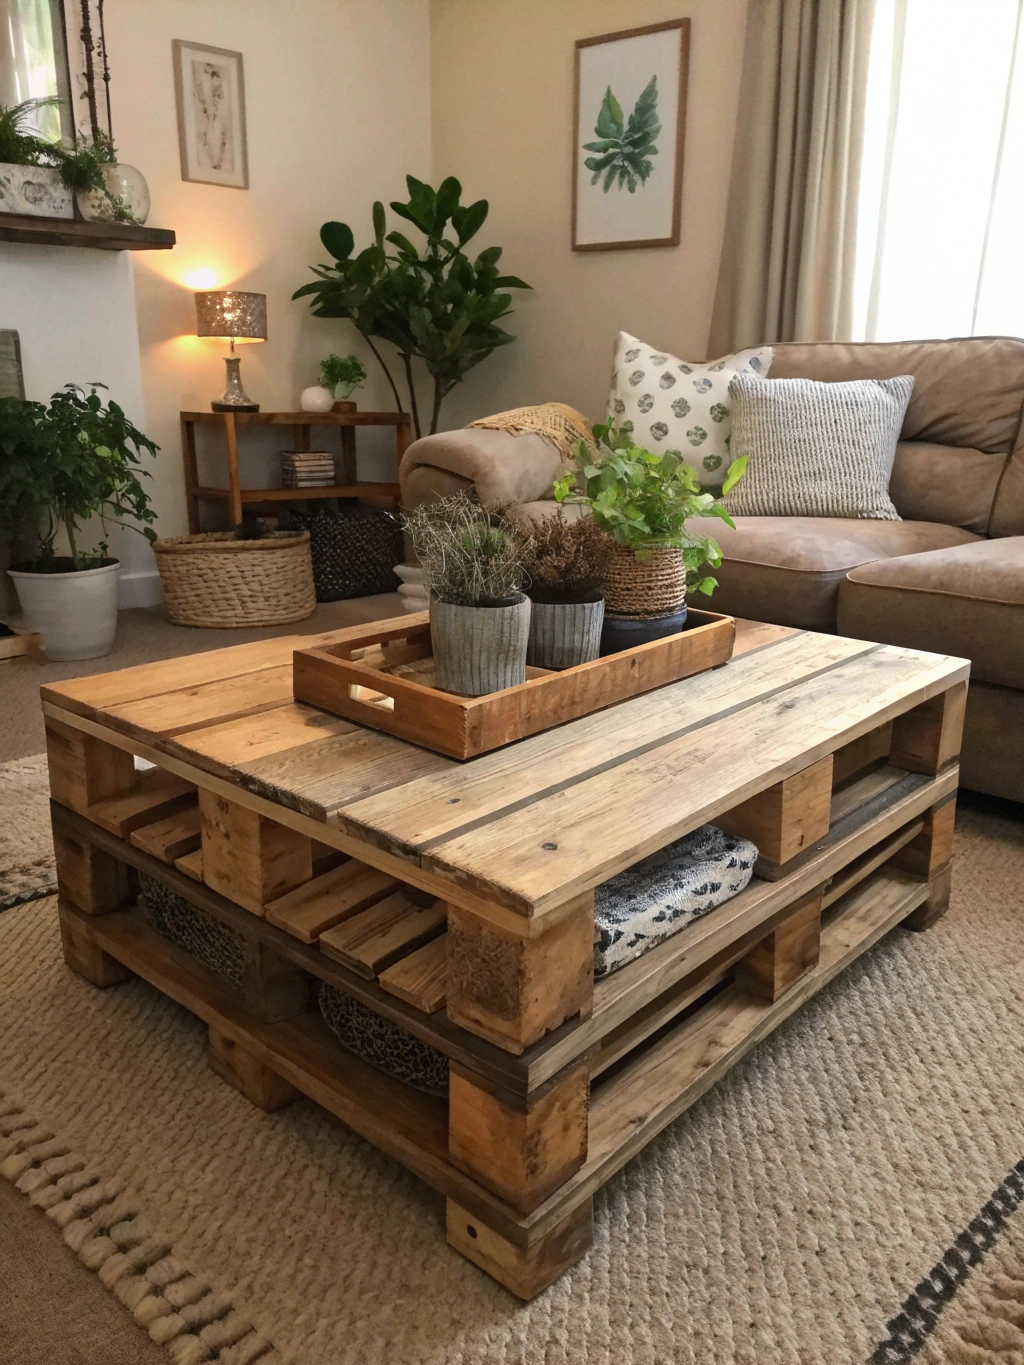
Project 2: Charming Pallet Wood Coffee Table
A pallet wood coffee table can be the rustic centerpiece of your living room. There are many DIY pallet wood furniture ideas for coffee tables, from simple designs using a whole pallet (with added casters) to more complex versions involving cut and reassembled planks.
- Complexity: Medium
- Key Steps: Select a sturdy pallet (or two for stacking). Clean thoroughly. Sand well, especially the top surface. You can add legs, casters for mobility, or even a glass top for a more polished look. Consider staining or painting to match your decor. Many Easy pallet wood project plans for coffee tables involve simply cleaning, sanding, and adding wheels.
- Tip: Use the gaps between pallet planks for magazine storage or add a lower shelf with additional pallet wood.
Project 3: Vertical Pallet Herb Garden
Perfect for small spaces, a vertical pallet herb garden brings greenery to your patio, balcony, or even kitchen wall. This is one of the most popular outdoor DIY pallet wood projects.
- Complexity: Easy to Medium
- Key Steps: Stand a pallet upright. Create “pockets” for soil by stapling landscape fabric to the back, bottom, and sides of the sections between the slats. Fill with potting soil and plant your favorite herbs or flowers. Ensure your pallet is HT-stamped, especially if growing edibles.
- Tip: Lean the pallet against a wall or secure it for stability. You can paint or stain it before planting for a more decorative look.
Project 4: Cozy Pallet Wood Headboard
Add a touch of rustic elegance to your bedroom with a pallet wood headboard. This DIY pallet wood projects idea is surprisingly simple but makes a big impact.
- Complexity: Medium
- Key Steps: Dismantle pallets to get individual planks. Decide on the height and width of your headboard. Create a simple frame or attach planks directly to the wall or to support posts. Arrange planks in an interesting pattern (horizontal, vertical, herringbone). Sand smooth and finish as desired.
- Tip: Vary the shades of stain on different planks for a more dynamic, reclaimed wood look. You can also integrate small shelves or reading lights into the headboard design.
Project 5: Outdoor Pallet Wood Planter Box
Build sturdy and attractive planter boxes for your flowers, vegetables, or shrubs. These are fantastic for patios, decks, or gardens and are a staple in DIY pallet wood projects for the outdoors.
- Complexity: Medium
- Key Steps: Dismantle pallets. Cut planks to your desired box dimensions (four sides and a bottom). Assemble the box using wood screws and glue, ensuring good drainage holes in the bottom. You might want to line the inside with landscape fabric or plastic sheeting (with drainage holes) to prolong the wood’s life.
- Tip: Build planter boxes of various sizes and heights to create an interesting tiered garden display. Consider adding casters to larger boxes for easy repositioning.
Project 6: Unique Pallet Wood Wall Art/Accent Wall
Let your artistic side shine by creating wall art or an accent wall using pallet wood. This is where the natural variations in pallet wood can truly stand out.
- Complexity: Easy to Advanced (depending on design)
- Key Steps: For simple art, cut distinctive pieces of pallet wood, arrange them on a backing board, and frame them. For an accent wall, clean, sand, and (optionally) stain pallet planks, then attach them directly to the wall in a desired pattern (e.g., shiplap style, herringbone). Ensure you are attaching to studs for larger installations.
- Tip: Incorporate different wood tones, paint some planks, or stencil designs for a personalized touch. An accent wall is a bold DIY pallet wood projects that can transform a room.
Project 7: Simple Pallet Wood Coasters or Trivets
Looking for quick and easy DIY pallet wood projects? Coasters or trivets are perfect. They make great gifts and use up smaller scraps of wood.
- Complexity: Easy
- Key Steps: Cut pallet planks into small squares or circles (e.g., 4×4 inches for coasters). Sand them very smooth, paying attention to edges. Apply a waterproof sealer or varnish to protect them from moisture.
- Tip: Glue a thin cork backing to the coasters to prevent scratching surfaces. You can wood-burn designs or paint them for extra flair. These are great starter DIY pallet wood projects.
Pro Tips & Tricks for Nailing Your Pallet Projects
Working with pallet wood comes with its own set of quirks. Here are some pro tips to help you achieve the best results on your DIY pallet wood projects:
- Source Wisely: Beyond the HT stamp, look for pallets that are relatively clean and dry. Newer pallets might be easier to dismantle, while older ones have more character. Build relationships with local businesses; they might set aside good quality pallets for you.
- Master Dismantling: A pallet buster tool is a worthwhile investment if you plan on many DIY pallet wood projects. Alternatively, a reciprocating saw (Sawzall) with a nail-cutting blade can quickly cut through nails, freeing the planks, though you’ll lose a bit of wood length where the stringers were.
- Embrace Imperfections: Pallet wood is rarely perfect. Nail holes, slight discoloration, and minor dings add to its rustic charm. Don’t try to make it look like new lumber; celebrate its history!
- Pre-Drill Everything: Pallet wood can be dry and brittle, making it prone to splitting, especially near the ends of boards. Always pre-drill pilot holes before driving screws.
- Clean Thoroughly, Then Clean Again: You’d be surprised how much dirt and grime pallet wood can hold. A good scrubbing with soapy water and a stiff brush, followed by ample drying time, is crucial. Some people even lightly pressure wash their pallets first.
- Don’t Skimp on Sanding: It’s tempting to rush this step, but proper sanding makes a huge difference in the final look and feel of your DIY pallet wood projects. It also significantly reduces the risk of splinters.
- Finishing for Longevity: For outdoor projects or items in high-moisture areas (like bathrooms or kitchens), use a good quality exterior-grade sealer or varnish to protect the wood from the elements and extend its life.
- Measure Thrice, Cut Once: We know it’s “measure twice,” but with reclaimed wood that might not be perfectly straight, an extra check can save you a lot of headaches.
- Safety Gear is Non-Negotiable: We’ve said it before, but it bears repeating. Gloves, eye protection, and a dust mask are your best friends when working on DIY pallet wood projects.
FAQs: Your DIY Pallet Wood Projects Questions Answered
Q1: Where can I find free or cheap pallets for my DIY pallet wood furniture ideas?
Many businesses receive goods on pallets and are often happy to give them away to avoid disposal fees. Try asking at local hardware stores, garden centers, grocery stores, pet stores, furniture stores, and small industrial businesses. You can also check online marketplaces like Craigslist or Facebook Marketplace, but always prioritize safety and confirm the pallet type (look for HT stamps).
Q2: What are some easy pallet wood project plans for beginners?
Beginners can start with simpler projects that require minimal cutting and complex joinery. Good options include:
- Simple coasters or trivets
- Basic wall decor (e.g., mounting a few interesting looking planks)
- Small planter boxes (square or rectangular)
- A very basic shelf (like a single plank with brackets)
- Using a whole, cleaned pallet as a rustic coffee table base (just add casters or short legs).
Many **Easy pallet wood project plans** focus on cleaning, sanding, and simple assembly, making them great for getting familiar with the material.
Q3: How do I properly clean pallet wood before using it for DIY projects?
Start by brushing off any loose dirt and debris. Then, scrub the wood thoroughly with a solution of warm water and mild soap (dish soap works well). For tougher grime or potential mold, you can add a bit of bleach or vinegar to your cleaning solution (don’t mix bleach and vinegar!). Rinse well and let the wood dry completely, preferably in the sun, before starting your **[DIY pallet wood projects](https://www.fixdiy.site/home-decor/)**. Ensure it’s fully dry to prevent warping or issues with finishing.
Q4: Is all pallet wood safe to use for indoor [DIY pallet wood projects](https://www.fixdiy.site/home-decor/)?
No, not all pallet wood is safe, especially for indoor use or projects that will come into contact with food. ONLY use pallets stamped “HT” (Heat Treated). Avoid pallets stamped “MB” (Methyl Bromide) as they are chemically treated and toxic. Also, avoid pallets that have visible chemical spills, strong odors, or are from unknown sources where they might have transported hazardous materials. When in doubt, err on the side of caution and find another pallet.
Q5: What’s the best way to dismantle a pallet without breaking the wood?
Patience and the right tools are key. A pallet buster (or pallet pry bar) provides leverage to lift boards with minimal damage. Alternatively, use a pry bar and hammer, working slowly along the board, lifting a little at each nail point. You can also use a reciprocating saw with a bi-metal or nail-embedded wood blade to cut through the nails between the deck boards and stringers. This method is faster but you’ll lose the part of nails and the stringers won’t be as clean. For your **[DIY pallet wood projects](https://www.fixdiy.site/home-decor/)**, salvaging long, intact planks is usually the goal.
Get Crafting and Share Your Masterpieces!
Pallet wood offers a world of creative possibilities for the avid DIYer. From functional furniture to charming decor, these DIY pallet wood projects are not just about building things; they’re about sustainable crafting, personal expression, and the immense satisfaction of transforming the ordinary into the extraordinary.
We hope these 7 ideas and our detailed guide on how to build a pallet wood shelf have inspired you to pick up your tools and start your next project. Each piece you create will tell a story – the story of reclaimed wood given a new purpose by your own hands.
Now it’s your turn!
What DIY pallet wood projects are you dreaming of? Have you completed any pallet projects already? Share your experiences, tips, questions, and photos in the comments below. We love seeing what our community creates!
Don’t forget to subscribe to our newsletter for more DIY inspiration, tips, and project ideas delivered straight to your inbox. And if you found this guide helpful, please share it with your fellow DIY enthusiasts on social media! Happy building!


