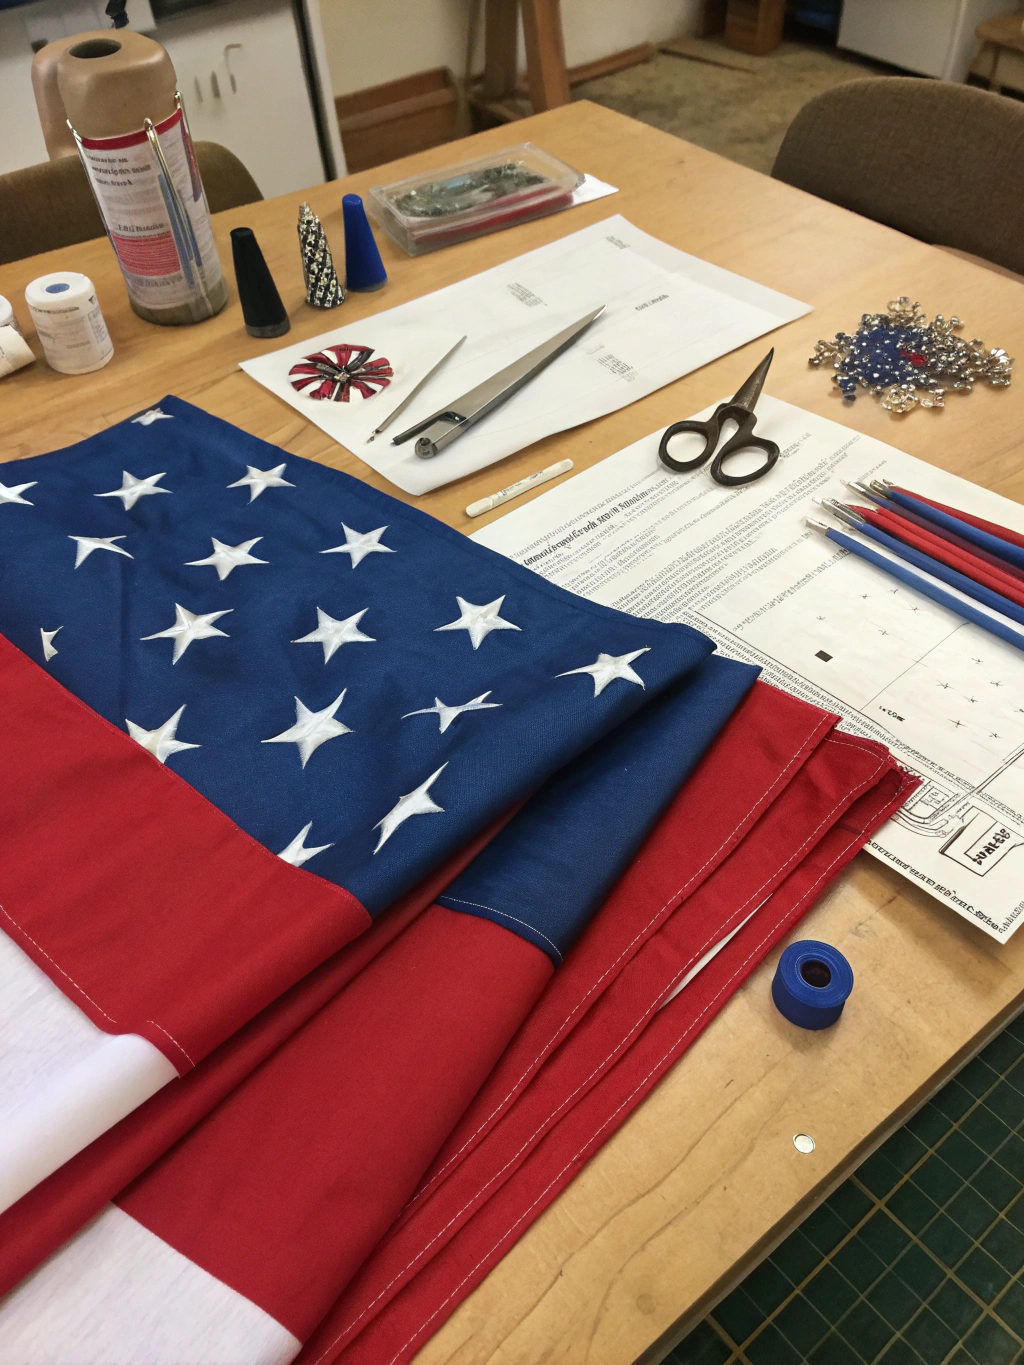
_Caption: Brighten your garden with handmade patriotic charm!_
Introduction
Ever find yourself scrolling through Pinterest, marveling at those perfectly festive gardens, and wishing you could add that special, personal touch without breaking the bank or spending weeks on a complicated project? You’re not alone! Creating your own diy patriotic garden flags is a wonderfully rewarding way to infuse your outdoor space with personality and festive cheer, especially for holidays like the 4th of July, Memorial Day, or Labor Day. Forget expensive store-bought decorations that lack that unique, homemade feel.
This guide will walk you through an easy, fun, and highly satisfying project to make your garden shine. Ready to get your craft on and learn how to make DIY patriotic garden flags at home? Let’s dive in!
The beauty of DIY projects, especially for home decor, is the ability to customize them to your exact liking. Whether you prefer a rustic farmhouse look, a bright and bold modern statement, or something whimsically charming, making your own garden flags allows you to control the materials, colors, and design. Plus, there’s an incredible sense of pride that comes with seeing your own handiwork fluttering in the breeze, welcoming guests and passersby. This project is perfect for all skill levels, even if you’re new to the DIY scene.
We’ll break down each step, making it simple and enjoyable. So, gather your supplies, find a comfy spot, and let’s create some stunning diy patriotic garden flags that will be the envy of the neighborhood! This isn’t just about making a decoration; it’s about creating a little piece of joy for your home and garden.
Table of Contents
What You’ll Need for Your DIY Patriotic Garden Flags
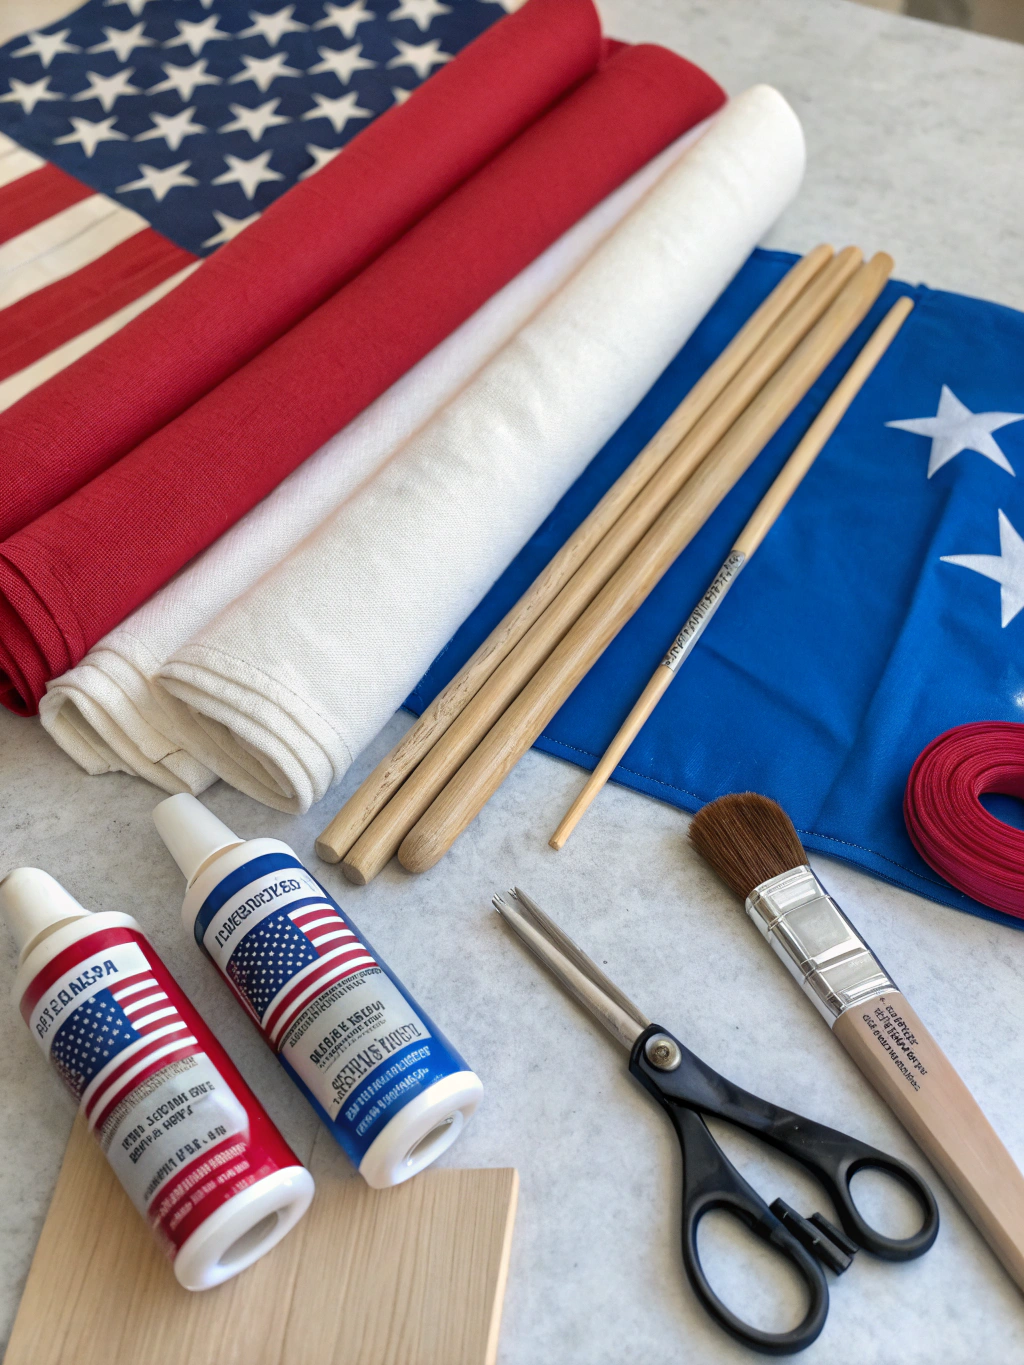
Before we jump into the creative process, let’s gather all our materials and tools. Having everything ready will make your crafting experience smooth and enjoyable. Think of this as your crafting mission control – all systems go!

_Caption: All the essentials for your patriotic flag-making adventure._
Here’s a list of what you’ll need. Feel free to substitute based on what you have on hand or your personal preferences!
Materials:
- Weather-resistant fabric: Canvas, burlap, or outdoor-grade cotton blends work best. Aim for a piece approximately 12×18 inches per flag, plus a little extra for seams/hems. Natural-colored burlap gives a lovely rustic feel, while white canvas is a great base for vibrant colors.
- Acrylic paints or fabric paints: Red, white, and blue are essential, of course! Consider metallics like silver or gold for extra sparkle. Fabric paints are ideal as they are designed to adhere to textiles and withstand washing/weather.
- Wooden dowel rods: About 1/4 to 1/2 inch in diameter and slightly wider than your flag (e.g., 14-15 inches for a 12-inch wide flag). You can find these at any craft or hardware store.
- Twine or sturdy string: For hanging your flag.
- Optional: Stencils: For stars, stripes, or lettering if you’re not confident in freehanding.
- Optional: Fabric glue or hot glue gun: For no-sew options or attaching embellishments.
- Optional: Clear acrylic sealer spray: To provide extra weather protection for your finished flag.
- Optional: Embellishments: Buttons, ribbons, glitter – let your creativity shine!
Tools:
- Scissors or a rotary cutter and mat: For cutting fabric.
- Paintbrushes: Various sizes – small for details, larger for filling areas.
- Pencil or fabric marker: For sketching out your design.
- Ruler or measuring tape.
- Iron and ironing board: To press fabric and set paint (if using certain fabric paints).
- Sewing machine (optional): If you prefer to sew hems and the dowel pocket. Hand-sewing is also an option!
- Old newspapers or a drop cloth: To protect your work surface.
- Small clamps or clothespins (optional): To hold fabric while glue dries.
Having these items laid out and ready will make the process much more efficient. Don’t worry if you don’t have every single item; DIY is all about improvisation and making it work with what you’ve got! For more inspiration and DIY patriotic garden flags tutorial, How to make DIY patriotic garden flags at home, Easy DIY patriotic garden flags instructions, you can check out wonderful resources like Country Living’s holiday craft projects.
Step-by-Step Guide: How to Make DIY Patriotic Garden Flags
Alright, DIY enthusiasts, it’s time for the fun part! Let’s walk through the process of creating your very own diy patriotic garden flags. We’ve broken it down into five manageable steps. Take your time, enjoy the process, and don’t be afraid to add your personal flair.
Step 1: Prepare Your Fabric Base
First things first, we need to prepare our canvas – or, in this case, our fabric! A well-prepared base is crucial for a professional-looking finish. If your fabric is wrinkled, give it a quick press with an iron. This will make it easier to cut and paint accurately.

Measure and cut your fabric to your desired size. A common garden flag size is around 12 inches wide by 18 inches long. Remember to add about 1 inch to the width and 2-3 inches to the length for hems and the pocket for the dowel rod. For example, for a finished 12×18 inch flag, you might cut a piece that’s 13 inches wide and 21 inches long. Using a ruler and a fabric marker will help you get straight, even cuts. If you’re using burlap, be gentle as it can fray easily.
Next, you’ll create the pocket for the dowel rod at the top of your flag. Fold over the top edge of the fabric by about 1.5 to 2 inches (depending on the thickness of your dowel) towards the back side of the flag. Press this fold with an iron. You can then either sew along the edge to create a channel or use strong fabric glue or a hot glue gun for a no-sew option.
If you’re sewing, a simple straight stitch will do. If gluing, apply a thin, even line of glue and press firmly, using clamps or clothespins to hold it in place until dry. This pocket is what will allow you to slide your flag onto its stand. Also, consider hemming the other three sides by folding them over about 1/2 inch and sewing or gluing them down. This prevents fraying and gives a neater, more durable edge to your diy patriotic garden flags.
Step 2: Design Your Patriotic Masterpiece
This is where your creativity truly comes into play! Before you pick up your paints, take a moment to sketch out your design on paper or lightly with a pencil directly onto the fabric. Think about traditional patriotic elements: stars, stripes, eagles, fireworks, or even inspiring words like “Liberty,” “USA,” or “Freedom.” You could go for a classic American flag design, a more abstract interpretation, or something completely unique.
Consider the colors – the iconic red, white, and blue are a must, but think about shades and placement. Do you want bold, blocky stripes or something more rustic and distressed? Will your stars be perfectly formed, or will they have a more hand-drawn, whimsical look? If you’re using stencils, now is the time to position them and lightly trace them onto your fabric. If you’re creating stripes, use a ruler and a light pencil line to ensure they are straight and evenly spaced.
Don’t be afraid to experiment. Perhaps a large central star, or a field of smaller stars on a blue background on one section, with red and white stripes on another. You could even incorporate a silhouette of your state or a meaningful patriotic symbol. The goal is to create a design that you love and that reflects your personal style. This planning stage is key to achieving a result you’ll be proud to display. Many easy DIY patriotic garden flags instructions online emphasize the importance of this step.
Step 3: Paint Your Flag with Patriotic Colors
Now, let the painting begin! Protect your work surface with old newspapers or a drop cloth. Shake your paints well and pour small amounts onto a palette or paper plate. If you’re using acrylic paints on fabric, you might want to mix them with a fabric medium (available at craft stores) to make them more flexible and less prone to cracking, though many modern acrylics work well on fabric on their own. Always test your paint on a scrap piece of the same fabric first to see how it applies and dries.
Start with your lighter colors first, if possible, or work on sections that don’t touch until the paint is dry to prevent colors from bleeding together. Use appropriate brush sizes – larger brushes for filling in big areas like stripes, and smaller, fine-tipped brushes for details like stars or lettering. Apply the paint in thin, even coats. It’s better to apply two thin coats than one thick coat, as this will prevent cracking and result in a more even color. Allow each coat to dry completely before applying the next or switching colors. This might take a bit of patience, but it’s worth it for a crisp, clean finish.
If you’re aiming for a distressed or rustic look, you can try dry-brushing (using a brush with very little paint on it) or lightly sanding the painted areas once dry. For sharp lines, painter’s tape can be your best friend – just make sure the underlying paint layer is completely dry before applying tape over it. Have fun with this step! Put on some music, relax, and enjoy the process of bringing your design to life. Creating vibrant diy patriotic garden flags is all about expressing your festive spirit.
Step 4: Add Details and Embellishments (Optional)
Once your main paint job is completely dry, it’s time to add any finishing touches or embellishments that will make your diy patriotic garden flags truly stand out. This step is optional, but it can elevate your flag from simply homemade to uniquely handcrafted. Think about what small details could enhance your design.
You could use a fine-tipped permanent marker or a paint pen to outline certain elements for more definition, or to add small details like stitching lines around stars. A touch of glitter glue can add a festive sparkle, especially for elements like fireworks. Small buttons – perhaps red, white, and blue, or star-shaped – can be sewn or glued on. Ribbons can be tied to the dowel rod or even incorporated into the flag design itself. If you used stencils for letters, you can now fill them in carefully or go over your freehand lettering to make it bolder.
If you want to give your flag extra protection against the elements, especially if you used standard acrylic paints, now is the time to apply a clear acrylic sealer spray. Do this in a well-ventilated area, preferably outdoors. Apply a light, even coat and let it dry completely according to the manufacturer’s instructions. This will help protect your beautiful artwork from rain and sun, extending the life of your flag. This is a crucial tip found in many DIY patriotic garden flags tutorial, How to make DIY patriotic garden flags at home, Easy DIY patriotic garden flags instructions like those from Country Living.
Step 5: Assemble and Display Your Flag
The moment of truth! Your beautiful, handcrafted diy patriotic garden flags are almost ready to take their place of honor in your garden. Once all paint, glue, and sealer (if used) are completely dry, it’s time for the final assembly.
Carefully slide your wooden dowel rod through the pocket you created at a top of the flag. Ensure it fits snugly but can still move a little. If you want, you can add a dab of hot glue at each end of the pocket on the inside to secure the dowel, but this isn’t usually necessary. Next, cut a piece of twine or sturdy string to your desired hanging length. Tie the ends of the twine securely to each end of the dowel rod, creating a loop for hanging. You can drill small holes at the ends of the dowel for a neater look or simply tie the string tightly around the ends. Make sure your knots are secure!
Now, find the perfect spot in your garden, on your porch, or by your mailbox to display your creation. Slide the loop of the twine over a garden flag stand hook, a shepherd’s hook, or even a sturdy tree branch. Step back and admire your work! You’ve successfully learned how to make DIY patriotic garden flags at home. Pat yourself on the back – you deserve it! Your garden just got a whole lot more festive and personal.
Your Stunning DIY Patriotic Garden Flag!
And there you have it! Your very own, custom-made patriotic garden flag, ready to fly proudly and add a splash of festive color and personality to your outdoor space. Doesn’t it look fantastic?

_Caption: Your completed DIY patriotic garden flag, adding a festive touch to your home!_
Imagine the compliments you’ll receive and the joy you’ll feel every time you see it fluttering in the breeze. This project isn’t just about creating a decoration; it’s about the satisfaction of making something beautiful with your own hands. It’s a testament to your creativity and your patriotic spirit. Whether you followed our easy DIY patriotic garden flags instructions to the letter or added your own unique twists, the result is something truly special because you made it.
We’d absolutely love to see your creations! Share photos of your finished diy patriotic garden flags in the comments below, or tag us on social media. Let us know if you have any tips or tricks you discovered along the way. Happy crafting, and may your garden always be a reflection of your wonderful creativity!
Pro Tips & FAQs for Your DIY Patriotic Garden Flags
You’ve made your flag, and it looks amazing! Here are a few extra tips and answers to common questions to help you make the most of your diy patriotic garden flags and a future project.
Expert Advice for Long-Lasting Patriotic Flags
Pro Tip 1: Fabric Choice Matters (A Lot!)
While burlap has a charming rustic appeal, it can be more susceptible to weather damage and fraying over time, even if sealed. For maximum longevity, consider using marine-grade canvas or outdoor decorator fabric. These are specifically designed to withstand sun, rain, and wind, meaning your diy patriotic garden flags will look vibrant for much longer. If you love the burlap look, consider using it for flags that will be displayed in more sheltered locations or for shorter periods.
Pro Tip 2: Double-Sided Design for Double Impact
Why not make your flag interesting from all angles? Consider creating a double-sided design. You can paint different (but complementary) designs on two separate pieces of fabric and then sew or glue them together (wrong sides facing in) before creating the dowel pocket. Alternatively, if your fabric is thick enough and paint doesn’t bleed through, you can paint a design on both sides of a single piece. This is especially great if your flag will be visible from multiple viewpoints.
Pro Tip 3: Storing Your Flags Properly
When the season is over, or you want to swap out your patriotic flag for another design, proper storage will help preserve it for next year. Gently clean off any dirt or debris. Make sure the flag is completely dry. Then, roll it loosely around the dowel rod (if it’s still attached) or roll it without creasing. Store it flat or upright in a cool, dry place, away from direct sunlight. Avoid folding it sharply, as this can create permanent creases, especially in painted areas.
Pro Tip 4: Get the Kids Involved!
Making diy patriotic garden flags can be a fantastic family activity! Simplify the designs, use non-toxic paints, and let the little ones contribute their artistic talents. Fingerprint stars, handprint eagles, or simple stripe painting can be great fun for kids and result in truly unique and cherished keepsakes. Just be sure to supervise them, especially with scissors and glue.
Frequently Asked Questions (FAQs) About DIY Patriotic Flags
What’s the best type of paint to use for DIY patriotic garden flags that will be outside?
For outdoor durability, exterior acrylic paints or fabric paints specifically designed for outdoor use are your best bet. These paints are formulated to be more resistant to fading from sunlight and moisture. Applying a clear acrylic sealer spray over your dried paint can provide an extra layer of protection, regardless of the paint type. This is a key tip in many a DIY patriotic garden flags tutorial.
How can I make my DIY patriotic garden flags waterproof?
While “waterproof” might be a strong term for fabric, you can certainly make them highly water-resistant. Start with a weather-resistant fabric like outdoor canvas. Use quality outdoor acrylics or fabric paints. The most crucial step is to apply several light coats of a clear acrylic waterproof sealer spray (like Thompson’s WaterSeal Fabric Seal or Scotchgard Outdoor Water Shield) once your paint is fully cured. Ensure you cover the entire flag, front and back. Reapply the sealer annually for best results.
Are there any no-sew options for creating the dowel pocket on my DIY patriotic garden flags?
Absolutely! If you don’t have a sewing machine or prefer not to sew, high-strength fabric glue (like Aleene’s Fabric Fusion or Gorilla Fabric Glue) is an excellent alternative. You can also use a hot glue gun with fabric-specific glue sticks. Apply a generous, even line of glue along the edge of the fabric fold for the pocket, press firmly, and allow it to dry completely according to the glue manufacturer’s instructions. Clothespins or small clamps can help hold it in place while it dries. This makes learning **how to make DIY patriotic garden flags at home** accessible to everyone.
How do I keep my DIY patriotic garden flags from fading in the sun?
Sunlight is the biggest culprit for fading. Choose lightfast paints (paints with high resistance to fading). As mentioned, outdoor-specific fabric paints or high-quality acrylics tend to hold up better. The clear UV-resistant sealer spray is also vital here, as many such sealers offer UV protection. Additionally, if possible, position your flag where it might get some partial shade during the hottest parts of the day. Rotating your flags or bringing them in during extreme weather can also prolong their vibrancy.
Can I wash my DIY patriotic garden flags?
It depends on the materials and methods used. If you’ve used fabric paint designed to be washable and have heat-set it according to the instructions (usually by ironing), and if your fabric is washable, then gentle handwashing in cold water with mild detergent might be possible. Avoid scrubbing the painted areas. Always air dry thoroughly. If you’ve used standard acrylics or embellishments that aren’t washable, spot cleaning with a damp cloth is recommended. Generally, to preserve your hard work, minimize washing and rely on spot cleaning and sealers for protection.
We hope this comprehensive guide has inspired you to create your own stunning diy patriotic garden flags! It’s a project that combines creativity with a festive spirit, perfect for any home-improvement enthusiast.
What are your favorite patriotic symbols to include in your DIY projects? Drop a comment below – we’d love to hear your ideas!
Don’t forget to subscribe to our newsletter for more DIY tips, tutorials, and home improvement inspiration delivered straight to your inbox. And if you loved this project, please share it with your fellow DIY-loving friends on social media! Happy crafting!


