Introduction
Ready to elevate your outdoor adventures without breaking the bank? This DIY picnic blanket tutorial is your golden ticket to crafting a stylish, durable, and oh-so-comfy companion for all your al fresco dining, park lounging, and beach-going escapades. Forget flimsy, store-bought options that barely survive a season! We’re diving into a simple, rewarding project that even beginner crafters can tackle with confidence. Imagine unfurling a beautiful, handmade picnic blanket that’s not only practical but also a testament to your DIY prowess. Let’s get those creative juices flowing and learn how to make a picnic blanket that’s uniquely yours!
Table of Contents
What You’ll Need
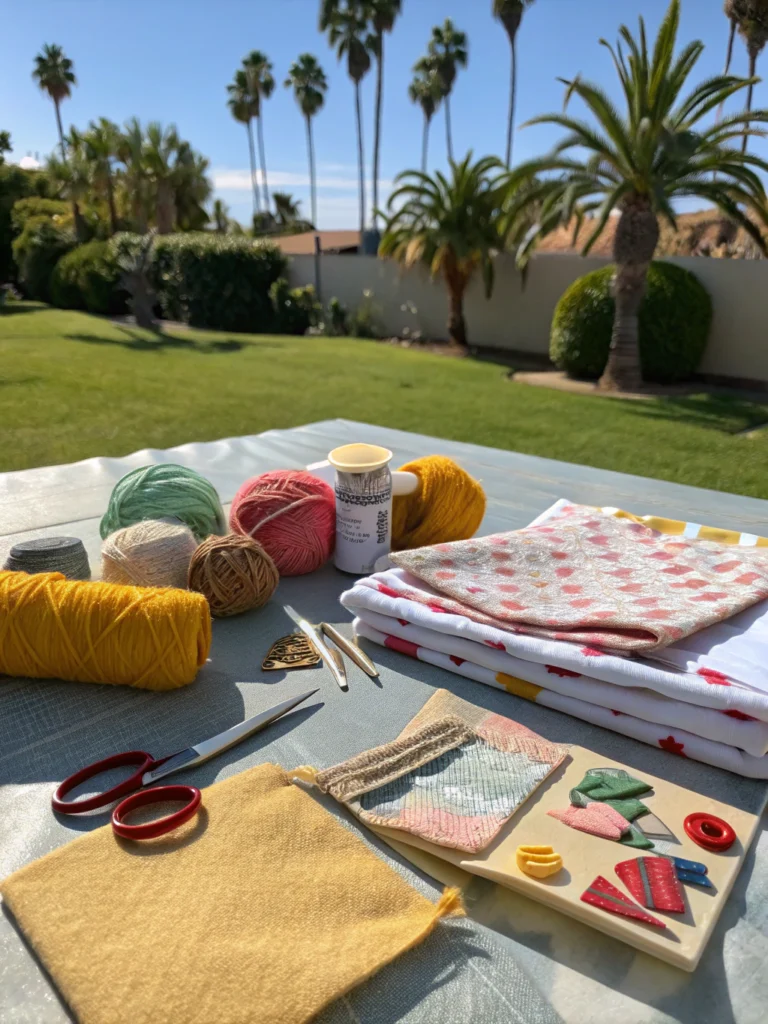
Before we dive into the fun part of crafting your picnic blanket, let’s gather all our supplies. Having everything laid out and ready to go makes the whole process smoother and much more enjoyable. Think of it as your DIY mise en place!
Here’s a list of what you’ll need for this handmade picnic blanket tutorial:
- Top Fabric (at least 1.5 yards x 1.5 yards): Choose a durable and comfortable fabric like cotton duck canvas, quilting cotton, or even a sturdy flannel. Think about patterns and colors that make you happy! This will be the pretty side everyone sees.
- Bottom Fabric (at least 1.5 yards x 1.5 yards): This is your waterproof or water-resistant layer. Ripstop nylon, PUL fabric (polyurethane laminate), or even a laminated cotton works wonders to keep dampness from seeping through. An old shower curtain (cleaned, of course!) can be an affordable DIY picnic blanket option here.
- Optional: Batting or Fleece (at least 1.5 yards x 1.5 yards): If you want extra cushioning, a thin layer of quilt batting or fleece between your top and bottom layers will make your blanket extra cozy.
- Fabric Scissors or Rotary Cutter & Mat: Sharp tools are key for clean cuts. A rotary cutter can make cutting long straight lines much easier, especially for beginners learning how to make a picnic blanket.
- Measuring Tape or Ruler: Accuracy is important for a neat finish.
- Straight Pins or Fabric Clips: To hold your fabric layers together while you sew.
- Sewing Machine: While you could hand-sew this, a sewing machine will make the process much faster and the seams stronger.
- Thread: Choose a color that coordinates with your top fabric or a contrasting one for a pop! Polyester thread is generally a good all-purpose choice.
- Iron and Ironing Board: Pressing your seams makes a huge difference in the final look.
- Optional: Webbing or Ribbon for a Carrying Strap (approx. 2 yards): Makes your blanket easy to roll up and transport.
- Optional: Velcro or Snaps: For securing the blanket when rolled up.
Remember, these are just Diy picnic blanket materials suggestions. Feel free to get creative based on what you have or what you find! Exploring different Diy picnic blanket ideas is part of the fun.
Step 1: Prepare and Cut Your Fabrics
First things first, let’s get our fabrics ready. If your chosen fabrics are machine washable (most cottons and nylons are), it’s a good idea to pre-wash and dry them. This prevents any unexpected shrinkage after your beautiful blanket is all sewn up. Iron out any wrinkles for smooth, accurate cutting.
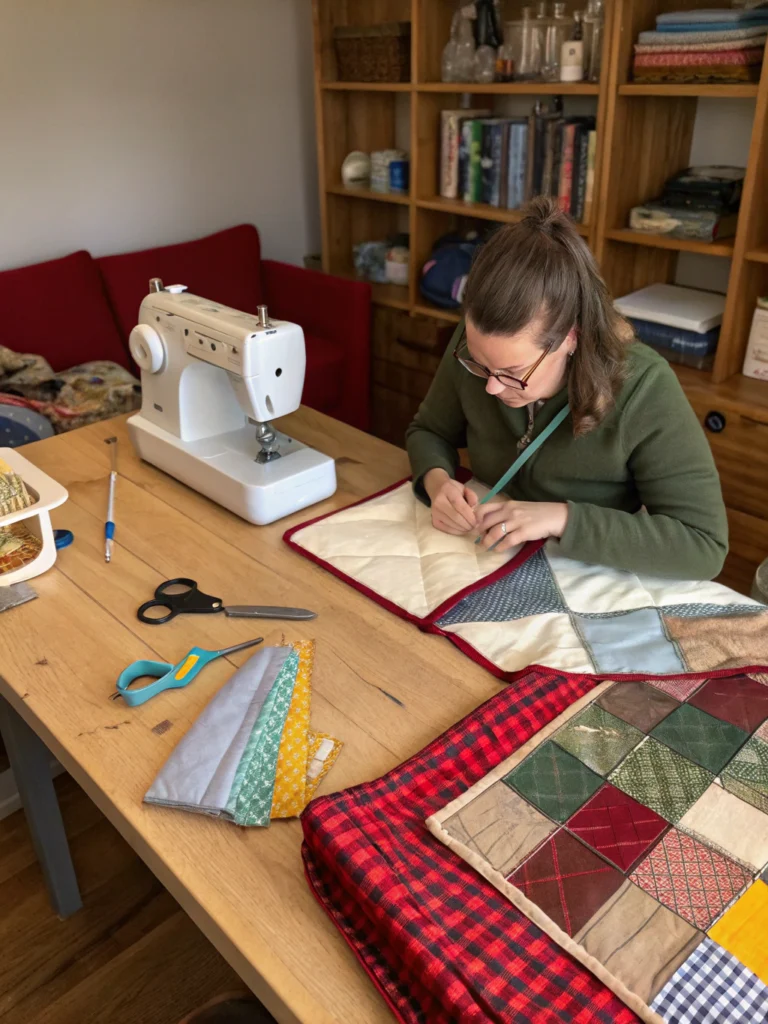
Lay your top fabric flat, right side up. Then, lay your bottom fabric on top of it, right side down. If you’re using batting, place it on the bottom, then the bottom fabric (right side up), and finally the top fabric (right side down). Essentially, you want the “pretty” sides of your main fabrics facing each other (this is called “right sides together”).
Using your measuring tape and fabric scissors or rotary cutter, carefully cut all layers to your desired size. A common size is around 58×58 inches (which is about 1.5 yards square), but you can adjust this based on your needs and the width of your fabric. Aim for nice, straight edges – this is crucial for the next steps in our easy DIY picnic blanket project.
Step 2: Pin Your Fabric Layers Together
Now that your fabrics are cut, it’s time to secure them for sewing. With your fabrics still layered (top fabric and bottom fabric right sides together, with batting in between if using), carefully pin all around the edges. Place pins about 3-4 inches apart, perpendicular to the edge, with the pinheads sticking outwards.
This step is vital because it prevents the fabric layers from shifting while you sew. Shifting fabric can lead to a wonky, uneven blanket, and nobody wants that! Take your time here, ensuring all layers are smooth and aligned. If you’re new to crafting a picnic blanket, using more pins is better than using too few. Fabric clips are also a great alternative if you prefer them over pins, especially for thicker fabrics.
Don’t forget to leave an opening! On one of the sides, mark a gap of about 6-8 inches where you won’t sew. This opening is essential for turning your blanket right side out later. A common pitfall is forgetting this opening or making it too small, which makes turning a real struggle.
Step 3: Sew the Edges
Alright, it’s time to bring out the sewing machine! Thread your machine with your chosen thread. Set your machine to a straight stitch, with a medium stitch length (around 2.5-3mm is usually good).
Starting at one end of the unpinned opening, begin sewing around the perimeter of your blanket. You’ll want to use a consistent seam allowance – ½ inch is a good standard. Backstitch a few stitches at the beginning to secure your thread. Sew slowly and steadily, removing pins as you approach them (don’t sew over pins, as this can break your needle or damage your machine).
When you reach a corner, stop sewing about ½ inch from the edge (your seam allowance). Leave the needle down in the fabric, lift the presser foot, pivot the fabric 90 degrees, lower the presser foot, and then continue sewing down the next side. This creates a nice, crisp corner. Continue sewing all the way around, and remember to stop and backstitch when you reach the other end of your 6-8 inch opening. This easy step is fundamental for a durable handmade picnic blanket tutorial.
Step 4: Clip the Corners and Trim Seams (Optional)
This step might seem small, but it makes a big difference in how sharp your corners look once the blanket is turned right side out. Before turning, carefully clip the fabric at each of the four sewn corners. Snip diagonally across the corner, close to the stitching line, but be very careful not to cut through your stitches!
Clipping the corners removes excess fabric bulk, allowing the corners to lay flatter and look more professional. If you’re using particularly thick fabrics or batting, you might also want to trim the seam allowance down by about half all the way around (except for the area of the opening). This also helps reduce bulk and gives a neater finish. However, if your fabrics are prone to fraying, be cautious with trimming too much. This attention to detail elevates your Diy picnic blanket ideas.
Why does this matter? Without clipping, the corners can look rounded and bulky when turned. It’s a simple trick that experienced sewers use to achieve a polished look.
Step 5: Turn the Blanket Right Side Out
This is the magical part where your project really starts to look like a picnic blanket! Reach into the opening you left in Step 3 and grab the fabric inside. Gently begin pulling the fabric through the opening, turning the entire blanket right side out.
Take your time with this process, especially if your blanket is large or you’ve used batting. Work the corners out carefully. You can use a blunt, pointed tool like a chopstick, a knitting needle, or a specialized corner-turning tool to gently poke out the corners from the inside, making them nice and sharp. Avoid using anything too sharp that could poke through your fabric or stitches.
Once it’s all turned out, you’ll have a blanket with the right sides of your top and bottom fabric facing out, and the raw edges neatly tucked inside. It’s starting to look amazing, right? This is a key moment in any “DIY picnic blanket tutorial.”
Step 6: Press and Topstitch
Now that your blanket is right side out, it’s time for some pressing and topstitching. This gives your DIY picnic blanket a professional, finished look and also helps to secure the opening.
First, carefully press all the edges of your blanket with an iron. When you get to the opening, tuck the raw edges of the fabric inward by about ½ inch (to match your seam allowance) and press them flat. This will create a neat, closed edge. You can use a few pins to hold this closed section in place temporarily.
Next, you’ll topstitch all the way around the blanket. Topstitching is a line of stitching done on the outside of the project, close to the edge. Set your sewing machine to a slightly longer stitch length for topstitching (around 3-3.5mm). Starting near a corner, begin sewing about ¼ to ½ inch in from the pressed edge. Sew all the way around the blanket, ensuring you catch the folded-in edges of the opening, sewing it shut as you go. Backstitch at the beginning and end to secure your stitches. This topstitching not only closes the opening but also helps the blanket lay flat and prevents the layers from shifting over time. It’s a crucial step for a durable and affordable DIY picnic blanket.
Step 7: Add Optional Carrying Strap and Closures
Your beautiful DIY picnic blanket is almost complete! This final step is optional but adds a fantastic touch of practicality, making your blanket easy to roll up, secure, and carry. There are many Diy picnic blanket ideas for this, but here’s a simple one.
For a carrying strap, take your webbing or sturdy ribbon (about 2 yards, or enough to comfortably go around your rolled blanket and create a handle).
To attach it:
- Roll up your finished blanket neatly.
- Wrap the webbing around the rolled blanket to determine the length needed for the loop that will hold it rolled, plus enough for a handle.
- You can either sew the webbing into a permanent loop that slides onto the rolled blanket, or attach one end of the webbing to one edge of the blanket (on the waterproof side) and add Velcro or snaps to the other end of the webbing and a corresponding spot on the blanket to secure it when rolled.
If using Velcro, sew one piece of Velcro to the end of your strap and the mating piece to a point on the strap that allows it to secure the blanket tightly when rolled. Alternatively, sew one piece of Velcro to the end of the strap and the other to the blanket itself. For a more integrated look, you could create two smaller straps with buckles or snaps attached to one edge of the blanket.
These finishing touches really elevate your handmade picnic blanket tutorial and make it super convenient for all your outdoor adventures. Once you learn how to make a picnic blanket, you might want to make them as gifts!
Your Amazing DIY Picnic Blanket is Ready!
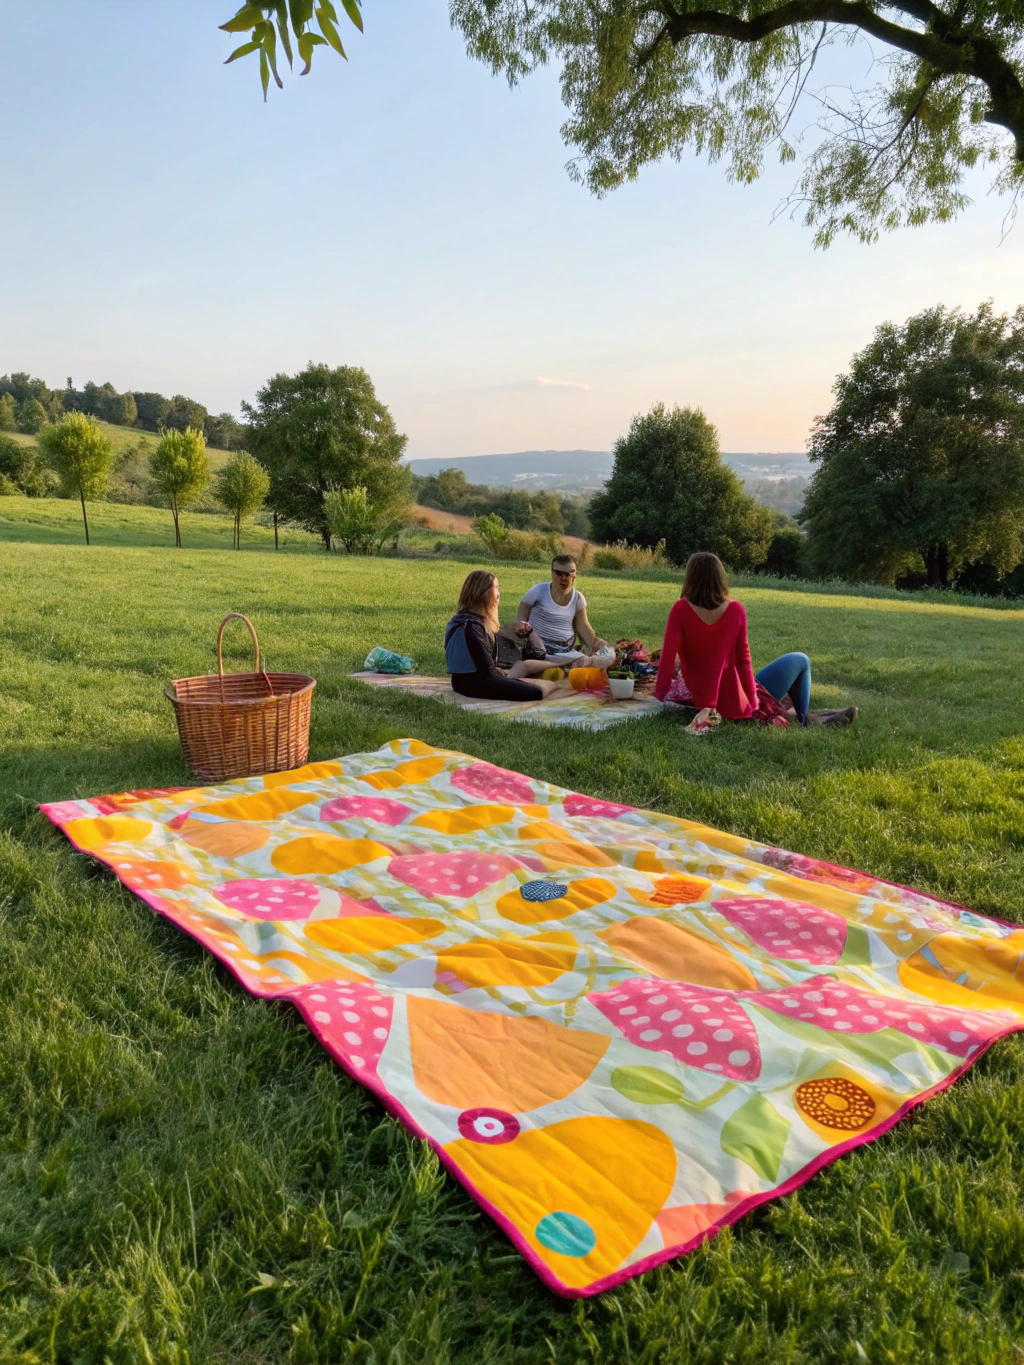
And there you have it! Look at that gorgeous, custom-made picnic blanket YOU created. Give yourself a pat on the back. You’ve successfully navigated this DIY picnic blanket tutorial and now have a durable, stylish, and comfortable accessory for all your outdoor fun. Imagine the sunny afternoons, delicious snacks, and wonderful memories you’ll make with this beauty.
We’d absolutely LOVE to see your creations! Did you pick a funky fabric? Add extra features? Share a photo of your finished DIY picnic blanket in the comments below, or tag us on social media! Your Diy picnic blanket ideas could inspire someone else. And if you have any tips or tricks you discovered along the way, please share those too. Happy picnicking!
Pro Tips & FAQs for Your DIY Picnic Blanket
Now that you’re a pro at crafting a picnic blanket, here are a few extra tips and answers to common questions to make your next one even better, or to help troubleshoot any issues.
What are the best DIY picnic blanket materials for durability and comfort?
For durability on the bottom, ripstop nylon, PUL fabric, or even treated canvas are excellent choices as they are water-resistant or waterproof and tough. For the top, cotton duck canvas is very durable yet comfortable. Quilting cottons offer endless pattern choices but might be less rugged. Flannel is cozy but can attract grass and debris. Consider a balance: something soft enough to sit on but sturdy enough to withstand outdoor use. Many crafters find inspiration from looking at various “Diy picnic blanket ideas, How to make a picnic blanket, Easy diy picnic blanket, Crafting a picnic blanket, Handmade picnic blanket tutorial, Affordable diy picnic blanket, Diy picnic blanket materials” online to see what material combinations work well.
How can I make my DIY picnic blanket waterproof?
The key is your bottom layer of fabric. Choose inherently waterproof or water-resistant materials like PUL (polyurethane laminate – often used for cloth diapers), ripstop nylon (often treated with a water-resistant coating), or laminated cotton. You can also find iron-on waterproofing treatments for some fabrics, but a dedicated waterproof material is usually more effective and durable. An old (clean!) shower curtain liner is an **affordable DIY picnic blanket** hack for a waterproof backing.
Any tips for sewing thick layers of fabric for an easy DIY picnic blanket?
Sewing multiple thick layers can be challenging for some sewing machines. Here are a few tips:
- Use a new, sharp needle designed for heavy fabrics, like a denim needle or a size 90/14 or 100/16 universal needle.
- Lengthen your stitch length slightly (e.g., 3.0-3.5mm).
- Sew slowly and steadily, guiding the fabric rather than pushing or pulling it.
- A walking foot attachment for your sewing machine can be incredibly helpful as it grips and feeds the top and bottom layers of fabric through the machine evenly.
- If your machine is struggling, try reducing the number of layers (e.g., skip the batting if it’s too much).
This is a common question when learning **how to make a picnic blanket** with extra padding.
How do I wash and care for my handmade picnic blanket?
Care instructions will depend on the fabrics you used. Generally, if you pre-washed your fabrics, your blanket should be machine washable. Use a gentle cycle with cold or cool water. For the waterproof layer, avoid high heat in the dryer, as it can damage the waterproofing. Line drying or tumble drying on a low heat setting is usually best. Check the care recommendations for your specific **Diy picnic blanket materials** before washing.
Can I make this a no-sew DIY picnic blanket?
While sewing provides the most durable finish, you *can* create a no-sew version. You would use strong fabric glue or fusible bonding web (like Stitch Witchery) to adhere the fabric layers together. For the edges, you could fold them in and use fusible tape to create a hem. Keep in mind that a no-sew version might not be as long-lasting or as water-tight, especially with repeated use and washing, but it’s a great option if you don’t have a sewing machine or want a super quick project. There are many **easy DIY picnic blanket** tutorials online that explore no-sew methods.
We hope this comprehensive DIY picnic blanket tutorial has inspired you to get crafting! Making your own picnic blanket is not just about saving money; it’s about creating something unique, practical, and filled with personality. For more fun DIY projects, especially if you’re planning awesome summer activities, check out our guide on creating a DIY summer schedule for kids.
What are your favorite picnic spots or must-have picnic accessories? Let us know in the comments below! Don’t forget to subscribe to our newsletter for more DIY tips and tricks delivered straight to your inbox, and share this tutorial with your crafty friends on social media! Happy DIY-ing! For even more inspiration on handmade projects, check out these fantastic “Diy picnic blanket ideas, How to make a picnic blanket, Easy diy picnic blanket, Crafting a picnic blanket, Handmade picnic blanket tutorial, Affordable diy picnic blanket, Diy picnic blanket materials”.

