Introduction
Tired of those blank walls staring back at you, or perhaps those generic, store-bought frames that just don’t capture your unique style? You’re not alone! Many home improvement enthusiasts dream of adding a touch of elegance and personality to their spaces, but professional custom framing can be incredibly expensive.
That’s where the magic of DIY picture frame molding comes in! This project is a fantastic way to elevate your home decor without breaking the bank. With a little patience and our easy-to-follow guide, you’ll be creating stunning, custom-look frames that will have everyone asking, “Where did you get that?!” Get ready to transform your cherished photos and artwork into captivating focal points.
Table of Contents

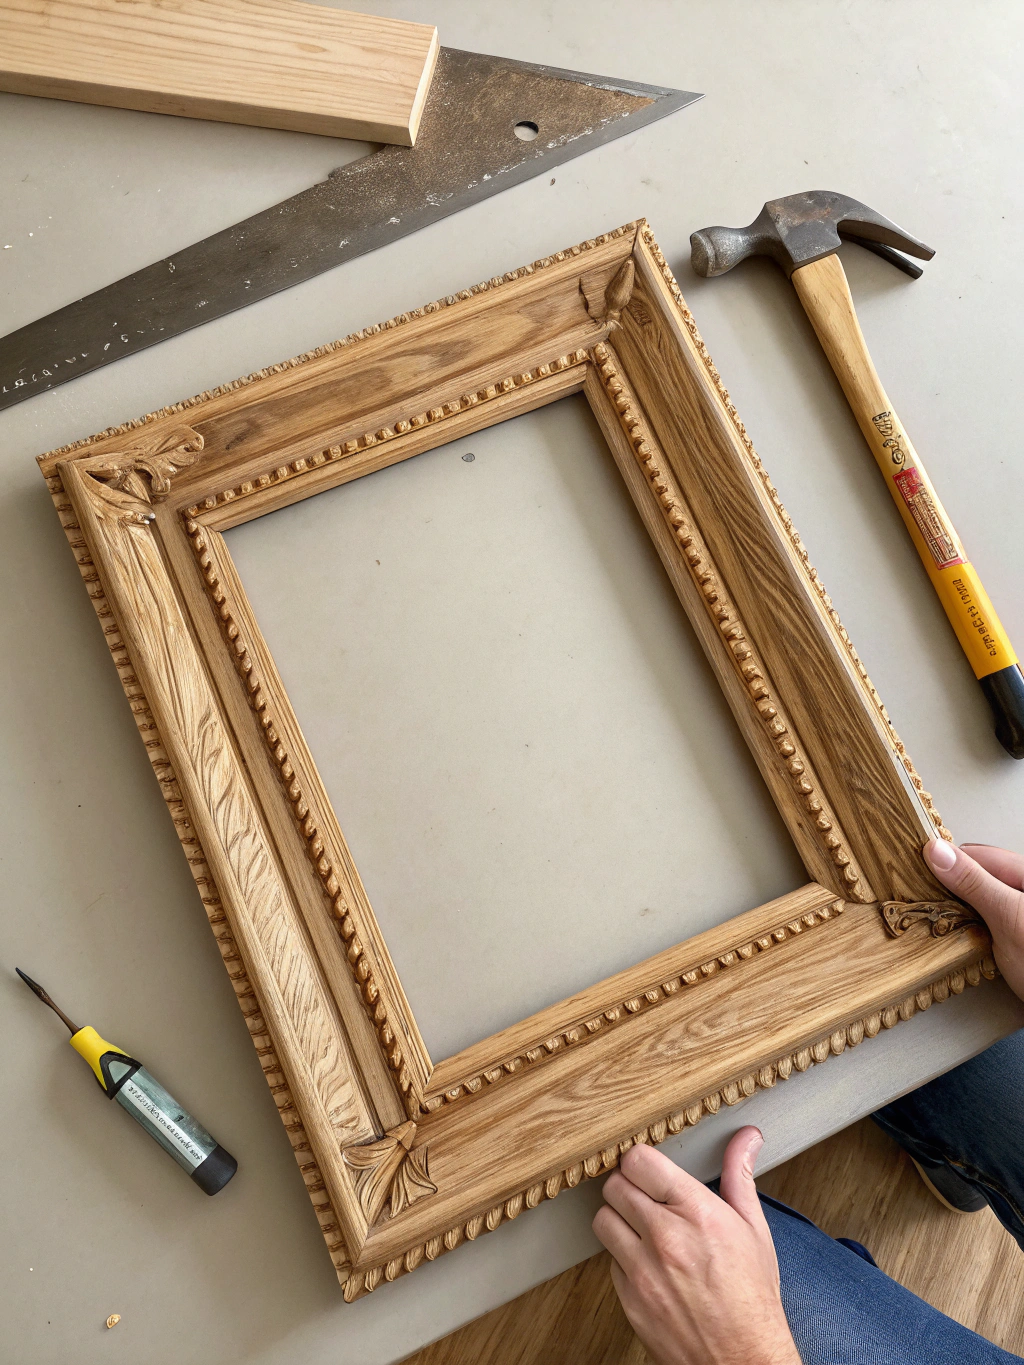
Caption: Elevate your home decor with stunning, custom-look DIY picture frame molding.
This comprehensive guide will walk you through everything you need to know, from selecting the right materials to mastering those tricky miter cuts. We’ll break down the process into 7 easy steps, making it achievable even if you’re relatively new to DIY projects. So, roll up your sleeves, and let’s get started on your DIY picture frame molding adventure!
What You’ll Need for Your DIY Picture Frame Molding Project
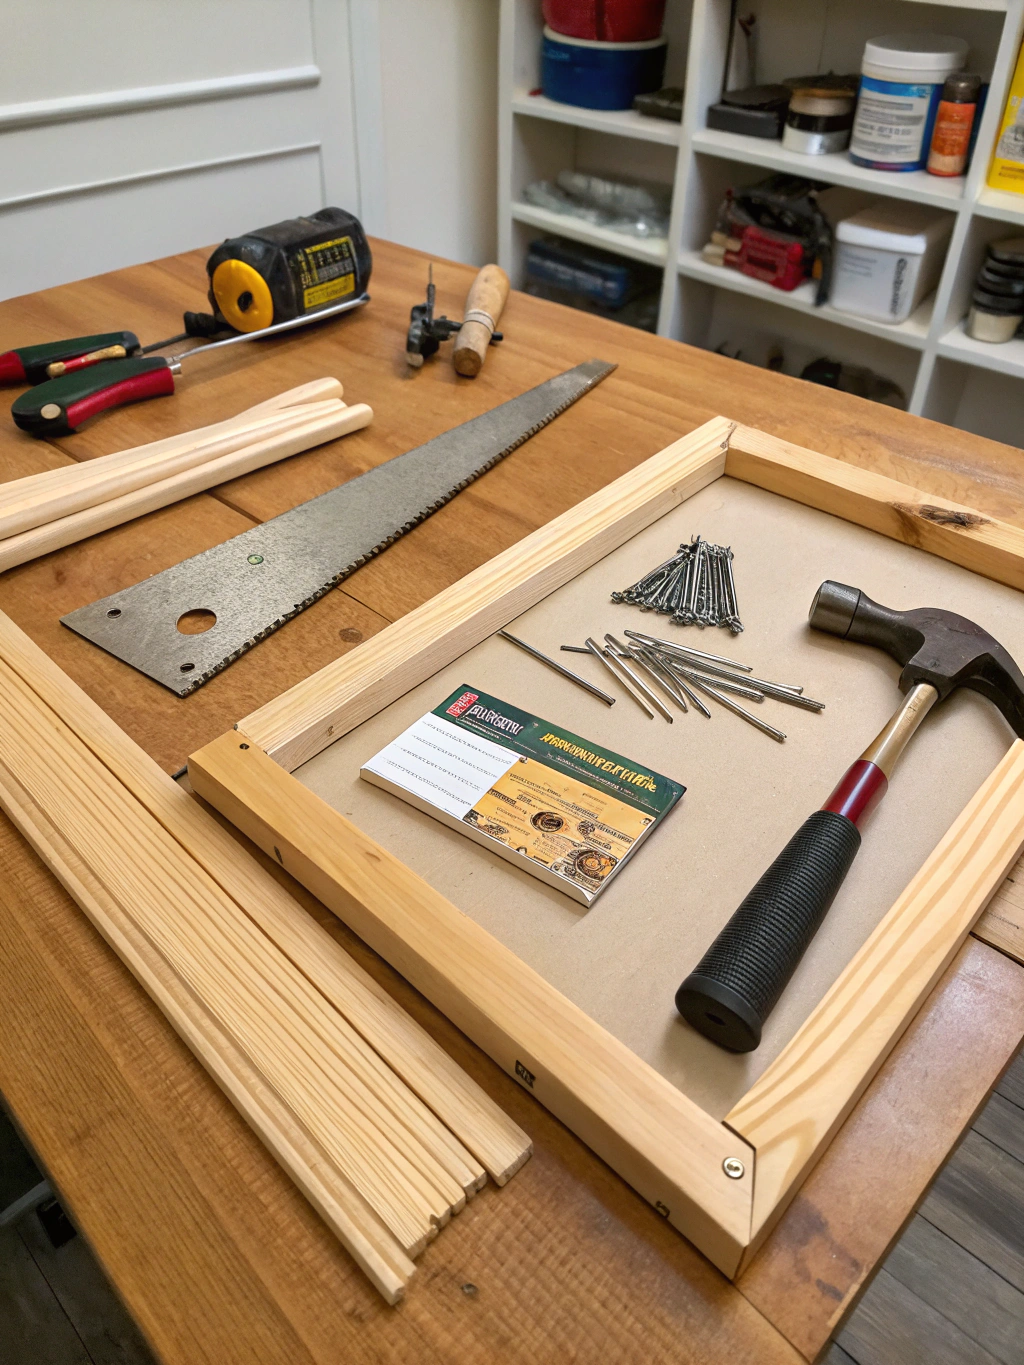
Before we dive into the nitty-gritty of creating your own beautiful frames, let’s gather all the necessary tools and materials. Having everything laid out and ready to go will make the entire process much smoother and more enjoyable. Trust me, there’s nothing more frustrating than having to stop mid-project to hunt for a missing tool!

Caption: Gather these essential tools and materials before starting your DIY picture frame molding project.
Here’s a handy checklist:
Materials:
- Molding: Choose a style that complements your decor and the artwork you plan to frame. Popular options include MDF, pine, or decorative polystyrene molding. Consider the width and profile carefully.
- Wood Glue: A strong wood glue is crucial for durable joints.
- Brad Nails or Panel Pins: Usually 5/8-inch or 3/4-inch, depending on your molding thickness.
- Wood Filler or Caulk: To fill any small gaps or nail holes for a professional finish.
- Sandpaper: Various grits (e.g., 120 and 220) for smoothing edges and filler.
- Paint or Stain (optional): To customize the look of your frame.
- Primer (if painting): Essential for good paint adhesion, especially on MDF or raw wood.
- Picture Hanging Hardware: D-rings, picture wire, or sawtooth hangers.
- Backing Board (optional): Such as foam core or thin MDF, if your artwork needs support.
- Glass or Plexiglass (optional): If you want to protect your artwork.
Tools:
- Measuring Tape: Accuracy is key!
- Pencil: For marking your measurements.
- Miter Box and Hand Saw (or Miter Saw): A miter saw will give you the most precise cuts, but a miter box and hand saw are a more budget-friendly option for beginners learning DIY picture frame molding techniques, How to DIY picture frame molding step-by-step, Best tools for DIY picture frame molding.
- Hammer or Brad Nailer: A brad nailer makes the assembly process much faster and easier.
- Clamps: Corner clamps or band clamps are ideal for holding pieces together while the glue dries.
- Utility Knife: For scoring and cleaning up edges.
- Safety Glasses: Always protect your eyes!
- Dust Mask: Especially important when sanding or cutting MDF.
- Level: To ensure your frames hang straight.
- Putty Knife: For applying wood filler.
- Paint Brushes or Small Roller: If you’re painting or staining.
Having the Best tools for DIY picture frame molding can significantly impact the quality of your finished product and the ease of the process. Don’t skimp on quality where it matters most, like your cutting tools and adhesives.
How to DIY Picture Frame Molding Step-by-Step: Your Journey to Custom Frames
Alright, DIYers, it’s time for the fun part – actually making your DIY picture frame molding! We’ve broken this down into seven straightforward steps. Take your time with each one, and don’t be afraid to double-check your measurements. Precision is your best friend in this project.
Step 1: Measure and Plan Your Frame
Before you even think about cutting, careful measurement and planning are paramount. This step sets the foundation for a perfectly fitting frame. Decide what you want to frame – a photo, a piece of art, or even a mirror.
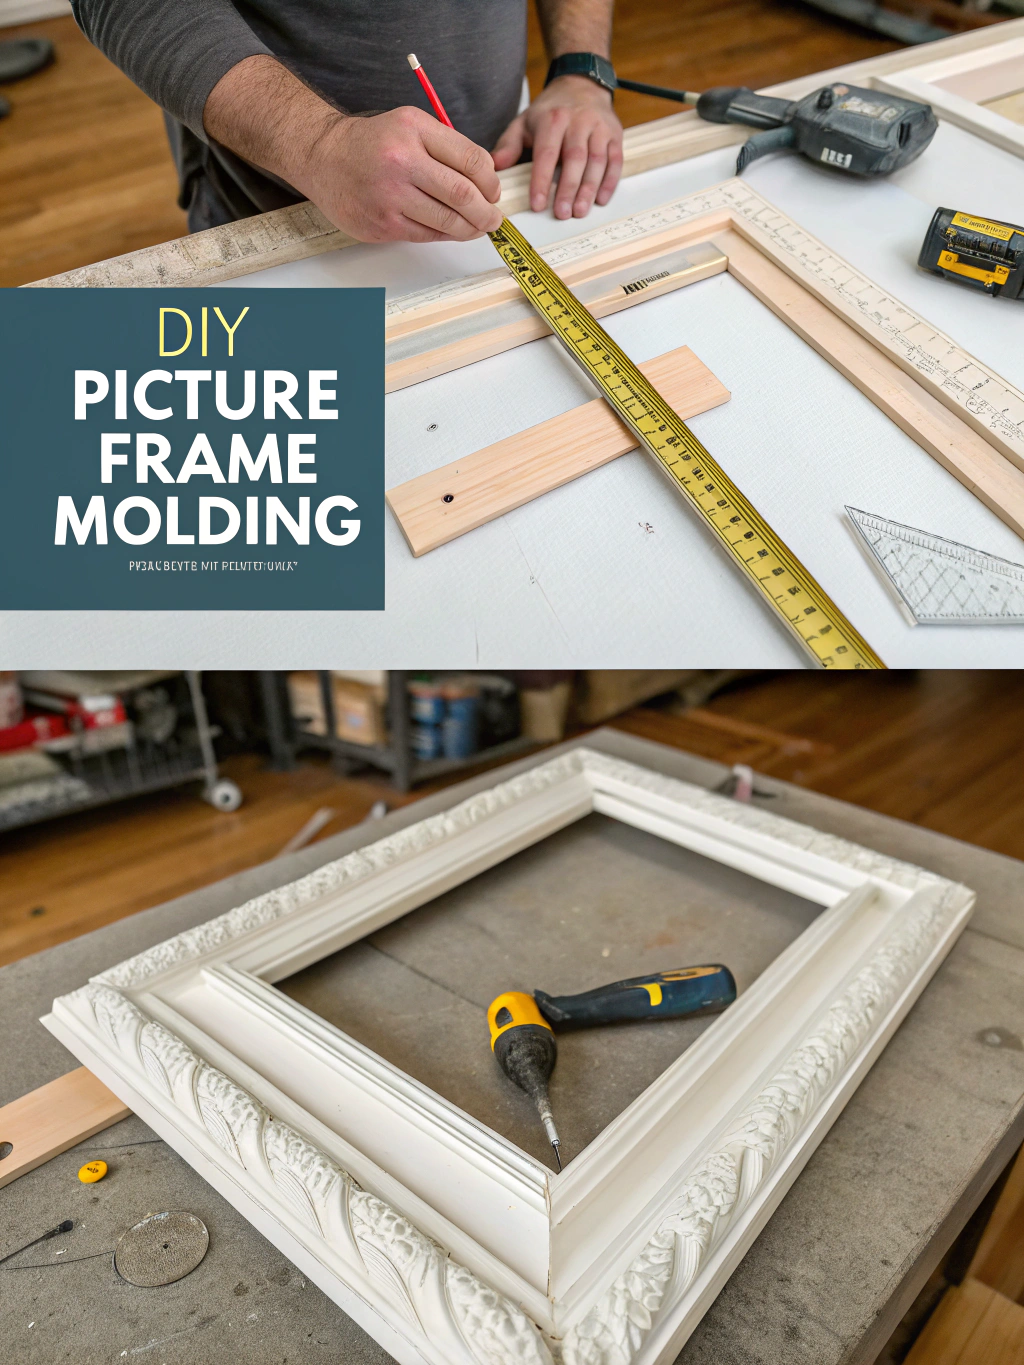
First, measure the exact dimensions of your artwork or the item you’re framing. If you’re creating a frame directly on a wall (like a wainscoting effect), measure the wall space you intend to cover. Add any desired mat board allowance to these measurements. For example, if your picture is 8×10 inches and you want a 2-inch mat border, your internal frame dimensions will need to be 12×14 inches. Remember, the molding will add to the overall size, so factor in its width. It’s often helpful to sketch out your design with all the dimensions clearly labeled. This visual guide will be invaluable as you proceed.

Caption: Step 1 for DIY picture frame molding: Accurately measure your artwork and plan the frame dimensions.
A common pitfall here is forgetting to account for the “rabbet” – the recessed groove on the inside back of the molding that holds the artwork, glass, and backing. If your molding doesn’t have a pre-cut rabbet (many decorative wall moldings don’t), you’ll be surface-mounting your art, or you’ll need to create one, which is a more advanced technique. For this guide, we’ll assume you’re either using molding with a rabbet or surface-mounting. Double-check whether your measurements are for the inside or outside edge of the frame. This is crucial for getting your miter cuts correct.
Step 2: Cut Your Molding Pieces
This is where precision truly shines. Miter cuts, typically at a 45-degree angle, are what create those neat, professional-looking corners. If you’re new to this, practice on a scrap piece of molding first.
Set your miter box or miter saw to a 45-degree angle. When measuring your molding strips, remember that the shortest edge of the mitered piece will correspond to the inside dimension of your frame (if your molding has a rabbet, measure from the rabbet edge). For example, if the inside of your frame needs to be 10 inches long, you’ll measure 10 inches along the shortest edge of your molding piece, then make your 45-degree cut. You will need two pairs of identical-length pieces for a rectangular frame. Always cut “long” rather than “short” – you can always trim a bit more off, but you can’t add it back!

Caption: Step 2: Cutting molding with precise 45-degree mitered corners is key for your DIY picture frame molding.
A critical tip for “How to DIY picture frame molding step-by-step” is to ensure your cuts are mirror images for opposite sides. For each length (e.g., the top and bottom pieces), one end will angle in one direction, and the other end will angle in the opposite direction, so they meet neatly. Visualize how the pieces will join before making each cut. Smooth any rough edges gently with sandpaper after cutting. This will help ensure a tighter fit when you assemble the frame.
Step 3: Assemble the Frame Corners
Now it’s time to bring those perfectly cut pieces together! This step requires patience and a good quality wood glue. Dry-fit your four pieces first to ensure all corners meet snugly.
Apply a thin, even layer of strong wood glue to each mitered edge of one corner. Be careful not to use too much glue, as excess can squeeze out and make a mess. Press the two pieces together firmly, ensuring the edges are perfectly aligned. This is where corner clamps are incredibly helpful, as they hold the pieces at a 90-degree angle while the glue sets. If you don’t have corner clamps, you can use a band clamp around the entire frame, or even carefully use painter’s tape to hold the joints while the glue dries, though this is less secure.

Caption: Step 3: Gluing and clamping the mitered corners of your DIY picture frame molding ensures a strong bond.
For added strength, once the glue is tacky (partially set, but not fully dry), you can reinforce the joint by driving a small brad nail or panel pin through the side of the molding into the adjoining piece. If using a brad nailer, be cautious of the nail blowing out the side of thinner molding. Pre-drilling a pilot hole can prevent wood splitting if you’re hammering nails, especially in hardwoods. Repeat this process for all four corners. Wipe away any squeezed-out glue immediately with a damp cloth before it dries.
Step 4: Secure and Strengthen the Frame
Once all corners are glued and initially secured, it’s important to let the glue cure completely according to the manufacturer’s instructions (usually several hours or overnight). This ensures maximum strength.
If you haven’t already, now is a good time to add brad nails for extra reinforcement, especially if you used tape instead of clamps. For larger frames, or if you plan to hang something heavy, consider adding corner braces (small metal L-shaped brackets) to the back of the frame for superior stability. These are easily screwed into place.

Caption: Step 4: Reinforce your DIY picture frame molding with brad nails or corner braces for lasting durability.
Check that the frame is square by measuring diagonally from corner to corner. The two diagonal measurements should be identical. If they’re not, gently adjust the frame while the glue is still somewhat pliable (if caught early enough) or use clamps to pull it into square. This is one of the more challenging aspects for beginners learning DIY picture frame molding techniques, How to DIY picture frame molding step-by-step, Best tools for DIY picture frame molding. Patience and careful adjustment are key.
Step 5: Sanding and Prepping for Finish
With your frame assembled and strong, it’s time to focus on aesthetics. A smooth, well-prepped surface is essential for a professional-looking finish, whether you plan to paint or stain.
Use wood filler or caulk to fill any small gaps at the mitered corners and to cover any nail holes. Apply it sparingly with a putty knife, forcing it into the gaps. Let the filler dry completely according to the product instructions. Once dry, sand the filled areas and the entire frame smooth. Start with a medium-grit sandpaper (around 120-grit) to smooth out any imperfections and the dried filler, then follow up with a fine-grit sandpaper (around 220-grit) for a silky-smooth finish. Always sand with the grain of the wood if you’re using natural wood molding. Wipe away all sanding dust with a tack cloth or a slightly damp rag.

Caption: Step 5: Carefully sand your DIY picture frame molding for a smooth surface, ready for finishing.
If you’re painting, especially MDF or raw wood, applying a coat of primer is highly recommended. Primer helps seal the wood, provides a uniform surface for the paint, and improves paint adhesion, resulting in a more durable and even finish. Let the primer dry completely before painting. This preparation stage is often overlooked but makes a huge difference in the final quality of your DIY picture frame molding.
Step 6: Painting or Staining Your Frame
This is where you can truly customize your DIY picture frame molding to match your decor! Whether you choose a classic white, a bold color, or a rich wood stain, apply your finish carefully for the best results.
If painting, apply thin, even coats. It’s better to apply two or three thin coats than one thick coat, which can lead to drips and an uneven texture. Allow each coat to dry completely before applying the next. Use a good quality brush suitable for the type of paint you’re using (e.g., synthetic bristles for latex paint, natural bristles for oil-based paint).
A small foam roller can also give a very smooth finish on flat molding profiles. If staining, apply the stain with a rag or brush, let it penetrate the wood for the recommended time, then wipe off the excess with a clean rag. The longer you leave the stain on before wiping, the darker the color will be.

Caption: Step 6: Customize your DIY picture frame molding by applying your choice of paint or stain.
Once your paint or stain is fully dry, you might consider applying a clear protective topcoat, like polyurethane or a clear acrylic sealer. This will protect the finish from scratches and wear, especially for frames in high-traffic areas or those that will be handled frequently. Apply the topcoat in thin, even layers, sanding lightly with very fine-grit sandpaper between coats (if recommended by the product).
Step 7: Adding Artwork and Hanging Hardware
The final step! It’s time to install your artwork and prepare your beautiful DIY picture frame molding for display.
If you’re using glass or plexiglass, clean it thoroughly on both sides. Carefully place your artwork, followed by the glass/plexiglass (if using), and then the backing board into the frame’s rabbet (or onto the back if surface mounting). Secure these in place using glazier’s points, flexible framer’s points, small brads tapped in at an angle, or even a staple gun with short staples if your molding is thick enough. Be gentle to avoid cracking the glass.
Next, attach your chosen hanging hardware to the back of the frame. For smaller, lightweight frames, a sawtooth hanger centered at the top is usually sufficient. For larger or heavier frames, use D-rings attached to each side, about one-third of the way down from the top, and then string picture wire between them. Ensure the wire is taut but has a little slack so it can catch on a picture hook. Use a level to ensure your D-rings are positioned evenly.

Caption: Step 7: The final touches for your DIY picture frame molding – adding your art and hanging hardware.
And there you have it! Your very own custom-made picture frame. Step back and admire your handiwork. You’ve successfully navigated the “How to DIY picture frame molding step-by-step” process!
Your Stunning DIY Picture Frame Molding: The Final Result!
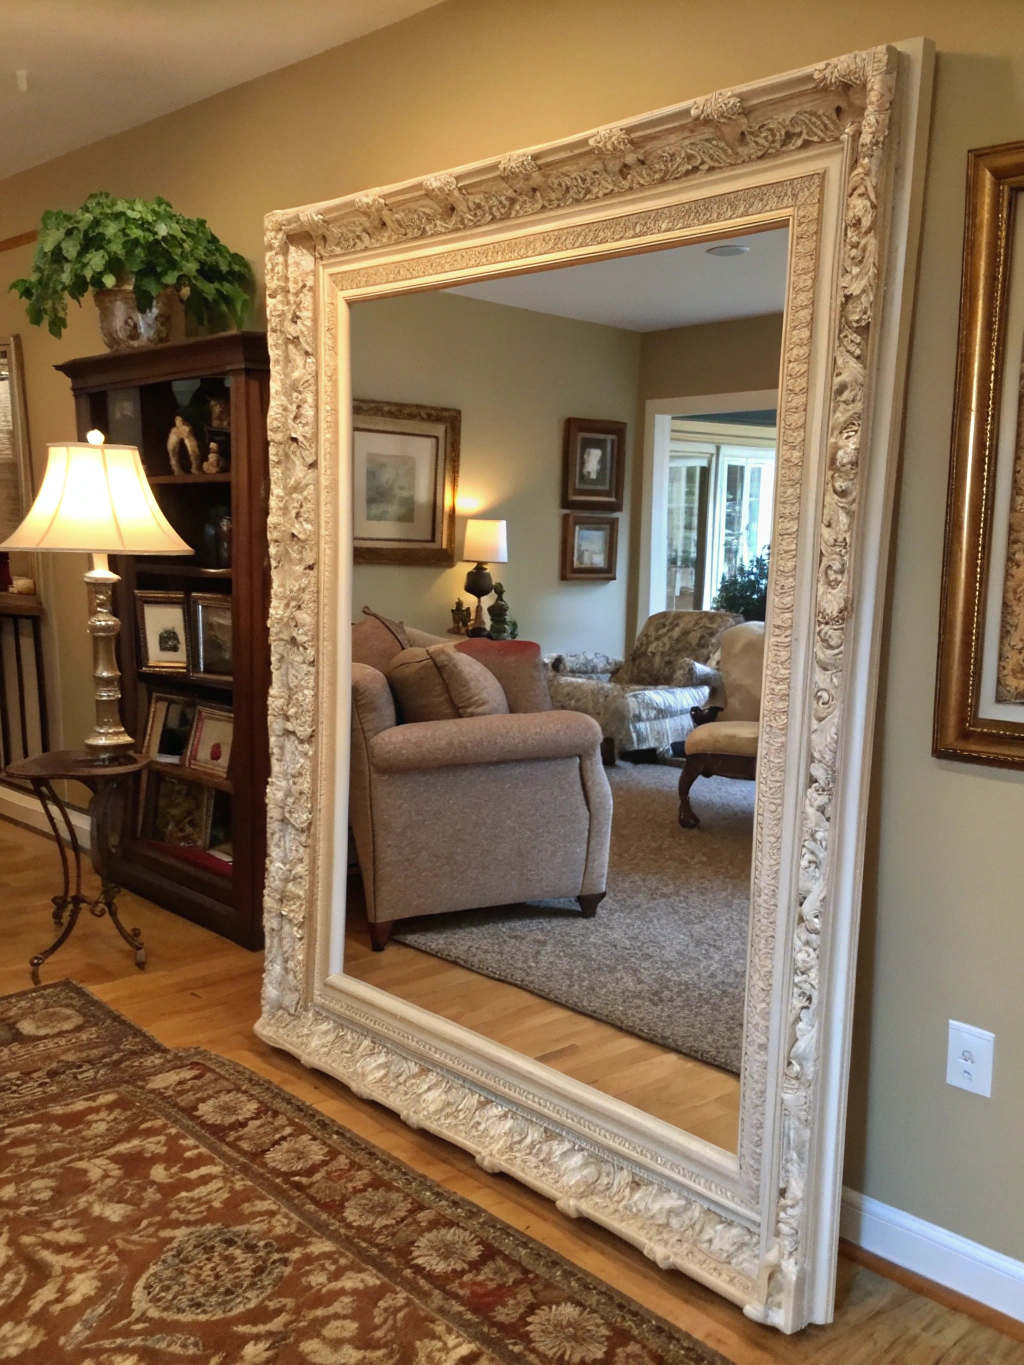
Congratulations! You’ve transformed simple strips of molding into a beautiful, personalized frame that adds character and charm to your home. Take a moment to appreciate the craftsmanship and the fact that you made this. Whether it’s showcasing a cherished family photo, a piece of your child’s artwork, or a fine art print, your DIY creation is sure to be a conversation starter.

Caption: The beautiful final result: your very own custom-made DIY picture frame molding, adding a personal touch to your home decor.
Imagine the satisfaction of knowing you mastered those miter cuts and created something truly unique. This project not only enhances your decor but also builds your DIY skills and confidence. The beauty of DIY picture frame molding is its versatility; you can adapt the style, size, and finish to perfectly suit any space or item you wish to display.
We’d absolutely love to see what you’ve created! Share photos of your finished DIY picture frame molding projects in the comments below, or tag us on social media. Your creativity can inspire others! And if you have any tips or tricks you discovered along the way, please share those too – the DIY community thrives on shared knowledge.
Pro Tips & FAQs for Your DIY Picture Frame Molding Adventure
You’ve got the basics down, but here are a few extra tips and answers to common questions that can elevate your DIY picture frame molding projects from good to great.
Q1: What are the best types of molding for DIY picture frames?
The best type of molding depends on your desired look, budget, and skill level. MDF (Medium Density Fiberboard) is a popular choice because it’s inexpensive, smooth, and easy to paint. However, it doesn’t hold screws well and can be prone to water damage. Pine is a soft wood that’s easy to work with, takes stain and paint well, and is relatively affordable. For more decorative or ornate frames, polystyrene molding is lightweight, often comes pre-finished, and is easy to cut, though it can feel less substantial.
Hardwoods like oak or maple are more durable and offer a premium look but are more expensive and harder to cut. For a beginner tackling “How to DIY picture frame molding step-by-step,” pine or MDF are excellent starting points.
Q2: How do I ensure my miter cuts are perfectly 45 degrees?
Achieving perfect 45-degree miter cuts is crucial for tight corners. Firstly, invest in a decent miter box and saw, or preferably, a powered miter saw. Ensure your saw blade is sharp. Always double-check the angle setting on your saw. A helpful trick is to use a scrap piece of wood to make test cuts and check them with a reliable square or protractor. Some DIYers find it useful to cut slightly “proud” (a tiny bit longer) and then shave off minute amounts until the fit is perfect. When cutting, apply steady, even pressure. Remember the mantra: “measure twice, cut once.” Understanding [DIY picture frame molding techniques, How to DIY picture frame molding step-by-step, Best tools for DIY picture frame molding](https://www.hgtv.com/design/make-and-celebrate/handmade/diy-decor-projects-to-craft-this-weekend-pictures) often involves practicing these cuts.
Q3: My corners have small gaps. How can I fix them?
Small gaps in mitered corners are common, even for experienced DIYers. Don’t panic! If the gaps are minor (less than 1/16th of an inch), a good quality, paintable wood filler or caulk is your best friend. Push the filler firmly into the gap using your finger or a putty knife, and smooth off the excess. Once dry, sand it smooth so it blends seamlessly with the molding. For slightly larger gaps, you might need to use a filler mixed with sawdust of the same wood for a better color match if staining. If the gaps are significant, it might indicate an issue with your cutting angles, and you may need to recut the piece.
Q4: What are the best tools for DIY picture frame molding if I’m on a budget?
You don’t need a workshop full of expensive equipment to make beautiful frames! For budget-conscious DIYers, the essential “Best tools for DIY picture frame molding” include: a good quality manual miter box and hand saw set (look for one with fine teeth for cleaner cuts), a reliable measuring tape, a sturdy utility knife, a hammer, small brad nails, wood glue, and some basic clamps (even spring clamps or painter’s tape can work in a pinch for smaller frames, though corner clamps are a worthwhile small investment). Sandpaper is also inexpensive. You can often find secondhand tools in good condition to save even more.
Q5: Can I use DIY picture frame molding directly on walls to create accent features?
Absolutely! This is a very popular and stylish way to add architectural interest to a room. You can create rectangular or square “boxes” on a plain wall to mimic paneling, frame a large mirror, or create an accent around a piece of wallpaper. The process is similar: measure carefully, cut your mitered corners, and then attach the molding directly to the wall using construction adhesive and brad nails. Ensure your lines are level and plumb. This technique is a fantastic way to elevate your [DIY picture frame molding](https://www.fixdiy.site/repurpose-old-calendars/) skills beyond just framing art.
Keep Creating and Sharing!
We hope this guide has inspired you to tackle your own DIY picture frame molding projects! It’s a rewarding skill that can save you money and let you add truly personal touches to your home.
What are you planning to frame next? Do you have any other questions or perhaps a brilliant tip we missed? Drop a comment below – we love hearing from fellow DIY enthusiasts!
If you found this guide helpful, please consider sharing it with your friends on social media or signing up for our newsletter for more DIY inspiration, tips, and tutorials delivered straight to your inbox. Happy building!


