Introduction
Are you tired of bare walls or cluttered surfaces, longing for a stylish way to display your favorite photos, art prints, or small decor items? Look no further! Building your own DIY picture ledge shelf is a fantastic, budget-friendly solution that adds a personal touch to any room. This project is perfect for DIY beginners and seasoned pros alike, offering a quick win with a big impact on your home’s aesthetic. Forget expensive store-bought options; we’re going to show you how to create a custom piece that perfectly fits your style and space. Get ready to transform your walls and showcase your memories with this simple yet elegant DIY picture ledge shelf.
Table of Contents

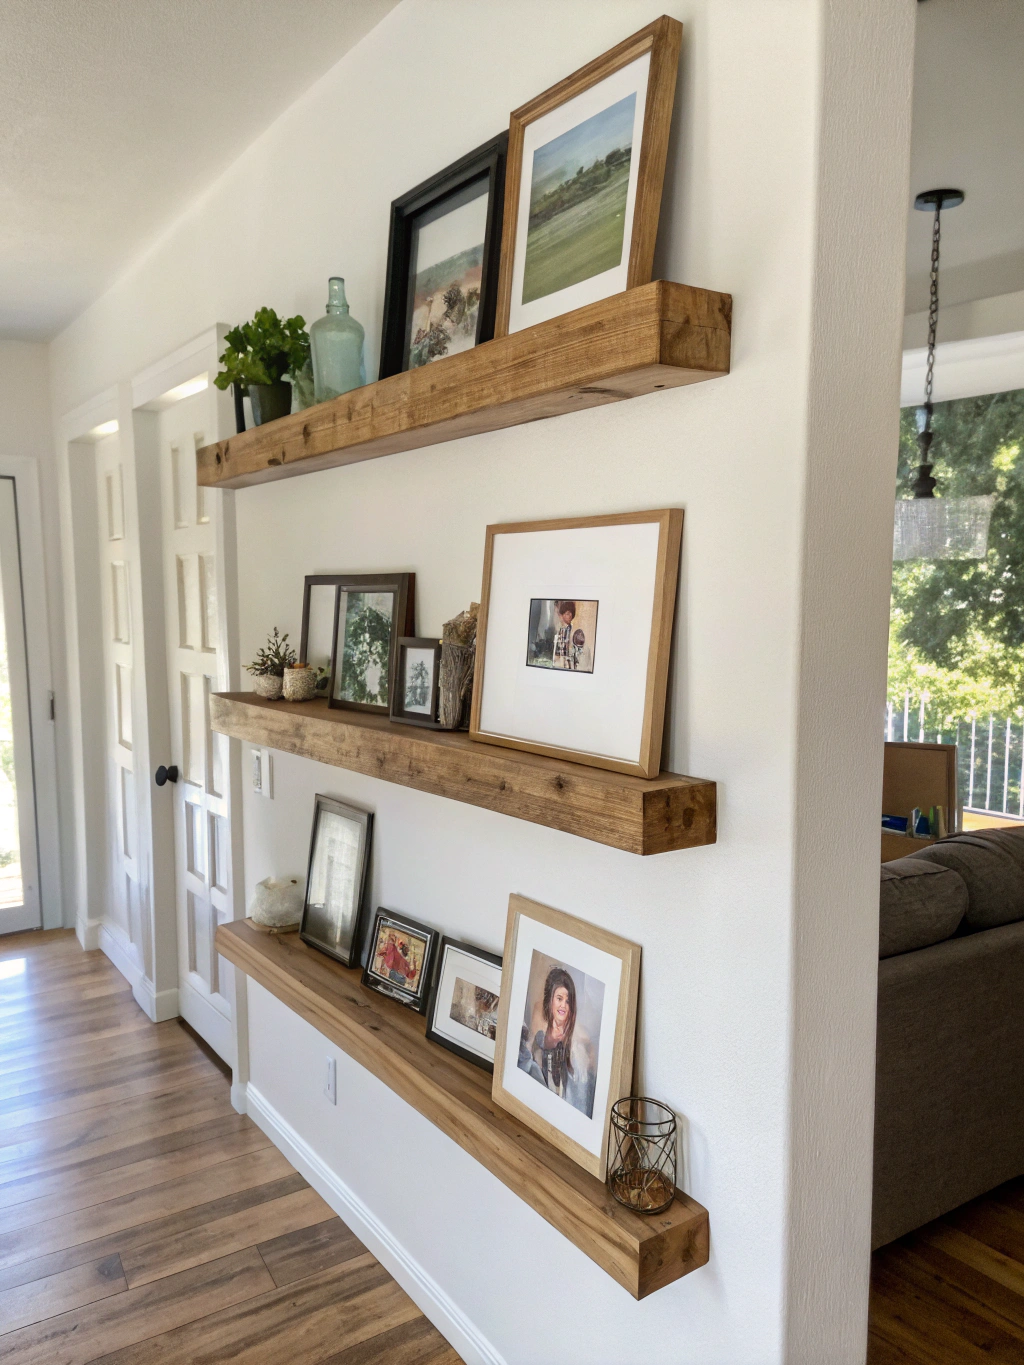
Display your cherished memories in style with your very own DIY picture ledge shelf.
What You’ll Need to Build Your DIY Picture Ledge Shelf
Before we dive into the fun part – the building – let’s gather all our supplies. Having everything ready beforehand makes the process smooth and enjoyable. You’ll find most of these items at your local hardware store.

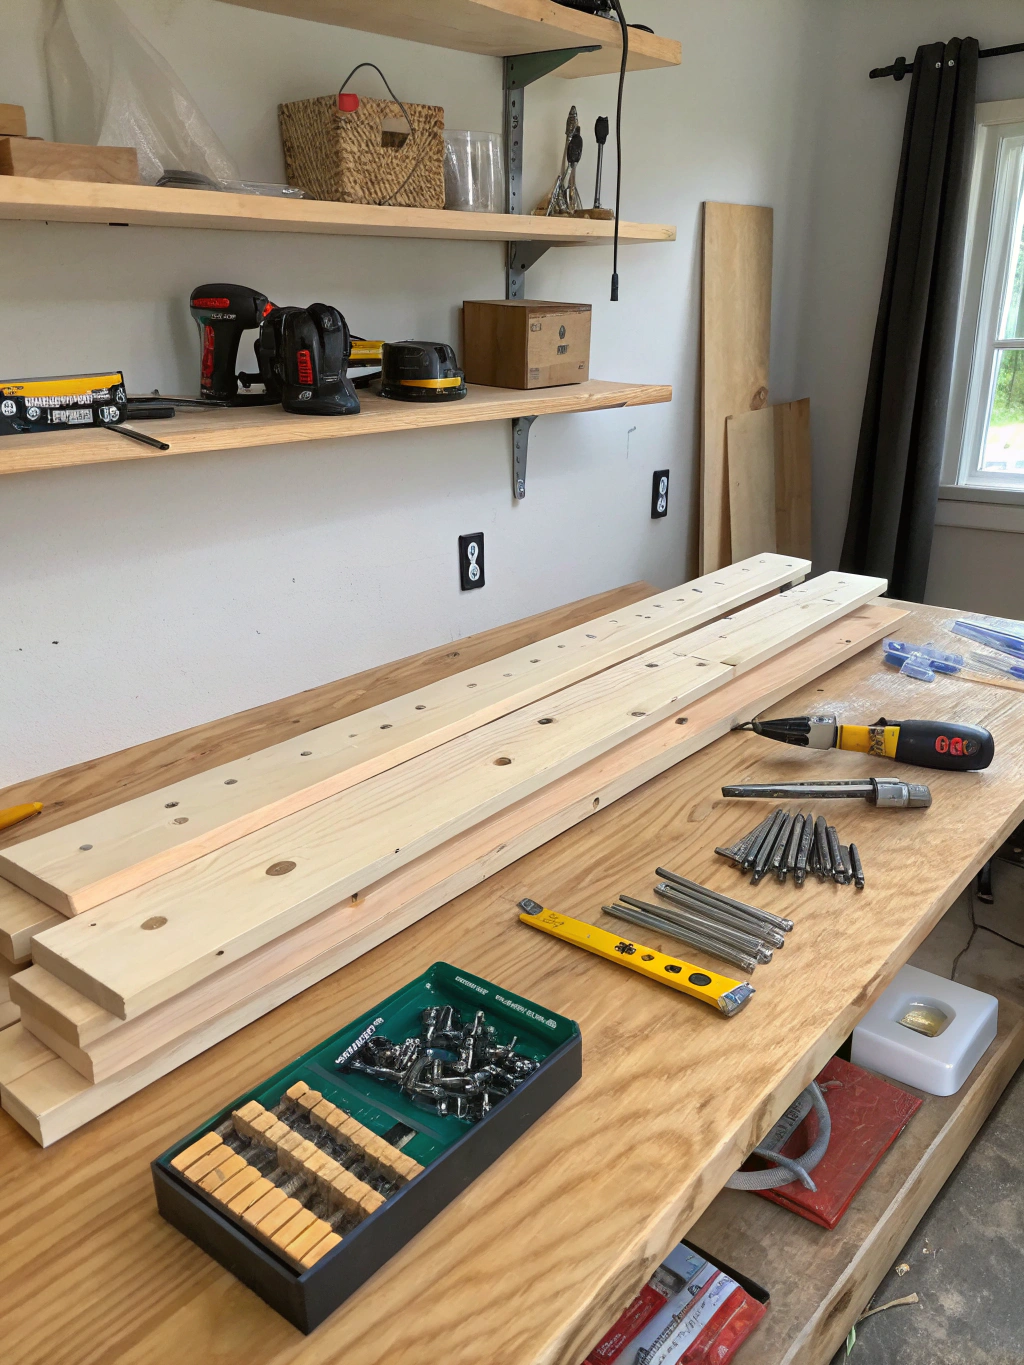
All the essential tools and materials for your DIY picture ledge shelf project.
Materials:
- (1) 1″ x 4″ common board (length depends on your desired shelf size, e.g., 4 feet)
- (1) 1″ x 3″ common board (same length as your 1×4)
- (1) 1″ x 2″ common board (same length as your 1×4)
- Wood glue (a good quality one for strong bonds)
- 1 1/4″ wood screws or brad nails (screws offer more strength)
- Wood filler (optional, for a smoother finish)
- Sandpaper (medium and fine grit, e.g., 120 and 220 grit)
- Paint, stain, or sealant of your choice
- Picture hanging strips or screws and anchors for mounting
Tools:
- Measuring tape
- Pencil
- Saw (miter saw, circular saw, or even a hand saw with a miter box for straight cuts)
- Drill (with drill bits and a countersink bit if using screws)
- Nail gun (if using brad nails)
- Clamps (at least 2-3, to hold pieces together while glue dries)
- Level
- Safety glasses
- Paintbrushes or rags (for finishing)
- Stud finder (crucial for secure mounting)
Having these items on hand will set you up for success. Remember, measure twice, cut once! This simple mantra will save you a lot of headaches in any DIY project, especially when learning how to build a DIY picture ledge shelf.
Step-by-Step Guide to Your Perfect DIY Picture Ledge Shelf
Alright, let’s get building! We’ve broken this down into five easy-to-follow steps. Take your time, enjoy the process, and soon you’ll have a beautiful DIY picture ledge shelf to admire.
Step 1: Measure and Cut Your Wood
Accuracy is key in this first step. Decide on the desired length for your DIY picture ledge shelf. Popular lengths range from 2 to 4 feet, but you can customize it entirely to your space.
Using your measuring tape and pencil, mark the desired length on your 1×4, 1×3, and 1×2 boards. Ensure your marks are clear and precise. Once marked, it’s time to cut. If you’re using a miter saw or circular saw, make sure your blade is set for a straight 90-degree cut. If using a hand saw, a miter box will be your best friend for achieving those clean, straight edges. Safety first: always wear your safety glasses during this step!
Why it matters: Straight, accurate cuts are foundational. If your pieces aren’t cut to the same length or aren’t straight, your shelf won’t assemble properly, leading to a wobbly or uneven result. Taking a few extra minutes here will pay off significantly. Common pitfall: Rushing the cuts or not double-checking measurements can lead to mismatched pieces.

Carefully measuring and cutting the wood pieces is the first crucial step for your picture ledge.
Step 2: Assemble the Shelf Base and Back
Now it’s time to start seeing your DIY picture ledge shelf take shape! You’ll be assembling the main structure: the back piece (1×4) and the bottom piece (1×3).
Lay your 1×4 board (the back piece) flat on your work surface. Apply a generous bead of wood glue along one of the long edges of your 1×3 board (the bottom piece). Carefully position the 1×3 board perpendicular to the 1×4, aligning the glued edge along the bottom edge of the 1×4, forming an “L” shape. Ensure the ends are flush.
Once aligned, clamp the two pieces together. If you’re using wood screws, pre-drill pilot holes through the bottom of the 1×3 into the edge of the 1×4 to prevent the wood from splitting. Use a countersink bit so the screw heads sit flush or slightly below the surface. Drive in your 1 1/4″ wood screws every 6-8 inches. If using brad nails, simply nail through the 1×3 into the 1×4. Wipe away any excess glue that squeezes out with a damp cloth immediately.
Why it matters: This forms the primary support structure of your shelf. A strong bond here is crucial for the shelf’s integrity and ability to hold weight. Common pitfall: Not using enough glue or clamps, or not pre-drilling for screws, can lead to weak joints or split wood.

Assembling the back (1×4) and bottom (1×3) pieces, forming the main ‘L’ shape of your shelf.
Step 3: Attach the Front Lip
The front lip (1×2 board) is what keeps your pictures and decor items from sliding off. This is a defining feature of the DIY picture ledge shelf design.
Take your 1×2 board (the front lip). Apply a bead of wood glue along one of its long edges. Position this piece against the front edge of the 1×3 (bottom piece) that you just attached, ensuring the tops are flush. This creates the “ledge.”
Again, clamp the pieces securely. Just like in Step 2, if you’re using screws, pre-drill pilot holes (and countersink) from the front of the 1×2 into the edge of the 1×3. If using brad nails, nail through the 1×2 into the 1×3. Space your screws or nails every 6-8 inches. Remember to wipe off any excess glue promptly. Your shelf should now look like a shallow trough.
Why it matters: The front lip is essential for functionality. It also adds to the visual appeal and sturdiness of the shelf. For more “DIY picture ledge shelf tutorial, How to build a DIY picture ledge shelf, Custom DIY picture ledge ideas”, you can find visual guides online. Common pitfall: Misaligning the front lip, making it too high or too low, can affect both the look and the function of the shelf.

Attaching the front lip (1×2) to complete the basic structure of the picture ledge.
Step 4: Sanding and Finishing
With the assembly complete, it’s time to give your DIY picture ledge shelf a professional, smooth finish. This step makes a huge difference in the final appearance.
If you used screws and countersunk them, or if there are any gaps or nail holes, apply wood filler. Let it dry completely according to the manufacturer’s instructions. Once dry, start sanding. Begin with medium-grit sandpaper (around 120 grit) to smooth out any rough edges, level the wood filler, and remove any glue residue. Pay special attention to all edges and corners.
After the initial sanding, wipe away the dust with a tack cloth or a slightly damp rag. Then, switch to fine-grit sandpaper (around 220 grit) for a super-smooth finish. Once you’re satisfied with the smoothness, clean off all sanding dust thoroughly. Now you’re ready to paint, stain, or apply a clear sealant. Apply thin, even coats, allowing proper drying time between coats as per the product instructions. Whether you want a rustic stained look or a sleek painted finish, this is where your personal style comes through. Explore different “Custom DIY picture ledge ideas” for finishing inspiration!
Why it matters: Sanding removes imperfections and prepares the wood to accept paint or stain evenly. A good finish protects the wood and elevates the overall look from “homemade” to “handmade.” Common pitfall: Skipping sanding or rushing the finishing process can result in a rough texture, uneven color, or a less durable shelf.

Sanding for a smooth surface and applying your chosen finish (paint or stain).
Step 5: Mounting Your DIY Picture Ledge Shelf
The final step is to get your beautiful new DIY picture ledge shelf up on the wall! Proper mounting is crucial for safety and stability.
First, decide where you want to hang your shelf. Use a stud finder to locate the wall studs in that area. Marking the stud locations with a pencil is very helpful. Ideally, you want to screw the shelf directly into at least two studs for maximum support, especially for longer shelves or if you plan to display heavier items.
Hold your shelf against the wall at the desired height, using a level to ensure it’s straight. Mark the stud locations on the back of your shelf (the 1×4 piece). Pre-drill pilot holes through the back of the shelf at these marks. Then, drive appropriate-length screws (long enough to go through the shelf and at least 1 inch into the studs) through the shelf and into the studs. If studs aren’t conveniently located, use heavy-duty wall anchors rated for the weight you anticipate. Follow the anchor manufacturer’s instructions carefully. Alternatively, for lighter loads and a less permanent solution, you can use strong picture hanging strips like Command Strips, ensuring you use enough for the shelf’s weight.
Why it matters: Secure mounting prevents your shelf from falling, which could damage your decor items or the wall, and ensures it’s safe. Common pitfall: Not hitting studs or using inadequate anchors can lead to a wobbly or failing shelf. Always use a level! These are key elements in any good “DIY picture ledge shelf tutorial, How to build a DIY picture ledge shelf, Custom DIY picture ledge ideas”.

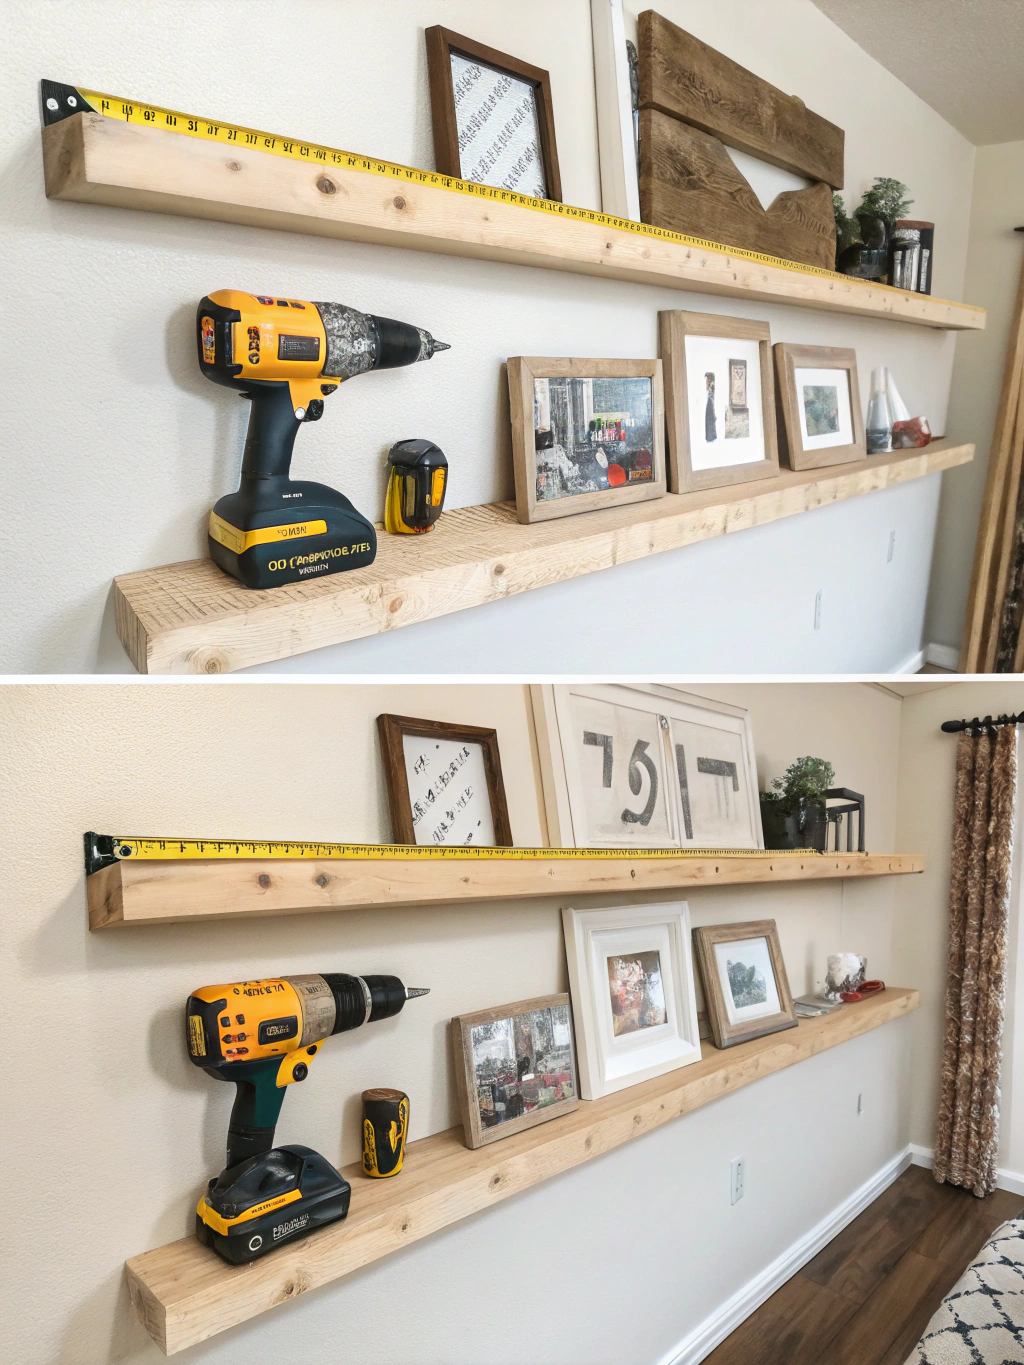
Securely mounting your newly built picture ledge shelf to the wall using a level and stud finder.
The Stunning Final Result!
And there you have it! Step back and admire your handiwork. You’ve successfully built a custom DIY picture ledge shelf that’s not only functional but also a stylish addition to your home decor. Now for the best part: styling it! Arrange your favorite photos, small plants, art prints, and little trinkets. Play around with different heights and groupings until you achieve a look you love.

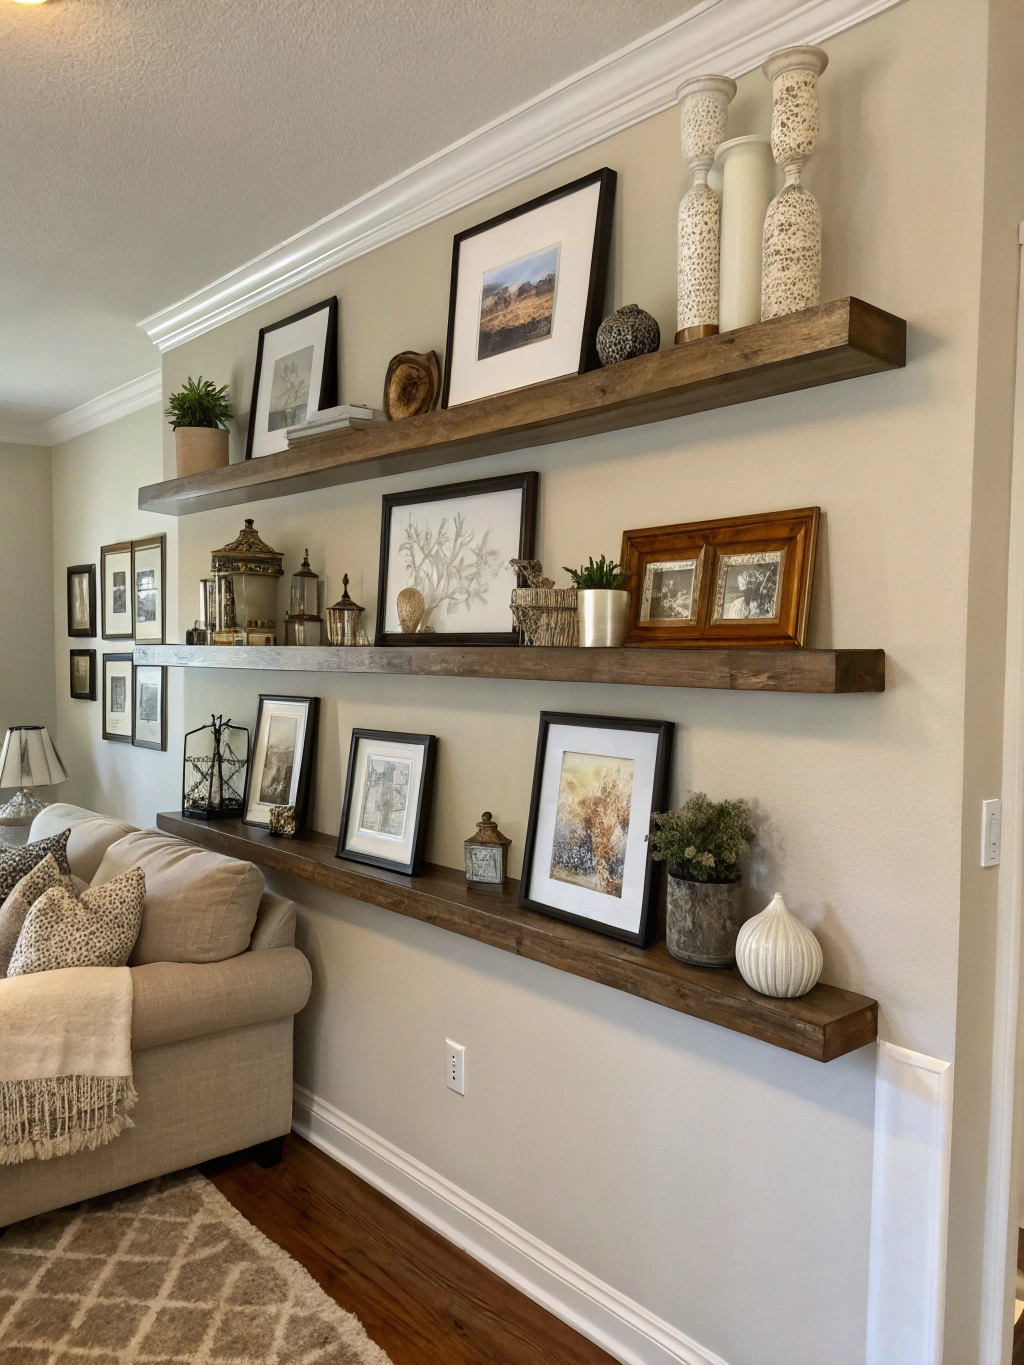
Your finished DIY picture ledge shelf, perfectly styled and ready to impress!
This project proves that you don’t need to spend a fortune to create beautiful, personalized pieces for your home. The satisfaction of making something with your own hands is priceless. We’d love to see what you’ve created! Share photos of your DIY picture ledge shelf in the comments below, or tag us on social media. And if you have any tips or tricks you discovered along the way, please share those too! Maybe you have some unique “Custom DIY picture ledge ideas” to inspire others.
Pro Tips & FAQs for Your DIY Picture Ledge Shelf
To help you get the best results and answer some common questions, here are a few pro tips and frequently asked questions about building a DIY picture ledge shelf.
What’s the best wood to use for a DIY picture ledge shelf?
Common pine boards (like the 1×2, 1×3, and 1×4 suggested) are affordable, readily available, and easy to work with, making them ideal for this project. They take paint and stain well. For a more premium look, you could opt for hardwoods like oak or maple, but they will be more expensive and slightly harder to work with. Ultimately, the choice depends on your budget and desired aesthetic.
How long can I make my DIY picture ledge shelf?
You can customize the length to fit your space perfectly! Common lengths are between 2 to 6 feet. However, if you plan on making a very long shelf (over 4 feet), consider adding a center support bracket or ensuring it’s screwed into multiple studs along its length to prevent sagging. This is an important consideration when learning [how to build a DIY picture ledge shelf](https://www.diyncrafts.com/decor) for larger walls.
How much weight can a DIY picture ledge shelf hold?
The weight capacity depends on several factors: the length of the shelf, the type of wood used, how well it’s constructed (glue and screws/nails), and most importantly, how securely it’s mounted to the wall. If screwed directly into wall studs, it can hold a considerable amount of weight (e.g., 15-20 pounds distributed evenly). If using only drywall anchors, the capacity will be lower, as indicated by the anchor’s rating. Always err on the side of caution and avoid overloading your shelf. These shelves are best for lighter decorative items, photos, and small books.
Can I build this DIY picture ledge shelf without power tools?
Absolutely! While power tools like a miter saw and drill/driver speed up the process, you can certainly build this with manual tools. A hand saw and miter box can be used for cuts, and a manual screwdriver for assembly. It will take more time and effort, but the satisfaction will be just as great. Many inspiring [“DIY picture ledge shelf tutorial, How to build a DIY picture ledge shelf, Custom DIY picture ledge ideas”](https://www.diyncrafts.com/decor) show methods for various skill levels.
What are some creative ways to customize my DIY picture ledge shelf?
Get creative! You can:
- Paint it a bold accent color or a chic neutral.
- Apply a rustic stain to highlight the wood grain.
- Add decorative moulding to the front lip for a more traditional look.
- Create a tiered effect by mounting multiple shelves at different heights.
- Install small LED strip lights underneath for a subtle glow.
- Use different wood types or even reclaimed wood for unique character.
The possibilities for [“Custom DIY picture ledge ideas”](https://www.diyncrafts.com/decor) are endless! If you’re looking for more general home decor DIYs, you might find inspiration for your next project by exploring other [DIY picture ledge shelf](https://www.fixdiy.site/home-decor/) concepts and adaptations.
We hope this comprehensive guide has inspired you to tackle your own DIY picture ledge shelf project! It’s a rewarding build that adds so much charm and personality to a room.
What are you waiting for? Grab your tools and let’s get building!
We’d love to hear from you. If you have any questions, or if you’ve built your own picture ledge shelf using this tutorial, please share your experiences and photos in the comments below! Don’t forget to sign up for our newsletter for more DIY projects, tips, and home improvement inspiration delivered straight to your inbox. And if you found this helpful, share it with your fellow DIY enthusiasts on social media! Happy building!


