Introduction
Tired of staring at that blank, boring wall, wishing it had a bit more… oomph? You’re not alone! Many homeowners dream of adding character and warmth to their space without breaking the bank or tackling an overwhelming renovation. Well, get ready to roll up your sleeves, because a DIY reclaimed wood accent wall is the perfect solution to inject instant rustic charm and personality into any room. It’s a doable project for most DIY enthusiasts, and the results are truly transformative.
This comprehensive guide will walk you through creating your very own stunning DIY reclaimed wood accent wall in just five easy steps. We’ll cover everything from sourcing your wood to the final touches, ensuring you have all the knowledge and confidence to achieve a professional-looking finish. Forget expensive contractors; this is your chance to create a unique focal point that tells a story, all while enjoying the satisfaction of a well-done DIY project. Let’s dive in and turn that dull wall into a beautiful masterpiece!
Table of Contents
Table of Contents

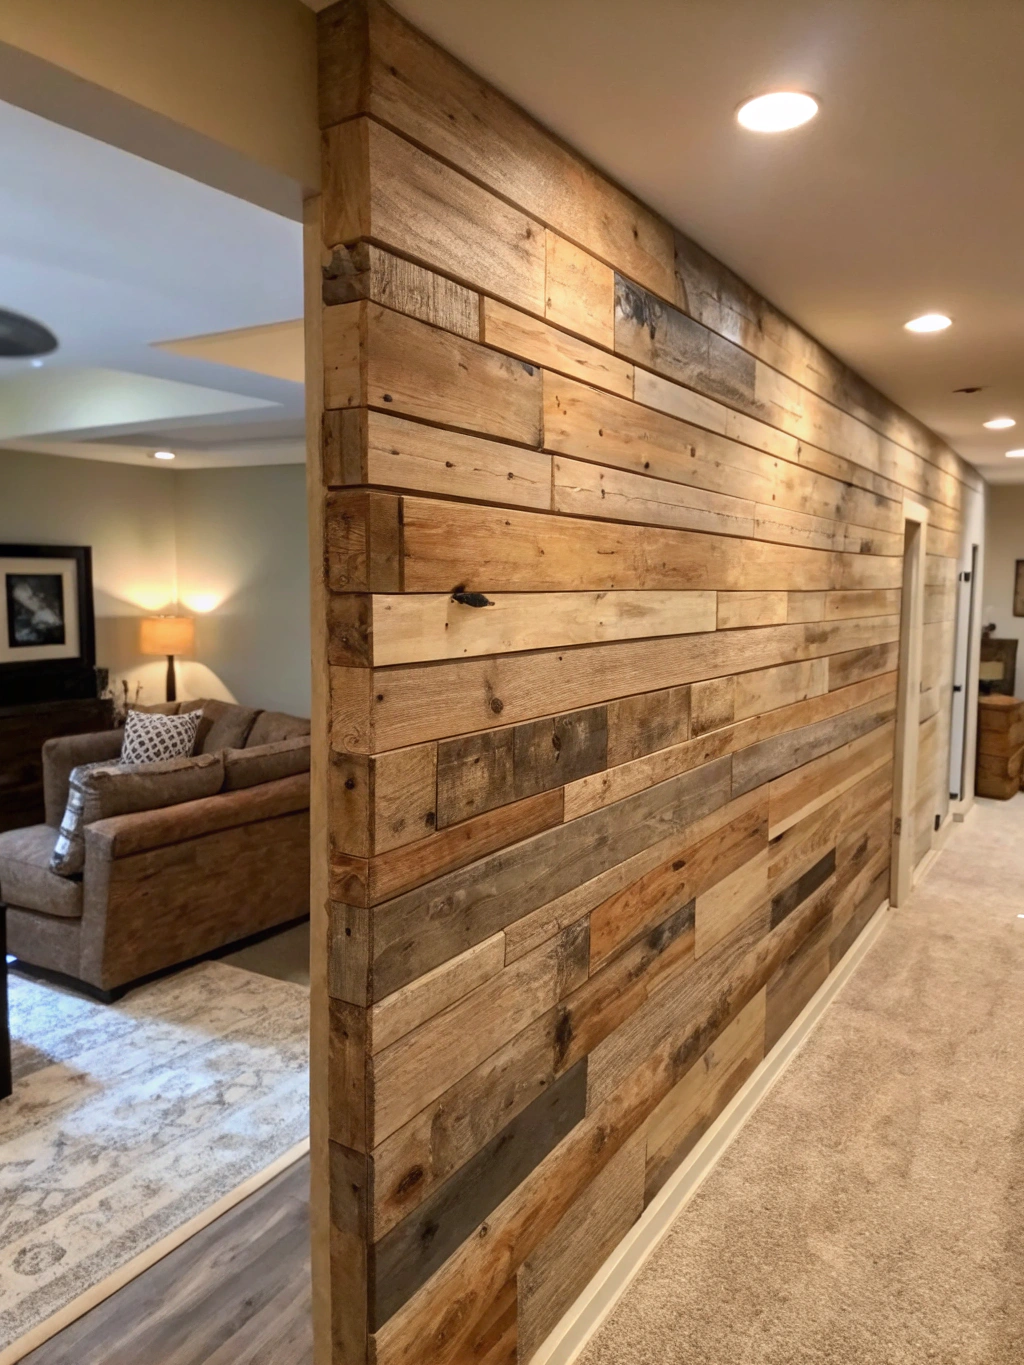
Caption: Breathe new life into your space with a stunning DIY reclaimed wood accent wall – a project that’s both rewarding and stylish.
What You’ll Need for Your DIY Reclaimed Wood Accent Wall
Before you get started on your DIY reclaimed wood accent wall, gathering all your materials and tools is key to a smooth and enjoyable process. Having everything laid out and ready to go will save you time and frustration. Think of it as your DIY mission control!

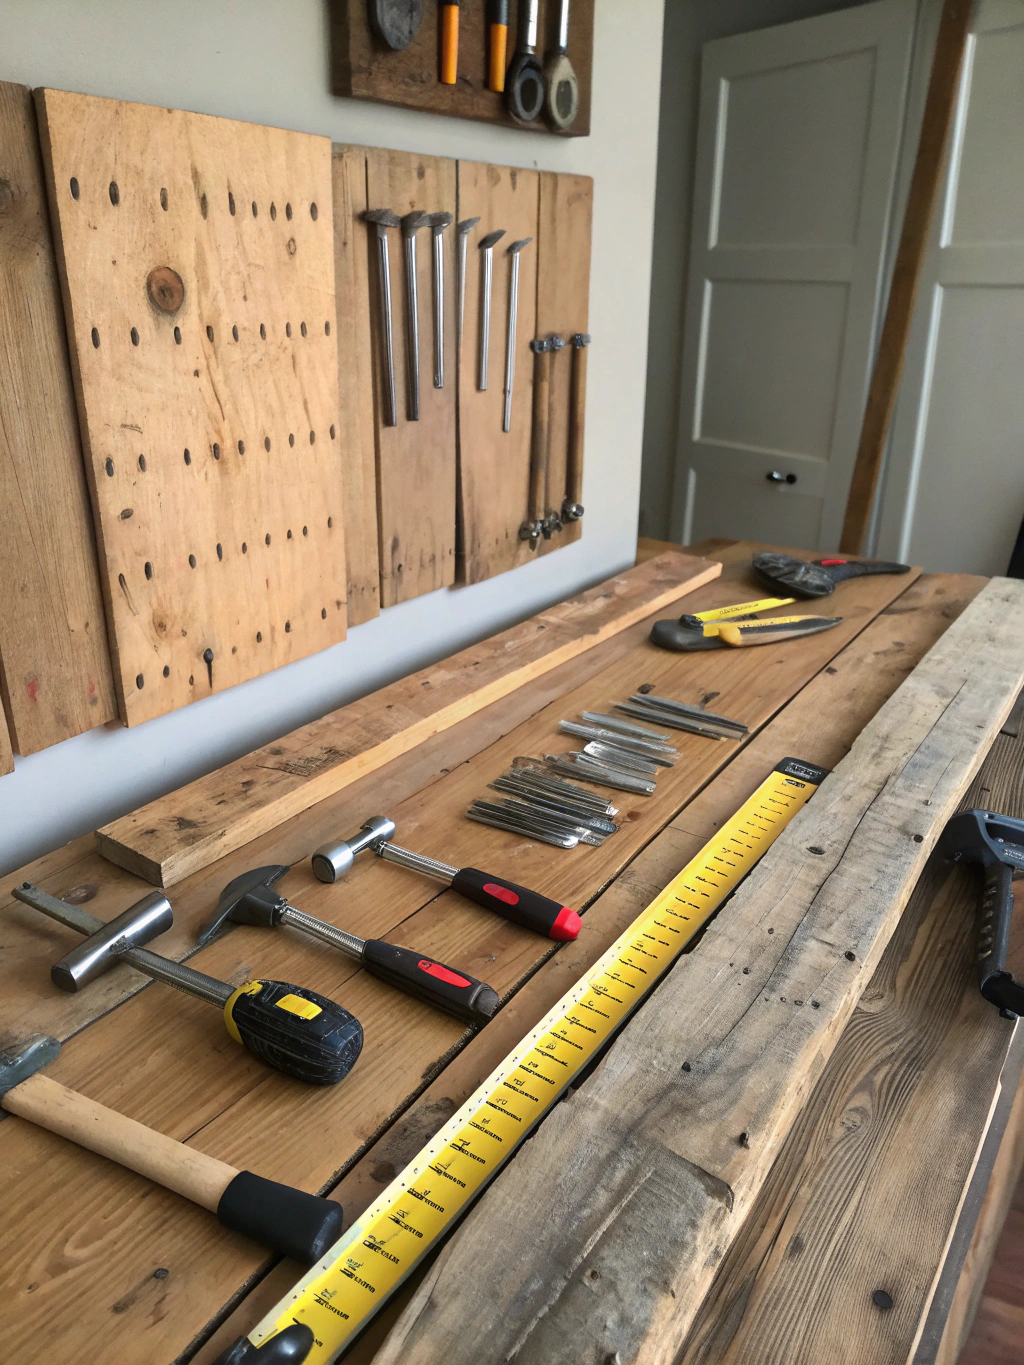
Caption: Gather your supplies! Having all your tools and materials ready makes the DIY reclaimed wood accent wall process much smoother.
Materials:
- Reclaimed Wood Planks: The star of the show! Calculate the square footage of your wall (length x height) and add 10-15% extra for cuts and mistakes. You can find reclaimed wood at lumberyards, salvage shops, online marketplaces, or even deconstruct old pallets (ensure they are heat-treated, not chemically treated).
- Plywood or OSB Sheathing (Optional but Recommended): ¼ inch or ½ inch thickness. This provides a flat, even surface to attach the planks to, especially if your wall is uneven or you want to avoid damaging the drywall directly.
- Construction Adhesive: A strong, quality adhesive is crucial for a lasting bond.
- Brad Nails or Finishing Nails: 1 ½ to 2 inches long, depending on the thickness of your reclaimed wood and sheathing.
- Wood Filler or Caulk (Optional): To fill any gaps or nail holes for a more polished look. Choose a color that matches your wood.
- Wood Sealer or Varnish (Optional): To protect the wood and enhance its color.
- Paint or Dark Stain (Optional): For painting the wall behind the wood if there will be gaps between planks, creating a shadow effect.
- Painter’s Tape
Tools:
- Tape Measure
- Pencil
- Level (a 4-foot level is ideal)
- Stud Finder
- Miter Saw or Hand Saw with Miter Box: For making straight and angled cuts. A miter saw will make this much faster and more accurate.
- Jigsaw: For cutting around outlets or other obstacles.
- Brad Nailer or Hammer: A brad nailer will significantly speed up the process.
- Caulking Gun (if using construction adhesive in a tube)
- Safety Glasses
- Work Gloves
- Dust Mask
- Sander or Sandpaper (Various Grits): To smooth rough edges or surfaces if desired.
- Pry Bar (if removing baseboards)
- Utility Knife
Having these items on hand will ensure you’re well-prepared for each step of your exciting DIY reclaimed wood accent wall project. For more inspiration on “Reclaimed wood wall ideas, DIY reclaimed wood project tips, How to create a DIY reclaimed wood accent wall”, check out some great resources online.
Step-by-Step Guide to Your Perfect DIY Reclaimed Wood Accent Wall
Alright, DIY warriors, it’s time to transform that wall! Follow these five steps carefully, and you’ll be admiring your handiwork in no time. Remember, patience and precision are your best friends in any DIY project.
Step 1: Prepare Your Wall and Wood

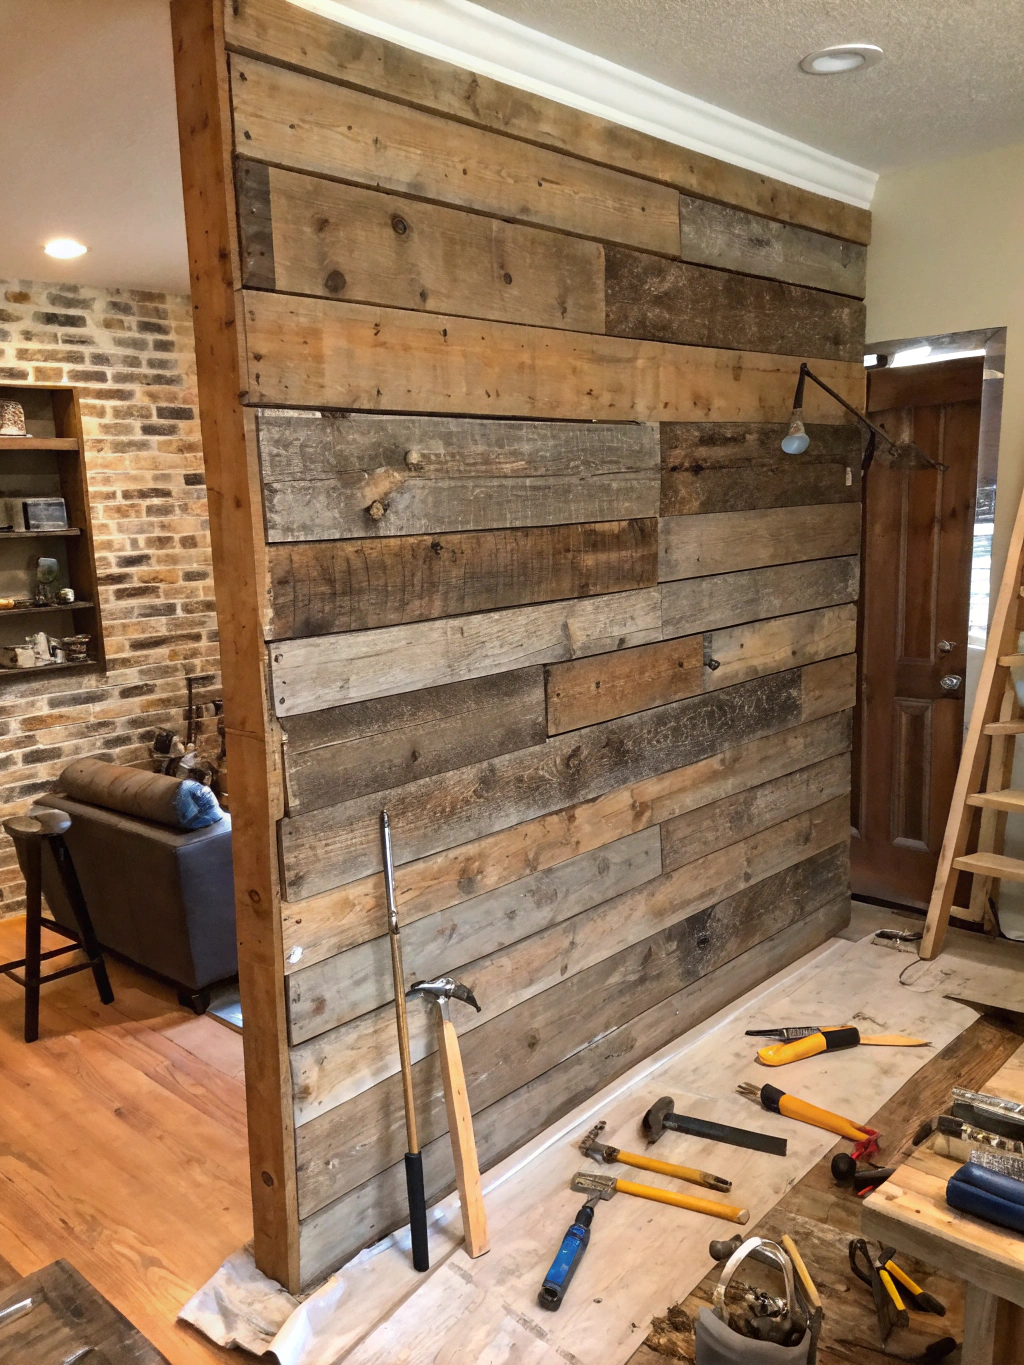
Alt text: Step 1 of DIY reclaimed wood accent wall: Preparing the wall surface and reclaimed wood planks.
First things first, proper preparation is the foundation of a successful DIY reclaimed wood accent wall. Start by clearing the wall of any furniture, decorations, and outlet covers. Give the wall a good wipe-down to remove any dust or grime. This ensures your adhesive will bond properly.
Next, use your stud finder to locate and mark the studs on your wall. You’ll want to nail into these for the most secure attachment, especially if you’re not using a plywood backer board. If you are using plywood or OSB, cut it to fit your wall and secure it to the studs using screws. This step is highly recommended for an easier and more stable installation of your reclaimed wood. Consider painting the wall or plywood a dark color (black or dark brown) if your reclaimed wood has intentional gaps or a rustic, uneven look. This helps hide the wall behind and makes the gaps less noticeable.
Now, let’s talk wood! Acclimatize your reclaimed wood to the room’s temperature and humidity for at least 48-72 hours before installation. This prevents excessive expansion or contraction after it’s on the wall. Lay out your planks to plan your design. Mix and match different tones, textures, and lengths for a truly unique look. This is also a good time to clean your reclaimed wood. A stiff brush can remove loose dirt, or a light sanding can smooth rough surfaces. Avoid harsh chemicals that might alter the wood’s patina. Some “Reclaimed wood wall ideas, DIY reclaimed wood project tips, How to create a DIY reclaimed wood accent wall” suggest various cleaning methods depending on the wood’s source and condition.
Step 2: Plan Your Layout and Make the First Row
With your wall and wood prepped, it’s time for the fun part – planning your design! Decide on the orientation of your planks: horizontal, vertical, or even a herringbone pattern (though this is more advanced). For most DIYers, horizontal is the easiest and a classic choice. Staggering the seams is crucial for a professional look and for structural integrity, much like laying bricks or hardwood floors. Avoid having seams line up vertically.
Using your level and pencil, draw a perfectly level line for your first row. This is arguably the most important row, as all subsequent rows will build upon it. Don’t rely on your ceiling or floor being level – they rarely are! Start your first row either from the bottom up or, for a more precise look at eye level, from the center of the wall. If starting from the bottom, you may need to remove the baseboard (you can reinstall it later or use a new one).
Once your guideline is marked, select your first plank. Apply construction adhesive to the back in an “S” pattern or in several wavy lines. Position the plank along your level line and press it firmly against the wall. Then, secure it further by driving brad nails through the plank into the studs (or into the plywood backing if you used it). If nailing by hand, pre-drilling pilot holes can prevent the wood from splitting, especially with older, more brittle reclaimed wood. Ensure this first row is perfectly level before moving on; use shims if necessary to make minor adjustments.
Step 3: Continue Installing Planks, Staggering Seams
Now that your first row is in place and perfectly level, the rest of the installation will flow much more smoothly. Continue working your way up (or down, or out, depending on your starting point and pattern) the wall, one plank at a time. Remember to continuously check for levelness every few rows.
The key to a visually appealing DIY reclaimed wood accent wall is staggering the seams. This means the end of one plank should not line up with the end of the plank in the row directly above or below it. Aim for at least a 6-inch offset. Mix up the lengths of your planks to enhance this staggered effect and create a more natural, rustic look. You might want to pre-cut a variety of lengths or cut them as you go.
Apply construction adhesive to each plank and secure it with brad nails, just as you did for the first row. Press each plank firmly against the previous one to minimize gaps, unless you’re intentionally going for a gapped look. If you encounter outlets or light switches, carefully measure and mark the plank, then use your jigsaw to cut out the necessary opening before installing the plank. It’s always better to measure twice and cut once! This is a common area where mistakes happen, so take your time.
Step 4: Cutting and Fitting the Final Pieces
As you approach the edges of the wall, the ceiling, or any obstacles, you’ll inevitably need to make precise cuts. This is where your miter saw (or hand saw) and careful measurements become critical. For planks that meet a corner or the ceiling, measure the remaining space accurately at multiple points, as walls and ceilings are rarely perfectly straight.
If you’re ending at a side wall, you’ll likely need to rip a plank lengthwise to fit the final gap. A table saw is best for this, but a circular saw with a guide or even a jigsaw (for shorter cuts) can work. When cutting around obstacles like window frames or complex moldings, creating a paper template first can be very helpful. Trace the shape onto the paper, cut it out, test the fit, and then transfer the outline to your wood plank.
Take your time with these final cuts. Rushing can lead to ill-fitting pieces and frustration. Remember that small imperfections are part of the charm of reclaimed wood, but well-fitted pieces will make your DIY reclaimed wood accent wall look much more professional. If you have small gaps, don’t fret too much; wood filler or caulk can often come to the rescue once everything is installed.
Step 5: Finishing Touches and Sealing (Optional)
Congratulations, the main installation of your DIY reclaimed wood accent wall is complete! Now for the finishing touches that will elevate your project. Step back and admire your work. Inspect the wall for any visible nail holes or small gaps between planks. If desired, you can fill these with wood filler that matches your wood, or a paintable caulk if you plan to paint the trim. Gently sand any filled spots smooth once dry.
Many people love the raw, natural look of reclaimed wood and choose to leave it unfinished. However, if your wall is in a high-traffic area, a bathroom (consider moisture resistance here!), or a kitchen, applying a sealer or matte varnish can protect the wood from dirt, stains, and moisture, and make it easier to clean. It can also slightly deepen or enrich the wood’s natural colors. Always test your chosen sealer on a scrap piece of wood first to ensure you like the effect. Apply it according to the manufacturer’s instructions, usually with a brush or roller.
Finally, reinstall your outlet covers (you might need outlet extenders if the wood added significant thickness) and any baseboards or trim you removed. Clean up your workspace, and then stand back and revel in the beauty of your newly transformed space! This is a great moment to snap some photos of your hard work.
The Stunning Final Result!
And there you have it – your very own, absolutely gorgeous DIY reclaimed wood accent wall! Take a moment to soak it all in. That once-bland wall is now a stunning focal point, radiating warmth, texture, and a unique story.

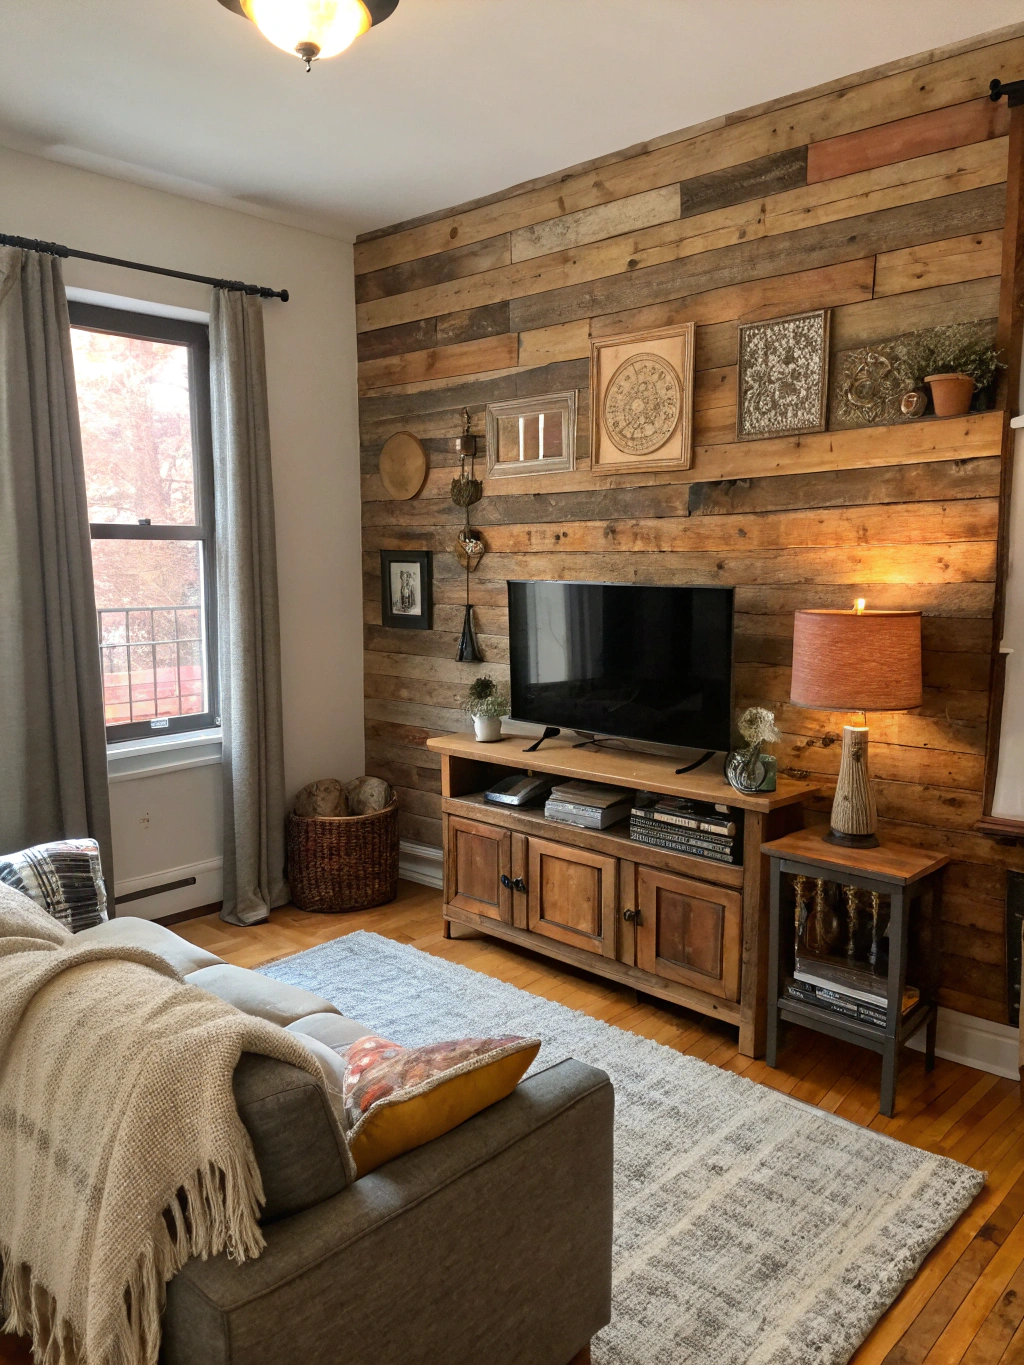
Caption: The breathtaking final result of a DIY reclaimed wood accent wall, adding character and warmth to the room.
You’ve not only enhanced your home’s aesthetic but also added a personal touch that reflects your style and DIY prowess. This project proves that with a bit of planning, patience, and elbow grease, you can achieve professional-looking results that completely transform a room. The subtle variations in color, grain, and texture of the reclaimed wood create a dynamic and inviting atmosphere that’s impossible to replicate with paint or wallpaper alone.
We’d love to see how your DIY reclaimed wood accent wall turned out! Share your photos and any unique tips or challenges you encountered in the comments below. Your experience could inspire another DIY enthusiast to take the plunge!
Pro Tips & FAQs for Your DIY Reclaimed Wood Accent Wall
You’ve got the basics down, but here are a few extra pro tips and answers to frequently asked questions to ensure your DIY reclaimed wood accent wall project is a resounding success.
Where’s the best place to find reclaimed wood for my project?
Finding good quality reclaimed wood is key. Look for it at architectural salvage yards, demolition sites (with permission, of course!), local lumberyards specializing in reclaimed materials, online marketplaces like Facebook Marketplace or Craigslist, or even by deconstructing old, heat-treated (HT-stamped) pallets. Always check the wood for pests, nails, and ensure it’s suitable for indoor use. Some people explore **[“Reclaimed wood wall ideas, DIY reclaimed wood project tips, How to create a DIY reclaimed wood accent wall”](https://www.diyncrafts.com/decor)** for sourcing inspiration as well.
How do I calculate how much reclaimed wood I need?
To calculate the amount of wood needed for your **[DIY reclaimed wood accent wall](https://www.fixdiy.site/home-decor/)**, measure the height and width of your wall in feet. Multiply these two numbers to get the total square footage. For example, an 8-foot high by 10-foot wide wall is 80 square feet. It’s crucial to then add an extra 10-15% to this number to account for cuts, mistakes, and unusable pieces. So, for an 80 sq ft wall, you’d want to purchase around 88-92 square feet of reclaimed wood.
Should I install reclaimed wood directly onto drywall?
While you *can* install reclaimed wood directly onto drywall, it’s often recommended to first install a layer of thin (¼” or ½”) plywood or OSB sheathing. This provides a smoother, more consistent surface for adhesion and nailing, especially if your drywall is uneven. It also makes it easier to hit solid wood with your nails rather than just drywall (unless you’re hitting studs every time). Furthermore, if you ever decide to remove the accent wall, damaging the sheathing is less problematic than damaging the drywall itself.
What’s the best way to clean reclaimed wood before installing it?
Cleaning methods depend on the condition of your wood. Start by using a stiff brush to remove loose dirt, dust, and cobwebs. For more stubborn grime, a solution of mild soap and water can be used, but avoid soaking the wood. Wipe it down and let it dry thoroughly. Some woods might benefit from a light sanding to remove splinters or very rough patches, but be careful not to sand away too much of the aged patina that gives reclaimed wood its character. Always test your cleaning method on a scrap piece first. If you suspect pests, consult a professional or research appropriate treatment methods for the type of wood.
How can I make my [DIY reclaimed wood accent wall](https://www.fixdiy.site/home-decor/) look more unique?
There are many ways to add a unique touch! Vary the widths and thicknesses of your planks for more texture. Consider staining some planks different shades or applying a whitewash effect to a few for contrast. Arrange the planks in a pattern other than horizontal, like vertical or herringbone (though these are more challenging). You can also integrate small shelves or niches directly into the wood wall. Don’t be afraid to mix wood from different sources for a wider range of colors and textures. Looking up **DIY reclaimed wood project tips** online can spark even more creative ideas.
Creating a DIY reclaimed wood accent wall is more than just a home improvement project; it’s a way to add a significant piece of your personality and craftsmanship to your living space. It’s a journey from a plain surface to a testament of rustic beauty and DIY dedication.
We hope this guide has empowered you to tackle your own reclaimed wood project. If you’re looking for more inspiration for your home, be sure to check out other DIY reclaimed wood accent wall projects and home decor ideas.
Now, we want to hear from you! What are your biggest questions about creating a DIY reclaimed wood accent wall? Have you completed a similar project? Share your experiences, tips, and photos in the comments below. Let’s build a community of passionate DIYers! And if you found this guide helpful, please consider sharing it on your social media channels or signing up for our newsletter for more DIY tips and inspiration delivered straight to your inbox!


