Introduction
Are you tired of seeing that pile of old clothes gathering dust in your closet, but just can’t bring yourself to throw them away? Well, what if I told you that you could transform those forgotten garments into something beautiful and practical? Today, we’re diving into how to make a DIY rope basket from old clothes in just five easy steps! This project is perfect for home-improvement enthusiasts looking for a sustainable and stylish storage solution.
Not only will you declutter your wardrobe, but you’ll also create a charming, handcrafted piece that adds a personal touch to your home decor. Imagine a cozy, custom-made basket holding your favorite magazines, yarn, or even a potted plant, all made with your own two hands and materials you already have. Let’s get crafting!
Table of Contents
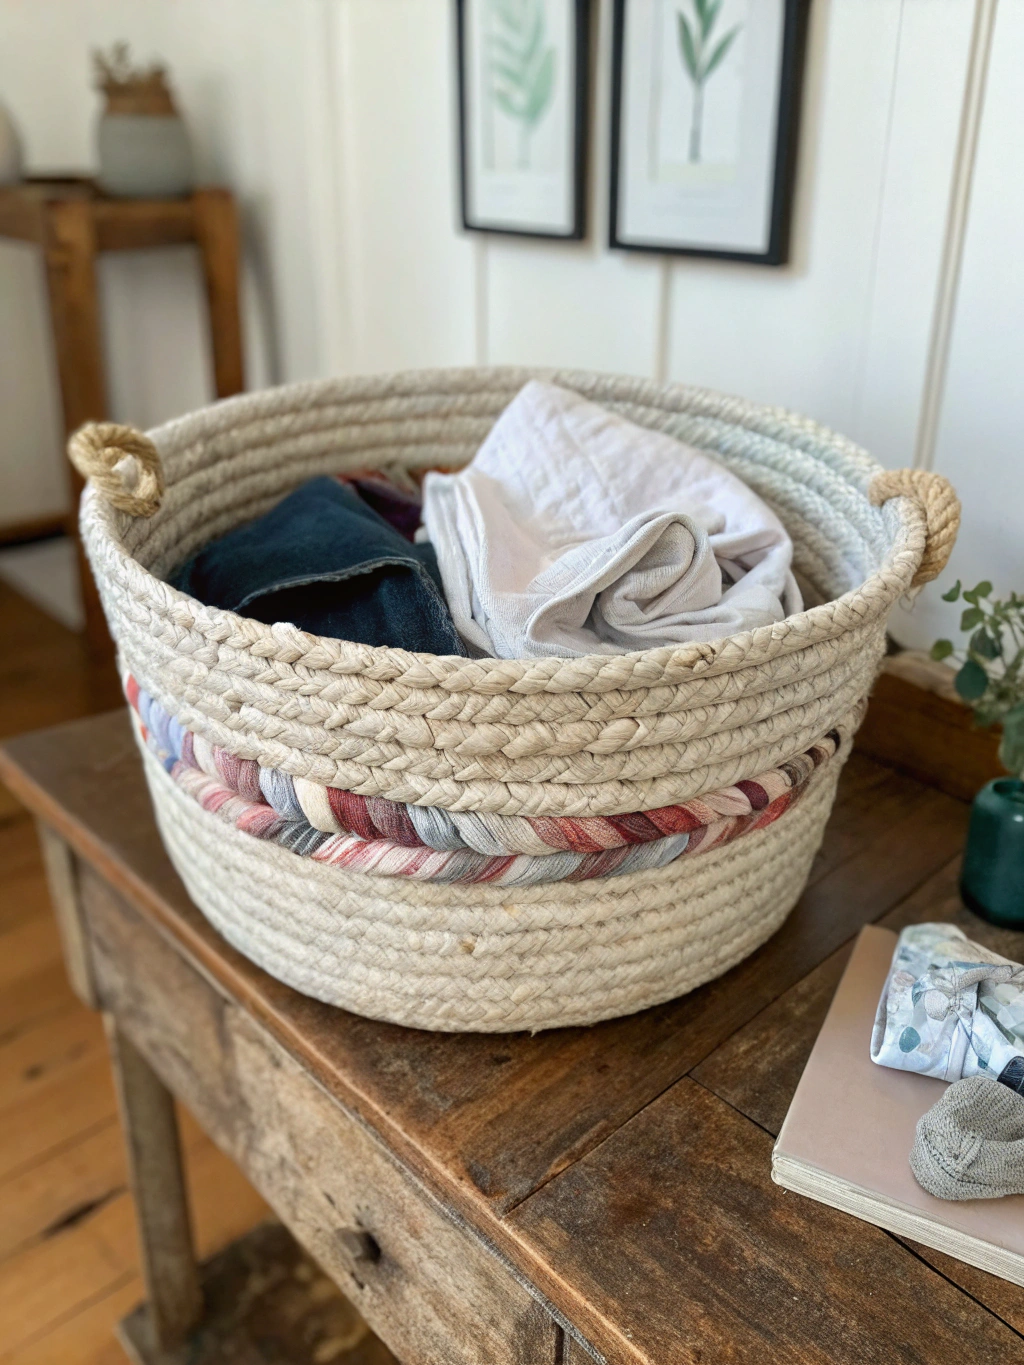
*Caption: Your stunning, eco-friendly [DIY rope basket from old clothes](https://www.fixdiy.site/diy-pallet-wood-projects/) can be a stylish addition to any room.*
What You’ll Need to Create Your DIY Rope Basket from Old Clothes
Before we dive into the fun part, let’s gather our supplies. Making a DIY rope basket from old clothes doesn’t require a long list of fancy tools. In fact, you probably have most of these items lying around your home already!
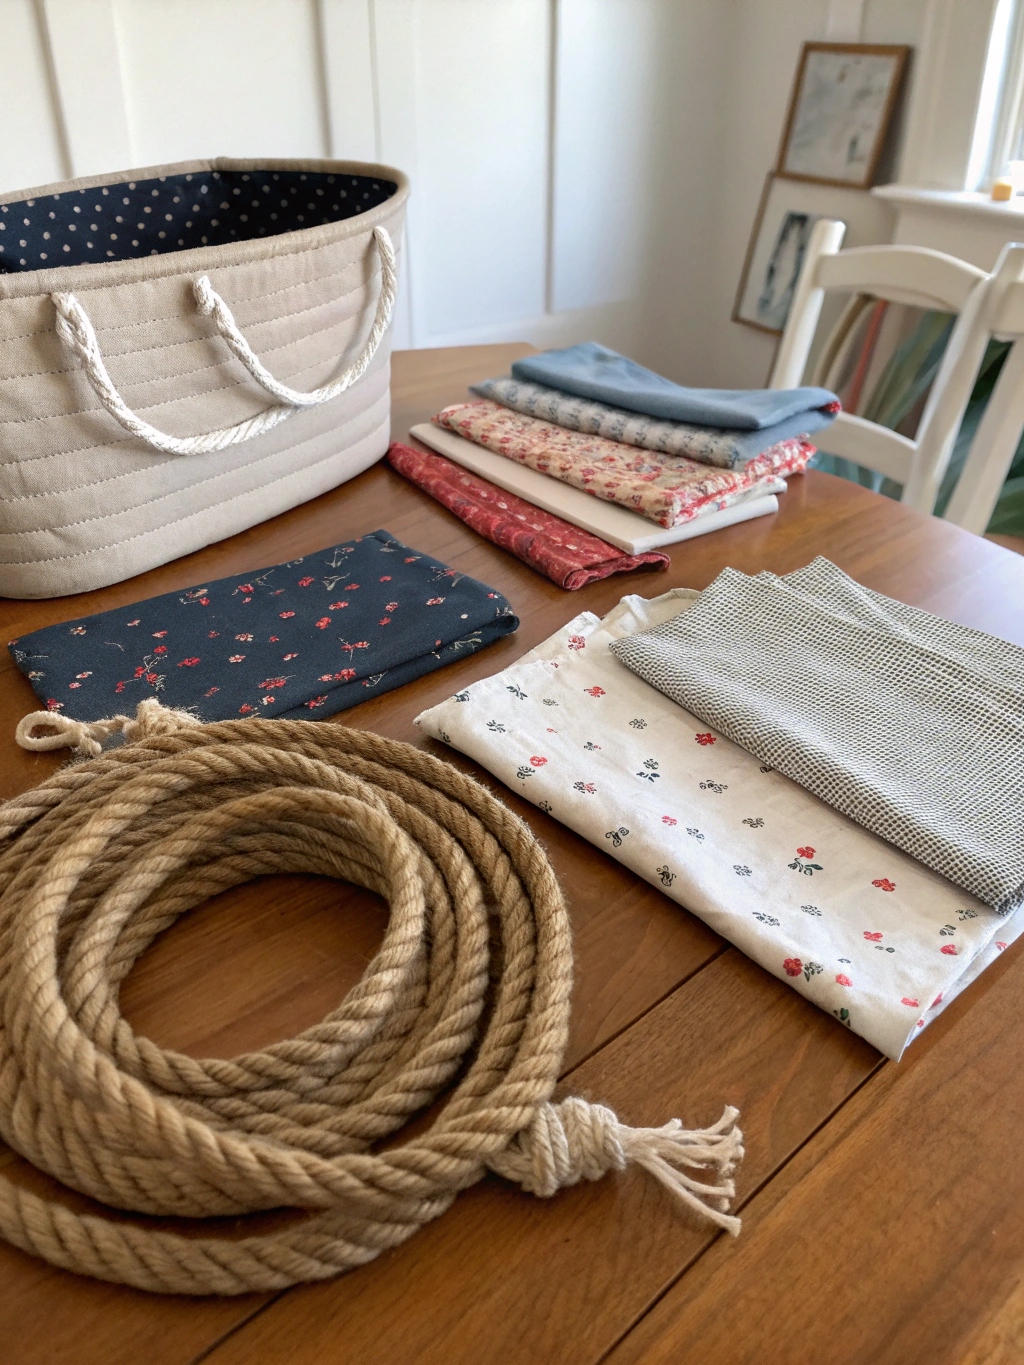
*Caption: Gather these simple materials to start your upcycled fabric basket creation.*
Here’s what you’ll need:
- Old Clothes: T-shirts, leggings, or any stretchy fabric works best. Aim for at least 3-4 adult-sized t-shirts for a medium-sized basket. The more clothes, the bigger your basket can be!
- Thick Rope or Cord: Cotton clothesline rope (about 1/4 inch to 1/2 inch thick) is ideal. You’ll need approximately 20-30 feet, depending on your desired basket size.
- Fabric Scissors or Rotary Cutter & Mat: Sharp scissors are a must for cutting fabric strips. A rotary cutter and mat will make this process much faster and more precise.
- Hot Glue Gun and Glue Sticks: This is our magic adhesive for creating a no-sew rope basket from fabric scraps. Ensure you have plenty of glue sticks on hand.
- Measuring Tape or Ruler: For consistency in your fabric strips.
- (Optional) Sewing Machine: If you prefer a sewn finish or want extra durability, you can opt to sew the coils instead of gluing. However, this tutorial focuses on the no-sew method.
- (Optional) Clips or Clothespins: To hold fabric in place as you work.
Having these items ready will make the process smooth and enjoyable. Remember, the beauty of a DIY rope basket from old clothes lies in its imperfections and unique character, so don’t stress too much about perfect measurements! For more “DIY rope basket tutorial, How to make a DIY rope basket from old clothes step by step, Creative uses for a DIY rope basket from old clothes”, check out some genius upcycling ideas.
Step-by-Step Guide to Your Upcycled Fabric Basket
Ready to transform that pile of old garments? Let’s walk through how to make a DIY rope basket from old clothes step by step. Follow these instructions carefully, and you’ll have a beautiful, functional basket in no time!
Step 1: Prepare Your Fabric Strips
The first step in our DIY rope basket from old clothes adventure is to prepare the fabric. This involves cutting your old clothes into long, continuous strips.
Lay your t-shirts (or other stretchy garments) flat. Cut off any hems, neckbands, and seams. Then, starting from one side, cut continuous strips about 1 to 1.5 inches wide across the garment. If you’re using t-shirts, you can cut in a spiral from the bottom hem up to the armholes to create one long strip per shirt. This technique minimizes joins.
Once cut, gently stretch each fabric strip. This will cause the edges to curl inwards, creating a smoother, more rope-like strand, often called “t-shirt yarn.” This is crucial for achieving a neat finish on your “no-sew rope basket from fabric scraps”. The more uniform your strips, the more consistent your basket’s appearance will be, but don’t worry about absolute perfection – slight variations add to the charm!
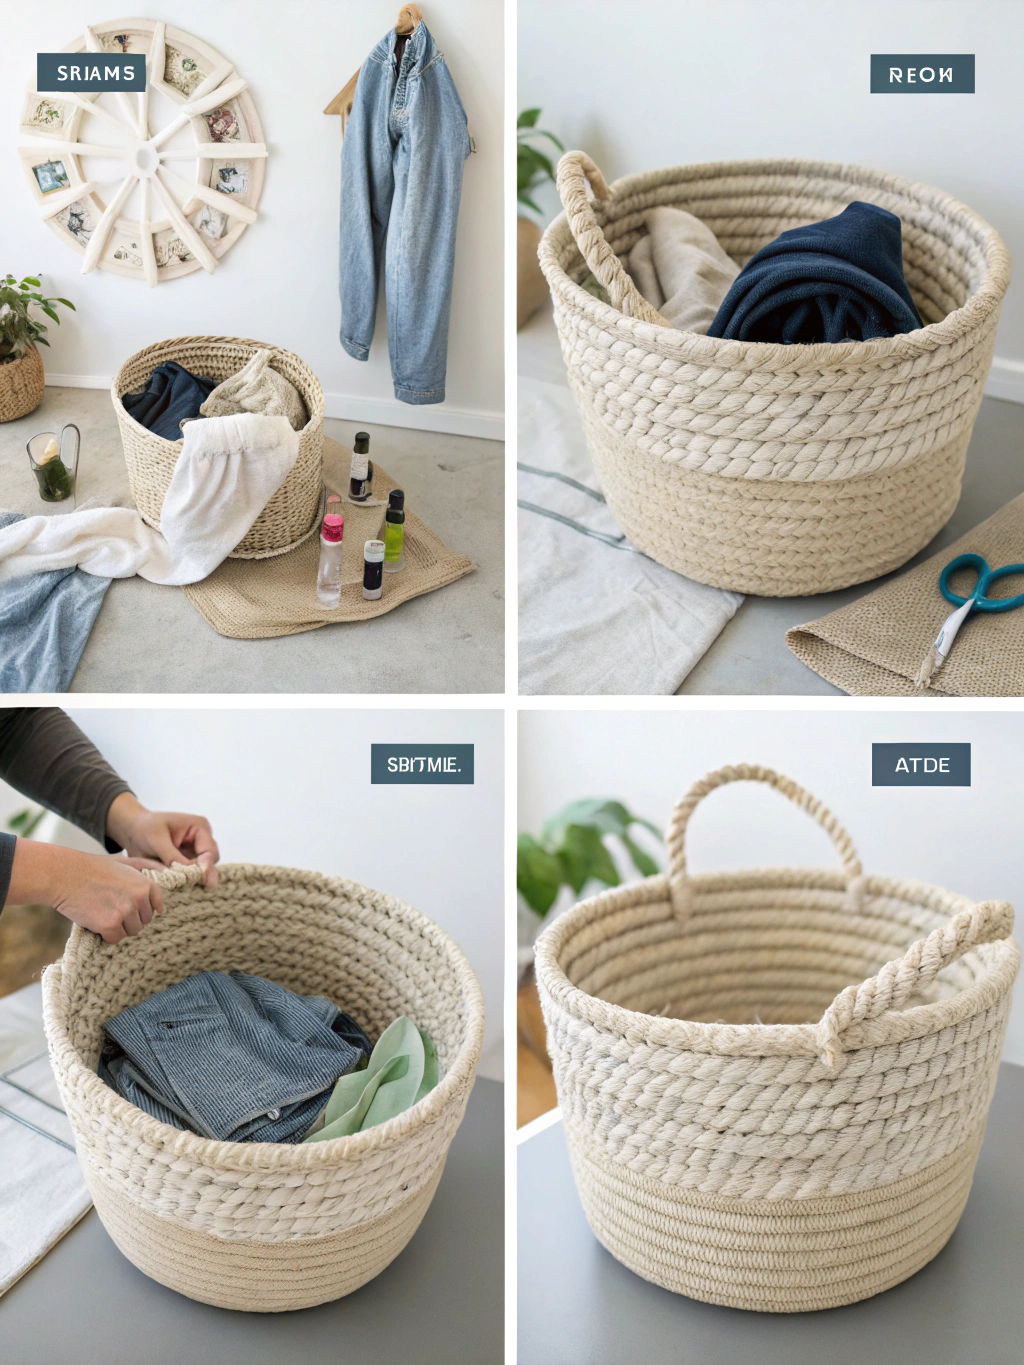
*Caption: Step 1 – Transforming old clothes into usable fabric strips is the foundation of your project.*
Step 2: Wrap the Rope with Fabric
Now, it’s time to combine your fabric strips with the rope. This is where your DIY rope basket from old clothes starts to take shape.
Take the end of one fabric strip and apply a small dab of hot glue to the end of your rope. Press the fabric onto the glue and hold for a few seconds until it secures. Begin tightly wrapping the fabric strip around the rope, overlapping the edges slightly to ensure full coverage. Try to keep the tension consistent.
When you reach the end of a fabric strip, secure it to the rope with a tiny bit of hot glue. Then, take a new fabric strip, apply glue to its starting end, and overlap it slightly with the end of the previous strip on the rope. Continue wrapping. This process might seem repetitive, but it’s a meditative part of creating “homemade storage solutions from old t-shirts”. Make sure the rope is completely covered; you don’t want any of the original rope peeking through your colorful fabric.
Step 3: Coiling and Gluing the Base
With your fabric-wrapped rope ready, you can start forming the base of your DIY rope basket from old clothes. This is a critical step for a sturdy basket.
Take the starting end of your fabric-covered rope and begin coiling it tightly into a flat spiral. Apply a thin line of hot glue along the side of the rope you’re coiling onto. Press the next section of rope firmly against the glued section, holding it in place for a few seconds to allow the glue to set.
Continue this coiling and gluing process, adding more hot glue along the “inner” edge of the rope you are adding to the coil. Work on a flat surface to ensure your base remains even. For a medium-sized basket, aim for a base diameter of about 6-8 inches. Don’t rush this step; a well-glued, tight base is key to a durable basket. This is a core technique in many “DIY coiled rope basket instructions”.
Step 4: Building Up the Sides of Your DIY Rope Basket
Once your base has reached the desired diameter, it’s time to build up the sides of your DIY rope basket from old clothes. This is where your creation truly starts to look like a basket!
To start building upwards, instead of gluing the rope to the side of the coil on the flat surface, begin gluing it on top of the outermost ring of the base. Angle the rope slightly upwards as you glue and press it onto the previous layer. Continue coiling and gluing, layer by layer, building the height of your basket.
Maintain consistent pressure and ensure each new layer is securely glued to the one below it. You can gently shape the basket as you go – decide if you want the sides to be straight, angled outwards, or curved inwards. If you need more inspiration for “Creative uses for a DIY rope basket from old clothes”, you can find ideas on sites like Good Housekeeping’s upcycling section. The flexibility of this technique allows for a lot of creative freedom.
Step 5: Finishing Your Basket and Adding Handles (Optional)
You’re almost there! The final step in making your DIY rope basket from old clothes is to finish the top edge neatly and, if you like, add some handles.
When your basket reaches the desired height, cut the rope, leaving about an inch of fabric-wrapped rope. Securely glue this end to the inside of the basket, tucking it away neatly. Ensure the last bit of fabric is well-glued to prevent unraveling.
If you’d like to add handles, decide on their placement before you completely finish the top edge. To create a simple loop handle, stop coiling upwards for a section, leave a length of fabric-wrapped rope (e.g., 4-6 inches) unglued to form a loop, and then resume gluing it down to the basket rim. Repeat on the opposite side for a second handle. Reinforce the points where the handles attach to the basket with extra hot glue for strength. This final touch can elevate your “upcycled fabric basket” from simple storage to a decorative piece.
Your Beautiful DIY Rope Basket from Old Clothes is Complete!
And there you have it! Take a moment to admire your handiwork. You’ve successfully transformed a pile of old clothes and some basic rope into a functional and stylish DIY rope basket from old clothes. This project not only gives new life to unwanted textiles but also provides you with a unique, custom-made storage solution.
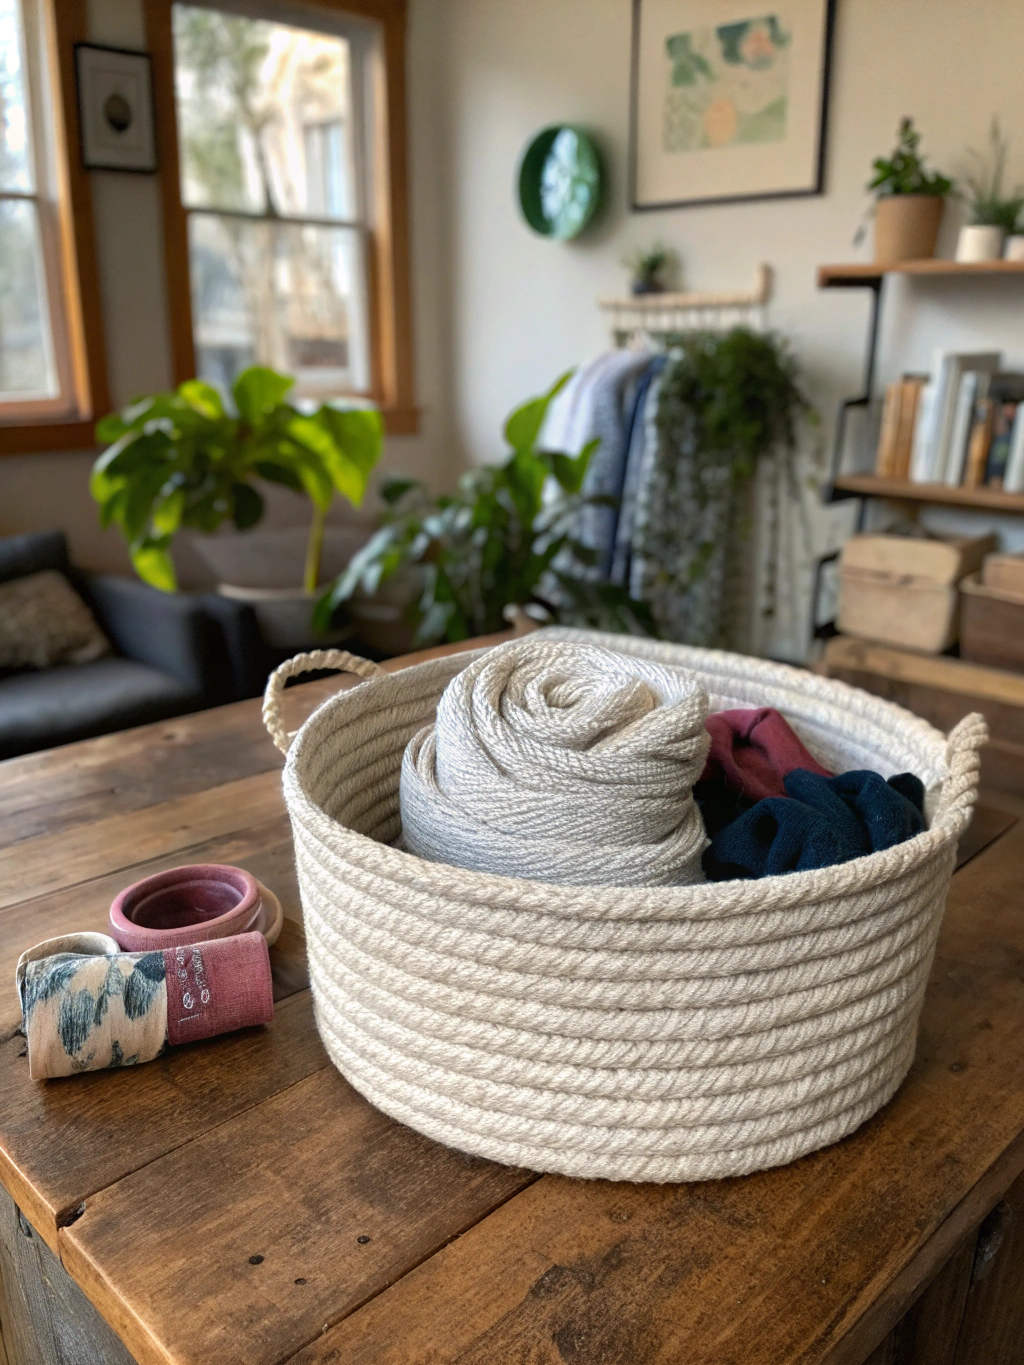
*Caption: Your completed [DIY rope basket from old clothes](https://www.fixdiy.site/diy-pallet-wood-projects/) – a testament to your creativity and resourcefulness!*
Imagine all the possibilities: a cozy spot for your knitting supplies, a catch-all for keys and mail by the door, a chic planter cover, or even a toy bin for the kids or pets. The beauty of this “homemade storage solution from old t-shirts” is its versatility and the personal story woven into its very fabric.
We’d love to see how your DIY rope basket from old clothes turned out! Share photos of your creations in the comments below, or tag us on social media. And if you have any nifty tips or tricks you discovered along the way, don’t hesitate to share those too! Happy
crafting!
Pro Tips & FAQs for Your DIY Rope Basket Project
Making a DIY rope basket from old clothes is a rewarding experience, but you might have a few questions. Here are some pro tips and frequently asked questions to help you achieve the best results.
What are the best types of old clothes to use for a DIY rope basket?
Stretchy fabrics like cotton jersey (from t-shirts or leggings) are ideal because they create pliable, easy-to-wrap strips that conform well to the rope. Avoid very thick or stiff fabrics like denim or canvas for wrapping, as they can be bulky and difficult to manage. However, you can experiment with different textures for varied looks in your baskets. For a comprehensive “DIY rope basket tutorial, How to make a DIY rope basket from old clothes step by step, Creative uses for a DIY rope basket from old clothes”, materials matter!
How can I make my no-sew rope basket from fabric scraps more durable?
The key to a durable no-sew basket is generous and proper application of hot glue. Ensure each coil is firmly glued to the next, with no gaps. Use a good quality hot glue and plenty of it. For extra strength, especially at the base and where handles attach, you can apply a second bead of glue on the inside seams after the basket is formed. If durability is a major concern, consider the optional sewing method mentioned earlier for the strongest bond.
Can I wash my DIY coiled rope basket made from old t-shirts?
Due to the hot glue construction, these baskets are generally not machine washable. Spot cleaning with a damp cloth and mild detergent is the best approach. If it gets very dusty, you can use a vacuum cleaner with a brush attachment. Air dry thoroughly if it gets wet. The “homemade storage solutions from old t-shirts” are best cared for gently to maintain their shape and integrity.
How much fabric and rope do I actually need for different basket sizes?
This is approximate, as fabric thickness and wrapping tightness vary:
- Small Basket (e.g., 6″ diameter, 4″ high): 2-3 adult t-shirts, 15-20 feet of 1/4″ rope.
- Medium Basket (e.g., 8″ diameter, 6″ high): 3-5 adult t-shirts, 25-35 feet of 3/8″ rope.
- Large Basket (e.g., 12″ diameter, 8″ high): 5-7 adult t-shirts, 40-50+ feet of 1/2″ rope.
It’s always better to overestimate slightly, especially with the fabric. You can always make another, smaller basket with leftovers! These “DIY coiled rope basket instructions” can be easily adapted.
What are some creative uses for a DIY rope basket from old clothes beyond simple storage?
Get creative! Beyond holding magazines or yarn, your “upcycled fabric basket” can be a beautiful planter cover (use a waterproof saucer inside), a decorative centerpiece filled with seasonal items (pinecones, baubles), a chic way to organize bathroom toiletries, or even a soft bed for a small pet. The “Creative uses for a DIY rope basket from old clothes” are endless, and you can find more inspiration by looking at various [upcycling ideas](https://www.goodhousekeeping.com/home/craft-ideas/how-to/g139/genius-upcycling-ideas/).
We hope this guide has inspired you to create your own beautiful and practical DIY rope basket from old clothes. It’s a fantastic way to reduce waste, personalize your home, and enjoy a satisfying craft project.
What will you store in your new basket? Let us know in the comments below! If you enjoyed this tutorial, please consider sharing it with your fellow DIY enthusiasts or signing up for our newsletter for more creative home improvement ideas and sustainable projects. Happy upcycling!

