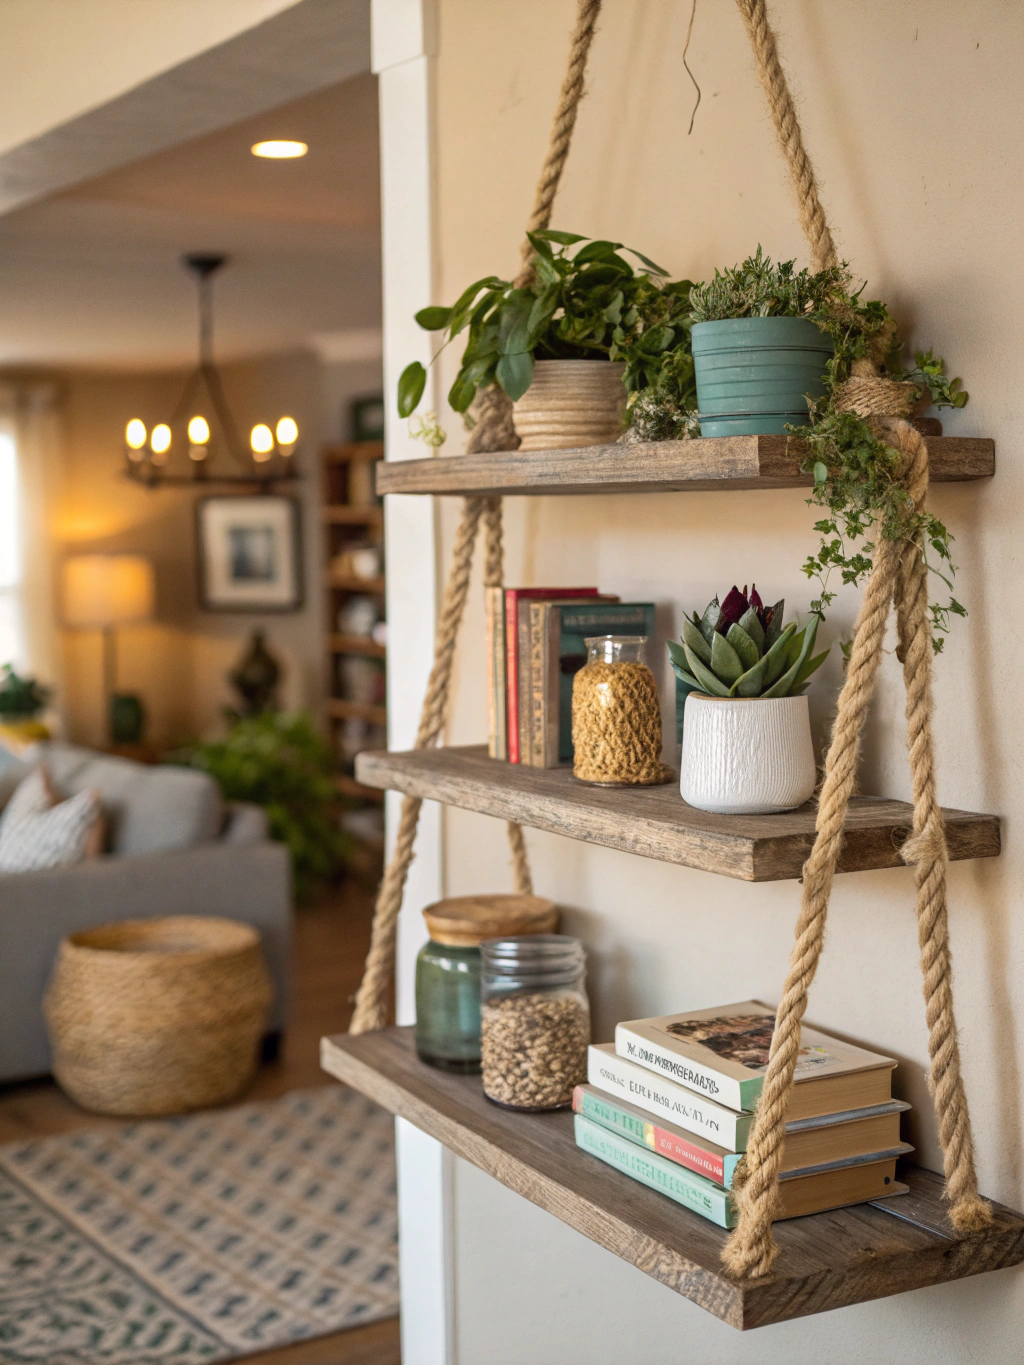
*Caption: Elevate your home decor with a charming and functional [DIY rope shelf](https://www.fixdiy.site/home-decor/).*
Introduction
Feeling like your walls are a bit bare, or that you’re running out of stylish storage options for your favorite knick-knacks and plants? You’re not alone! Many home improvement enthusiasts crave unique, budget-friendly solutions that scream “me.” That’s where the magic of a DIY rope shelf comes in. This project is a fantastic way to add a touch of rustic charm or coastal flair to any room, and the best part? It’s surprisingly simple to make!
Forget complicated joinery or expensive materials; with a few basic supplies and an afternoon, you can create a stunning and practical piece. This guide will walk you through how to make a DIY rope shelf in just three easy steps, proving that you don’t need to be a master carpenter to achieve beautiful results. Get ready to impress yourself (and your guests!) with your handiwork.
Thinking about other weekend projects? You can find a wealth of inspiration for “DIY rope shelf ideas, Easy DIY rope shelf guide, How to make a DIY rope shelf,” on sites like HGTV, which often showcase creative and accessible crafts.
Table of Contents
Table of Contents
What You’ll Need for Your DIY Rope Shelf
Before we dive into the fun part, let’s gather our supplies. Having everything ready will make the process smoother and much more enjoyable. You’ll be surprised how few items are needed to create such an impactful piece!

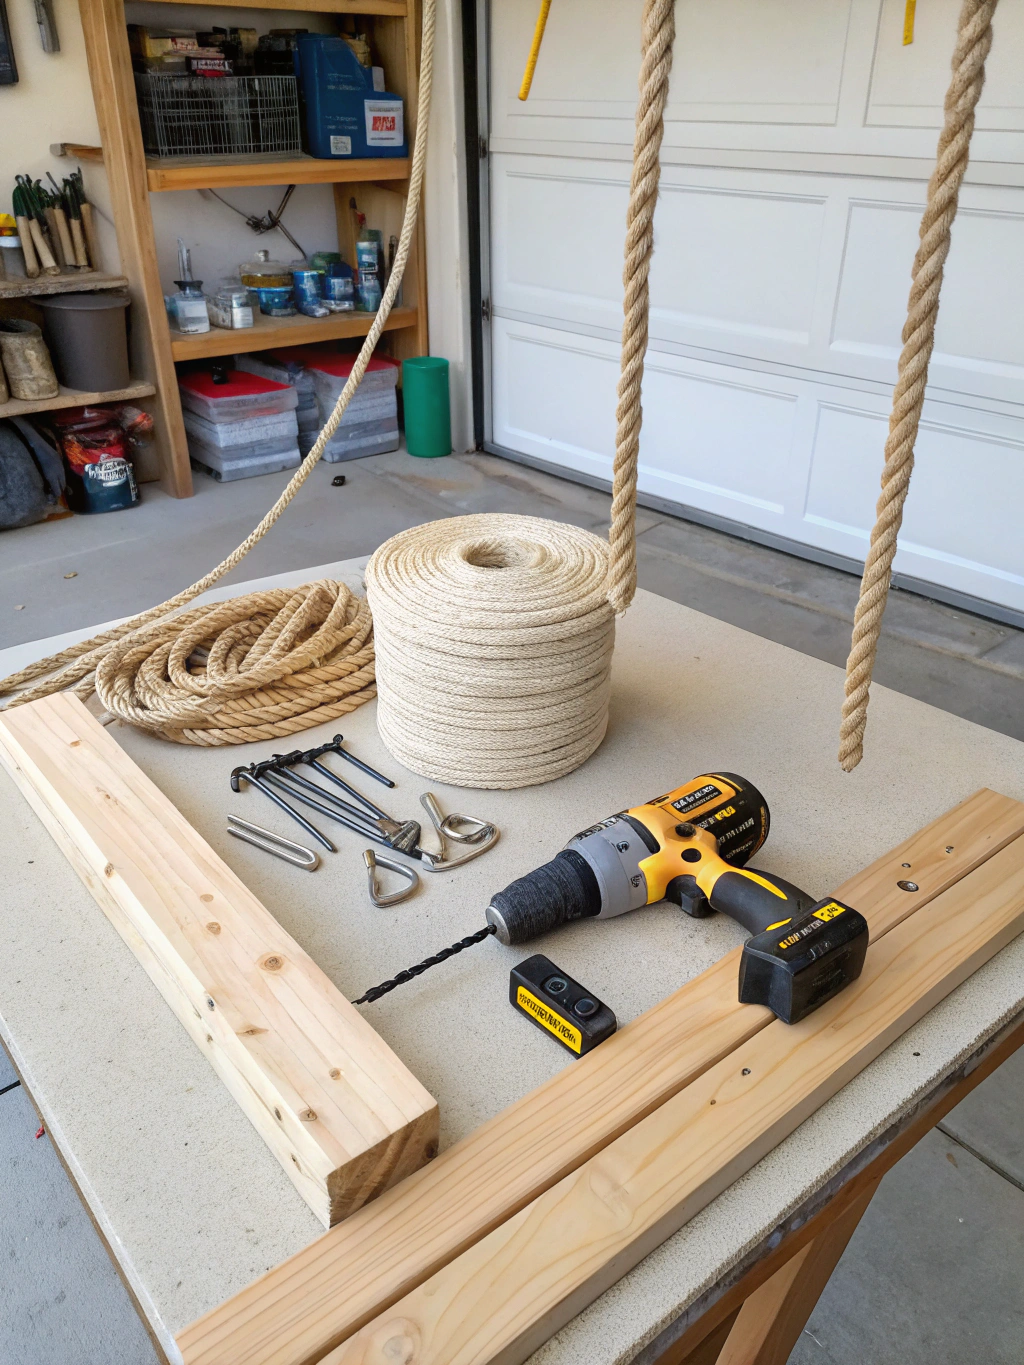
*Caption: All the essentials: wood, rope, drill, sander, and measuring tools for your [DIY rope shelf](https://www.fixdiy.site/home-decor/) project.*
Materials:
- Wooden Board(s): The star of the shelf! You can use a single plank for a one-tier shelf or multiple for a tiered design. Pine, fir, or even reclaimed wood works beautifully. Aim for a thickness of at least ¾ inch (18mm) for sturdiness. The length and width are up to your preference and available space.
- Rope: Natural fiber rope like sisal, manila, or jute adds a lovely rustic touch. Cotton rope offers a softer, more modern look. You’ll need at least 10-15 feet (3-4.5 meters) per shelf tier, depending on your desired hanging length and knot style. A diameter of ½ inch (12mm) to ¾ inch (18mm) is usually ideal.
- Wood Stain or Paint (Optional): To customize the look of your wooden shelf.
- Polyurethane or Sealer (Optional but Recommended): To protect the wood and make it easier to clean.
- Heavy-duty Hanging Hooks or Rings: Two for a single shelf, or more if you’re creating a wider or multi-tiered unit that needs extra support. Ensure they can bear the weight of the shelf and its contents.
Tools:
- Measuring Tape
- Pencil
- Saw (Hand Saw, Jigsaw, or Miter Saw): If your wood isn’t already cut to size.
- Drill with Drill Bits: You’ll need a drill bit slightly larger than the diameter of your rope. A spade bit or Forstner bit creates cleaner holes.
- Sander or Sandpaper (various grits): Essential for smooth edges and a professional finish.
- Paintbrushes or Rags: If staining or painting.
- Scissors or a Sharp Utility Knife: For cutting the rope.
- Lighter or Masking Tape: To prevent rope ends from fraying.
- Level: To ensure your shelf hangs straight.
- Safety Glasses and Gloves: Safety first, always!
This simple list is all it takes. Many of these items you might already have in your DIY toolkit, making this an even more budget-friendly project. If you’re looking for more “Easy DIY rope shelf guide” tips, checking out experienced DIY blogs can provide additional insights.
Step-by-Step Guide: How to Make a DIY Rope Shelf
Alright, DIYers, let’s get building! We’ve broken down the process of creating your very own DIY rope shelf into three straightforward steps. Follow along, and you’ll have a beautiful new piece of decor in no time.
Step 1: Prepare Your Wooden Shelf
This initial step is all about getting your wood ready. A well-prepared base makes all the difference in the final look and longevity of your shelf.

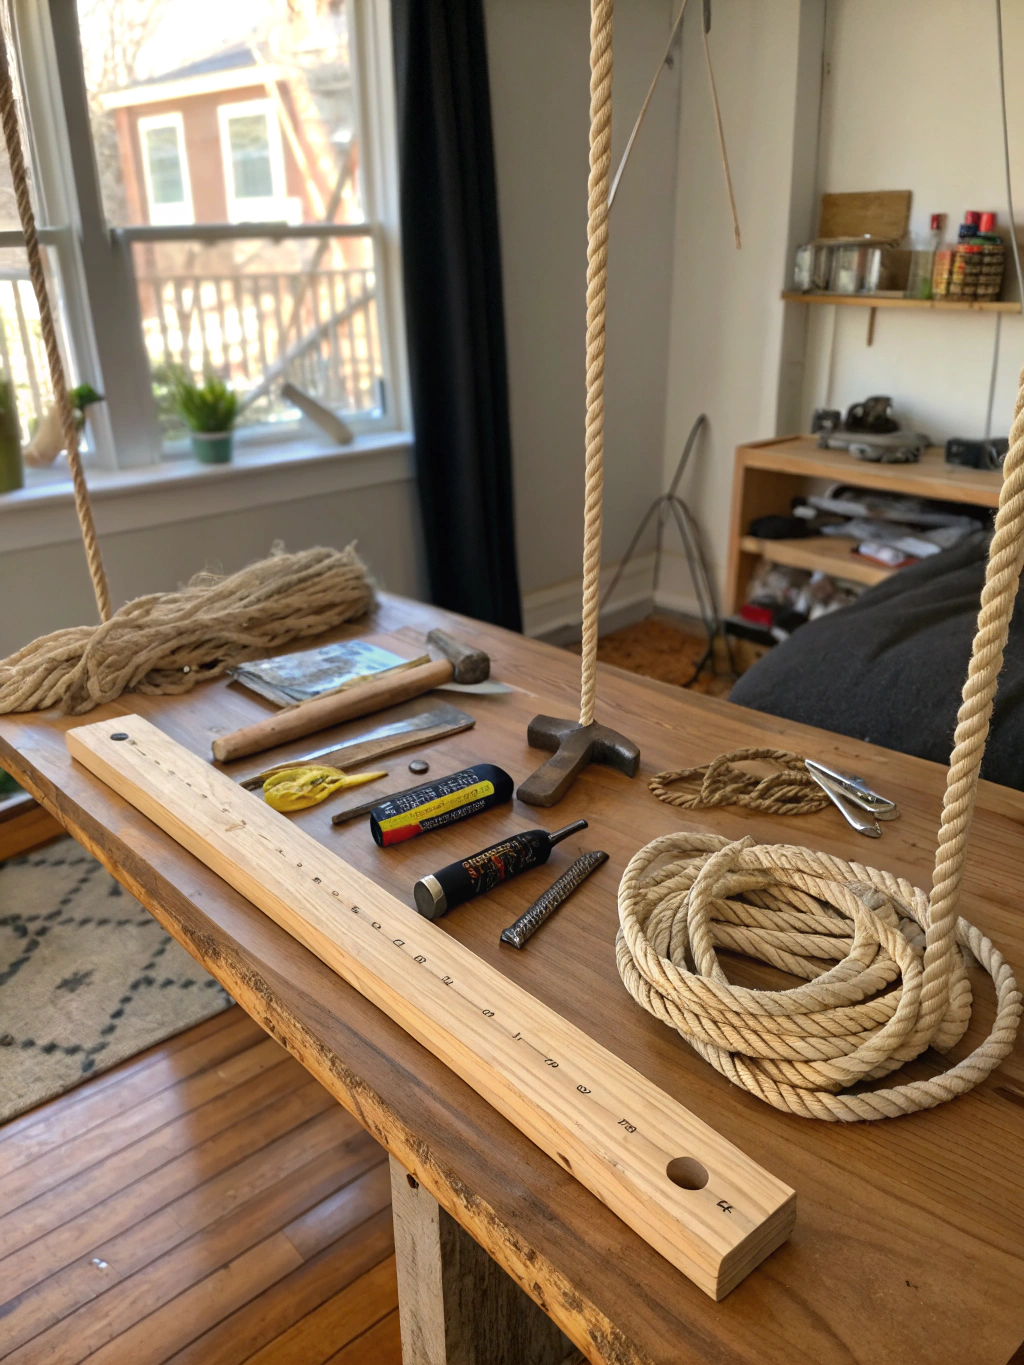
*Caption: Precision is key! Step 1 involves carefully measuring and marking where your ropes will go on your [DIY rope shelf](https://www.fixdiy.site/home-decor/).*
First, if your wood isn’t already the desired size, cut it to your preferred dimensions using your saw. Remember to measure twice and cut once! For a classic look, a rectangular plank works great. Don’t be afraid to get creative with shapes if you’re feeling adventurous, but for this guide, we’ll stick to a simple rectangle.
Next, it’s time to sand. Start with a coarser grit sandpaper (around 80-100 grit) to smooth out any rough edges or imperfections. Then, move to a finer grit (150-220 grit) for a silky-smooth finish. This step is crucial not just for aesthetics but also to prevent splinters. Wipe away all the sanding dust with a tack cloth or a slightly damp rag.
Now, mark the spots for your rope holes. You’ll typically need four holes – two at each end of the plank. Measure in about 1 to 2 inches (2.5-5 cm) from each side and edge to mark your drill points. Ensure they are symmetrical for a balanced look. Using your drill with a bit slightly larger than your rope’s diameter, carefully drill the holes. Drilling a pilot hole first can help prevent the wood from splitting, especially with softer woods. To get clean holes, drill from one side until the tip of the bit just pokes through, then flip the board and finish drilling from the other side. This minimizes tear-out.
If you plan to paint or stain your shelf, now is the time. Apply your chosen finish according to the manufacturer’s instructions. Allow it to dry completely. For added protection, especially in humid areas like bathrooms or kitchens, apply a coat or two of polyurethane or sealer once the stain/paint is dry. This will protect your “Wooden rope shelf DIY” from moisture and wear.
Step 2: Thread the Rope and Tie the Knots
With your wooden shelf beautifully prepped, it’s time to introduce the “rope” element to your DIY rope shelf. This is where your shelf starts to take its signature shape.
Caption: Step 2 focuses on threading the rope through the drilled holes and securing it with sturdy knots for your DIY rope shelf (assuming a step 2 image would show this).
Cut your rope. You’ll need two equal lengths of rope. The exact length will depend on how low you want your shelf to hang and how many tiers you’re making (if any). A good starting point for a single-tier shelf is about 5-7 feet (1.5-2.1 meters) per rope, which gives you enough length for knots and a decent drop. It’s always better to cut it a bit longer; you can trim an_d_just later. To prevent the rope ends from fraying, you can either quickly melt them with a lighter (for synthetic ropes – be careful!) or wrap them tightly with masking tape.
Now, take one piece of rope. Thread one end down through one hole on one side of the shelf and then up through the adjacent hole on the same side. Pull enough rope through so that you have a loop above the shelf (this will be for hanging) and enough tail beneath to tie a secure knot. Repeat this process with the second piece of rope on the other side of the shelf.
The most common knot for a DIY rope shelf is a simple, sturdy overhand knot or a figure-eight knot. Tie a knot under each hole, ensuring the shelf sits level on these knots. This is where a level comes in handy. Place the level on the shelf and adjust the knots up or down until the shelf is perfectly horizontal. Make sure the knots are tight and secure, as they will be bearing the weight. Once you’re happy with the position and the shelf is level, pull the knots as tight as possible.
You can trim any excess rope below the knots, leaving a small tail for aesthetic appeal, or you can let them hang longer for a more rustic vibe.
For multi-tiered shelves, the process is similar. You’d thread the rope through the top shelf, tie knots, then thread the same ropes through the subsequent shelves below, tying knots under each one, ensuring each shelf is level. This “DIY hanging rope shelf” technique is quite versatile.
Step 3: Hang Your DIY Rope Shelf
You’re on the home stretch! Your beautifully crafted DIY rope shelf is almost ready to display. This final step is all about securely mounting it to your wall.
Caption: Step 3 is securing the hanging hardware and proudly displaying your completed DIY rope shelf (assuming a step 3 image would depict this).
First, decide where you want to hang your shelf. Hold it up to the wall to get a feel for the height and placement. Use a pencil to mark where your hanging hooks or rings will go. Ensure these marks are level with each other if you’re using two separate hanging points for the two rope loops.
Next, install your chosen hanging hardware. If you’re screwing hooks directly into a wall stud, that’s ideal for maximum support. Use a stud finder to locate studs. If studs aren’t conveniently located, you’ll need to use appropriate wall anchors (e.g., toggle bolts or screw-in anchors for drywall) designed to hold the anticipated weight of your shelf plus its contents. Don’t skimp on this step; a securely hung shelf is a safe shelf. For those creating a “Rustic rope shelf,” aged or black metal hooks can enhance the aesthetic.
Once your hooks or rings are securely in place, carefully hang your DIY rope shelf by placing the rope loops over them. Double-check that it’s hanging straight and securely. Make any final minor adjustments to the ropes if needed.
And there you have it! Step back and admire your handiwork. You’ve successfully learned “How to make a DIY rope shelf”! Now, the fun part: styling it with your favorite books, small plants, photos, or treasured trinkets. Sites like HGTV often feature “DIY rope shelf ideas, Easy DIY rope shelf guide, How to make a DIY rope shelf,” which can provide great styling inspiration.
Your Stunning Final Result!
Voilà! Take a moment to appreciate the charming, functional, and utterly unique DIY rope shelf you’ve just created. It’s amazing how a few simple materials can transform into such a stylish piece of home decor, isn’t it?

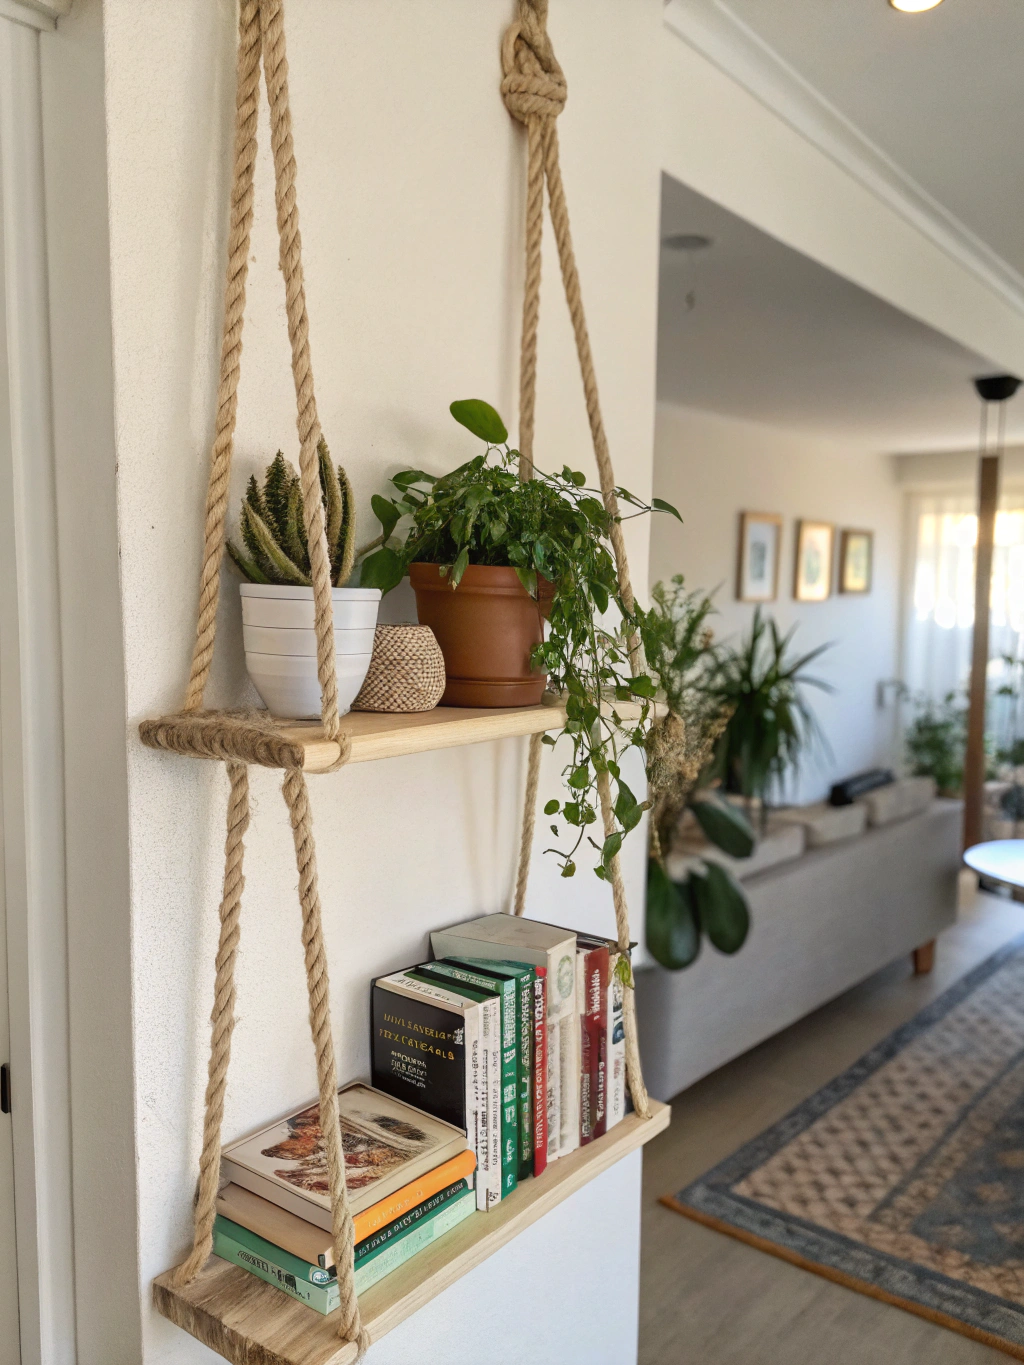
*Caption: The finished masterpiece! Your very own [DIY rope shelf](https://www.fixdiy.site/home-decor/), adding personality and practical storage to your space.*
This project not only adds a personal touch to your home but also gives you a fantastic sense of accomplishment. Whether you’ve opted for a rustic, bohemian, coastal, or minimalist vibe, your DIY rope shelf is sure to be a conversation starter. It’s perfect for displaying small succulents, your favorite reads, framed photos, or little treasures that deserve a special spot.
We’d absolutely love to see how your DIY rope shelf turned out! Share a picture in the comments below, or tag us on social media. And if you have any tips, tricks, or variations you came up with during your build, please share those too! The DIY community thrives on shared knowledge and inspiration. For more home decor projects, explore our other tutorials like this comprehensive DIY rope shelf guide.
Pro Tips & FAQs for Your DIY Rope Shelf Project
You’ve built your shelf, but maybe you have a few lingering questions or want to take your project to the next level. Here are some pro tips and frequently asked questions to help you perfect your DIY rope shelf.
1. What’s the best type of wood for a DIY rope shelf?
Pine is a popular choice because it’s affordable, lightweight, and easy to work with. It also takes stain and paint well. For a more robust or rustic look, consider oak, cedar, or even reclaimed wood. The key is to choose a board that’s at least ¾-inch thick to prevent bowing. If you’re making a “Wooden rope shelf DIY” for a bathroom, consider wood species more resistant to moisture or ensure you seal it thoroughly.
2. How much weight can a DIY rope shelf hold?
The weight capacity depends on several factors: the strength of your rope, the sturdiness of your knots, the thickness of your wood, and most importantly, how securely it’s anchored to the wall. A well-built shelf hung on studs or with heavy-duty drywall anchors can typically hold 10-20 pounds. Always err on the side of caution and don’t overload it, especially with fragile items. If you need more capacity, consider using thicker rope and more robust hanging hardware.
3. Can I make a multi-tiered DIY hanging rope shelf?
Absolutely! Creating a “DIY hanging rope shelf” with multiple tiers is a fantastic way to maximize vertical space. To do this, you’ll simply need longer ropes and additional wooden planks. Drill holes in all your planks consistently. Start by threading the rope and tying knots for the topmost shelf, then thread the same rope ends down through the next shelf, tie knots, and so on. Ensure each shelf is level before tightening the knots completely. This is a popular variation of the “Rope shelf tutorial.”
4. How do I prevent the rope ends from fraying?
For natural fiber ropes (sisal, jute, manila), you can whip the ends with a smaller twine or string. Another common method is to apply a bit of clear-drying glue or liquid seam sealant to the ends. For synthetic ropes (nylon, polypropylene), you can carefully melt the ends with a lighter or heat gun – this fuses the fibers together. Always do this in a well-ventilated area and be cautious with open flames. Tightly wrapping the ends with tape (electrical or masking) is a quick, temporary fix during construction.
5. Any ideas for customizing my DIY rope shelf?
The sky’s the limit for “DIY rope shelf ideas”! You can:
- Paint or stain the wood in any color. Try a distressed finish for a rustic look.
- Use different colored ropes or even macrame techniques for the hanging part.
- Add beads or other decorative elements to the ropes.
- Vary the shape of your wooden shelves – think hexagons, circles, or live-edge wood.
- Install a guard rail or lip on the shelf if you’re worried about items falling off.
- For a “Rustic rope shelf,” consider charring the wood slightly (Shou Sugi Ban technique) before sealing.
We hope these tips and FAQs enhance your DIY rope shelf building experience! This project is all about creativity and making something uniquely yours.
Feeling inspired? We knew you would be! This DIY rope shelf is more than just a project; it’s a statement piece that adds warmth and personality to your home.
What are you waiting for? Grab your tools and get crafting!
We’d love to see your creations and hear about your DIY journey.
- Share your finished DIY rope shelf photos in the comments below!
- Got a question or a brilliant tip? Let us know!
- Sign up for our newsletter for more exciting DIY projects, tips, and inspiration delivered straight to your inbox.
- Follow us on social media [insert social media links here] for daily doses of DIY goodness!
Happy building, and enjoy your beautiful new DIY rope shelf!


