Ever look at your living room and feel like something’s missing? You’ve got the comfy sofa, the perfect rug, and maybe even a few pieces of art on the walls, but the space still lacks a certain warmth, a central anchor that pulls everything together. Often, the culprit is a generic, uninspired coffee table. But what if you could create a stunning centerpiece yourself? Building a DIY rustic coffee table isn’t just about saving money; it’s about pouring your creativity and effort into a piece of furniture that tells a story your story.
This guide is designed to demystify the process, turning what seems like a daunting woodworking project into a series of simple, manageable steps. We’re going to walk you through everything, from picking the right lumber to applying that perfect, professional-looking finish. Get ready to transform your living space and create a piece you’ll be proud of for years to come.

Table of Contents of DIY rustic coffee table
Why A Rustic Coffee Table? The Allure Of Imperfect Perfection
Before we grab our tools, let’s talk about why this style is so timeless. A rustic coffee table brings an unparalleled sense of warmth and character to any room. It’s the opposite of cold, mass-produced furniture. Each knot, grain pattern, and slight imperfection in the wood tells a tale, adding a layer of authenticity that you just can’t buy off a shelf.
This style is incredibly versatile, fitting seamlessly into various decor themes:
- Modern Farmhouse: The quintessential pairing. The raw, natural wood complements the clean lines and neutral palettes of farmhouse design.
- Industrial: Juxtapose the warm wood with cool metal elements in your space for a balanced, edgy look.
- Bohemian: The organic, earthy feel of a rustic table grounds the eclectic and vibrant nature of a boho-chic room.
- Coastal: Think “weathered driftwood.” A rustic table can evoke a relaxed, beachy vibe.
By building your own, you’re not just following a trend; you’re creating a durable, functional piece of art that serves as the heart of your home. It’s a gathering spot for conversations, game nights, and quiet mornings with a cup of coffee.
Choosing Your Wood: The Heart Of The Project DIY rustic coffee table
The single most important decision you’ll make for your DIY rustic coffee table is the type of wood. The wood dictates the look, the durability, and the overall character of your finished piece. While you can use almost any lumber, here are a few popular choices for achieving that perfect rustic aesthetic.
Pine or Fir (Common Board):
- Pros: Inexpensive, readily available at any home improvement store, lightweight, and easy to work with. It also takes stain beautifully, allowing you to customize the color to your exact preference.
- Cons: It’s a softwood, meaning it’s more susceptible to dents and scratches. However, for a rustic piece, a few “character marks” over time can actually enhance its charm!
Cedar:
- Pros: Naturally resistant to rot and insects, cedar has beautiful red and blonde tones and a wonderful, aromatic scent. It’s relatively lightweight and has a gorgeous, pronounced grain.
- Cons: It can be a bit more expensive than pine and is also a softwood, though slightly more durable.
Reclaimed Wood:
- Pros: This is the undisputed champion of rustic character. Sourced from old barns, fences, or pallets, reclaimed wood comes pre-loaded with history, patina, and texture. It’s also an environmentally friendly choice.
- Cons: It can be difficult to find, may require significant cleaning and prep work (like removing old nails), and the boards can be warped or inconsistent in size, making the build more challenging.
For this guide, we’ll be focusing on using common pine or fir boards, as they offer the best balance of affordability, accessibility, and ease of use for most DIYers.
What You’ll Need For This Project for DIY rustic coffee table
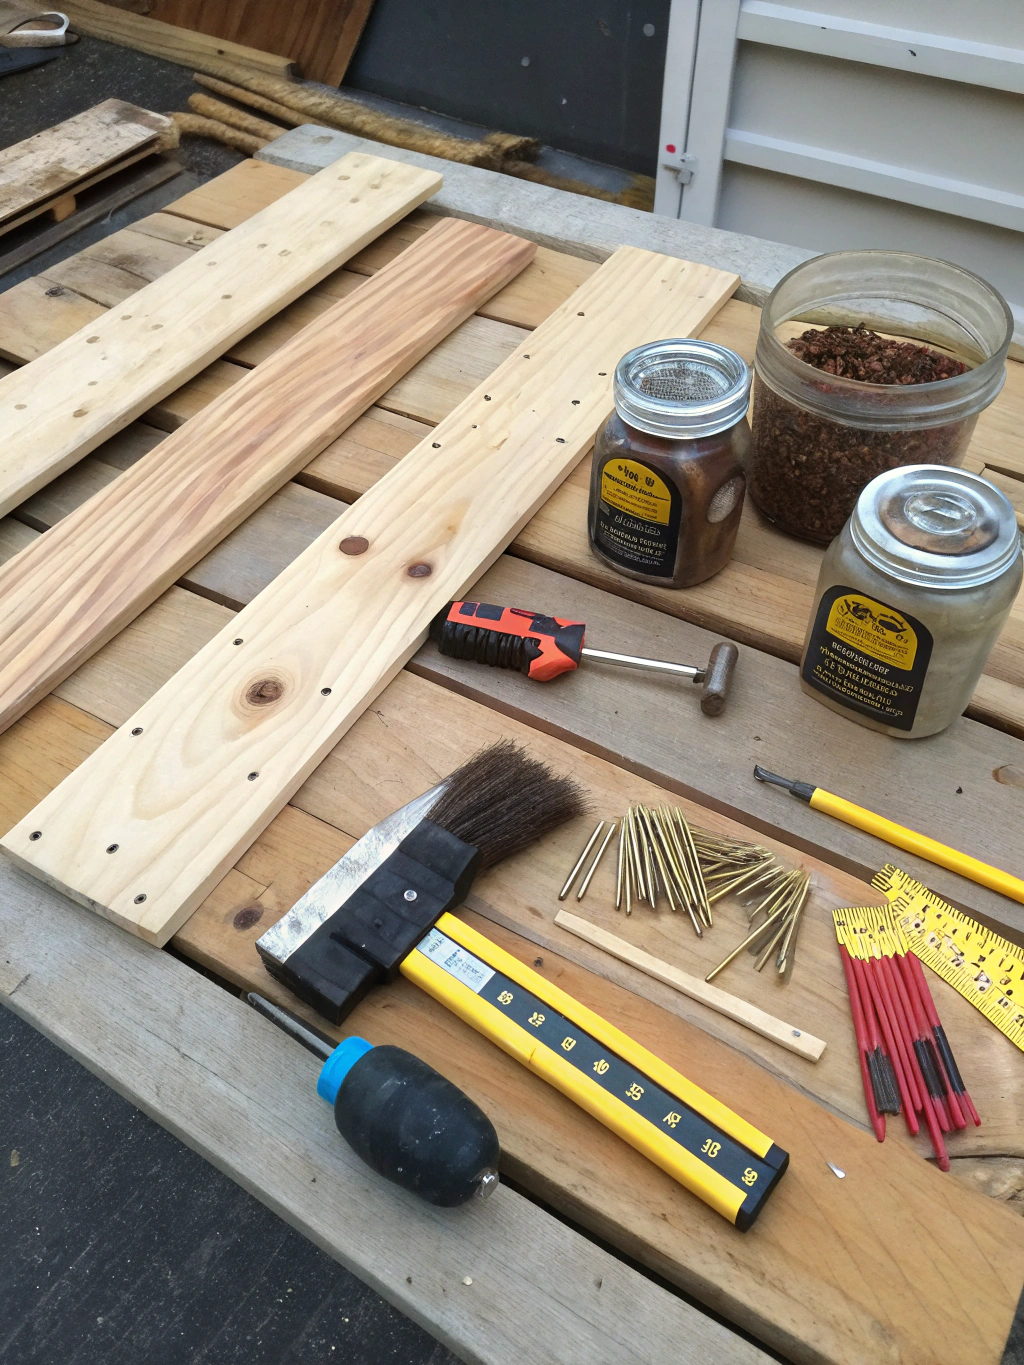
Gathering all your tools and materials before you begin is a pro-move that saves you from frustrating mid-project trips to the store. Check everything off this list, and you’ll be set for a smooth and enjoyable build.

Materials:
- (5) 2×6 eight-foot boards: This will form your tabletop and bottom shelf.
- (4) 2×4 eight-foot boards: This will be used to build the entire frame and legs.
- 2 ½-inch pocket hole screws: The magic behind strong, hidden joints.
- 2 ½-inch wood screws: For extra reinforcement.
- Wood glue: An essential for creating strong, lasting bonds.
- Wood conditioner: The secret to an even, blotch-free stain finish.
- Wood stain: Choose a color that complements your home decor (we used a dark walnut).
- Polyurethane or Polycrylic protective finish: To protect your table from spills and wear.
Tools:
- Miter saw or circular saw: For making straight, accurate cuts.
- Tape measure: The most important tool of all!
- Pencil: For marking your cuts.
- Drill / Driver: For drilling pocket holes and driving screws.
- Pocket hole jig (e.g., Kreg Jig): Highly recommended for this project.
- Orbital sander: This will save you hours of sanding by hand.
- Sandpaper: In various grits (80, 120, and 220).
- Clamps: To hold pieces together while the glue dries.
- Safety glasses and hearing protection: Safety first, always!
- Clean rags or foam brushes: For applying stain and finish.
Your Step-by-Step Guide to a Beautiful DIY rustic coffee table
Alright, with our materials gathered and our workspace prepped, it’s time for the fun part: bringing this beautiful table to life. We’ve broken down the process into five clear, achievable steps. Work at your own pace, enjoy the process, and remember the golden rule of woodworking: measure twice, cut once!
Step 1: Design, Measure, And Cut Your Lumber DIY rustic coffee table
The foundation of any great woodworking project is a solid plan and precise cuts. Rushing this step will lead to headaches later on. Take your time to ensure every piece is measured and cut correctly. This is the perfect time to consult various DIY rustic coffee table plans online to finalize your dimensions, but we’ll use a popular size: 48 inches long x 27.5 inches wide x 18 inches tall.
First, create a “cut list.” This is simply a list of every piece of wood you need and its exact length.
Our Cut List: DIY rustic coffee table
- Tabletop & Bottom Shelf: (10) 2×6 boards @ 48 inches
- Legs: (4) 2×4 boards @ 17.25 inches
- Long Aprons/Supports: (4) 2×4 boards @ 41 inches
- Short Aprons/Supports: (4) 2×4 boards @ 20.5 inches
Now, put on your safety glasses and start cutting. Use your miter saw or a circular saw with a guide to ensure your cuts are perfectly straight and square. As you cut each piece, it’s a good idea to label it with a pencil (e.g., “Leg,” “Long Support”) so you don’t mix them up. A clean, organized stack of perfectly cut lumber is a truly satisfying sight and a sign that you’re on the right track.

Step 2: Assemble The Side Frames DIY rustic coffee table
With all your pieces cut, we can move on to assembly. We’ll start by building the two “side” frames, which consist of two legs and two short supports. This is where your pocket hole jig becomes your best friend. Pocket holes create incredibly strong joints and keep all the screws hidden from view, resulting in a clean, professional look.
Set your pocket hole jig to the correct depth for 1.5-inch thick material (which is the actual thickness of a 2×4). Drill two pocket holes into both ends of all four of your short 20.5-inch supports. The holes should be on the same face of the board—this will be the “inside” of your frame.
Next, take one of your 17.25-inch leg pieces and lay it on your workbench. Apply a thin line of wood glue to one end of a short support. Align it flush with the top of the leg, clamp it securely, and then drive two 2.5-inch pocket hole screws to connect the pieces. Repeat this process for the bottom support, placing it about 3-4 inches from the bottom of the leg. Now attach the second leg to the other side of your supports. Voila! You have one completed side frame. Repeat the entire process to build the identical second frame.
Step 3: Connect The Frames And Build The Skeleton
Your coffee table is starting to take shape! Now it’s time to connect the two side frames to create the full “skeleton” of the table. This is another job for your trusty pocket hole jig. Drill two pocket holes into both ends of your four long 41-inch support pieces.
Stand your two side frames up, about 41 inches apart. It helps to have a friend for this part, but it’s manageable on your own. Take one of the long supports, apply wood glue to the ends, and position it between the top of the two side frames. Make sure it’s flush with the top and inside of the legs. Clamp it in place and drive in your pocket hole screws.
Repeat this for the second long support at the top, and then for the two long supports for the bottom shelf. Once all four long supports are attached, your table frame is complete! Give it a little wiggle. It should feel incredibly sturdy and solid. This strong frame is the key to how to make a DIY rustic coffee table that will last for decades.
Step 4: Attach The Tabletop And Bottom Shelf Planks
This is the step where your project finally starts to look like a real coffee table. We’ll be attaching the ten 48-inch 2×6 boards to create the surfaces. We’ll use five for the top and five for the bottom.
Let’s start with the bottom shelf. Lay five of your 48-inch boards across the bottom supports. You can decide on the spacing here. For a truly rustic look, try leaving a small, 1/4-inch gap between each board using a spacer (a paint stick or a spare piece of wood works perfectly). This adds visual interest and embraces that farmhouse style.
Once you’re happy with the alignment, secure the boards. You can do this from the top down with 2.5-inch wood screws, or for a cleaner look, you can drill pocket holes into the bottom supports and attach the planks from underneath. Apply wood glue wherever wood meets wood, and use two screws per board at each support. Now, flip the table over and repeat the exact same process for the tabletop planks. Ensure your overhang is even on both ends before securing them.
Step 5: The Art Of Sanding, Staining, And Sealing
Do not underestimate the power of this final step! Sanding and finishing are what separate a “homemade” project from a “handmade” masterpiece. It’s tedious, but the payoff is immense.
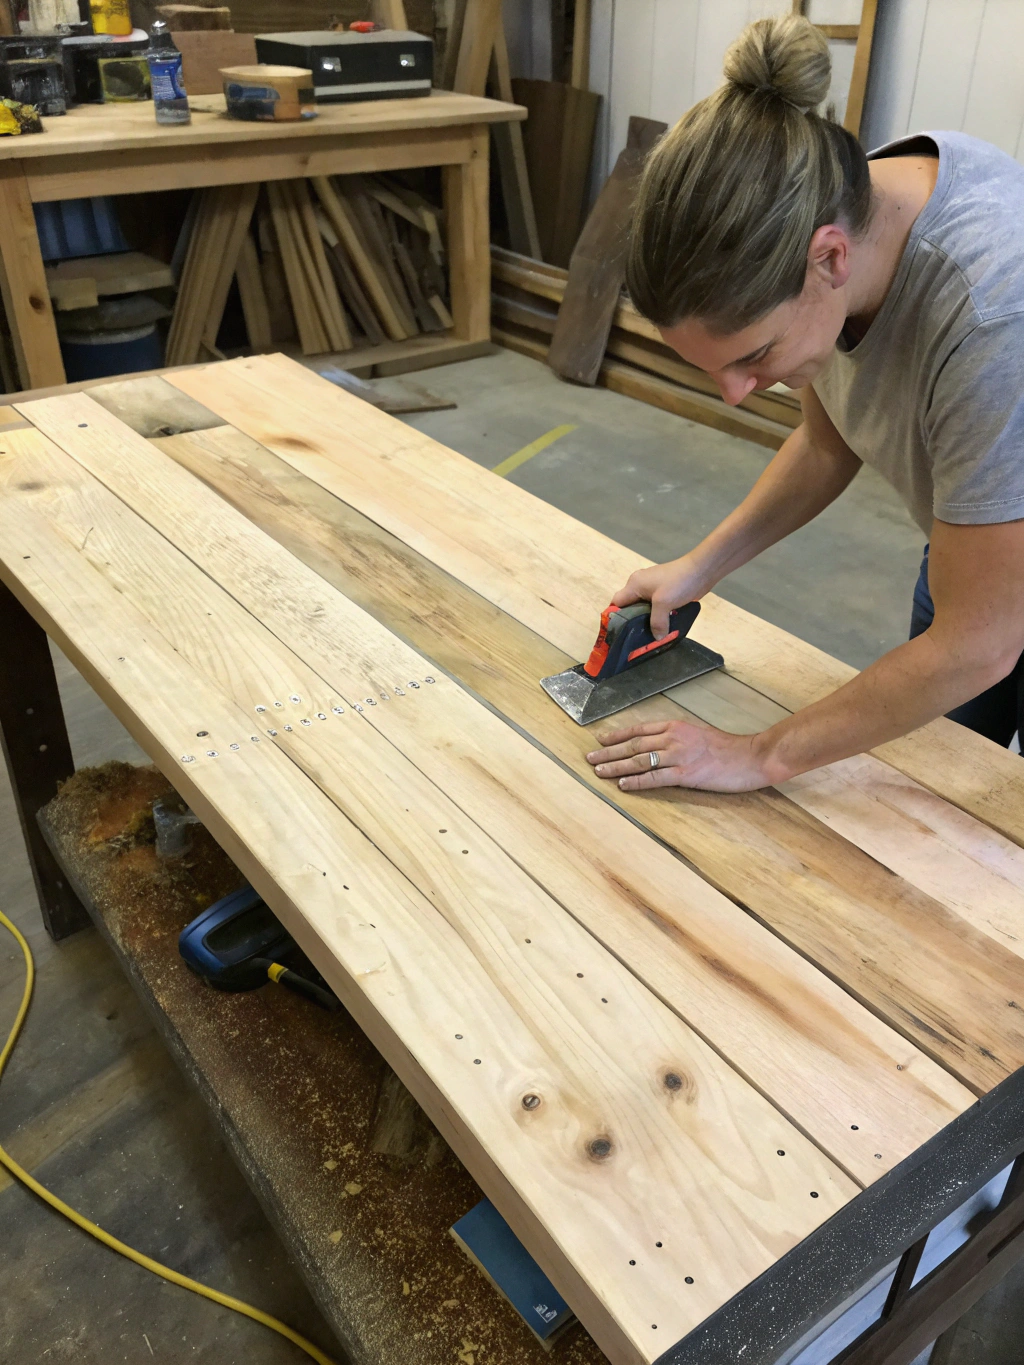
Start with your orbital sander and 80-grit sandpaper. Go over every single surface of the table. The goal here is to remove any mill marks from the lumber, smooth out uneven joints, and slightly round over any sharp edges to make them soft to the touch. Once you’ve done a full pass, vacuum up all the dust. Then, switch to 120-grit sandpaper and repeat the entire process. Finally, finish with 220-grit sandpaper for a silky-smooth surface.
Now for the color. Before staining, it’s crucial to apply a coat of pre-stain wood conditioner, especially on pine. Pine is notorious for absorbing stain unevenly, resulting in a blotchy finish. The conditioner partially seals the wood, allowing the stain to penetrate evenly. Apply it with a rag, let it sit for about 15 minutes, and wipe off the excess.
Next, apply your chosen wood stain with a clean rag. Work in long, even strokes with the grain of the wood. Let the stain penetrate for 5-10 minutes (the longer it sits, the darker it gets), then wipe off all the excess with another clean rag. Let it dry completely, usually for 24 hours. For more project ideas and finishing tips, browsing through "DIY rustic coffee table plans, Easy steps to build a DIY rustic coffee table, How to make a DIY rustic coffee table" online can provide a ton of inspiration.
Finally, you must protect your hard work. Apply 2-3 coats of a water-based polyurethane or polycrylic. This clear coat protects the wood from spills, scratches, and UV damage. Lightly sand with 220-grit sandpaper between coats (but not after the final coat!) for the smoothest possible finish.
Pro-Level Customizations To Make It Your Own DIY rustic coffee table
One of the best parts about a DIY project is the ability to customize it. Here are a few ideas to take your rustic coffee table to the next level:
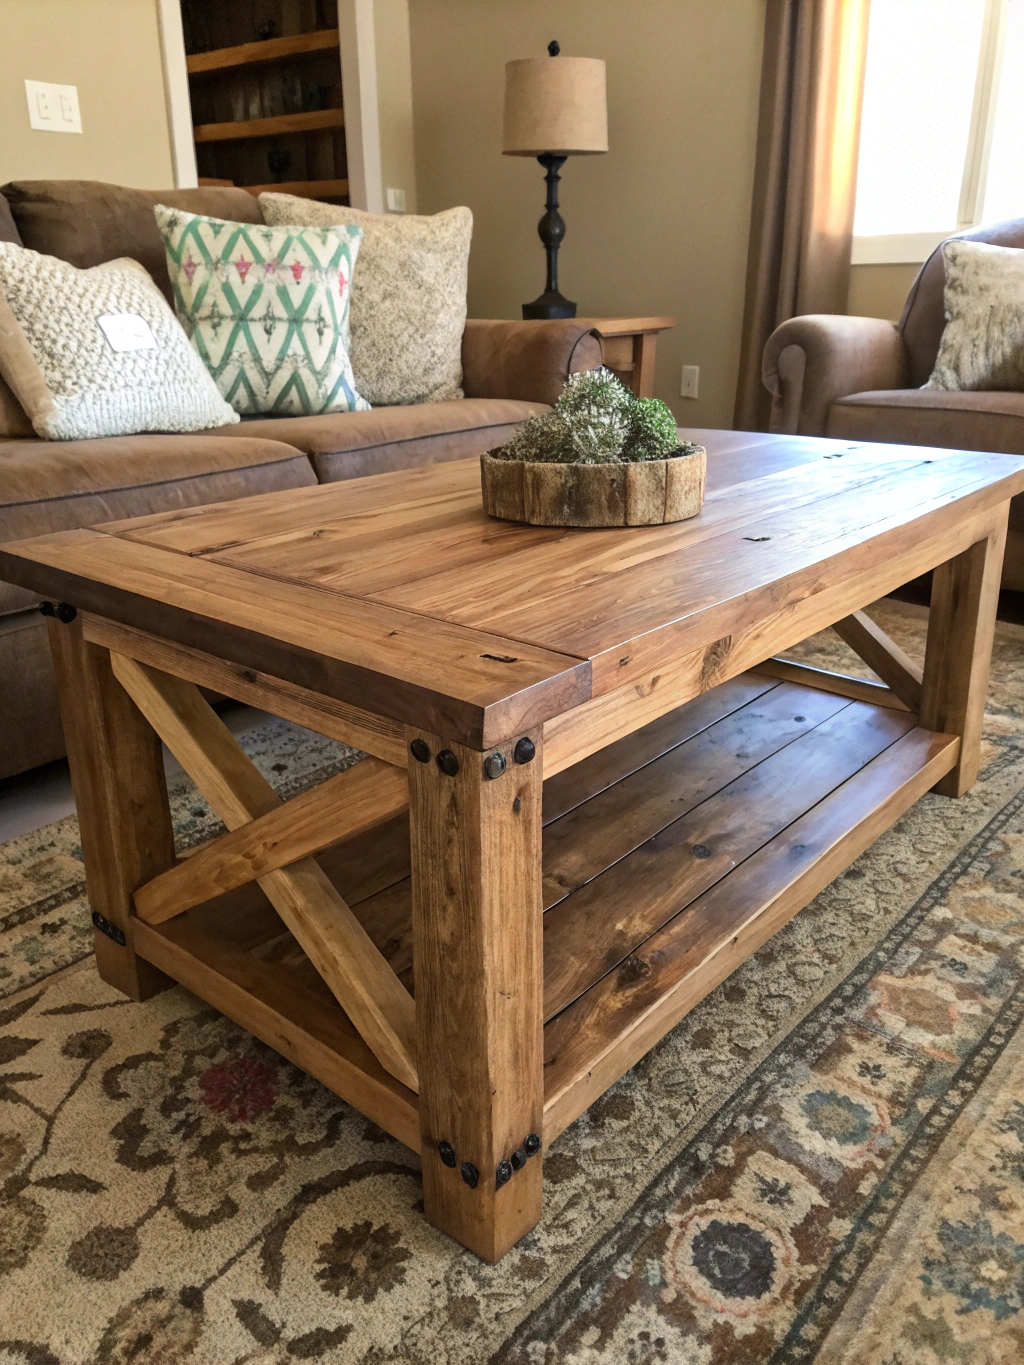
- Breadboard Ends: Add shorter pieces of wood to the ends of the tabletop, running perpendicular to the main planks. This is a classic farmhouse look that also helps prevent the tabletop from warping over time.
- Add X-Braces: For an even more dramatic farmhouse or industrial look, add “X” braces to the sides of the table frame using 1×4 boards.
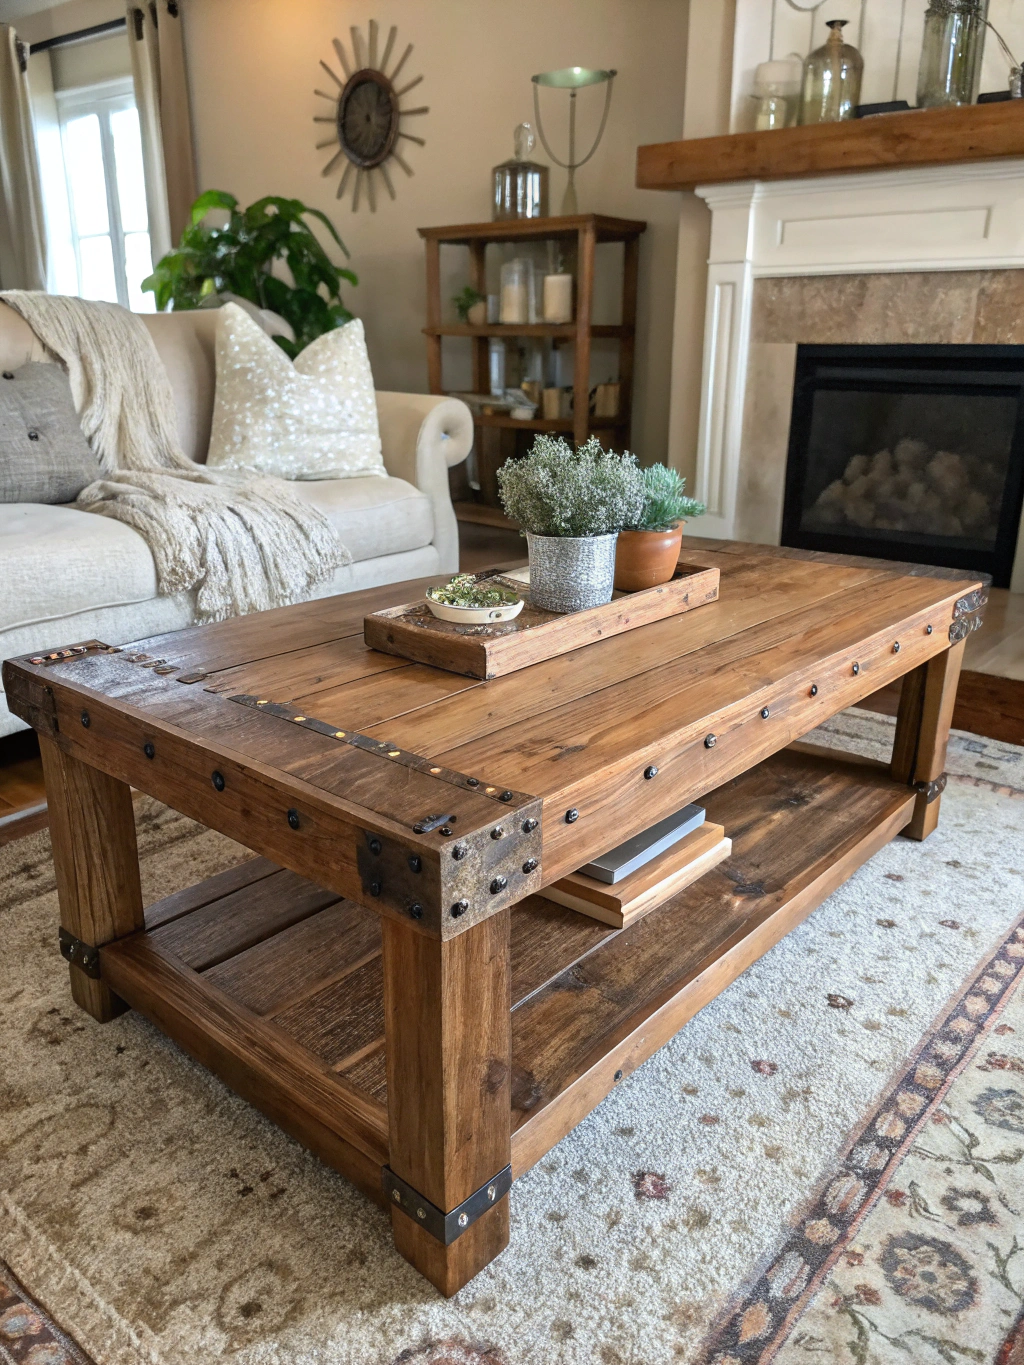
- Distressing: After staining, you can lightly sand the edges and corners to reveal some of the raw wood underneath for a weathered, time-worn appearance. You can even use chains, screws, or a hammer to add some dings and dents before staining for an authentically aged look.
- Contrasting Colors: Consider staining the frame a different color than the top and bottom shelves. A classic black or white painted frame with a warm wood-toned top is a stunning combination. For even more unique color combinations and
"DIY rustic coffee table plans, Easy steps to build a DIY rustic coffee table, How to make a DIY rustic coffee table", a quick search on home decor sites can spark amazing ideas.
And Now, The Moment You’ve Been Waiting For…
After all the cutting, screwing, sanding, and staining, it’s time to step back and admire your creation. You didn’t just build a piece of furniture; you built a memory. You created the future home for stacks of books, movie night popcorn bowls, and countless conversations. You’ve added a piece of yourself to your home.

Your Turn To Create!
We absolutely love seeing what our community builds. If you followed this guide to create your own rustic coffee table, please share it! Tag us on social media or leave a comment below with a picture of your masterpiece. Your creation could be the very thing that inspires someone else to pick up their tools and start building.
Frequently Asked Questions (And Our Expert Answers)
How To Make A DIY Rustic Coffee Table On A Tight Budget?
This is one of the most common questions, and the answer is simple: smart material choices. The biggest way to save money is by using reclaimed pallet wood. It’s often free, but requires more prep work (disassembling, cleaning, and sanding). You can also look for “cull lumber” at home improvement stores—these are boards that are slightly warped or damaged and sold at a steep discount. Since a rustic look is forgiving, these imperfections can often be worked into the design.
What’s The Best Way To Get That “Distressed” Rustic Look?
Distressing is a fun, creative process. After you assemble the table but before you stain it, go to town with various tools. Lightly tap it with a hammer, gently whip it with a small chain, or press the threads of a large screw into the wood. Then, after you apply your stain and let it dry, use 120-grit sandpaper to strategically sand off the finish on the corners, edges, and high-traffic areas where natural wear would occur. This creates a beautifully layered, authentic look.
Can I Build This With Only Basic Hand Tools?
Absolutely! While power tools like a miter saw and orbital sander speed things up significantly, this project is entirely possible with a hand saw, a miter box for straight cuts, and a sanding block. It will be more of a workout, but potentially even more rewarding! For joinery without a pocket hole jig, you can use traditional wood screws. Just be sure to pre-drill your holes to prevent the wood from splitting and countersink the screws so the heads sit flush with or below the surface.
How Do I Make Sure My Coffee Table Doesn’t Wobble?
A wobbly table is the bane of any DIYer’s existence. The number one cause is an uneven floor, not an uneven table. First, build your table on the flattest surface you can find (like a garage floor). If it still wobbles in its final spot in your living room, the easiest fix is to add small, adjustable furniture feet to the bottom of the legs. This allows you to micro-adjust each leg until the table is perfectly stable. The other culprit can be loose joints, so make sure you use both wood glue and screws for every connection.
How Long Does It Take To Build This DIY Rustic Coffee Table?
For a beginner, it’s wise to set aside a full weekend. Day one can be dedicated to cutting all your pieces and assembling the frame. Day two can be for attaching the planks, sanding, and applying the first coat of stain. Remember that stain and polyurethane have significant drying times, so you’ll need to account for that passive time in your schedule. An experienced woodworker might be able to complete the build in a single day, with finishing on the next. The key is not to rush—enjoy the journey!
Let’s Get Building!
There you have it—a complete guide to crafting a beautiful, sturdy, and stylish DIY rustic coffee table that will transform your living room. The skills you’ve learned here—measuring, cutting, joining, and finishing—are the building blocks for countless other DIY projects.
We hope this tutorial has empowered you to take on this challenge. There is nothing more satisfying than pointing to a beautiful piece of furniture in your home and saying, “I made that.”
Now, what are you waiting for? Grab your tools, put on some music, and start creating. We can’t wait to see what you build! Leave a comment below if you have any questions, or to share your own tips and tricks with the community.


