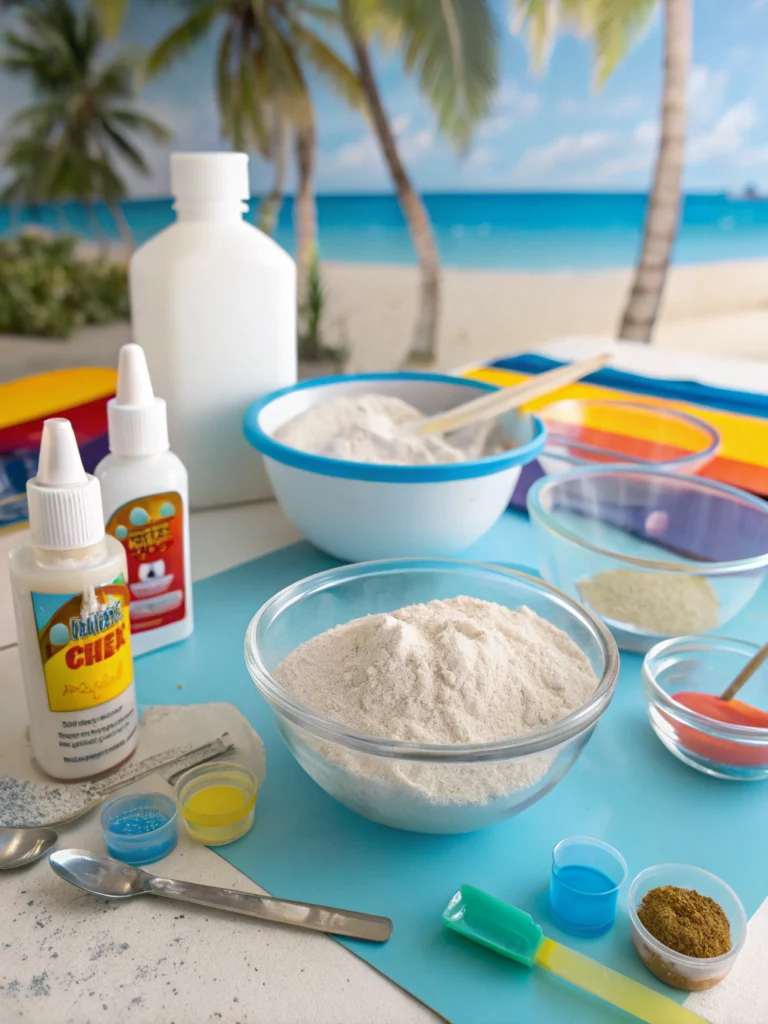
Introduction
Dreaming of bringing that calming coastal vibe into your home but find most beach-themed decor a bit… much? You’re not alone! Many DIY enthusiasts want to capture the essence of the seaside without their space looking like a tourist trap. That’s where crafting your own diy seashell wind chime comes in. It’s a subtle, elegant, and deeply personal way to invite the ocean’s melody into your everyday life. Forget complicated projects; this guide will show you how to create a stunning piece that’s both beautiful to look at and soothing to hear. Plus, making it yourself adds that extra layer of satisfaction you just can’t buy.
Imagine gentle breezes whispering through delicate shells, creating a symphony unique to your space. This project is perfect for using those treasured shells collected from past beach vacations, turning memories into music. Whether you’re a seasoned crafter or just dipping your toes into the DIY world, this “DIY seashell wind chime tutorial” is designed to be easy, fun, and incredibly rewarding. Let’s transform those seaside souvenirs into a charming accent that’s sure to spark joy and conversation.
Table of Contents
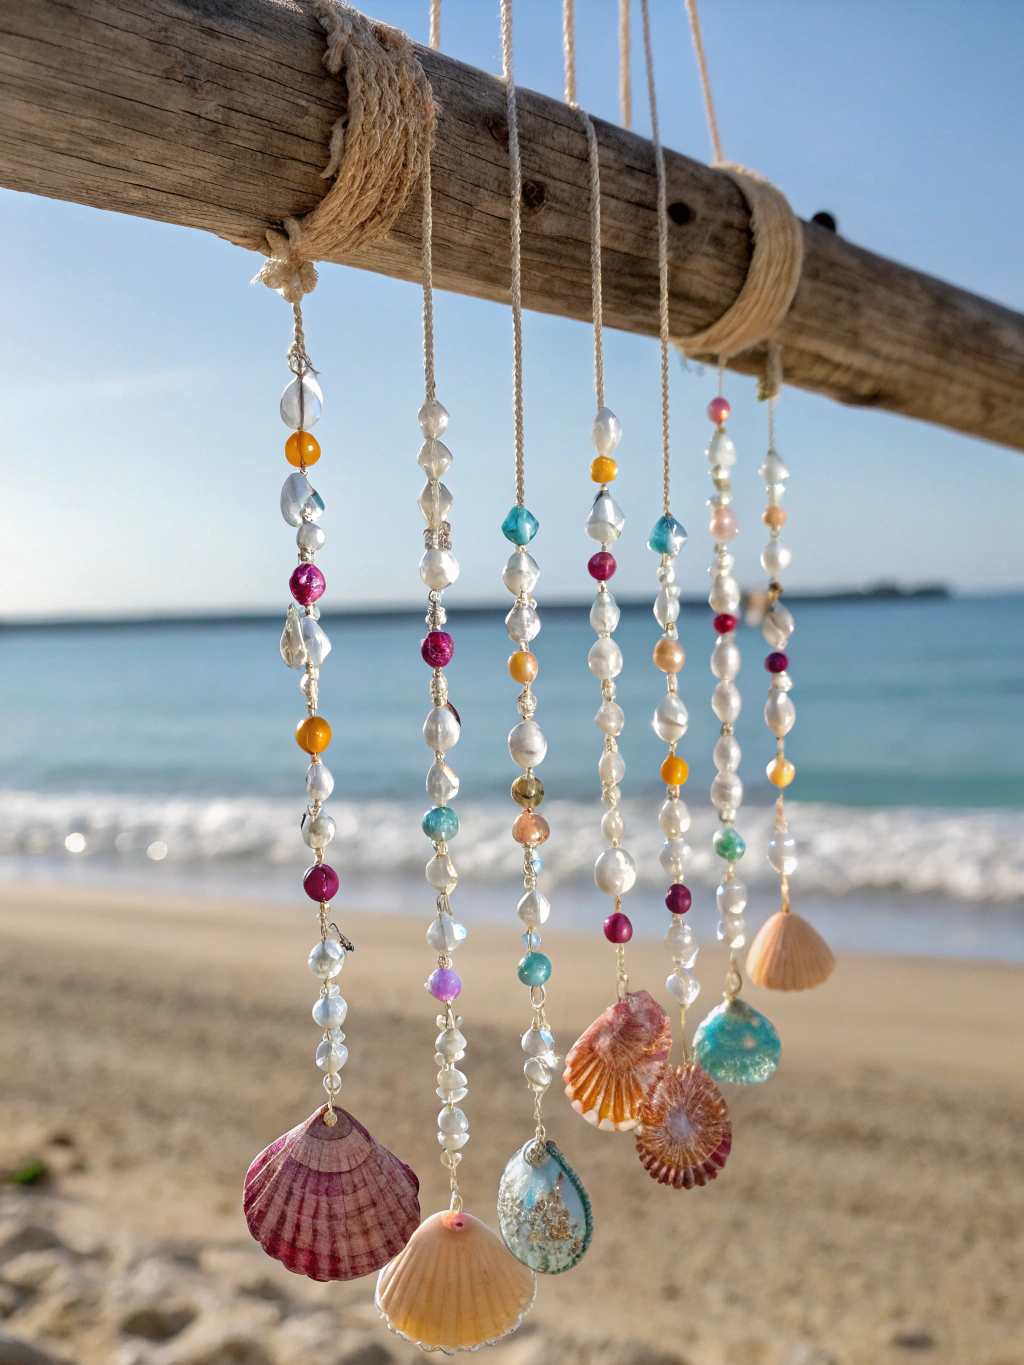
What You’ll Need to Make Your DIY Seashell Wind Chime
Before we dive into the crafting process, let’s gather all our supplies. Having everything ready to go makes the whole experience smoother and more enjoyable. You probably have some of these items already, especially if you’re a fellow DIY lover!
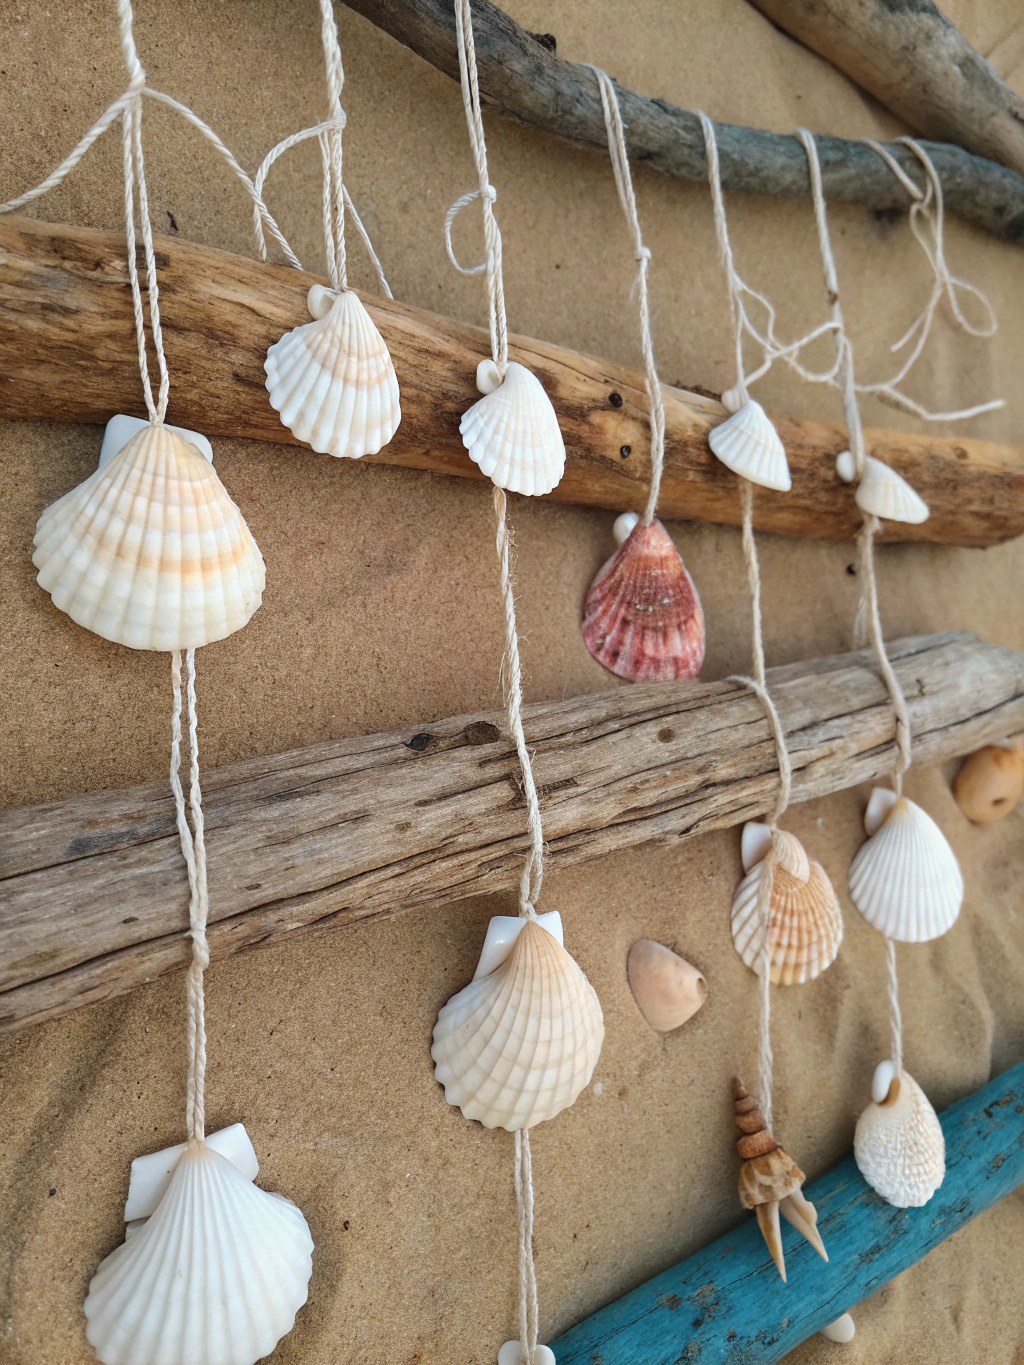
Here’s what you’ll need:
- Seashells: A variety of shapes, sizes, and colors. Aim for at least 20-30 shells, depending on how full you want your wind chime. Ensure they have holes or are thin enough to drill.
- Driftwood or a Sturdy Branch: This will be the top of your wind chime, where the shells hang from. About 8-12 inches long is a good starting point.
- Strong Fishing Line or Clear Jewelry Cord: This needs to be durable enough to hold the shells and withstand the elements if placed outdoors.
- Small Drill Bit or Dremel Tool: For making holes in shells that don’t already have them. A 1/16 or 1/32 inch bit usually works well.
- Scissors: For cutting the fishing line.
- Measuring Tape or Ruler: To ensure even spacing and lengths.
- Eye Screws (Optional): If your driftwood is thick, small eye screws can make it easier to attach the hanging strings. You’ll need 5-7.
- Sandpaper (Optional): To smooth any rough edges on your driftwood.
- Protective Eyewear: Safety first, especially when drilling!
- Twine or Stronger Rope: For creating a loop to hang your finished wind chime.
- Waterproof Glue (Optional): For securing knots if you want extra durability, especially for outdoor wind chimes.
Gathering these items is the first step towards creating your very own “Best beach-themed DIY seashell wind chime”. Don’t worry if you don’t have exactly these items; DIY is all about creativity and making substitutions!
Step-by-Step Guide to Your Beachy Masterpiece
Alright, crafters, it’s time to bring out your inner artisan! We’re going to break down “How to make a DIY seashell wind chime” into five simple, manageable steps. Follow along, and you’ll have a beautiful, tinkling treasure in no time.
Step 1: Prepare Your Seashells
This is where the magic begins! First, gently clean your seashells if they’re fresh from the beach or have been stored away. A soft brush and some warm, soapy water usually do the trick. Rinse them thoroughly and let them air dry completely.
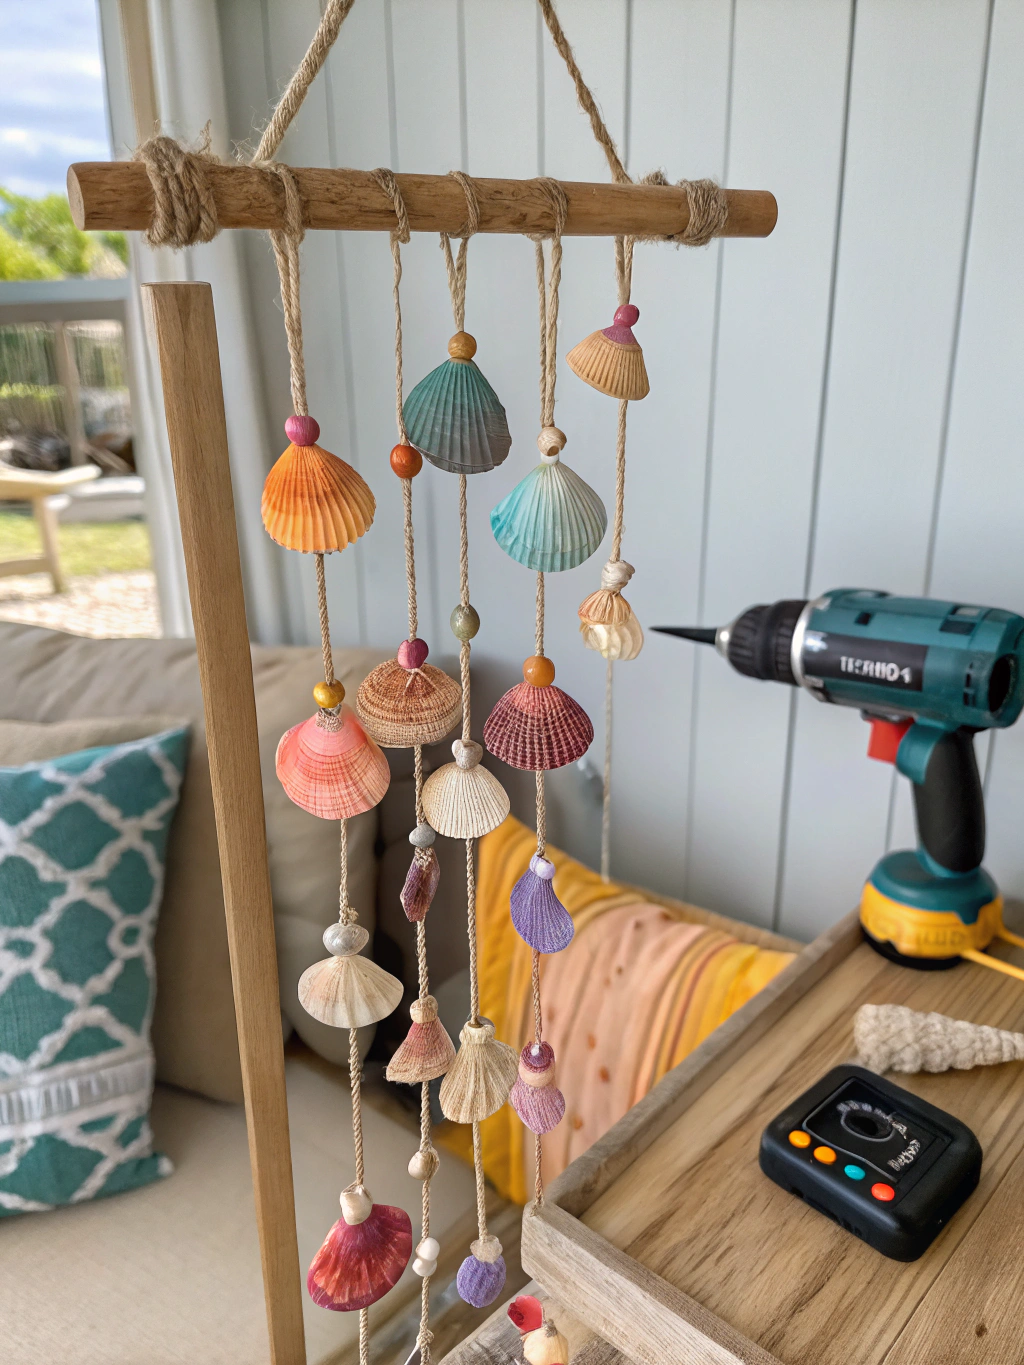
Next, inspect your shells. Many will naturally have small holes, perfect for stringing. For those that don’t, or if the holes are too small, it’s time to drill. Safety first: put on your protective eyewear! Using a small drill bit or a Dremel tool, carefully drill a hole near the edge of each shell. Go slowly and apply gentle pressure; shells can be delicate and might crack if you rush. If drilling sounds daunting, you can often find pre-drilled shells at craft stores or online. One common pitfall here is drilling too close to the edge, which can cause the shell to break. Aim for a spot that’s sturdy but still allows the shell to hang nicely.
Step 2: Prepare the Driftwood Hanger
Now, let’s get the base of your diy seashell wind chime ready. Take your piece of driftwood or sturdy branch. If it has any rough splinters, give it a quick sanding for a smoother finish and to prevent any accidental pokes. Wipe away any sawdust.
The next part depends on how you want to attach your shell strands. You can either drill small holes directly into the driftwood (about 1-2 inches apart) for the fishing line to pass through, or you can insert small eye screws along the underside. Eye screws can make it easier to tie off the lines and adjust them later. If using eye screws, mark their positions evenly along the driftwood and gently screw them in. Ensure they are secure. Think about how many strands of shells you want; this will determine the number of holes or eye screws you need. Usually, 5 to 7 strands create a lovely, full sound.
Step 3: Stringing Your Seashells
This is arguably the most creative and fun part of making your “DIY seashell wind chime”! Cut several lengths of your fishing line or jewelry cord. The lengths will vary depending on how long you want your chime to be. A good starting point is to cut strands ranging from 12 inches to 24 inches. Variety in length adds visual interest and creates a more complex sound.
Begin threading your shells onto a strand of fishing line. Tie a secure double knot below each shell to keep it in place. You can vary the number of shells per strand and the spacing between them. Some strands might have just one large focal shell at the bottom, while others might have a series of smaller shells. A common mistake is not making the knots tight enough, leading to shells slipping. Pull each knot firmly. For extra security, especially if your wind chime will be outdoors, you can add a tiny dab of waterproof glue to each knot after tying. This part of the “DIY seashell wind chime tutorial” is all about your personal aesthetic!
Step 4: Assembling the Wind Chime
With your shell strands beautifully prepared, it’s time to attach them to your driftwood hanger. If you drilled holes in the driftwood, thread the top end of each fishing line strand through a hole and tie a secure knot on the top side of the driftwood. If you used eye screws, simply tie the end of each strand securely to an eye screw.
Arrange your strands in a way that looks balanced and pleasing. You might want longer strands in the middle and shorter ones on the sides, or alternate lengths. There’s no right or wrong way, so play around until you’re happy with the arrangement. Double-check that all knots are secure and that the shells hang freely without tangling too much. A little tangling is natural with wind chimes, but you want to minimize it. This is a crucial step in “How to make a DIY seashell wind chime” successfully.
Step 5: Adding the Hanging Loop and Finishing Touches
We’re almost there! The final step is to create a way to hang your beautiful diy seashell wind chime. Take a sturdy piece of twine or stronger rope, about 12-18 inches long. Tie each end securely to opposite ends of the driftwood hanger. You can do this by wrapping it around a few times and making a strong knot, or by drilling two small holes at the top ends of the driftwood and threading the twine through.
Ensure the loop is strong and balanced so your wind chime hangs straight. Give your creation a gentle shake to hear its first song! Make any final adjustments to the shell placements or string lengths. You might want to trim any excess fishing line from the knots for a neater look. And there you have it – your very own, handcrafted piece of coastal art! For more inspiration on beach-themed projects, you can explore various “DIY seashell wind chime tutorial, How to make a DIY seashell wind chime, Best beach-themed DIY seashell wind chime” online resources for different aesthetic ideas.
The Final Result: Your Own Coastal Symphony!
And there you have it! Your very own, absolutely stunning “diy seashell wind chime” is complete, ready to bring the serene sounds and breezy vibes of the beach right to your doorstep (or patio, or garden!). Take a moment to admire your handiwork – you’ve transformed simple shells and a piece of wood into a unique piece of art that sings with every gentle gust.
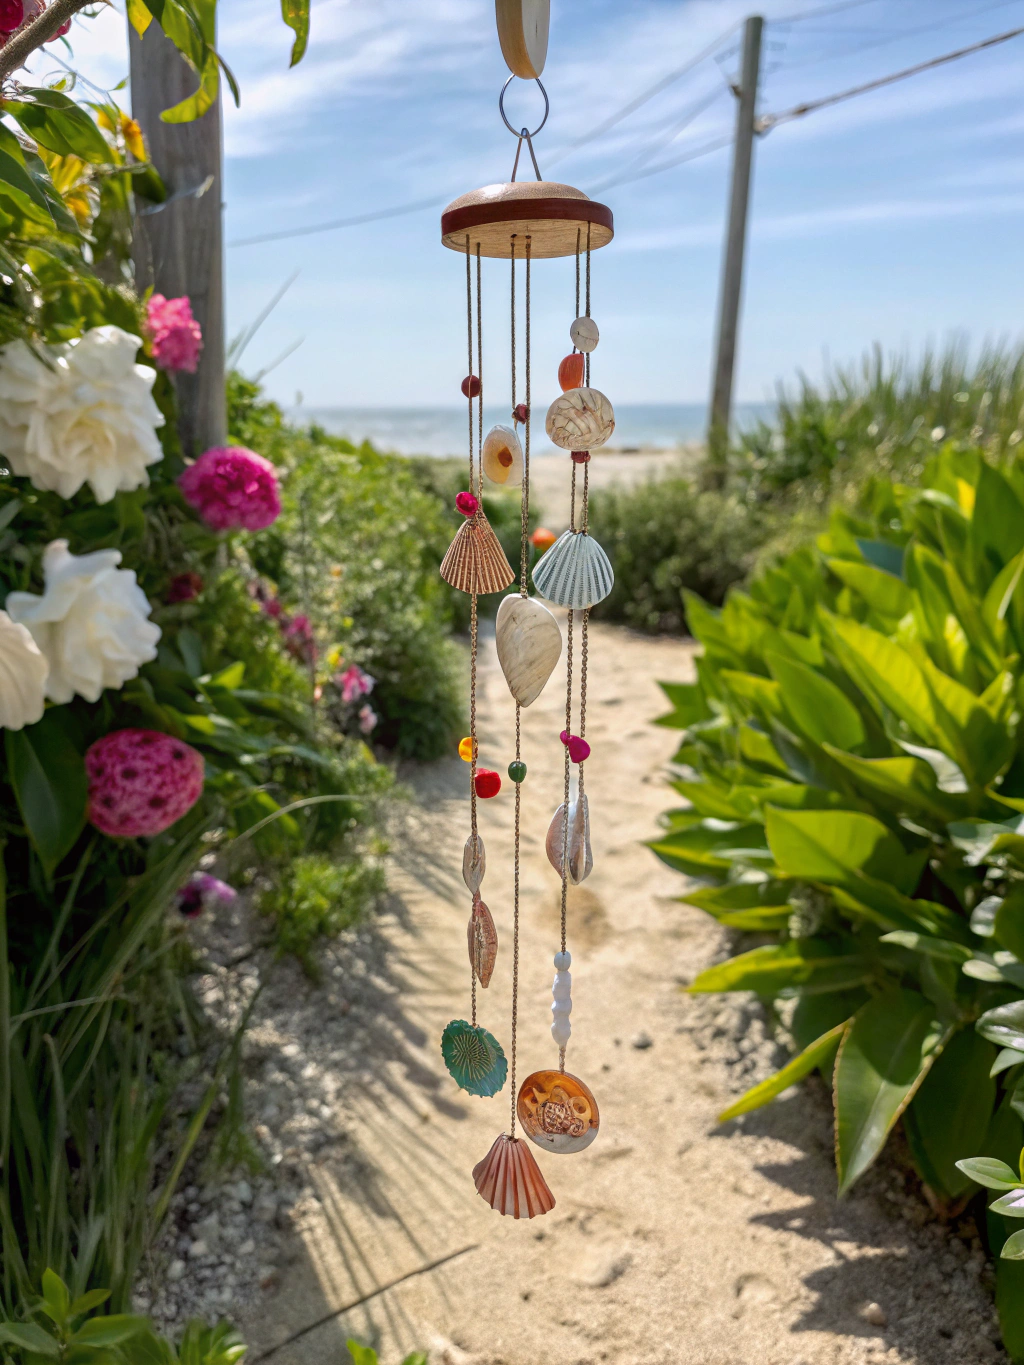
Imagine relaxing on your porch, a cool drink in hand, listening to the delicate clinking and tinkling of your seashell wind chime. It’s more than just a decoration; it’s a reminder of sunny days, salty air, and the satisfaction of creating something beautiful with your own two hands. This project is a fantastic way to use those treasured shells from your beach adventures, turning memories into music. For those looking for even more in-depth guidance or different stylistic approaches, checking out a “DIY seashell wind chime tutorial, How to make a DIY seashell wind chime, Best beach-themed DIY seashell wind chime” can offer further inspiration.
We’d absolutely love to see your creations! Share a photo of your finished DIY seashell wind chime in the comments below, or tell us any tips and tricks you discovered along the way. Did you use a unique type of shell? A special piece of driftwood? Let’s inspire each other!
Pro Tips & FAQs for Your DIY Seashell Wind Chime
You’ve crafted a beautiful piece, but a few extra tips and answers to common questions can make your diy seashell wind chime even better and longer-lasting!
Q1: What are the best shells for a DIY seashell wind chime?
A: The “Best beach-themed DIY seashell wind chime” often features a variety! Lighter, flatter shells like scallops, jingles, or capiz shells tend to make more delicate, tinkling sounds. Heavier shells like conchs or whelks will produce deeper tones but need stronger string and a sturdier hanger. A mix is often ideal for visual and auditory variety. Always ensure the shells you choose are strong enough to be drilled if they don’t have natural holes.
Q2: How can I make my DIY seashell wind chime more durable for outdoor use?
A: To make your wind chime weather-resistant, use a strong, UV-resistant fishing line or nylon cord. Apply a coat of clear waterproof sealant or marine varnish to the driftwood and even to the shells (especially if they are porous) to protect them from moisture and sun damage. Securing knots with a dab of waterproof super glue is also a great idea. Consider bringing it indoors during harsh weather conditions like strong winds or storms to prolong its life.
Q3: My shells keep tangling. How can I prevent this?
A: Some tangling is natural, but you can minimize it. Ensure there’s enough space between each hanging strand on the driftwood. Varying the lengths of the strands significantly can also help. Using slightly heavier shells at the bottom of each strand can also keep them hanging straighter. If tangling is a persistent issue, you might consider using a wider piece of driftwood or a circular hoop base which can offer more separation between strands.
Q4: I can’t find good driftwood. What are some alternatives for the hanger?
A: No driftwood, no problem! A sturdy tree branch (sanded smooth), a wooden dowel, a bamboo pole, or even a painted metal rod can work wonderfully. You could also use a metal or wooden embroidery hoop for a circular arrangement. Get creative – the best hangar is one that complements your shells and your style!
Q5: Where can I find more “DIY seashell wind chime tutorial” ideas or variations?
A: The internet is a treasure trove! Websites like Pinterest, YouTube, and craft blogs offer countless variations on “How to make a DIY seashell wind chime”. You can find ideas for different color schemes, using sea glass, adding beads, or incorporating other beachcombing finds. Exploring a comprehensive “[DIY seashell wind chime tutorial, How to make a DIY seashell wind chime, Best beach-themed DIY seashell wind chime](https://example.com/advanced-chime-techniques)” can give you even more advanced techniques and design inspirations.
Let the Coastal Tunes Begin!
Crafting your own diy seashell wind chime is more than just a project; it’s an experience that connects you to nature, creativity, and the sweet satisfaction of making something unique. We hope this guide has inspired you to gather your shells and get crafting!
Watch this video for a visual guide on creating a beautiful seashell windchime:
*(Please replace YOUR_YOUTUBE_VIDEO_ID_HERE with an actual YouTube video ID relevant to DIY seashell wind chimes. For example, if the video URL is `https://www.youtube.com/watch?v=abcdef12345`, the ID is `abcdef12345`.)*
Now, we’d love to hear from you!
- What are your favorite shells to use for crafts?
- Do you have any special tips for drilling shells?
- Where will you hang your beautiful new wind chime?
Drop your thoughts, questions, and pictures of your creations in the comments below. Don’t forget to share this tutorial with fellow beach lovers and DIY enthusiasts! For more creative DIYs and home improvement ideas, be sure to subscribe to our newsletter and follow us on social media. Happy crafting, and may your days be filled with beachy breezes!


