Introduction
Are you tired of rummaging through cluttered cabinets for that elusive jar of paprika? A DIY spice rack wall is the ultimate game-changer for your kitchen, transforming chaotic spice collections into a beautifully organized and easily accessible display. Say goodbye to wasted time and hello to culinary efficiency! This project isn’t just about tidiness; it’s about reclaiming your counter space and adding a touch of personalized charm to your kitchen. Whether you’re a seasoned chef or a weekend cooking enthusiast, a well-organized spice system will undoubtedly elevate your cooking experience. Let’s dive into how you can create your very own functional and stylish DIY spice rack wall.
Table of Contents

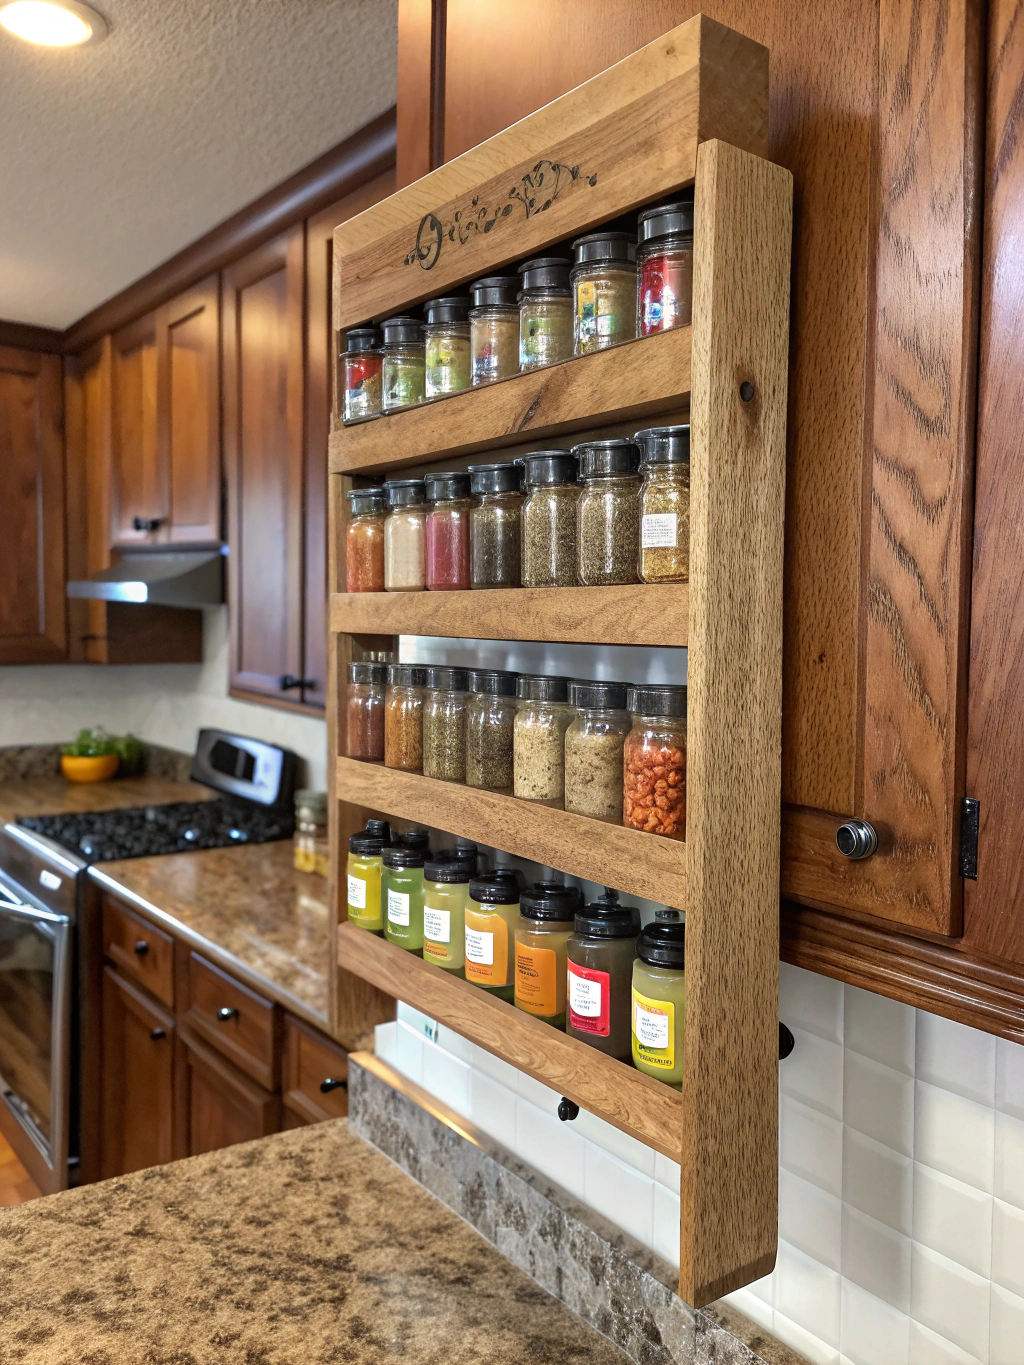
Transform your kitchen with a functional and stylish DIY spice rack wall.
Creating a DIY spice rack wall can seem daunting, but with the right guidance, it’s a surprisingly achievable weekend project. We’ll explore seven fantastic ways to organize your spices, catering to various skill levels and kitchen aesthetics. From simple repurposed items to more involved builds, there’s a solution here for everyone. Get ready to be inspired and learn “how to build a DIY spice rack wall” that not only stores your spices but also becomes a focal point in your kitchen.
What You’ll Need for Your DIY Spice Rack Wall
Before we jump into the nitty-gritty of building, let’s gather our supplies. The specific materials will vary depending on which of the seven ideas you choose, but here’s a general list of what you might need for a basic wooden DIY spice rack wall. Always remember to measure your space and spice jars before purchasing materials!

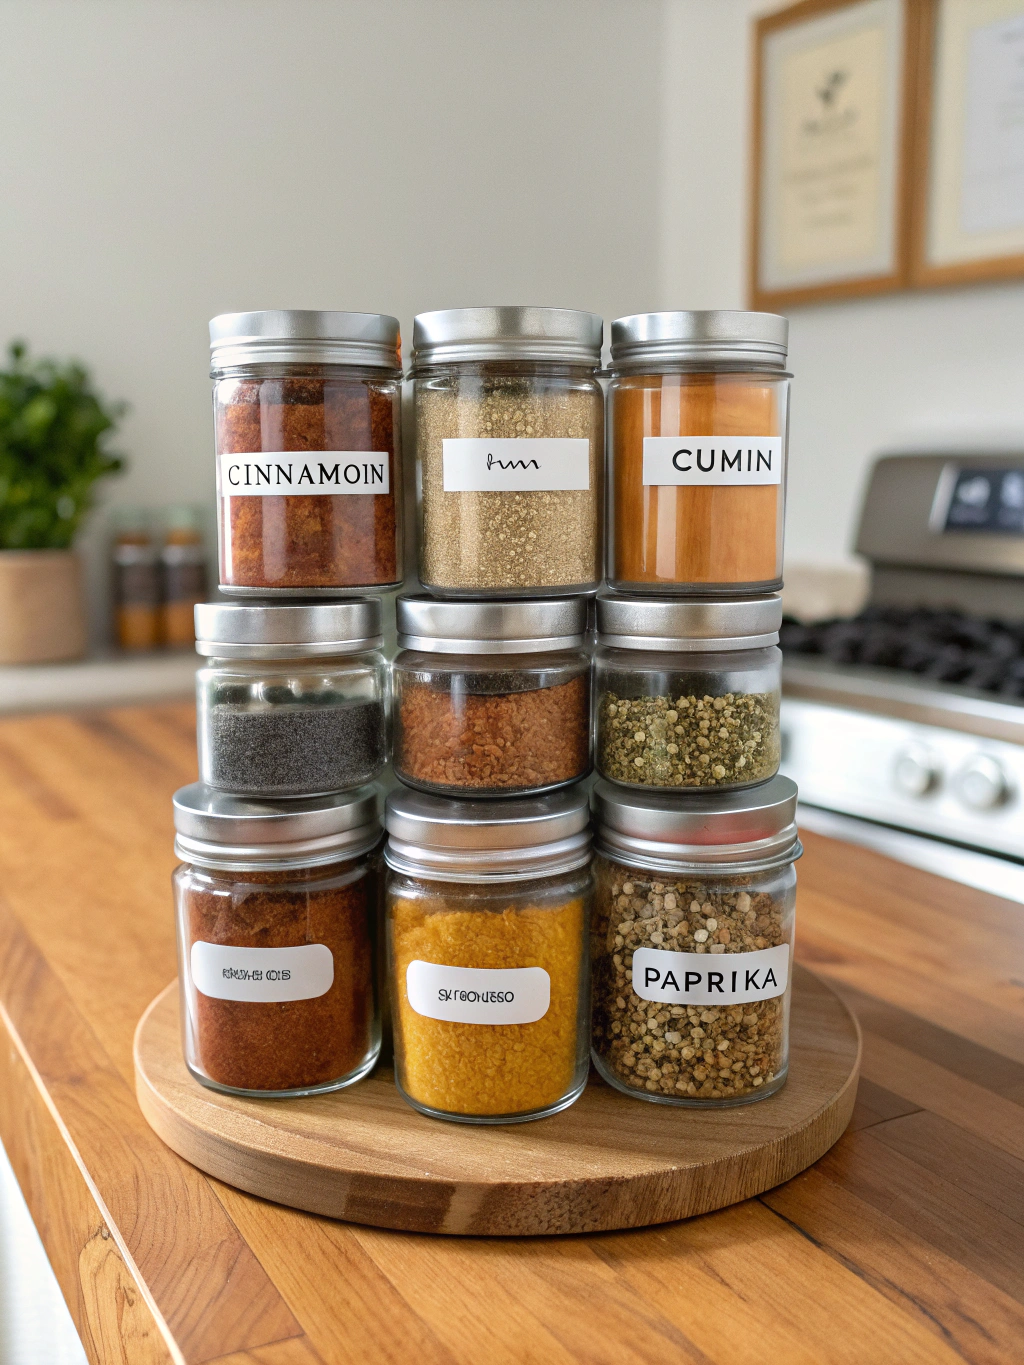
Gather your spices and tools – you’re ready to build!
Materials:
- Wood boards: Pine, oak, or even reclaimed pallet wood are great options. The quantity and size will depend on your chosen design.
- Wood screws: Various lengths, chosen based on your wood thickness.
- Wood glue: For extra strength and durability.
- Sandpaper: Different grits (e.g., 80, 120, 220) for a smooth finish.
- Wood finish: Stain, paint, or varnish to protect and beautify your spice rack.
- Spice jars: Uniform jars create a more cohesive look. Consider square or round, glass or plastic.
- Labels: For clear identification of your spices.
- Mounting hardware: Heavy-duty screws, anchors (if not screwing into studs), or French cleats, depending on the weight of your rack and wall type.
Tools:
- Measuring tape
- Pencil
- Saw: A hand saw, miter saw, or jigsaw, depending on the cuts needed.
- Drill: With various drill bits and a countersink bit.
- Screwdriver or impact driver
- Level
- Clamps
- Safety glasses
- Gloves
- Paintbrushes or rags (for finishing)
Having these essentials on hand will make your DIY spice rack wall project flow much more smoothly. Don’t forget to check out various “DIY spice rack wall ideas, Best wall-mounted spice rack for small kitchens, How to build a DIY spice rack wall” for inspiration on materials and design before you start.
7 Best Ways to Organize Your Spices with a DIY Spice Rack Wall
Let’s explore some fantastic DIY spice rack wall ideas! Each of these can be adapted to your skill level and kitchen style.
Idea 1: The Classic Wooden Shelf Rack
This is a timeless option and perhaps one of the most popular “DIY spice rack wall ideas”. It involves building simple shelves, either as individual ledges or a more structured unit.
Step 1: Plan and Measure Your Space
Before you make a single cut, careful planning is crucial. Decide where your DIY spice rack wall will go. Consider accessibility while cooking and the aesthetic impact on your kitchen. Measure the available wall space accurately – height, width, and depth. Also, measure your spice jars; you’ll need to know their height and diameter to ensure the shelves are appropriately sized.
Why this matters: Proper planning prevents wasted materials and ensures your finished spice rack fits perfectly and holds all your spices. A common pitfall is underestimating the number of spices or the space they’ll occupy, leading to an undersized rack. Sketch out your design, including the number of shelves and their spacing.

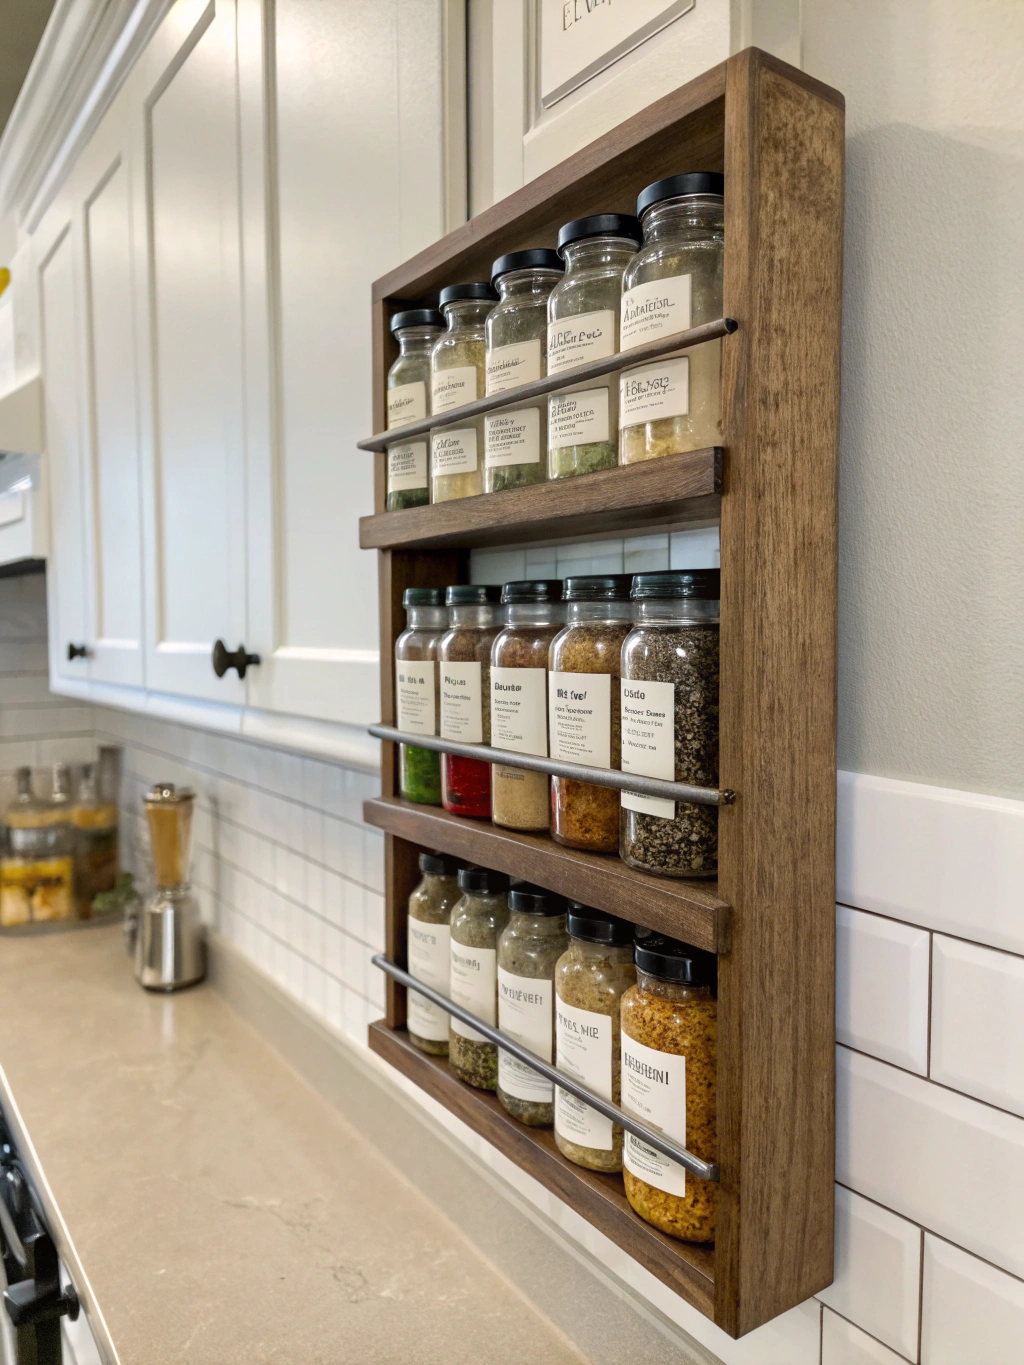
Step 1: Careful assembly is key to a sturdy DIY spice rack wall.
Step 2: Cut Your Wood Pieces
Based on your plan, cut your wood boards to the required lengths for the shelves and any side supports or backing. If you’re new to woodworking, many hardware stores offer wood-cutting services, which can save you time and ensure straight cuts. Use a good quality saw for clean edges.
Why this matters: Accurate cuts are fundamental to a professional-looking and structurally sound spice rack. Uneven cuts can make assembly difficult and result in a wobbly rack. Always double-check your measurements before cutting – “measure twice, cut once” is a golden rule in DIY!
Step 3: Sand and Assemble the Shelves
Sand all your cut wood pieces until smooth, starting with a coarser grit sandpaper and finishing with a finer grit. This removes splinters and prepares the wood for finishing. Next, assemble your shelves. If you’re making simple ledges, you might just be preparing individual pieces. For a unit, attach the shelves to side supports using wood glue and screws. Pre-drilling pilot holes will prevent the wood from splitting.
Why this matters: Sanding ensures a pleasant tactile feel and a better-looking finish. Proper assembly with glue and screws creates a strong, durable structure that can safely hold your spices. A common pitfall is not using clamps to hold pieces together while the glue dries, which can lead to weak_TRANSACTION_NOMORE_ACTION joints.
Step 4: Finish and Mount Your Spice Rack
Apply your chosen finish – stain, paint, or varnish – according to the product instructions. This protects the wood and enhances its appearance. Allow it to dry completely. Finally, mount your DIY spice rack wall. Locate wall studs for the most secure mounting. If studs aren’t available, use appropriate wall anchors designed for the weight of your rack and spices. Use a level to ensure it’s perfectly straight.
Why this matters: Finishing protects your spice rack from kitchen grease and moisture. Secure mounting is vital for safety – you don’t want your precious spice collection crashing down! Always check the weight capacity of your anchors if not drilling into studs.
Idea 2: The Rustic Pallet Wood Spice Rack
For a farmhouse or rustic vibe, upcycled pallet wood is an excellent and often free material. This is a great option if you’re looking for “how to build a DIY spice rack wall” on a budget.
Step 1: Source and Disassemble Your Pallet Safely
Find a pallet – many businesses give them away. Look for pallets marked “HT” (heat-treated) rather than “MB” (methyl bromide treated) for safety in the kitchen. Disassembling a pallet can be tricky. Use a pry bar, reciprocating saw with a wood/metal cutting blade, or a pallet buster tool. Wear gloves and safety glasses.
Why this matters: Safety first! Ensure your pallet wood is safe for indoor use and take care during disassembly to avoid injury from nails or splintered wood. A common pitfall is damaging the wood excessively during disassembly.
Step 2: Design and Cut Pallet Wood Pieces
Pallet wood has character – embrace its imperfections! Plan your design, considering the natural variations in the wood. You might create small box-like shelves or simple ledges. Cut the pallet wood slats to your desired lengths.
Why this matters: Pallet wood’s charm lies in its rustic nature. Designing around its unique features can result in a truly one-of-a-kind_TRANSACTION_NOMORE_ACTION spice rack. Remember that pallet wood can be rougher, so take extra care with measurements and cuts.
Step 3: Sand, Assemble, and Finish
Pallet wood generally requires more thorough sanding than new lumber to remove roughness and potential splinters. Assemble your rack using screws and wood glue. Due to the varied nature of pallet wood, you might need to be more creative with joinery. A clear varnish or a light stain often works best to highlight the wood’s character.
Why this matters: Thorough sanding is crucial for pallet wood to make it safe and pleasant to touch. The finish should protect the wood while preserving its rustic appeal. A common pitfall is not sanding enough, leaving rough edges.
Step 4: Mount Your Rustic Rack
Mount your pallet wood spice rack securely to the wall, following the same principles as the classic wooden rack (find studs or use appropriate anchors). Given the often heavier nature of pallet wood, ensure your mounting is very robust.
Why this matters: The rustic charm shouldn’t compromise safety. A securely mounted rack ensures your spices and the rack itself stay put.
Idea 3: Magnetic DIY Spice Rack Wall
This is a sleek, modern solution, especially good for “best wall-mounted spice rack for small kitchens” as it can be very space-efficient.
Step 1: Gather Magnetic Materials
You’ll need a sheet of metal (steel is magnetic, aluminum is not), strong magnets (neodymium magnets work well), and spice tins with clear lids or small jars to which you can attach magnets. Alternatively, you can buy magnetic spice tins.
Why this matters: The right materials are key. The metal sheet needs to be ferrous, and the magnets strong enough to hold the weight of your filled spice tins. Weak magnets are a common pitfall, leading to falling spices.
Step 2: Prepare and Mount the Metal Sheet
You can frame the metal sheet with wood for a more finished look or mount it directly to the wall. If mounting directly, ensure the edges are smooth or covered to prevent cuts. Use strong adhesive or screws to attach it to the wall.
Why this matters: A securely mounted metal sheet is the foundation of your magnetic spice rack. Consider the aesthetics – a framed sheet often looks more polished.
Step 3: Attach Magnets to Jars (if needed)
If your spice tins aren’t already magnetic, glue strong neodymium magnets to the bottom or back of your jars/tins using a strong adhesive like E6000. Let the adhesive cure completely.
Why this matters: The bond between the magnet and the jar must be very strong. Insufficient adhesive or improper curing can lead to magnets detaching.
Step 4: Arrange Your Spices
Once everything is set, simply stick your magnetic spice tins to the metal sheet. Arrange them in any pattern you like! This offers great flexibility for rearranging.
Why this matters: This is the fun part! The visual appeal of a magnetic spice rack is significant, and its flexibility is a major advantage.
Idea 4: Repurposed Drawer Spice Rack
Give an old drawer a new life as a charming DIY spice rack wall. This is a fantastic upcycling project.
Step 1: Find and Prepare an Old Drawer
Scour thrift stores, flea markets, or your own garage for a suitable drawer. Clean it thoroughly. You may need to reinforce it if it’s a bit wobbly.
Why this matters: The character of the old drawer is its main appeal. Ensure it’s clean and structurally sound before converting it.
Step 2: Add Shelves or Dividers (Optional)
Depending on the depth of the drawer and the size of your spice jars, you might want to add small, thin shelves or dividers ins_TRANSACTION_NOMORE_ACTION_TRANSACTION_NOMORE_ACTION_TRANSACTION_NOMORE_ACTIONide the drawer. This helps keep spices organized and prevents them from tipping over.
Why this matters: Maximizing space and keeping jars secure will make your repurposed drawer more functional.
Step 3: Paint or Finish the Drawer
Give the drawer a fresh coat of paint or a new finish to match your kitchen decor. You could go for a distressed look to enhance its vintage charm.
Why this matters: The finish ties the repurposed item into your kitchen’s aesthetic.
Step 4: Mount the Drawer
Mount the drawer to the wall, open side facing out, using L-brackets or by screwing directly through the back of the drawer into wall studs or anchors. Ensure it’s level.
Why this matters: Secure mounting is crucial, especially if the drawer itself is heavy.
Idea 5: Test Tube Spice Rack
For a unique, minimalist, or even scientific look, consider a test tube spice rack. This is one of the more unusual “DIY spice rack wall ideas.”
Step 1: Source Test Tubes and Corks/Caps
Purchase food-grade glass or plastic test tubes with corks or screw caps. Choose a size appropriate for single-use or small amounts of spices.
Why this matters: Food-grade materials are essential for safety. The size of the test tubes will dictate the overall design and capacity of your rack.
Step 2: Build or Buy a Holder
You’ll need a way to hold the test tubes. You can build a simple wooden block with holes drilled to fit the test tubes, or purchase pre-made test tube racks (often found in lab supply stores or novelty shops).
Why this matters: The holder needs to securely cradle the test tubes to prevent them from falling and breaking.
Step 3: Label and Fill Your Test Tubes
Label each test tube clearly. Fill them with your spices. This type of rack is best for frequently used spices or for showcasing colorful ones.
Why this matters: Clear labeling is important, especially with less common spices. Due to smaller capacity, this is more for aesthetic appeal and convenience for select spices.
Step 4: Mount the Holder
Mount your test tube holder securely to the wall. A small, lightweight test tube rack can often be mounted with strong adhesive strips if screwing into the wall isn’t desirable.
Why this matters: Even if lightweight, ensure it’s mounted securely to protect your delicate glass test tubes.
Idea 6: Floating Shelves Spice Display
Simple, elegant, and versatile, floating shelves offer a clean, minimalist look. This is a great choice for “best wall-mounted spice rack for small kitchens” as they don’t take up much visual space.
Step 1: Purchase or Build Floating Shelves
You can buy floating shelves in various lengths and finishes, or build your own. If building, you’ll create a hollow box-like shelf that slides onto a hidden bracket system.
Why this matters: The “floating” look comes from hidden hardware. Ensure the shelves are rated for the weight they will hold. Explore different “DIY spice rack wall ideas, Best wall-mounted spice rack for small kitchens, How to build a DIY spice rack wall” to see how floating shelves are used.
Step 2: Install Mounting Brackets
Securely attach the mounting brackets to the wall, ensuring they are level and screwed into studs if possible. This is the most critical step for a sturdy floating shelf.
Why this matters: The entire strength of the shelf relies on these brackets. Improper installation is a common pitfall.
Step 3: Slide on and Secure Shelves
Slide the shelves onto the brackets. Most floating shelf systems have small screws that secure the shelf to the bracket from underneath, preventing it from sliding off.
Why this matters: This final securing step ensures the shelf stays in place.
Step 4: Arrange Spices and Decor
Arrange your spice jars on the shelves. You can mix in small decorative items for added visual appeal. Consider uniform jars for a cohesive look.
Why this matters: The arrangement contributes significantly to the overall aesthetic. Floating shelves allow for creative displays.
Idea 7: DIY Rotating (Lazy Susan) Wall Spice Rack
While typically a countertop item, a modified Lazy Susan concept can be adapted for wall mounting, offering easy access to many spices in a compact footprint. This is a more advanced “how to build a DIY spice rack wall” project.
Step 1: Acquire Lazy Susan Hardware and Wood Discs
You’ll need a heavy-duty Lazy Susan bearing and two or more circular wood pieces (e.g., pine rounds often sold for tabletops or crafting). The size of the discs will determine your spice capacity.
Why this matters: A quality bearing is essential for smooth rotation and durability. The wood discs must be sturdy enough to hold the spices.
Step 2: Create Tiered Levels (Optional)
For more storage, you can create a tiered Lazy Susan by using dowels or small wooden blocks to separate multiple rotating discs vertically. This requires careful planning for balance and accessibility.
Why this matters: Tiers increase capacity but also complexity and the need for robust construction.
Step 3: Assemble the Rotating Mechanism
Attach the Lazy Susan bearing to the center of what will be your base disc (the one fixed to the wall bracket) and the bottom of your main rotating disc. If tiered, connect subsequent discs. You might add a small lip or rail around the edges of the discs to prevent spices from falling off.
Why this matters: Correct assembly of the bearing is crucial for smooth operation. Rails add security for spice jars.
Step 4: Build a Wall-Mounting Bracket and Attach
Construct a sturdy L-shaped bracket or a strong box frame to attach to the wall. The base disc of your Lazy Susan assembly will then be fixed to this bracket. Ensure the bracket can support the full weight of the spices and the rack itself.
Why this matters: This is the most challenging part – creating a wall mount that is strong enough and allows the Lazy Susan to rotate freely. The entire structure depends on this bracket’s integrity. Given the dynamic load (rotating), err on the side of over-engineering the support.
The Final Result: Your Beautifully Organized Spice Wall
Imagine stepping into your kitchen and seeing all your spices perfectly arrayed on your brand-new, custom-built DIY spice rack wall. No more frantic searching, just effortless access to flavor!

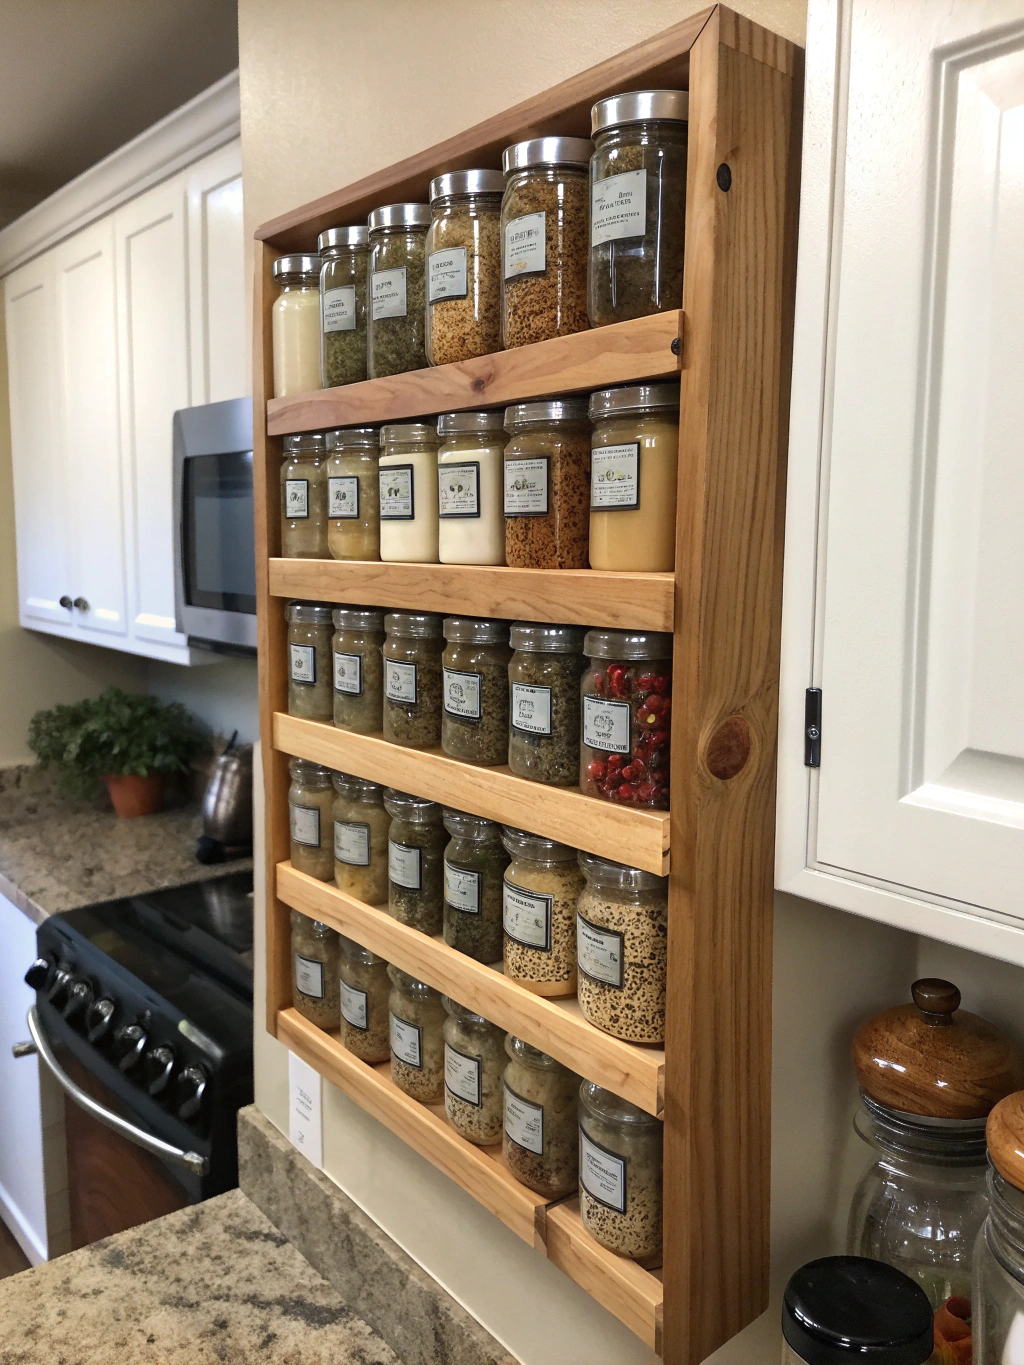
Your stunning DIY spice rack wall, ready to inspire culinary masterpieces!
You’ve not only decluttered your kitchen but also added a personal touch that reflects your style and DIY prowess. This project does more than just organize spices; it streamlines your cooking process, saves precious counter or cabinet space, and can even become a beautiful focal point in your kitchen. Whether you opted for a rustic pallet creation, a sleek magnetic display, or classic wooden shelves, the satisfaction of “I built that!” is the best seasoning of all.
We’d love to see your creations! Share photos of your DIY spice rack wall in the comments below, or tag us on social media. And if you have any unique tips or tricks you discovered along the way, please share them with the community!
Pro Tips & FAQs for Your DIY Spice Rack Wall
To help you make your DIY spice rack wall project even more successful, here are some expert tips and answers to frequently asked questions.
Q1: What’s the best location for a DIY spice rack wall?
The ideal location is near your food prep area or stove for easy access while cooking. However, avoid placing it directly above the stovetop where heat and steam can degrade spices quickly. Also, consider keeping spices away from direct sunlight, which can diminish their flavor and color. Think about workflow and which wall has available, convenient space. Some of the “best wall-mounted spice rack for small kitchens” are designed for narrow wall sections or even the side of a cabinet.
Q2: How do I choose the right spice jars for my rack?
Uniformity is key for a neat look. Consider:
- Size: Choose jars that fit the spices you buy (e.g., bulk vs. small amounts). Standard 4 oz jars are popular.
- Shape: Square jars are space-efficient and sit snugly together. Round jars are classic.
- Material: Glass is non-reactive and allows you to see the contents. Amber glass protects spices from light.
- Lids: Ensure lids are airtight to keep spices fresh. Shaker tops can be convenient for some spices.
Measure your chosen jars before finalizing your rack dimensions. Many “DIY spice rack wall ideas” are built around specific jar types.
Q3: How can I label my spices effectively?
Clear labeling is crucial. Options include:
- Sticker labels: Printable or handwritten. Place on the jar lid or side.
- Chalkboard labels: Allow for easy relabeling if contents change.
- Embossed label maker: Creates a retro, durable label.
- Paint pens: For writing directly on glass jars.
Consistency in labeling style adds to the organized look. Ensure labels are easy to read from a distance.
Q4: How do I care for my spices to keep them fresh on an open wall rack?
While a DIY spice rack wall makes spices accessible, exposure can affect freshness. To maximize shelf life:
- Use airtight containers.
- Store away from direct heat, light, and moisture.
- Buy whole spices when possible and grind them as needed (they stay fresher longer).
- Buy smaller quantities more frequently rather than large bulk amounts for spices you don’t use often.
- Periodically check spices for aroma and color; if they’ve faded significantly, it’s time to replace them.
Q5: I’m a beginner. Which DIY spice rack wall idea is easiest to build?
For beginners, the simplest options are often:
- Simple floating shelves (purchased): Installation is the main task.
- Repurposed items: A pre-made drawer or crate requires minimal modification beyond cleaning, finishing, and mounting.
- Basic single wooden ledges: If you’re comfortable with basic cuts and sanding, individual shelves are straightforward.
When learning “how to build a DIY spice rack wall,” starting with a simpler project can build confidence for more complex designs later. Materials like pre-cut lumber can also simplify the process.
Building your own DIY spice rack wall is a rewarding project that combines practicality with personal expression. We hope these ideas and tips have inspired you to tackle your own kitchen organization challenge!
What are your favorite spice organization hacks? Share your thoughts and questions in the comments below! If you found this guide helpful, please consider sharing it with your fellow DIY enthusiasts or signing up for our newsletter for more home improvement inspiration!


