Beat the summer heat with these fun DIY sprinkler projects for kids!
Introduction
When those summer temperatures start soaring, finding ways to keep the little ones cool and entertained can feel like a real DIY challenge, right? If you’re on the hunt for an exciting, budget-friendly way to create backyard water fun, then crafting a diy sprinkler for kids is your answer! Forget expensive store-bought options that often lack charm or break after one season. We’re diving into the world of homemade water wonders that promise endless giggles and a refreshing escape from the heat.
This guide will walk you through everything you need to know, from simple setups to more elaborate creations, ensuring your backyard becomes the ultimate summer hotspot. Get ready to unleash your creativity and give your kids a summer they’ll never forget!
Table of Contents
Table of Contents
Why Bother with a diy sprinkler for kids?
You might be wondering, “Why make my own when I can just buy one?” That’s a fair question! But as fellow DIY enthusiasts, we know the unique satisfaction that comes from building something with our own hands. Beyond that, there are some fantastic benefits to creating a diy sprinkler for kids:
- Cost-Effective Fun: Let’s be honest, summer activities can add up. A diy sprinkler for kids often uses materials you might already have lying around or can be purchased very cheaply. This means more money in your pocket for ice cream!
- Endless Customization: Store-bought sprinklers are one-size-fits-all. When you DIY, you control the design, the spray patterns, the size, and even the theme! Want a pirate ship sprinkler? Go for it! A flower garden sprayer? Absolutely!
- Educational & Engaging for Kids: This isn’t just about cooling off; it’s a mini-engineering project! Involving your kids in the design and building process teaches them basic problem-solving, creativity, and how things work. They’ll be so proud to play with something they helped create.
- Eco-Friendly Options: Got some old PVC pipes, a leaky pool noodle, or empty soda bottles? Don’t trash them – transform them! Building a diy sprinkler for kids is a fantastic way to upcycle and teach kids about repurposing materials.
- Quality Family Time: Planning, building, and finally testing your creation is a wonderful way to spend quality time together as a family. The shared laughter and teamwork build memories that last far longer than any plastic toy.
- Encourages Outdoor Play: In an age of screens, anything that gets kids antsy to run around outside is a huge win. A fun, wacky sprinkler is an irresistible draw for active, healthy play.
So, are you convinced yet? Building your own sprinkler isn’t just about saving a few bucks; it’s about creating a unique, engaging, and memorable summer experience.
Safety First! Important Considerations Before You Splash DIY Sprinkler for Kids
Before we dive into the “how-to,” let’s talk safety. Water play is fantastic, but it’s crucial to ensure your diy sprinkler for kids is a source of joy, not ouchies. Here are some key safety points to keep in mind:
- Water Pressure Awareness: While a strong spray is fun, ensure the water pressure isn’t too high, especially for younger children. Test it yourself first. You want refreshing sprays, not a jet wash!
- Choose Safe Materials: Opt for non-toxic materials. If using PVC, ensure it’s clean. Avoid any materials with sharp edges or small, detachable parts that could be choking hazards for very young children. Smooth down any rough cuts on pipes or plastic.
- Adult Supervision is Key: This one’s a golden rule for any water play. Always have an adult supervising when kids are using the sprinkler, no matter how shallow the water or seemingly safe the setup.
- Slip ‘n’ Slide (Not Always the Good Kind): Grass and paved areas will get slippery. Remind kids not to run recklessly around the sprinkler. Consider setting it up on a grassy area rather than concrete if possible, as grass offers a softer landing.
- Sun Safety Smarts: Sprinkler time often means sunshine time. Don’t forget sunscreen, hats, and regular breaks in the shade. Hydration is also important, so keep water bottles handy (for drinking, not just spraying!).
- Water Source and Hose Safety: Ensure your hose is in good condition, without kinks or leaks that could create tripping hazards or reduce pressure unexpectedly. Connect it securely to prevent it from detaching and whipping around.
- Check for Bugs and Debris: Before turning on the water each time, give your diy sprinkler for kids a quick check for any insects that might have made a home inside or debris clogging the holes.
By keeping these simple precautions in mind, you can ensure your homemade sprinkler provides hours of safe, refreshing fun. Now, let’s get to the exciting part – building!
Let’s Build! The Classic PVC Pipe diy sprinkler for kids (Detailed Guide) DIY Sprinkler for Kids
This PVC pipe sprinkler is a fantastic first project. It’s sturdy, customizable, and provides a wonderful, wide spray that kids absolutely love. It’s one of the best DIY sprinklers for summer fun because of its durability and the sheer amount of water play it offers.
What You’ll Need for Your PVC Sprinkler
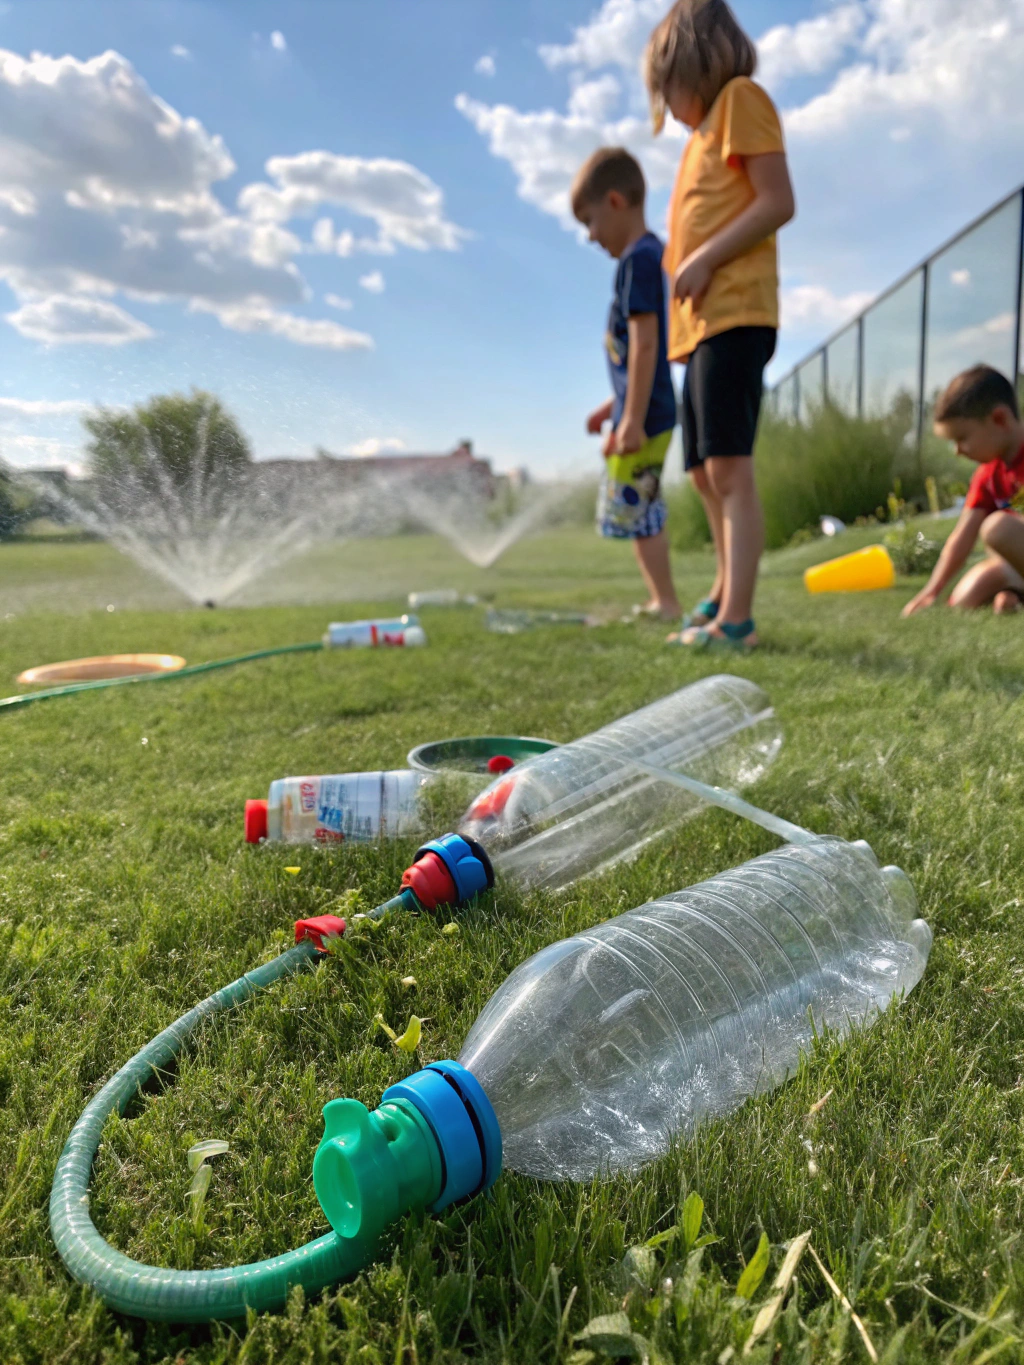
Essential tools and materials for your PVC diy sprinkler for kids project.
Here’s a list of common materials and tools. You can adjust quantities and sizes based on your desired design:
- PVC Pipes: Schedule 40 PVC is a good choice. The diameter (e.g., 1/2 inch or 3/4 inch) will affect water flow and sturdiness. You’ll likely need a few 5-foot or 10-foot lengths.
- PVC Connectors:
- Elbows (90-degree): For creating corners.
- Tees: For branching out and creating multiple spray arms.
- Caps: To seal the ends of your pipes.
- PVC Female Hose Adapter: This crucial piece allows you to connect your garden hose to the PVC pipe.
- PVC Primer and Cement (Optional but Recommended): For a permanent, leak-proof structure. If you want to disassemble it for storage, you can skip the cement and rely on a tight friction fit, but it might leak a bit.
- Measuring Tape: For accurate pipe cutting.
- Marker or Pencil: For marking cut lines and hole placements.
- PVC Pipe Cutter or Hacksaw: A dedicated PVC cutter gives the cleanest cuts, but a hacksaw works too.
- Drill with Various Bit Sizes: For making the sprinkler holes. Smaller bits for a fine mist, larger bits for more substantial streams.
- Safety Glasses: Essential when cutting or drilling!
- Gloves (Optional): For better grip and protection.
Now that you’ve gathered your supplies, let’s start building!
Step 1: Planning and Cutting Your PVC Pipes
This is where your creativity comes into play! Sketch out a design for your diy sprinkler for kids. Will it be a simple square? A towering arch? A multi-armed creation? For a basic design, you might plan for a square base with an upright arm or two.
Once you have your design, measure and mark your PVC pipes according to your plan. Remember the adage: “Measure twice, cut once!” Accurate cuts are key to a stable sprinkler.
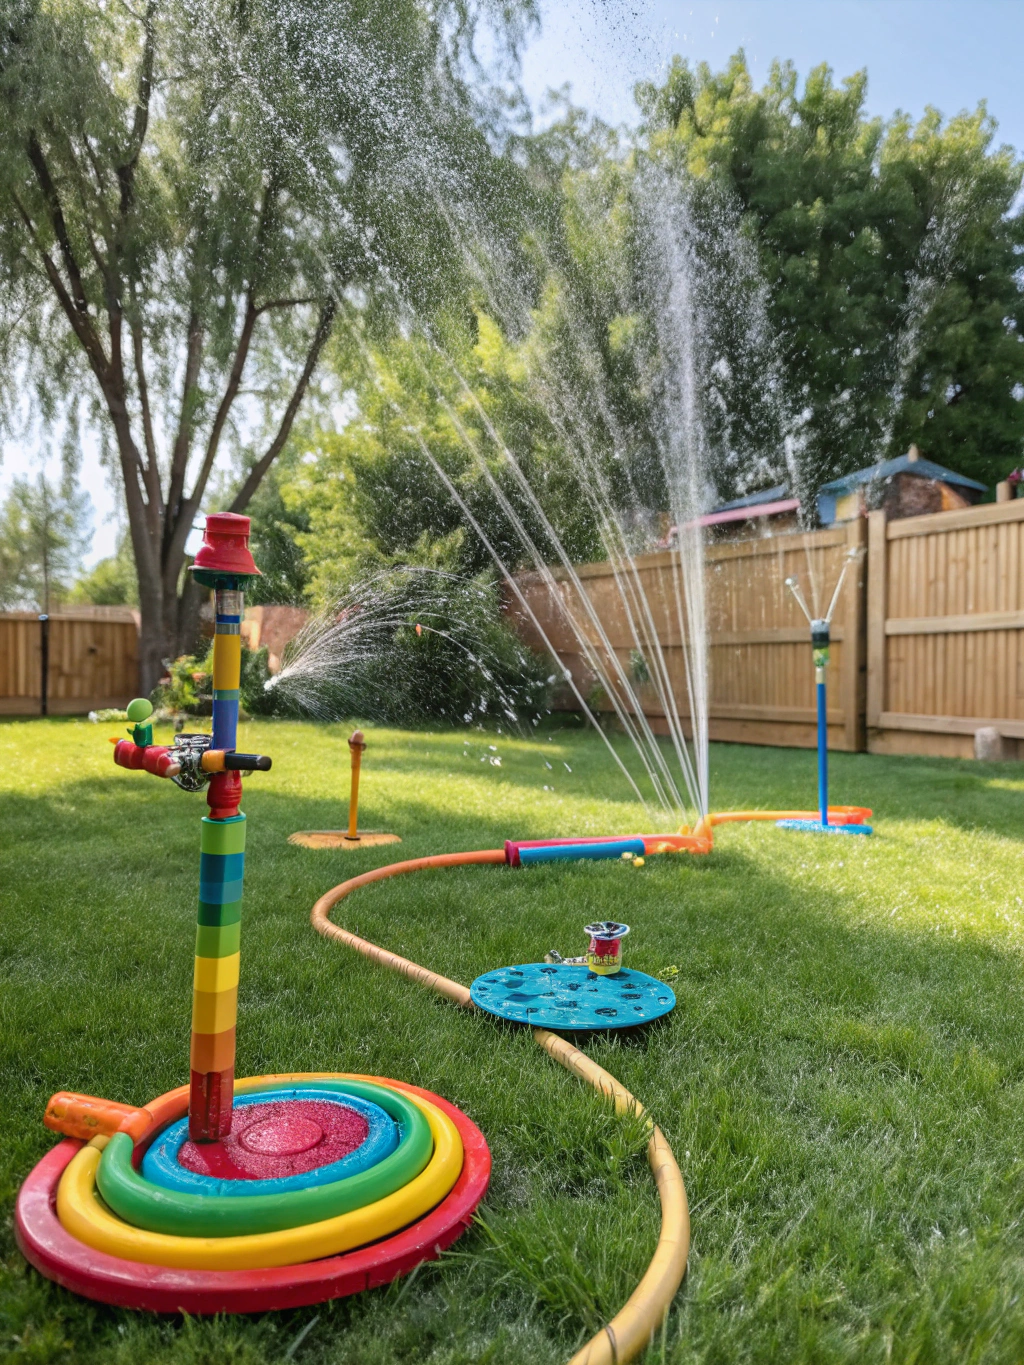
Step 1: Carefully measure and cut your PVC pipes to the desired lengths.
Using your PVC cutter or hacksaw, carefully cut the pipes at your marked lines. Try to make the cuts as straight as possible for a snug fit with the connectors. If using a hacksaw, you might want to lightly sand the cut edges to remove any burrs. This not only looks neater but also ensures a better seal with the connectors.
A common pitfall here is miscalculating pipe lengths, especially forgetting to account for the portion of the pipe that will go inside the connectors. Lay out your cut pieces with the connectors before cementing to double-check your design and dimensions.
Step 2: Drilling the Sprinkler Holes DIY Sprinkler for Kids
Time to give your sprinkler its spray! Decide where you want the water to come out and in what patterns. You can drill holes on one side of the pipe for a targeted spray or all around for a 360-degree soaking experience.
Using your drill, start making holes along the lengths of PVC pipe that will be your spray arms. Vary the angle and size of the holes for different water effects. Smaller holes (e.g., 1/16 to 1/8 inch) will create a finer mist, while larger holes will produce more substantial streams. Don’t put too many holes too close together, as this can reduce water pressure at each hole.
Why this matters: The placement, size, and number of holes directly influence the sprinkler’s performance. Experimentation is fun here! You can always start with fewer, smaller holes and add more or enlarge them if needed after testing. A common pitfall is drilling holes that are too large initially, which can lead to a weak spray if your water pressure isn’t super high. Also, ensure you’re drilling straight into the pipe to avoid odd spray angles unless intended.
Step 3: Assembling the PVC Frame DIY Sprinkler for Kids
Now, let’s put it all together! Begin by dry-fitting your cut PVC pipes and connectors to ensure everything aligns with your design. This is your last chance to make adjustments before anything becomes permanent.
If you’re happy with the dry fit and want a permanent structure, it’s time for PVC primer and cement. Apply a thin coat of primer to the outside of the pipe end and the inside of the connector socket. Follow immediately with a thin, even coat of PVC cement to both surfaces. Push the pipe into the connector with a slight twisting motion until it bottoms out. Hold it firmly in place for about 30 seconds to allow the cement to set.
Work relatively quickly, as PVC cement sets fast. Ensure each connection is secure and angled correctly according to your plan. If you’re skipping cement for a disassemblable version, just push the pieces together firmly. It might wobble a bit more and could have minor leaks at the joints, but it will still work for fun in the sun!
Step 4: Adding the Hose Connector DIY Sprinkler for Kids
This is a crucial step to get water into your diy sprinkler for kids. Identify the point in your design where you want to attach the garden hose. This will typically be at the end of one of your base pipes.
Attach the female PVC hose adapter to this point. If you’re using primer and cement, apply them as you did for the other connections. Ensure this connection is particularly secure, as it will be under constant pressure from the hose.
Make sure the adapter is oriented correctly so the threaded end is accessible for your garden hose. A common pitfall is forgetting to include this adapter in the initial design or placing it in an awkward spot that makes attaching the hose difficult. Double-check its placement before cementing.
Step 5: Testing and Adjusting Your Masterpiece
The moment of truth! Take your assembled diy sprinkler for kids out to the yard. Securely attach your garden hose to the PVC hose adapter. Start by turning the water on slowly to check for major leaks or misaligned sprays.
Once you’re confident, turn the water pressure up. Watch how it sprays!
- Are the streams going where you want?
- Is the pressure good?
- Are there any significant leaks at the joints (if you didn’t use cement)?
If the spray isn’t quite right, you can make adjustments. If some streams are too weak, you might have too many holes, or some might be too large. You can plug unwanted holes with small dabs of waterproof silicone or even by inserting a small screw coated in silicone. If you need more spray in certain areas, you can carefully drill additional holes. If it’s tipping over, you might need to widen the base or add some simple stakes (U-shaped garden stakes work well).
This testing phase is all part of the fun of DIY. Embrace the trial and error, and soon you’ll have a perfectly tuned water-blasting machine!
More Awesome diy sprinkler for kids Ideas
The PVC pipe sprinkler is just one of many fantastic ideas. If you’re looking for more inspiration on “”DIY sprinkler for kids ideas, How to make a DIY sprinkler for kids, Best DIY sprinklers for summer fun””, there are countless creative options. For a wide range of DIY projects, including seasonal ones, HGTV offers a wealth of inspiration at their handmade holiday decorating ideas section, which can spark creativity for all sorts of projects. Here are a few more easy and exciting diy sprinkler for kids projects:
The Wacky Pool Noodle Sprinkler
This is perhaps one of the easiest and most colorful diy sprinkler for kids options!
- Brief Intro: Transform a humble pool noodle into a wild, wiggly water sprayer. Perfect for younger kids due to its soft material.
- Materials:
- Pool Noodle (bright colors are more fun!)
- Duct Tape or waterproof tape
- Skewer or Awl (for poking holes)
- Garden Hose
- Simplified Steps:
- Seal One End: Fold one end of the pool noodle over on itself and secure it tightly with duct tape to create a waterproof seal. This is where you’ll push the hose in.
- Poke Holes: Using your skewer or awl, poke holes all over the sides of the pool noodle. Get creative with the pattern! More holes mean more spray.
- Attach Hose: Carefully insert the end of your garden hose into the open end of the pool noodle. You want a snug fit. You can secure it further with more duct tape around the noodle and hose connection if needed, but often a tight push-fit is enough for fun.
- Turn on the Water: Lay the noodle on the grass, turn on the tap, and watch it wiggle and spray!
- Fun Factor: The way the noodle writhes and sprays in unpredictable directions is guaranteed to cause giggles. Plus, it’s super quick to make!
- Tip: Use different colored pool noodles and link them (though this gets trickier with water pressure) for a mega-sprinkler!
The Soaker Sensation: 2-Liter Bottle Sprinkler
Another super simple and eco-friendly diy sprinkler for kids, perfect for using up those recyclables.
- Brief Intro: An empty soda bottle becomes a surprisingly effective little sprinkler with just a few modifications.
- Materials:
- Empty 2-Liter Plastic Bottle (cleaned)
- Drill or Sharp Skewer/Nail
- Female Hose Connector (the kind that screws onto a male hose end, OR strong waterproof tape if you don’t have a connector)
- Garden Hose
- Simplified Steps:
- Prepare the Bottle: Remove the label and clean the bottle thoroughly.
- Drill/Poke Holes: Carefully drill or poke multiple small holes into the sides and bottom of the plastic bottle. The more holes, the gentler the spray from each.
- Attach to Hose: This is the trickiest part.
- With Connector: Some female hose end repair kits can be adapted to fit tightly into the bottle opening, possibly with some silicone sealant.
- Tape Method (Simpler): Firmly push the end of the garden hose into the mouth of the bottle. Secure it with several layers of strong, waterproof duct tape, creating as tight a seal as possible around the hose and bottle neck.
- Let it Rip: Lay the bottle on its side on the lawn, turn on the water, and watch your bottle sprinkler go!
- Fun Factor: It’s amazing how much spray you can get from a simple bottle! Kids can even help decorate the bottle with permanent markers before making it into a sprinkler.
- Tip: Try different sized bottles for different effects. Several smaller bottles taped to a stick can make a multi-headed sprinkler.
The Colander Cascade Sprinkler
This diy sprinkler for kids is quirky, quick, and uses an item you might already have in your kitchen!
- Brief Intro: An old colander (metal or sturdy plastic) can create a lovely, gentle shower effect when attached to a hose.
- Materials:
- Old Colander (preferably one you don’t mind dedicating to outdoor fun)
- Zip Ties or Strong Waterproof Tape
- Garden Hose
- Optional: A Stake or Tripod (to elevate it)
- Simplified Steps:
- Position the Colander: Decide if you want it on the ground or elevated.
- Attach the Hose: Point the end of your garden hose upwards into the base of the colander. Secure the hose head firmly to the colander’s base using several zip ties or strong waterproof tape. Ensure the hose opening is pointing up through the colander holes.
- Elevate (Optional): If you want a taller shower, you can attach the colander (with hose already secured) to the top of a garden stake driven into the ground or even a small, sturdy camera tripod.
- Turn on the Water: Adjust water flow for a gentle cascade or a more vigorous spray.
- Fun Factor: The wide, rain-like shower is lovely and less intense than some other sprinklers, making it great for toddlers or kids who prefer a gentler water experience.
- Tip: If your colander holes are too big, you can try lining the inside with a layer of fine mesh (like an old onion bag) to get a finer spray.
The DIY Water Blob Sprinkler
This one takes a bit more effort but the payoff is HUGE fun – a slippery, splashy surface that also sprays water!
- Brief Intro: Create a giant water pillow that also acts as a sprinkler for an ultimate backyard splash pad.
- Materials:
- Heavy-Duty Plastic Sheeting (painter’s plastic, at least 4-6 mil thick. The thicker, the better. Two large pieces, e.g., 8×10 feet each).
- Duct Tape (lots of it, and strong!) or Iron and Parchment Paper (for heat sealing)
- Garden Hose
- Food Coloring (Optional): A few drops in the water inside can make it look cool.
- Sprinkler Attachment for Hose (Optional): If you want it to spray from the blob.
- Simplified Steps (Duct Tape Method):
- Lay Out Plastic: Lay one sheet of plastic flat on the ground. Lay the second sheet on top, aligning the edges.
- Tape Edges: Carefully and securely tape three of the four edges of the plastic sheets together with duct tape, creating a large pouch. Use multiple layers of tape and ensure a very strong, waterproof seal. Leave one edge (or a corner) open for now. Overlap tape generously.
- Insert Hose & Fill: Insert the garden hose into the open edge. Start filling the blob with water. Add a few drops of food coloring now if desired. Don’t overfill; you want it to be a squishy pillow, not a taut balloon about to pop.
- Seal Final Edge: Once partially filled (enough to be fun but still have give), carefully remove the hose and quickly seal the final edge with duct tape, making sure it’s completely watertight. This can be tricky; you might need an extra pair of hands.
- Add Sprinkler Action:
- Underneath: Place a regular oscillating sprinkler under one edge of the blob so it sprays up and over.
- On Top: Poke very small holes on the top surface of the blob. As kids play and press on it, water will squirt out! (Be careful with this, as holes can become tears).
- Alternative: Don’t poke holes. Simply wet the top surface of the blob with the hose and let kids slip and slide.
- Fun Factor: It’s a giant, cool, slippery surface! Kids will love sliding, jumping (gently!), and lounging on it.
- Heat Sealing Method (More durable): Instead of tape, fold the edges of the plastic over by about 2 inches, place parchment paper on top, and carefully iron on a low-medium setting to melt the plastic sheets together. This creates a stronger seal but requires more care.
- Important: This requires very sturdy plastic and careful sealing. Always supervise closely as it can be very slippery. Best on a soft, grassy, and level surface.
Unleash the Fun! Your Completed diy sprinkler for kids
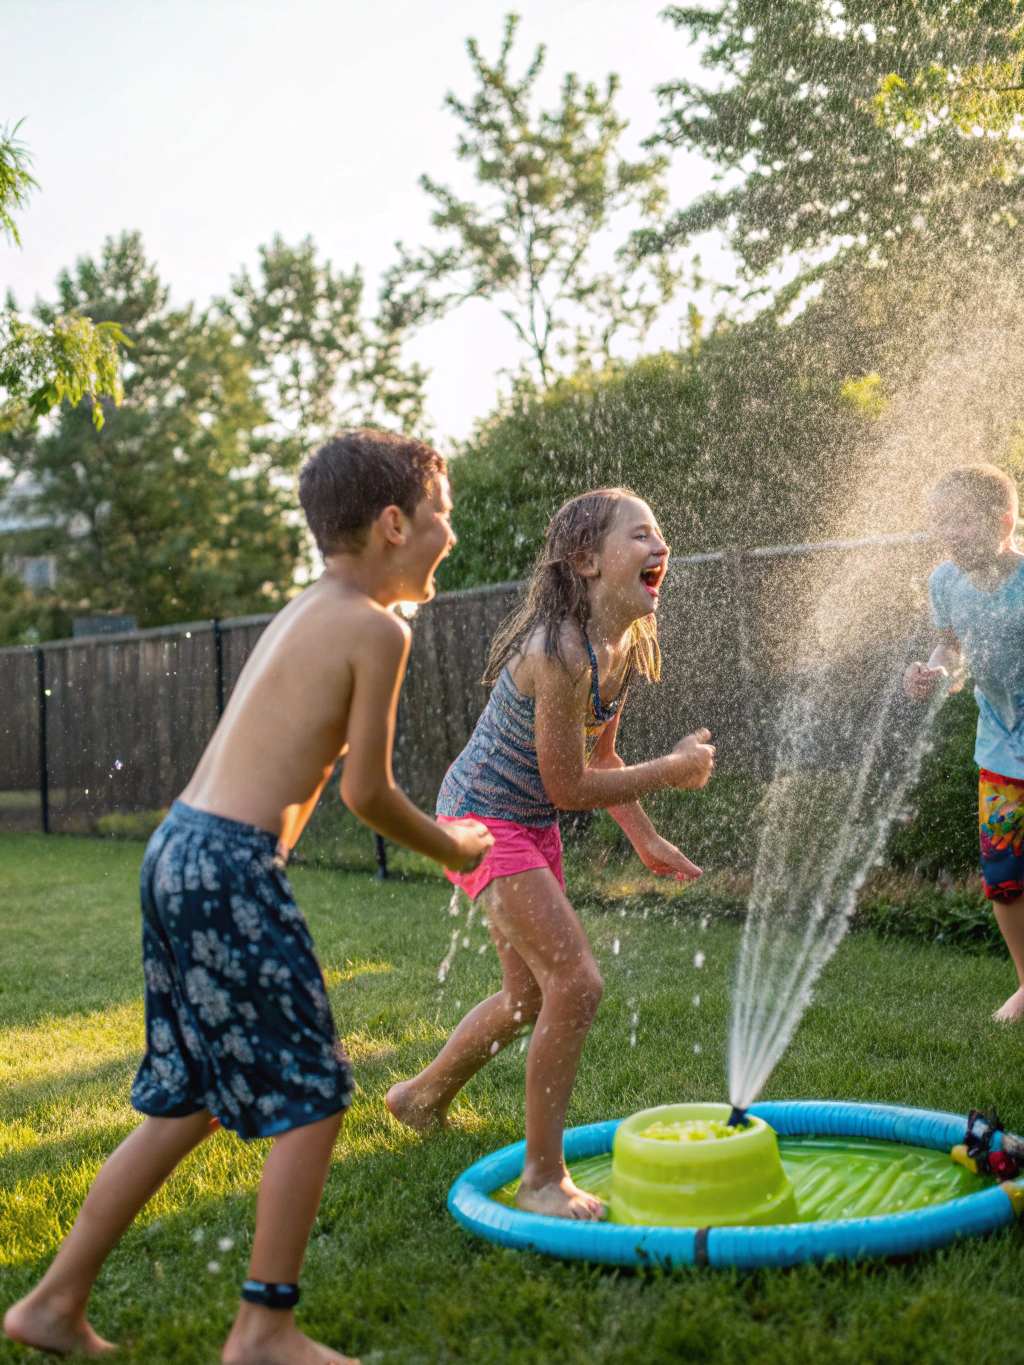
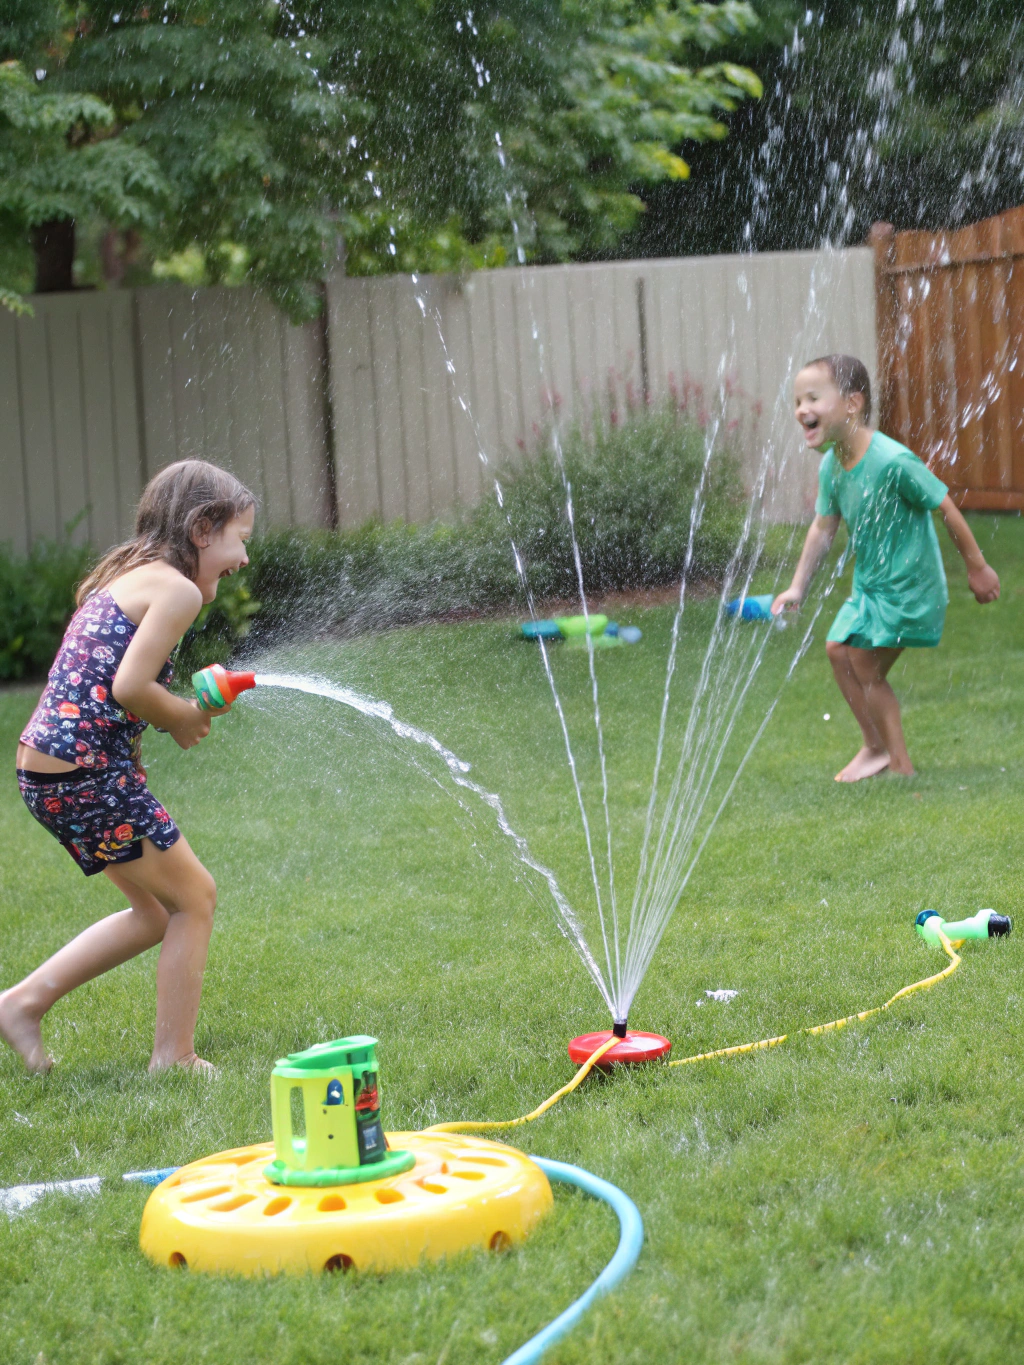
Pure joy! The completed diy sprinkler for kids delighting kids on a summer day.
There you have it! Whether you opted for the robust PVC design, the wiggly pool noodle, the simple bottle sprayer, the colander cascade, or the ambitious water blob, your diy sprinkler for kids is ready to bring on the smiles and splashes. The best part is knowing you created this summer joy with your own hands, perhaps even with a little help from your excited mini-DIYers.
Watch as they shriek with delight, darting through the cool sprays, and inventing all sorts of watery games. This is what summer memories are made of! We’d absolutely love to see your creations. Share a picture or tell us about your DIY sprinkler adventures in the comments below! What modifications did you make? What was your kids’ favorite part?
Pro Tips for Maximum Sprinkler Fun & Longevity
Want to take your diy sprinkler for kids experience to the next level and ensure it lasts all summer (and maybe even next)? Here are some pro-tips:
- Water Pressure is Your Friend (and Foe): Too little, and it’s a dribble. Too much, and it could bust your DIY seals or be too intense for little ones. Experiment with your tap to find the sweet spot. A simple ball valve attachment on your hose can give you finer control right at the sprinkler.
- Angle for Action: For PVC sprinklers, try angling some holes slightly upwards for high arcs, and others outwards for a wider spray. This creates a more dynamic water playground.
- Elevation Exploration: For ground-based sprinklers like the pool noodle or bottle, try propping them up on small rocks or a makeshift stand to change the spray pattern and height.
- Storage Smarts: At the end of the season (or even between uses), drain your diy sprinkler for kids completely. Store PVC sprinklers in a shed or garage to protect them from becoming brittle in extreme temperatures. Pool noodles and plastic bottles should also be stored out of direct sun to prolong their life.
- Clean Out Clogs: Occasionally, small debris or hard water deposits can clog sprinkler holes. Use a pin or a small drill bit (by hand) to gently clear them out.
- Make it a Learning Game: Talk about how the water pressure works, why certain hole sizes create different sprays, or even incorporate your diy sprinkler for kids into a “water cycle” lesson. Learning through play is always a win!
- Accessorize! Add some waterproof toys, buckets, or watering cans nearby for even more water play opportunities.
- Consider a Timer: If you’re worried about water usage or kids forgetting to turn it off, a simple hose timer can be a great investment.
Troubleshooting Common diy sprinkler for kids Issues
Even the best DIY projects can hit a snag. Here’s how to tackle some common diy sprinkler for kids issues:
- Problem: Leaks at Connections (especially non-cemented PVC or taped connections).
- Solution: For PVC, try disassembling, ensuring the pipe and connector are clean, and pushing them together very firmly. If it’s a persistent leak, you might need to resort to PVC cement for that joint. For taped connections (like on a bottle or pool noodle), dry the area thoroughly and reapply fresh, strong waterproof tape, ensuring plenty of overlap and a tight wrap. Plumber’s tape (Teflon tape) on threads before connecting a hose adapter can also help.
- Problem: Low Water Pressure or Weak Spray.
- Solution:
- Check your main tap is fully open.
- Ensure your garden hose isn’t kinked.
- You might have too many holes, or the holes might be too large for your available water pressure. Try plugging a few holes (waterproof silicone or even small screws can work temporarily) and see if it improves.
- Inspect holes for clogs.
- Solution:
- Problem: Sprinkler Keeps Tipping Over.
- Solution:
- For PVC sprinklers, try widening the base by adding more horizontal pipe sections. You can also use U-shaped garden stakes to pin the base pipes to the ground.
- For lighter sprinklers like pool noodles or bottles, weighing them down with a small rock placed on a non-spraying part can help, or create a small trench for them to sit in.
- Solution:
- Problem: Pool Noodle or Bottle Sprinkler Blows Off the Hose.
- Solution: The connection isn’t tight enough, or the water pressure is too high for the friction fit. Reduce water pressure slightly. For a more secure fit, wrap more duct tape around the hose before inserting it into the noodle/bottle to make it thicker, then tape over the outside connection as well. A hose clamp (if you have one small enough) could also work around the outside of the noodle/bottle neck over the hose.
Remember, DIY is about experimenting and finding what works. Don’t be discouraged by minor issues; they’re just opportunities to refine your awesome creation!
FAQs: Your diy sprinkler for kids Questions Answered
Here are some common questions we get about making a diy sprinkler for kids:
Q1: What are some super creative DIY sprinkler for kids ideas beyond basic pipes and bottles?
A: Absolutely! Think about incorporating an old hula hoop (drill holes and connect a hose), or a repurposed five-gallon bucket with holes drilled in the bottom, hung from a tree branch for a ‘rain shower’ effect. You could even try making a ‘car wash’ style sprinkler with PVC arches for kids to bike or run through. The key is to look at common household items or recyclable materials with fresh eyes and think,
“How can I make water spray out of this in a fun way?” For even more unique concepts and general “”DIY sprinkler for kids ideas, How to make a DIY sprinkler for kids, Best DIY sprinklers for summer fun””, a quick online search can unveil some truly inventive community projects.
Q2: How to make a DIY sprinkler for kids that’s both safe and durable?
A: For safety, always smooth any sharp edges, especially on cut PVC or plastics. Use non-toxic materials and ensure adult supervision. For durability, if using PVC, using PVC primer and cement will create much stronger, longer-lasting joints than friction-fitting. For softer materials like pool noodles, using high-quality, strong waterproof tape is key. Store your DIY sprinklers out of harsh sun and freezing temperatures when not in use to prevent material degradation.
Q3: What are the best DIY sprinklers for summer fun if I have very limited DIY skills?
A: The pool noodle sprinkler and the 2-liter bottle sprinkler are definitely your go-to options! They require minimal tools (often just something to poke holes and some tape) and can be assembled in minutes. They are forgiving projects and provide a ton of fun for the effort involved. Don’t underestimate the simple joy these can bring!
Q4: Can I paint my PVC diy sprinkler for kids?
A: Yes, you can! Make sure to use a paint that’s specifically designed for plastics (like Krylon Fusion for Plastic). Clean the PVC thoroughly before painting. Lightly sanding the PVC surface can also help the paint adhere better. Let the paint cure completely according to the manufacturer’s instructions before using the sprinkler. This adds a fantastic pop of color and personality!
Q5: How can I make my diy sprinkler for kids more water-efficient?
A: Use smaller drill bits for finer holes – this generally uses less water while still providing a good spray. Also, don’t run the sprinkler for excessively long periods. You can use a hose timer to manage water usage. Position the sprinkler strategically so the water mainly lands where the kids are playing, minimizing runoff onto patios or driveways. Teaching kids about water conservation as part of the fun is also a great idea!
Get Creative and Make a Splash!
Building a diy sprinkler for kids is more than just a project; it’s an invitation to creativity, outdoor play, and unforgettable summer moments. We hope these ideas and tips have inspired you to grab some basic materials and craft your own backyard water park.
Now it’s your turn! Which diy sprinkler for kids idea are you most excited to try? Do you have any other brilliant sprinkler hacks or fun summer DIYs to share? Drop a comment below – we love hearing from fellow DIY enthusiasts!
And if you found this guide helpful, why not share it with your friends and family? For more awesome DIY projects, home improvement tips, and seasonal inspiration like our other diy sprinkler for kids tutorials, be sure to subscribe to our newsletter and follow us on social media! Happy building, and happy splashing!

