Table of Contents of DIY Sun Tea Jar
Capture the essence of summer with your very own DIY sun tea jar.
Hey there, fellow DIY enthusiasts! Ever find yourself longing for that perfect, old-fashioned glass of iced tea, but the thought of fiddling with stovetop brewing on a hot day just makes you wilt? Well, you’re in for a treat! Today, we’re diving into an incredibly simple and rewarding project: creating your very own diy sun tea jar. This method is not only wonderfully nostalgic but also harnesses the gentle power of the sun to brew a smooth, less bitter tea. Forget complicated gadgets; we’re going back to basics for a truly refreshing experience. Get ready to sip on sunshine!
Making your own sun tea is a fantastic Sun tea jar DIY project that’s both fun and incredibly easy. It’s a delightful way to enjoy a classic summer beverage with minimal effort. Plus, there’s something truly satisfying about watching the sun work its magic, transforming simple ingredients into a delicious, chilled drink. We’ll walk you through the Best DIY sun tea jar steps to ensure your brew is perfect every single time.
What You’ll Need for Your DIY Sun Tea Jar
Before we dive into the “how-to,” let’s gather our supplies. The beauty of a diy sun tea jar is its simplicity, and that extends to the materials list. You likely have most of these items already!
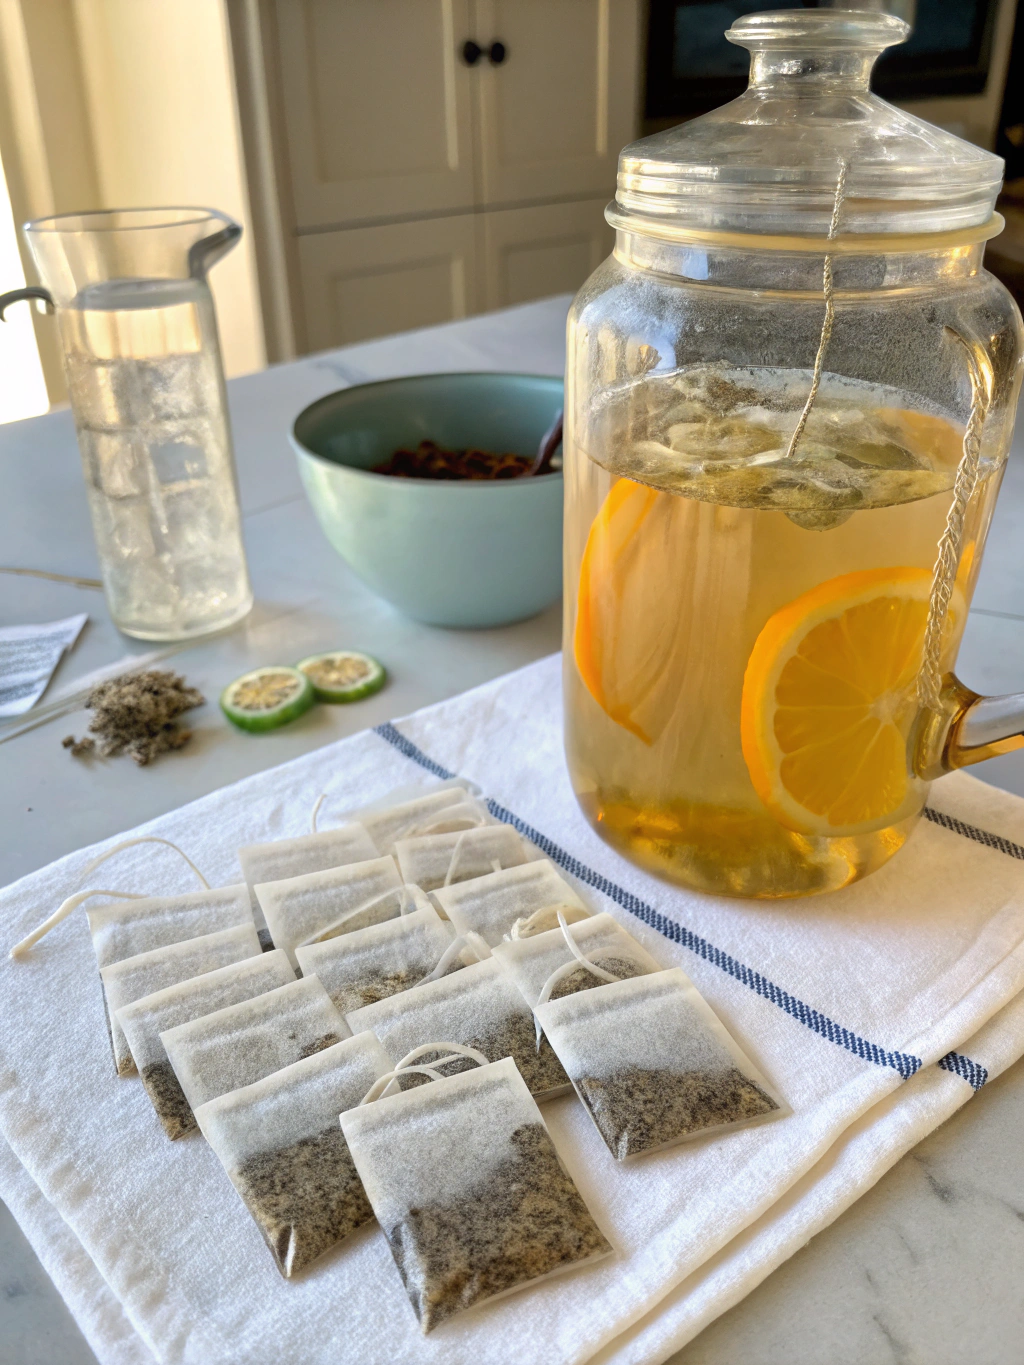
Gather these simple items, and you’re ready to start your sun tea adventure.
Here’s what you’ll need:
- A large glass jar with a lid (at least 1 gallon/4 liters recommended): This is your primary brewing vessel, the star of our DIY solar tea maker show. Ensure it’s thoroughly cleaned. A clear jar works best so you can watch the magic happen. Many consider a classic glass beverage dispenser with a spigot the best jar for sun tea due to its convenience.
- Tea bags: About 8-10 standard-sized tea bags for a gallon of water. Black tea is traditional, but feel free to experiment with green tea, herbal teas, or a mix! Lipton or Luzianne are popular choices for classic sun tea.
- Filtered water: Cold or room temperature. Good quality water makes a big difference in the final taste.
- (Optional) Sweetener: Sugar, honey, agave, or simple syrup, to taste. You can add this after brewing.
- (Optional) Flavor enhancers: Lemon slices, fresh mint leaves, berries, or peach slices. Add these after brewing and chilling.
- A sunny spot: This is crucial! Your porch, patio, windowsill, or any spot that gets several hours of direct sunlight will do.
Having the right homemade sun tea container is key. While any large, clean glass jar will work, some people prefer specific features. If you’re looking for more inspiration on upcycling items for projects like this, check out these upcycled gift ideas – you might find your next diy sun tea jar inspiration there!
How to Make DIY Sun Tea Jar: 5 Simple Steps
Alright, let’s get to the fun part – brewing! Follow these simple steps for a perfect pitcher of sunshine. This easy sun tea recipe jar method is practically foolproof.
Step 1: Prepare Your Jar and Tea Bags
First things first, ensure your chosen glass jar is squeaky clean. Any residue can affect the taste of your tea or even encourage bacterial growth. Wash it thoroughly with hot, soapy water and rinse well. This is a critical first step in any “How to make DIY sun tea jar” guide.
Step 1: Starting with a clean jar and your favorite tea bags is essential for a great DIY sun tea.
Once your jar is sparkling, place your tea bags inside. For a gallon jar, 8-10 tea bags usually do the trick. You can leave the strings hanging over the edge of the jar if you like, or tuck them inside. If your tea bags have paper tags, you might want to remove them or ensure they stay outside the jar to prevent them from getting soggy and disintegrating into your tea.
The choice of tea is entirely up to you! Classic black tea like Lipton or Luzianne gives that iconic sun tea flavor. However, don’t be afraid to experiment. Green tea, white tea, or even herbal infusions like hibiscus or chamomile can make wonderful sun teas. Many a Sun tea jar DIY project has been elevated by a unique tea blend.
Step 2: Add Water
Next, fill the jar with cold or room-temperature filtered water. Pour it gently over the tea bags, filling the jar almost to the top, leaving a little headspace (about an inch or so). Using filtered water is recommended because tap water can sometimes have chlorine or other minerals that might affect the final taste of your delicate sun tea.

Step 2: Gently fill your jar with fresh, filtered water for the best tasting sun tea.
Why cold or room temperature water, you ask? Hot water can sometimes make the tea bitter, especially when combined with prolonged sun exposure. The gentle warmth of the sun is all we need for this brewing method. It slowly coaxes the flavor and color from the tea leaves, resulting in a smoother, less astringent brew. This is one of the Best DIY sun tea jar steps for achieving that perfect, mellow flavor.
Ensure the tea bags are fully submerged. If they float, you can gently push them down with a clean spoon. Now, put the lid on your jar. A tight-fitting lid is good to keep out any curious insects or falling debris while your tea is basking in the sun.
Step 3: The Sun Bath!
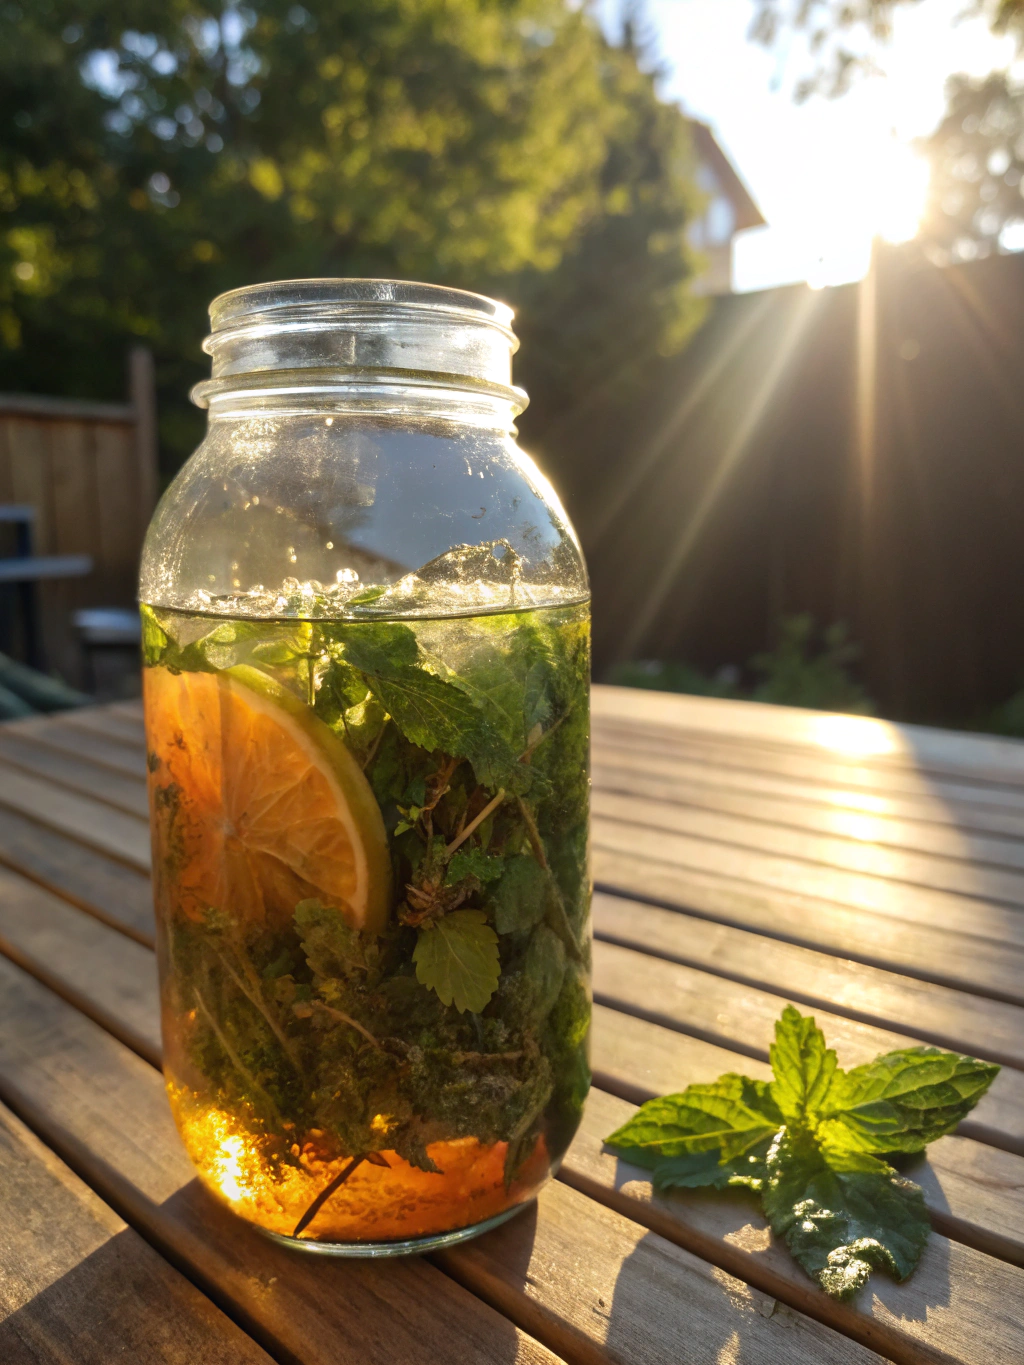
This is where the magic happens! Take your filled and sealed diy sun tea jar and place it in a spot that receives direct sunlight for several hours. This could be your sunniest windowsill, a patio table, your porch steps, or even a clear spot in your garden.

Step 3: Let the sun work its magic! Find a warm, sunny spot for your tea to brew.
How long should it steep? Typically, 3 to 5 hours is sufficient, depending on the intensity of the sun and how strong you like your tea. On a very hot, sunny day, it might brew faster. On a cloudier (but still warm) day, it might take a bit longer. Keep an eye on the color. You’re looking for a nice, rich amber hue for black tea, or a lighter, appealing color for green or herbal teas.
Avoid leaving the tea in the sun for too long (e.g., all day or overnight), as this can sometimes encourage bacterial growth, especially if the tea isn’t refrigerated promptly after brewing. The goal is a gentle, warm infusion, not cooking the tea. This step is paramount when learning “How to make DIY sun tea jar”. For more creative outdoor projects, you might find inspiration from sources like HGTV’s handmade holiday decorating ideas, which often feature charming outdoor elements – though we’re focusing on summer vibes here, the creativity is universal! You can check out some ideas here: “Sun tea jar DIY project, Best DIY sun tea jar steps, How to make DIY sun tea jar”.
Step 4: Strain (If Needed) and Chill
Once your tea has reached the desired strength and color, it’s time to bring it inside. Carefully remove the tea bags from the jar. Squeeze them gently to get all that concentrated tea goodness out, but don’t wring them too hard, as this can release more tannins and make the tea bitter. If any tea leaves have escaped the bags, you might want to strain the tea through a fine-mesh sieve into a clean pitcher, but this is usually not necessary if you’ve used good quality tea bags.

Step 4: Tea bags removed, your sun tea is now ready to be chilled to perfection.
Now, for the chilling part. Place your freshly brewed sun tea in the refrigerator. It needs at least a couple of hours to get perfectly cold and refreshing. Sun tea is best served chilled! This cooling period also helps to meld the flavors, especially if you plan to add sweeteners or other flavorings.
A common pitfall is leaving the tea out at room temperature for too long after brewing. For food safety reasons, it’s best to refrigerate sun tea within a few hours of it coming out of the sun. Proper chilling is a crucial component of the Best DIY sun tea jar steps.
Step 5: Sweeten, Flavor, and Serve!
Your sun tea is brewed and chilled – now it’s time for the final, delicious touches! If you prefer your tea sweetened, now is the moment to add your sweetener of choice. Granulated sugar can be a bit tricky to dissolve in cold tea, so using a simple syrup (equal parts sugar and water, heated until sugar dissolves, then cooled) is often easier. Honey, agave nectar, or your favorite sugar substitute also work wonderfully. Add a little at a time and taste until it’s just right for you.
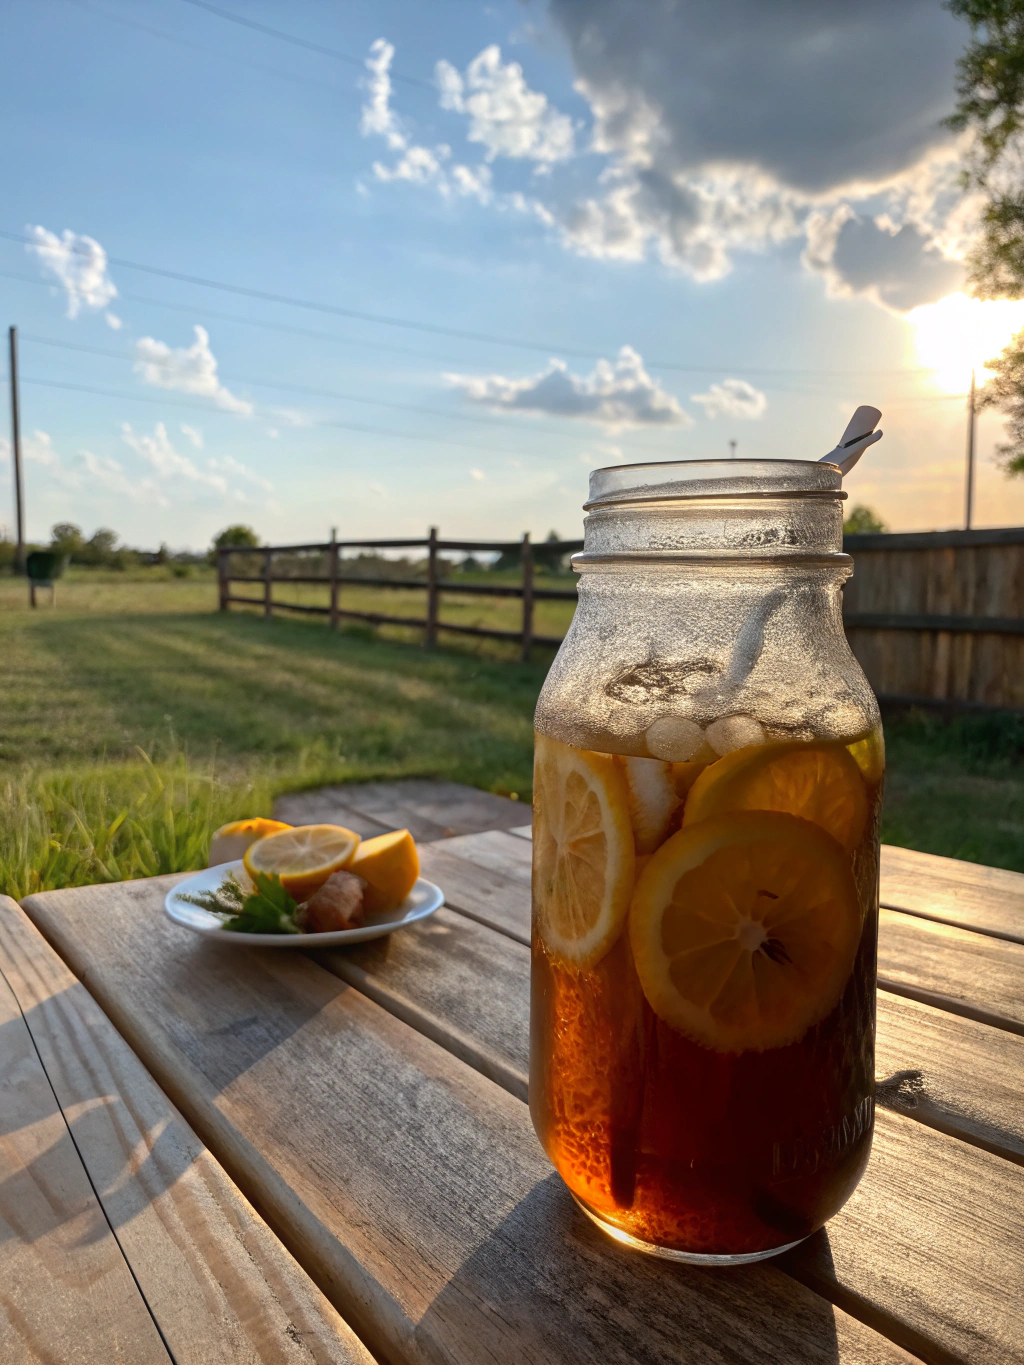
Step 5: The glorious final result! Your perfectly brewed and chilled DIY sun tea, ready to enjoy.
This is also when you can get creative with flavorings! Add slices of fresh lemon or orange for a citrusy zing. Toss in a handful of fresh mint leaves for extra refreshment. Berries like raspberries or sliced strawberries can add a lovely fruity note, and a few slices of fresh peach make for a divine summer treat. Stir gently to combine.
Serve your diy sun tea jar creation over plenty of ice in tall glasses. Garnish with an extra lemon wedge or a sprig of mint if you’re feeling fancy. Ah, perfection! Now sit back, relax, and enjoy the fruits (or rather, teas) of your minimal labor. This easy sun tea recipe jar truly delivers maximum refreshment with minimal fuss.
The Glorious Result: Your Perfect Sunshine Brew

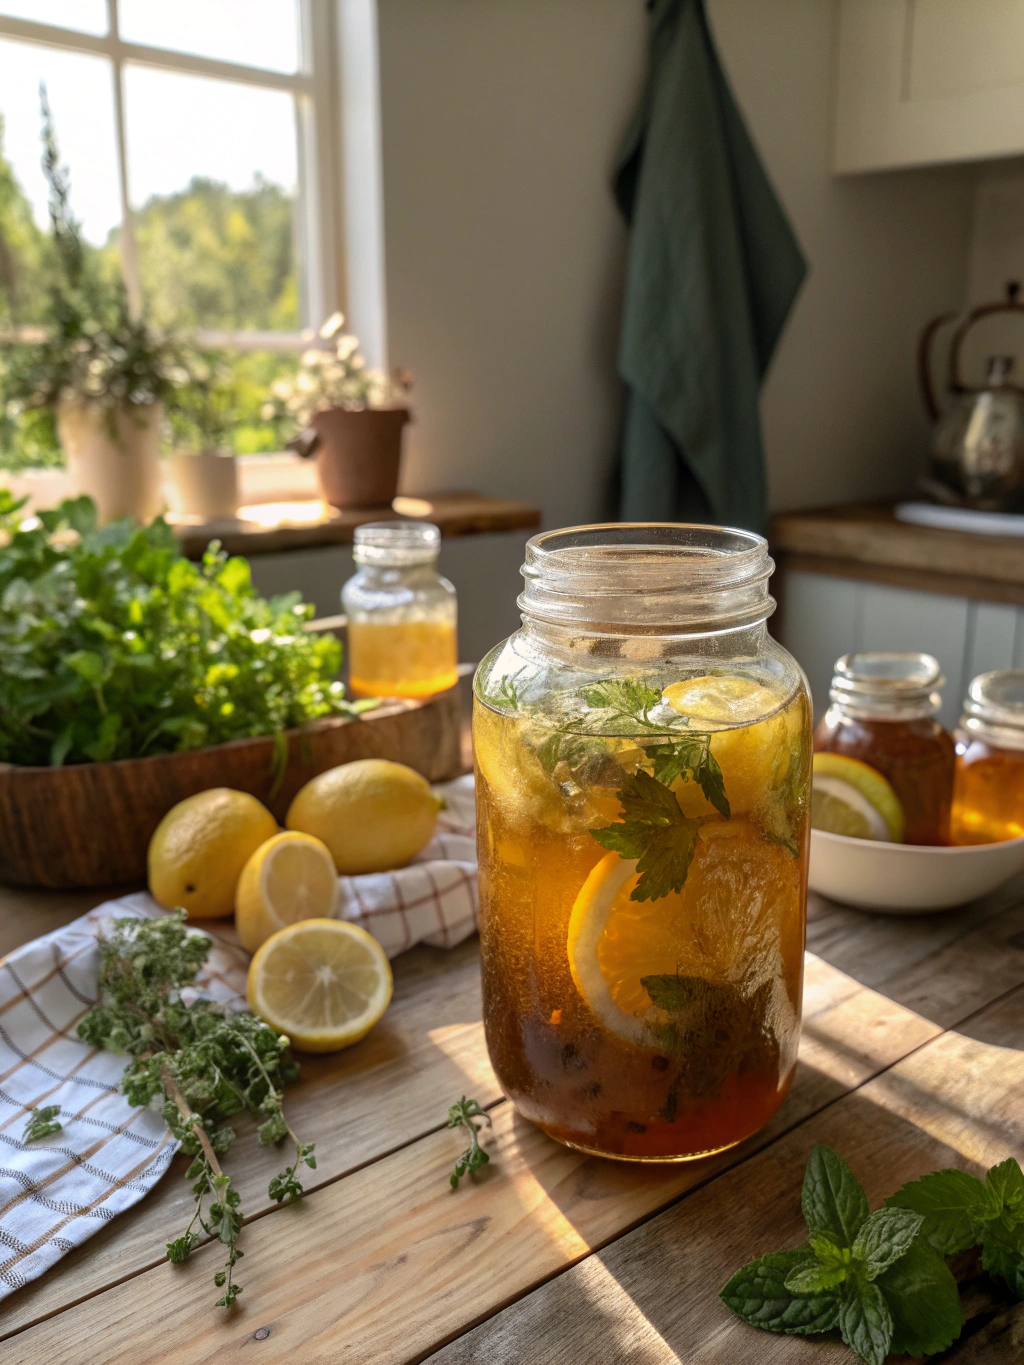
Behold! Your perfectly brewed, refreshing DIY sun tea, ready to be savored.
And there you have it! A beautiful, golden-amber pitcher (or jar!) of homemade sun tea, brewed to perfection using nothing but tea, water, and the power of the sun. The taste is often described as smoother and less bitter than tea brewed with boiling water, with a delightful, clean flavor that’s incredibly refreshing on a hot day.
Making a diy sun tea jar is more than just a recipe; it’s an experience. It’s about slowing down, embracing simple pleasures, and enjoying a little bit of DIY magic. We encourage you to try this Sun tea jar DIY project – it’s so easy and the reward is so delicious.
What are your favorite tea combinations for sun tea? Do you have any special tips or tricks for making the best jar for sun tea? Share your experiences, photos, and suggestions in the comments below! We love to hear from our fellow DIYers and tea lovers.
Pro Tips & FAQs for Your DIY Sun Tea Jar
To help you achieve sun tea nirvana, here are a few extra tips and answers to frequently asked questions. Mastering these will make your DIY solar tea maker experience even better!
How to Make a Great DIY Sun Tea Jar: Pro Tips
- Jar Selection Matters: While any clean glass jar works, a best jar for sun tea often has a wide mouth for easy cleaning and adding/removing tea bags. Dispensers with spigots are super convenient for serving.
- Tea Quality: Use good quality tea bags or loose-leaf tea in an infuser. The better the tea, the better the flavor.
- Water Wisdom: Always use filtered water if possible. Tap water can contain chlorine or minerals that might give your tea an off-taste.
- Sun Smarts: Don’t over-brew! 3-5 hours is generally the sweet spot. Too long in strong sun can sometimes lead to a “cooked” taste or encourage bacterial growth.
- Experiment with Flavors: Once brewed and chilled, try adding fresh ginger slices, cucumber ribbons, or even a splash of fruit juice for unique twists.
- Storage Savvy: Store your sun tea in the refrigerator and consume it within 2-3 days for the best flavor and safety. If it looks cloudy or smells off, it’s best to discard it.
- Cleanliness is Key: Always start with a scrupulously clean jar and lid. This is the most important step to prevent any unwanted bacterial growth.
Frequently Asked Questions (FAQs)
Q1: Is it safe to make sun tea? I’ve heard concerns about bacteria.
This is a common question! While there’s a theoretical risk of bacterial growth because the water isn’t boiled, you can minimize this greatly by:
- Using an impeccably clean jar.
- Using good quality, fresh water.
- Not over-steeping (stick to the 3-5 hour window).
- Refrigerating the tea promptly after brewing.
- Consuming within 2-3 days.
Many people have made sun tea for generations without issue by following these common-sense practices. If you are very concerned, you can opt for “refrigerator tea” – same process, just steep it in the fridge for 8-12 hours. It yields a similar smooth taste.
Q2: Can I use loose leaf tea for my diy sun tea jar?
Absolutely! Loose leaf tea works wonderfully. You’ll need a large tea ball, infuser, or several disposable tea filter bags. Use about 1-2 teaspoons of loose tea per 8 ounces of water (so, for a gallon, roughly 16-32 teaspoons, or 1/3 to 2/3 cup, depending on the tea type and your strength preference). Strain well before chilling.
Q3: What are the best types of tea for making sun tea in a homemade sun tea container?
Classic black teas like Orange Pekoe, Lipton, or Luzianne are traditional and make excellent sun tea. However, green tea, white tea, oolong tea, and herbal teas (tisanes) like chamomile, hibiscus, mint, or rooibos also work beautifully. Avoid teas with milk or dairy ingredients. Experimenting is part of the fun of a **Sun tea jar DIY project**!
Q4: How long does sun tea last in the fridge?
For best quality and safety, homemade sun tea should be consumed within 2 to 3 days when stored properly in the refrigerator. If you notice any cloudiness, an off-smell, or a slimy texture, it’s best to discard it.
Q5: My sun tea turned out cloudy. What did I do wrong?
Cloudiness in sun tea can be caused by a few things:
- Using very hard water.
- Refrigerating the tea while it’s still very hot (though with sun tea, it’s usually just warm).
- Some types of tea are naturally more prone to clouding when chilled.
- Occasionally, it can be an early sign of spoilage if other factors like being left out too long are present.
While often just aesthetic, if it’s very cloudy and you’re unsure, it’s safer to discard it. Using filtered water and not over-brewing can help prevent cloudiness. For more ideas on unique DIY projects you can tackle, check out specialized resources like “Sun tea jar DIY project, Best DIY sun tea jar steps, How to make DIY sun tea jar”.
We hope this guide has inspired you to create your own delicious diy sun tea jar! It’s a simple, rewarding project that’s perfect for sunny afternoons.
Ready to brew up some sunshine? Give this easy sun tea recipe a try and let us know how it turns out! Share your photos, tips, and favorite flavor combinations in the comments below. Don’t forget to subscribe to our newsletter for more fun DIY projects and home improvement ideas, and share this post with your tea-loving friends! Happy brewing!


