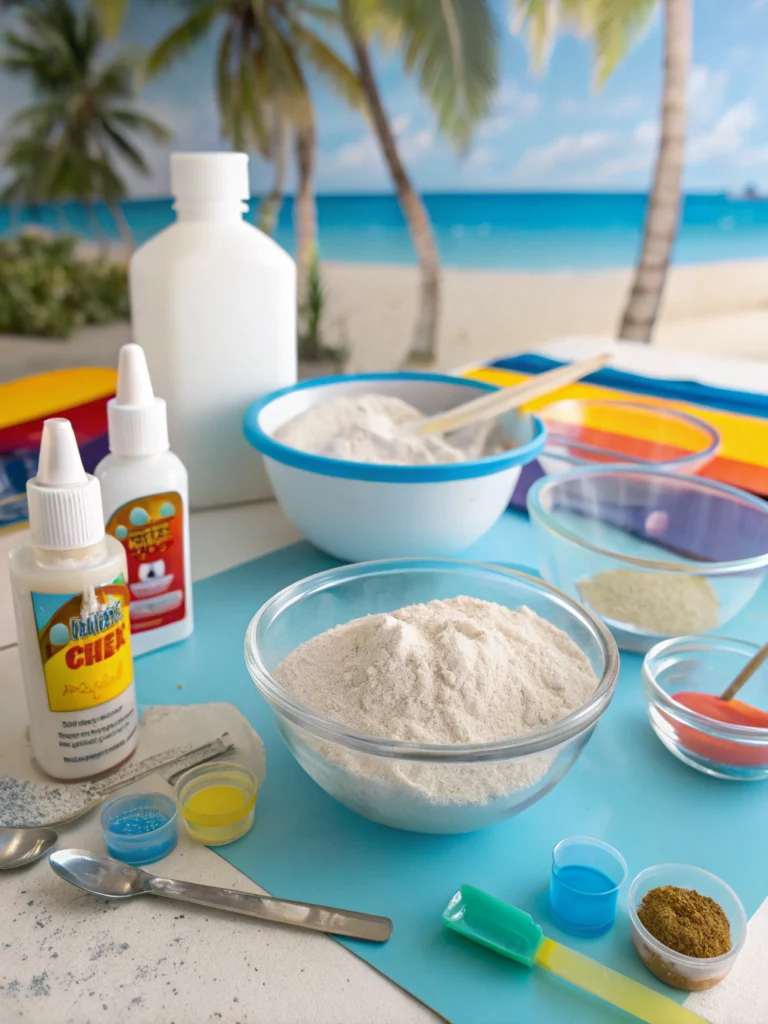
Introduction
Feeling that creative itch but not sure where to start? If you’re looking to add a splash of summer fun to your home or activities, these diy watermelon themed crafts are the perfect solution! Forget complicated projects that leave you frustrated; we’re diving into seven wonderfully whimsical and totally doable crafts that scream sunshine and sweet vibes.
Whether you’re a seasoned DIYer or just dipping your toes into the world of crafting, these projects are designed to be enjoyable and yield absolutely adorable results. Get ready to transform simple materials into festive, fruity décor and accessories that will brighten any space or occasion. Let’s slice into the fun and explore how to create watermelon themed crafts that everyone will love!
Table of Contents
Table of Contents
What You’ll Need for Watermelon Themed Crafts
Before we jump into the juicy details of each project, let’s gather our general crafting arsenal. While each of our diy watermelon themed crafts will have a specific list, many of these core supplies will come in handy across multiple creations.
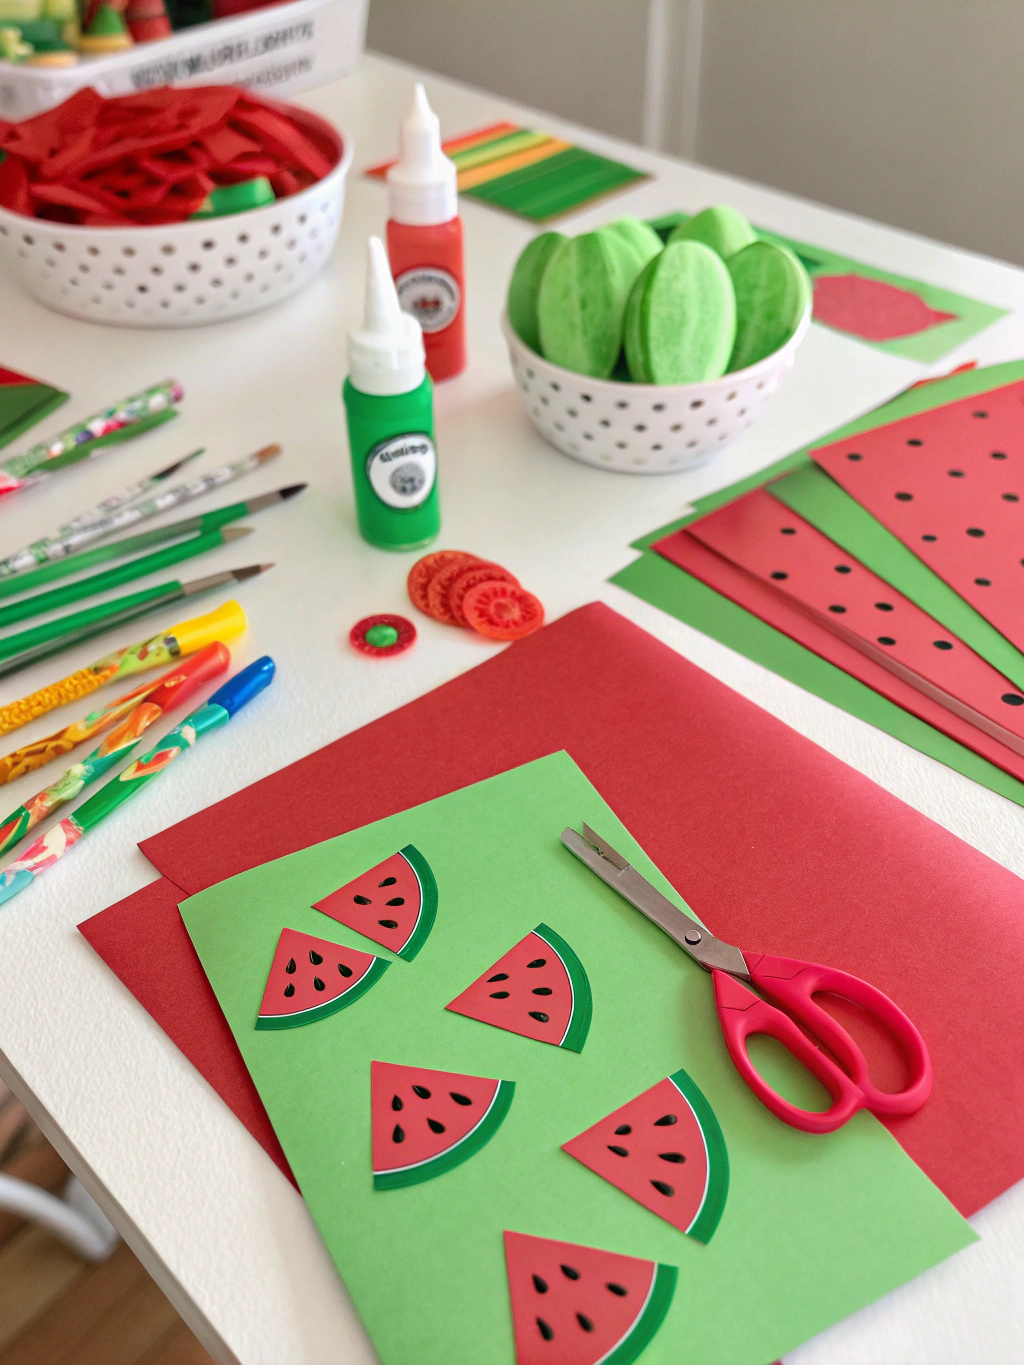
Caption: A colorful assortment of basic supplies ready for your diy watermelon themed crafts adventure.
General Crafting Supplies: Watermelon Themed Crafts
- Acrylic Paints: Essential for capturing those vibrant watermelon hues. Think various shades of pink, red, light green, dark green, and of course, black for the seeds.
- Paintbrushes: A variety of sizes – small for details (like seeds!), medium for general coverage, and larger ones if you’re tackling bigger surfaces.
- Scissors: Good quality crafting scissors are a must.
- Hot Glue Gun & Glue Sticks: For quick and sturdy adhesion on many surfaces. Be careful, it gets hot!
- Craft Glue or Mod Podge: For paper projects, sealing, or a glossy finish.
- Pencil: For sketching designs before painting or cutting.
- Ruler or Measuring Tape: Precision always helps!
- Permanent Markers: Black fine-tip markers are great for adding seed details or outlines.
- Newspaper or Craft Mat: To protect your workspace from paint spills and glue drips. Nobody likes a messy cleanup!
- Old Clothes or Apron: Protect your clothes, as crafting can sometimes get unexpectedly messy.
Having these items on hand will make starting any of our diy watermelon themed crafts a breeze. Now, let’s get to the specific projects!
Project 1: Vibrant Watermelon Painted Flower Pots
Transform plain terracotta or plastic pots into adorable summery statements for your plants! This is one of the most rewarding Easy watermelon crafts you can tackle.
Materials for Watermelon Pots: Watermelon Themed Crafts
- Terracotta or plain plastic flower pots (various sizes)
- Acrylic paints: Pink/Red, Light Green, Dark Green, Black
- Paintbrushes (medium and fine tip)
- Pencil (optional, for sketching lines)
- Outdoor Sealer/Varnish (if pots will be outdoors)
- Newspaper or drop cloth
Step-by-Step Guide for Watermelon Pots:
Step 1: Prepare Your Pots
Ensure your flower pots are clean and dry. If you’re using old pots, scrub off any dirt or residue. A clean surface helps the paint adhere properly, preventing peeling later on. For terracotta pots, you might consider applying a primer or a base coat of white paint to make the colors pop, though it’s not strictly necessary.
Step 2: Paint the “Rind”
Start by painting the rim and the top portion of your pot with light green acrylic paint. This will be the lighter part of the watermelon rind. Apply one or two coats for even coverage, letting each coat dry completely. Don’t worry about being perfectly neat at the bottom edge of this green band; it will be covered or blended.
Next, using your dark green paint, add wavy, irregular stripes vertically down from the light green band, or paint the bottom section of the pot dark green. Some people prefer a distinct band for the dark green rind, while others like to blend it slightly into the light green for a more natural look. It’s your diy watermelon themed crafts, so get creative!
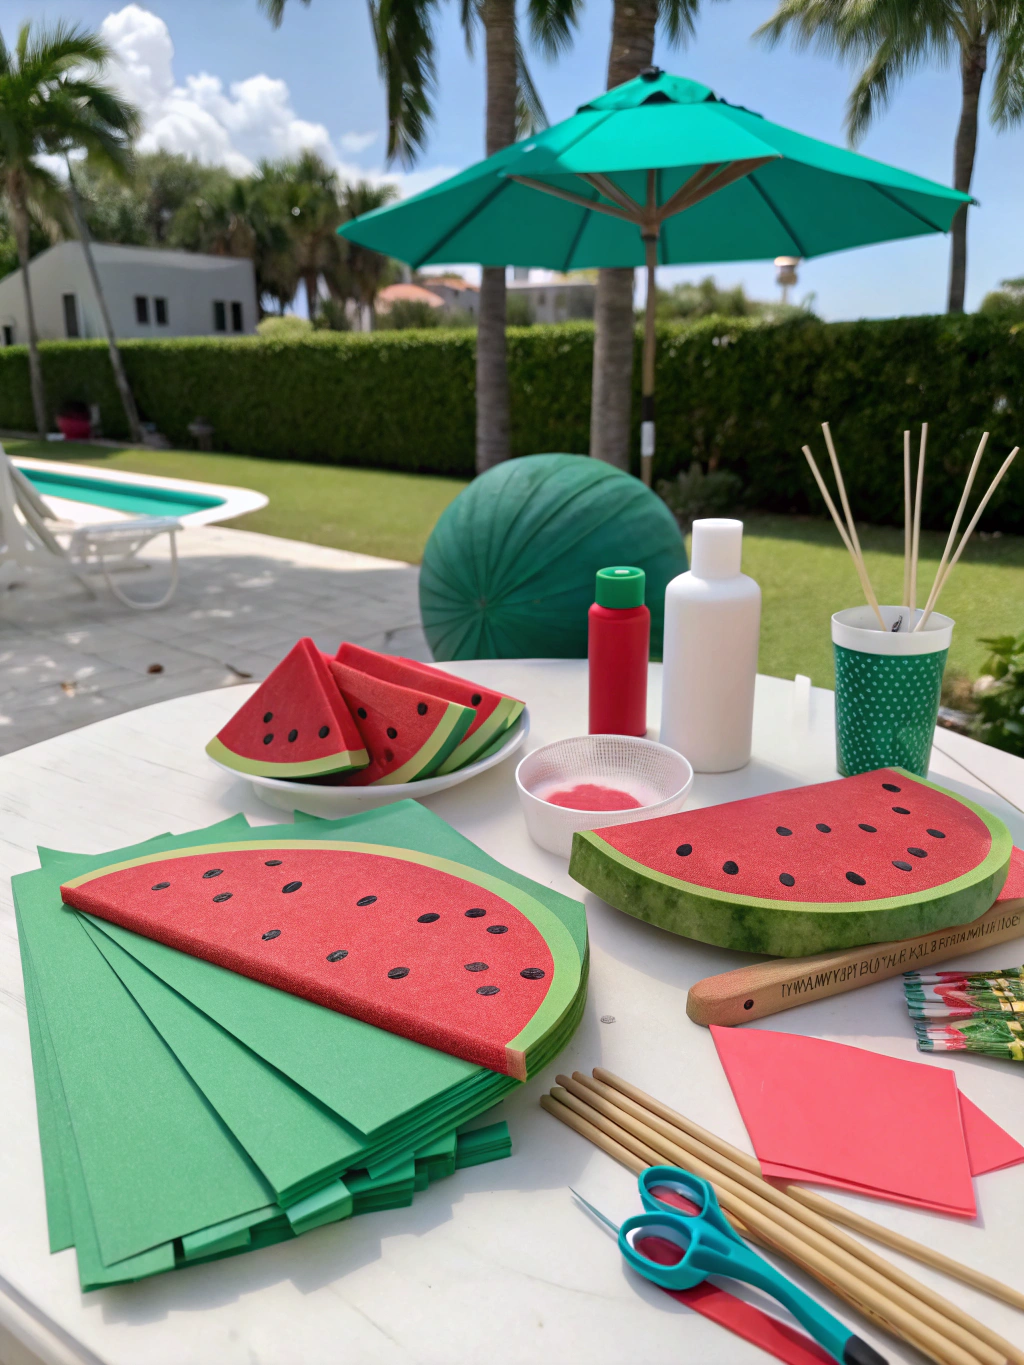
Caption: Detailing the rind on a flower pot, a key step in diy watermelon themed crafts.
Step 3: Paint the “Flesh”
Once the green “rind” sections are completely dry, it’s time for the juicy part! Paint the main body of the pot (below the green rim, if you painted a top rim, or the main unpainted area) with your chosen pink or red acrylic paint. You’ll likely need two to three coats for a vibrant, opaque color, especially if you didn’t prime the pot. Allow each coat to dry thoroughly. Patience here is key to avoid smudging. A common pitfall is rushing this step and mixing wet paint, creating a muddy look.
Step 4: Add the Seeds
Using a fine-tip paintbrush and black acrylic paint, carefully add teardrop-shaped “seeds” scattered across the pink/red “flesh” area. You can also use a black permanent marker for this if you prefer more control. Don’t make them too uniform; natural watermelons have randomly placed seeds. Let the seeds dry completely. This little detail truly brings your diy watermelon themed crafts to life!
Step 5: Seal Your Masterpiece (Optional but Recommended)
If your watermelon pots will be living outdoors or holding plants that require frequent watering, it’s a great idea to seal them. Apply a coat or two of clear outdoor acrylic sealer or varnish. This will protect your paint job from moisture, sun, and general wear and tear, keeping your pots looking fresh and vibrant for longer. Ensure the sealer is completely dry before planting.
Project 2: Cheerful Watermelon Slice Welcome Mat
Welcome guests with a slice of summer right at your doorstep! This project turns a plain coir mat into a fun and fruity greeting.
Materials for Watermelon Welcome Mat: Watermelon Themed Crafts
- Plain Coir Welcome Mat
- Outdoor Acrylic Paints or Spray Paints: Red/Pink, Green, Black
- Painter’s Tape (wide)
- Large piece of cardboard or stencil material (optional, for making a semi-circle template)
- Craft Knife or Sturdy Scissors (if making a template)
- Stiff Stencil Brush or regular paintbrush
Step-by-Step Guide for Watermelon Mat: Watermelon Themed Crafts
Step 1: Prepare Your Mat and Design
Shake out or vacuum your coir mat to remove any loose dirt or fibers. Decide on the shape of your watermelon slice. You can either paint a large semi-circle or a full circle if your mat is round. If you’re doing a semi-circle on a rectangular mat, you might want to create a cardboard template to ensure clean lines. Trace your desired shape onto the mat with a pencil or chalk if needed.
Step 2: Tape Off the Rind
Using painter’s tape, carefully mask off the area that will become the green rind. For a semi-circle slice, this will be the curved outer edge. Create a band about 2-3 inches wide, depending on the size of your mat. Press the tape down firmly, especially the edges, to prevent paint from bleeding underneath. This is crucial for crisp lines on your diy watermelon themed crafts.
Step 3: Paint the Rind
Using your green outdoor acrylic paint and a stiff brush (a stencil brush works well for dabbing paint into coir fibers), paint the taped-off rind section. Apply the paint generously, working it into the coarse texture of the mat. If you’re using spray paint, do this outdoors or in a well-ventilated area, protecting surrounding surfaces. Apply a couple of coats if needed, letting it dry partially between them. Carefully remove the painter’s tape while the paint is still slightly tacky to get the cleanest lines. Let it dry completely.
Step 4: Paint the Flesh
Once the green rind is fully dry, tape off the inner edge of the green rind to protect it. Now, paint the large central area of your watermelon slice with red or pink outdoor acrylic paint. Again, use a dabbing motion with a stiff brush to work the paint into the fibers. For an easier application, some find spray paint more effective on coir mats. Ensure even coverage and let it dry completely. This step requires patience, as coir absorbs a lot of paint.
Step 5: Add the Seeds
After the red/pink “flesh” is totally dry, it’s time for the seeds. You can either freehand paint black teardrop shapes using a smaller brush, or create a simple seed stencil from cardboard. If using a stencil, hold it firmly and dab black paint through it. Scatter the seeds randomly across the red/pink area. Let the black paint dry thoroughly. This final touch makes your diy watermelon themed crafts unmistakable. If you’re seeking more inspiration on “”Easy watermelon crafts, DIY watermelon themed crafts for kids, How to create watermelon themed crafts””, many home decor sites offer fantastic ideas.
Project 3: Fun Watermelon Perler Bead Coasters or Keychains
Perfect for a relaxing afternoon or as a DIY watermelon themed crafts for kids, Perler beads (or Hama beads) are fantastic for creating pixelated watermelon designs.
Materials for Perler Bead Watermelons: Watermelon Themed Crafts
- Perler Beads: Red, Pink, Light Green, Dark Green, Black, Clear (optional, for filling gaps)
- Perler Bead Pegboards (circular or square)
- Ironing Paper (usually comes with beads)
- Iron
- Tweezers (optional, for placing beads)
- Keychain rings or cork backing (if making keychains or coasters)
- Strong craft glue (like E6000)
Step-by-Step Guide for Perler Watermelons: Watermelon Themed Crafts
Step 1: Design Your Watermelon
Decide on your design. A simple wedge shape is classic for diy watermelon themed crafts using Perler beads. Start by creating the outer rind using dark green beads, then a layer of light green, followed by the main red or pink flesh. Finally, place a few black beads for seeds. You can find many pattern examples online or design your own on graph paper first. For coasters, a circular pegboard works great to make a full slice.
Step 2: Place Your Beads
Carefully place the Perler beads onto the pegboard following your design. Tweezers can be helpful for precise placement, especially for tiny hands. Ensure all beads are standing upright and are snug against each other. If making a coaster, try to make it at least 3-4 inches in diameter. For keychains, smaller designs work better.
Step 3: Fuse the Beads
Preheat your iron to a medium setting (no steam). Place your pegboard on a flat, heat-resistant surface. Cover the bead design with a piece of ironing paper. Gently press the hot iron onto the ironing paper, moving it in a circular motion for about 10-30 seconds. You’ll see the beads start to melt and fuse together through the paper. Be careful not to over-iron, as this can flatten the beads too much or melt the pegboard. The goal is for the beads to be just fused together.
Step 4: Cool and Flip (Optional Second Side Ironing)
Let the design cool for a minute or two. Carefully peel off the ironing paper. The beads should now be stuck together. Gently remove your fused watermelon design from the pegboard. For extra durability, especially for coasters or keychains, you can flip the design over, place ironing paper on the other side, and iron it briefly as well. This makes the design more robust.
Step 5: Finish Your Project
Once completely cool, your Perler bead watermelon is ready!
- For Coasters: Cut a piece of thin cork sheet to the shape of your watermelon slice and glue it to the back using strong craft glue. This protects furniture and prevents slipping.
- For Keychains: Use a small awl or a thick needle to carefully poke a hole through one of the beads (usually in the rind area) if there isn’t a natural gap. Attach a jump ring and then a keychain ring.
These Perler bead creations are a fantastic way to explore how to create watermelon themed crafts with a pixel art twist.
Project 4: DIY Watermelon Print Fabric Tote Bag
Create a custom, reusable tote bag that’s perfect for summer outings, grocery shopping, or as a beach bag. This diy watermelon themed crafts project is surprisingly easy and yields stylish results.
Materials for Watermelon Tote Bag: Watermelon Themed Crafts
- Plain Canvas Tote Bag (light-colored works best)
- Fabric Paints: Red/Pink, Green, Black (or acrylic paint mixed with fabric medium)
- Paintbrushes (various sizes)
- A Potato (for stamping, optional) or Craft Foam and Cardboard (for stamp making)
- Craft Knife (if making potato/foam stamps)
- Pencil
- Cardboard insert (to put inside the bag while painting)
Step-by-Step Guide for Watermelon Tote Bag: Watermelon Themed Crafts
Step 1: Prepare Your Bag and Stamp (Optional)
Wash and dry your canvas tote bag if it’s new, to remove any sizing. Iron it smooth. Place a piece of cardboard inside the bag to prevent paint from bleeding through to the other side.
If you want to make stamps for a more uniform look:
- Potato Stamp: Cut a medium potato in half. On the cut surface of one half, carve out a semi-circle or wedge shape for the watermelon flesh. On another potato half, you could carve a thin strip for the rind.
- Foam Stamp: Draw your watermelon slice shape (or parts of it) onto craft foam. Cut it out and glue it onto a small piece of cardboard for easier handling.
Step 2: Paint or Stamp the Watermelon Flesh
Using your red or pink fabric paint, create semi-circle or wedge shapes on your tote bag.
- Freehand Painting: Sketch light pencil outlines if you wish, then fill them in with paint.
- Stamping: Apply an even coat of red/pink paint to your “flesh” stamp. Press it firmly onto the fabric. Reapply paint to the stamp for each impression. Create a pattern or a few large slices.
Let this layer dry completely. Fabric paint can take a while to dry, so be patient. Rushing this could smudge your design.
Step 3: Add the Rind
Once the red/pink paint is dry, it’s time for the green rind.
- Freehand Painting: Carefully paint a green border along the curved edge of each watermelon slice. You can use light green first, then add a darker green edge for more dimension.
- Stamping: If you made a rind stamp, apply green paint to it and carefully align it with your red/pink shapes.
Let the green paint dry completely. This definition is key to making your diy watermelon themed crafts pop.
Step 4: Paint the Seeds
Using black fabric paint and a fine-tip brush, add small, teardrop-shaped seeds to the red/pink areas of your watermelons. Alternatively, a black fabric marker can also work well for this step. Scatter them naturally. Let the black paint dry thoroughly.
Step 5: Heat Set the Paint
Most fabric paints require heat setting to become permanent and washable. Check the instructions on your specific fabric paint. Typically, this involves ironing the painted area (once completely dry, usually after 24 hours) on a medium-hot setting without steam. Place a pressing cloth or a piece of clean fabric between the iron and your painted design to protect it. Iron for a few minutes, keeping the iron moving. Once heat set, your diy watermelon themed crafts tote bag is ready for action!
Project 5: Sweet Watermelon Mason Jar Organizers
Upcycle ordinary mason jars into charming watermelon-themed holders for pencils, makeup brushes, cutlery for a party, or even small flower arrangements.
Materials for Watermelon Mason Jars: Watermelon Themed Crafts
- Glass Mason Jars (any size, smooth-sided jars work best)
- Glass Paints or Acrylic Paints suitable for glass (or regular acrylics if you prime or seal well): Pink/Red, Light Green, Dark Green, Black
- Paintbrushes (medium and fine tip)
- Rubbing Alcohol and Cotton Balls (for cleaning jars)
- Optional: Primer for glass, Clear Gloss Sealer
Step-by-Step Guide for Watermelon Jars: Watermelon Themed Crafts
Step 1: Clean and Prepare Jars
Thoroughly wash and dry your mason jars. Wipe the outside surfaces with rubbing alcohol on a cotton ball. This removes any grease or fingerprints and helps the paint adhere much better, a critical step for glass-based diy watermelon themed crafts. If you’re using regular acrylics, consider applying a glass primer at this stage for better adhesion, though some multi-surface acrylics work well directly on clean glass.
Step 2: Paint the “Flesh”
Paint the main body of the jar with pink or red paint. Apply thin, even coats. You might need 2-3 coats for opaque coverage. Let each coat dry completely before applying the next. Painting the inside of the jar can also give a smooth, vibrant look from the outside, but then the jar isn’t food-safe or suitable for holding water for fresh flowers. For external painting, a common pitfall is applying coats too thickly, leading to drips.
Step 3: Paint the “Rind”
Once the pink/red paint is fully dry (this can take several hours for glass), carefully paint the “rind” around the bottom of the jar. Start with a band of light green, let it dry, then add a thinner band of dark green below it, or paint wavy dark green stripes over the light green. Some people prefer to paint the rind first, near the jar’s mouth if it’s primarily for decoration. The choice is yours for your diy watermelon themed crafts.
Step 4: Add the Seeds
Using a fine-tip brush and black paint, carefully add teardrop-shaped seeds onto the pink/red “flesh” area. Alternatively, a black permanent marker designed for glass can also work. Let the seeds dry completely. Be gentle, as paint on glass can scratch easily before sealing.
Step 5: Cure or Seal the Paint
Depending on the type of paint used:
- Glass Paints: Often require baking (curing) in an oven to become permanent and dishwasher-safe (top rack). Always follow the manufacturer’s instructions carefully (e.g., place in a cold oven, heat to temperature, bake, then let cool completely in the oven before removing).
- Acrylic Paints: If you used regular acrylics, allow them to air cure for several days, then apply a clear gloss acrylic sealer (spray or brush-on) to protect the design and make it more durable. This is especially important if the jars will be handled frequently.
These vibrant jars are a delightful addition to any desk or kitchen counter, showcasing how versatile diy watermelon themed crafts can be.
Project 6: Cute Clay Watermelon Slice Trinkets (Magnets/Ornaments)
Create adorable little watermelon slice magnets for your fridge or charming ornaments with this fun clay project. This is a great activity for those interested in “How to create watermelon themed crafts” with a sculptural element.
Materials for Clay Watermelons: Watermelon Themed Crafts
- Polymer Clay: Red or Pink, Green (light and dark, or one green you can mix with white/black to vary), Black, White (optional, for a thin Pith line)
- Clay Roller or Acrylic Rolling Pin
- Craft Knife or Clay Slicing Tool
- Baking Sheet and Parchment Paper
- Oven
- Optional: Small circle cutter, gloss varnish for clay, magnets, ornament hooks, E6000 glue
Step-by-Step Guide for Clay Watermelons: Watermelon Themed Crafts
Step 1: Condition and Shape the Clay
Knead each color of polymer clay until it’s soft and pliable.
- For the Flesh: Roll out your red or pink clay into a thick log or a flat slab (about 1/4 inch thick).
- For the Pith (Optional): Roll out a very thin snake or sheet of white clay.
- For the Rind: Roll out light green and dark green clay into thinner sheets or snakes.
Step 2: Assemble the Watermelon Cane (if making multiple slices)
A simple way to make slices is to create a “cane.”
- Wrap the thin white sheet (pith) around your red/pink log.
- Then, wrap the light green sheet around the white layer.
- Finally, wrap the dark green sheet (or add dark green stripes) around the light green layer.
- Gently roll and compress the log to ensure all layers are well-bonded and to reduce its diameter if needed.
Alternatively, for individual slices, cut a semi-circle from a red/pink clay slab. Then add thin strips of white, light green, and dark green clay along the curved edge to form the rind. This method might be easier for beginners focusing on individual diy watermelon themed crafts.
Step 3: Add Seeds and Slice (or Shape)
If you made a cane, you can now slice it into individual watermelon rounds or wedges using your craft knife. The design will go all the way through!
If you’re making individual slices: roll tiny teardrop shapes from black clay and press them onto the red/pink “flesh” area.
You can make full circle slices or cut them into halves or quarters (wedges). Smooth any rough edges with your fingers.
Step 4: Bake the Clay
Preheat your oven according to the polymer clay manufacturer’s instructions (usually around 230-275°F or 110-135°C). Place your clay watermelon pieces on a baking sheet lined with parchment paper. Bake for the recommended time (typically 15-30 minutes per 1/4 inch of thickness). Avoid overbaking, as it can cause discoloration. Let the pieces cool completely. They will harden fully as they cool.
Step 5: Finish Your Trinkets
Once cool, you can apply a gloss varnish specifically for polymer clay to give your watermelons a shiny, juicy look.
- For Magnets: Glue a small, strong magnet to the back of each slice using E6000 or similar strong adhesive.
- For Ornaments: You can either make a small hole at the top before baking (using a toothpick) to thread a string or ornament hook through later or glue a small bail to the back.
These little clay diy watermelon themed crafts are incredibly charming and make great gifts.
Project 7: Festive Watermelon Paper Garland/Bunting
Brighten up any party, room, or summer barbecue with a handmade watermelon garland. This is one of the simplest and most “”Easy watermelon crafts”” that offers a big decorative impact.
Materials for Watermelon Garland:
- Cardstock or Construction Paper: Pink/Red, Light Green, Dark Green
- Black Marker or Black Paper for seeds
- Scissors
- Pencil
- Circle Template (like a glass or bowl, or a compass)
- Glue Stick or Craft Glue
- String, Twine, or Ribbon
Step-by-Step Guide for Watermelon Garland:
Step 1: Cut Out Your Circles
Using your circle template and a pencil, trace circles onto your pink or red cardstock. These will be the main part of your watermelon slices. Decide how large you want your slices and cut out as many circles as you need for your desired garland length. For example, 10-15 circles for a 6-foot garland.
Step 2: Create the Rind
From your light green cardstock, cut strips that are wide enough to form the rind (e.g., 1/2 to 1 inch wide). Glue these strips around the edge of each red/pink circle. Trim any excess.
Next, from your dark green cardstock, cut slightly thinner strips and glue them onto the outer edge of the light green rind, or cut wavy dark green strips to glue over the light green for a more classic watermelon look.
Alternatively, you can cut larger green circles, then smaller red/pink circles to layer on top, leaving a green border.
Step 3: Fold and Form Slices
Once the glue is dry, fold each layered circle in half to create a semi-circle watermelon slice shape. This gives your diy watermelon themed crafts garland a nice dimensional look. Ensure the fold is crisp.
Step 4: Add the Seeds
Using a black permanent marker, draw teardrop-shaped seeds on both sides of the exposed pink/red flesh of your folded semi-circles. If you prefer, you can cut out tiny seed shapes from black paper and glue them on, but drawing is much faster for this type of project.
Step 5: String Your Garland
Lay out your string or twine. Apply a line of glue along the fold (the “spine”) of each watermelon slice and press it over the string, ensuring the string is positioned inside the fold. Space the watermelon slices evenly along the string. Alternatively, you can punch two small holes at the top corners of each unfolded slice and thread the string through them. Let the glue dry completely before hanging your festive diy watermelon themed crafts garland!
The Sweetest Results!
And there you have it – seven fantastic diy watermelon themed crafts to bring a burst of summer joy into your life! From practical painted pots to playful Perler bead creations and festive garlands, there’s a project here for every skill level and taste.
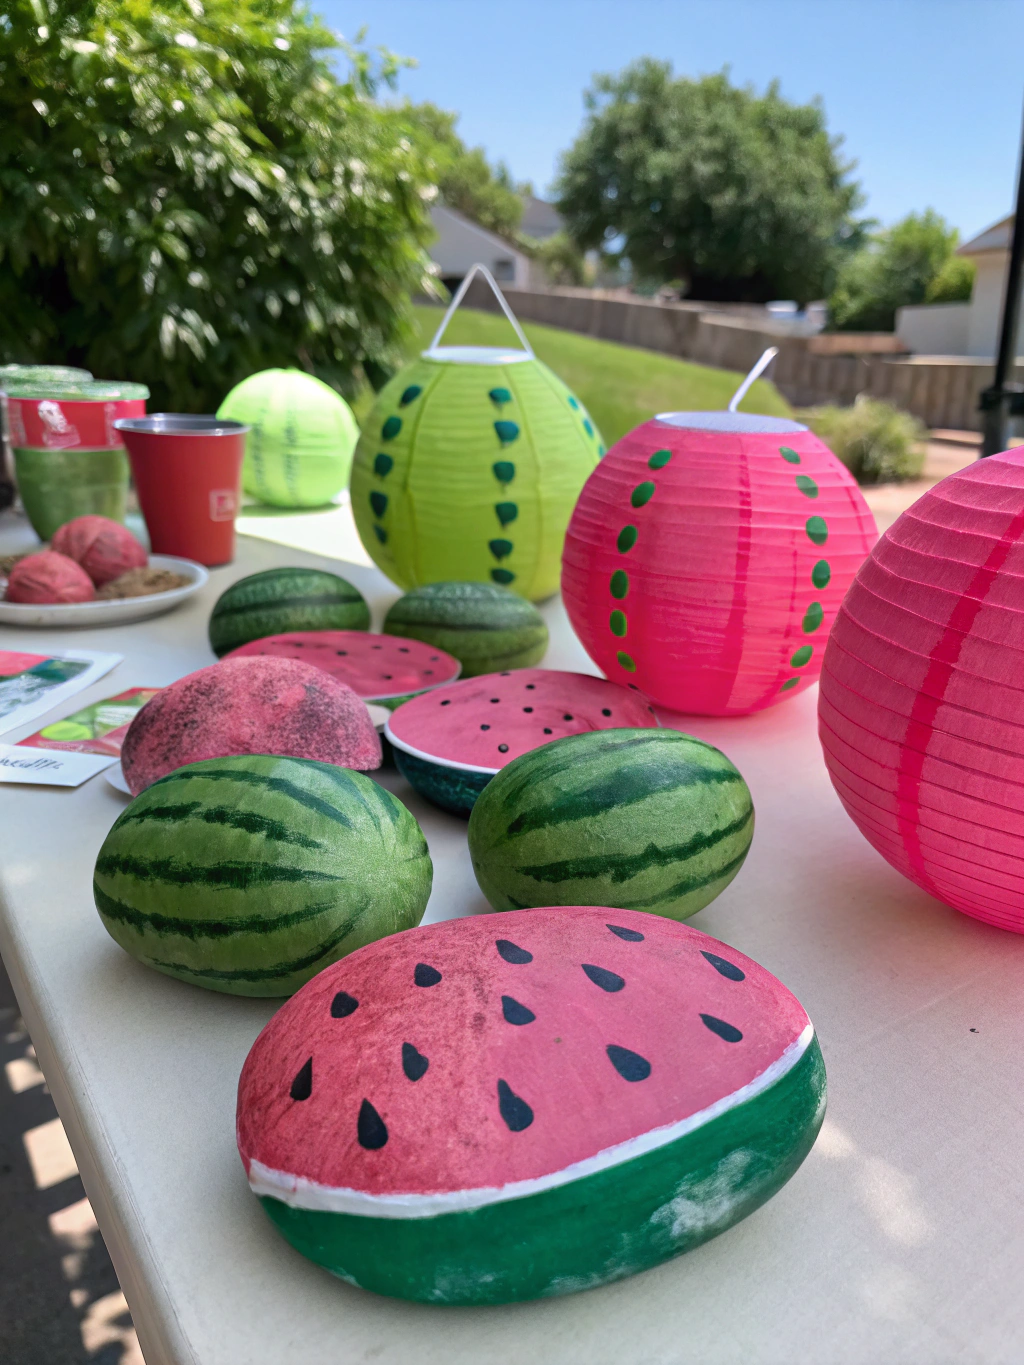
Caption: Your delightful collection of finished diy watermelon themed crafts, ready to brighten any summer day!
Imagine your home adorned with these cheerful, fruity creations. Your new welcome mat will bring smiles, your custom tote will turn heads, and those little clay magnets will add a pop of color to your fridge. Each piece is not just a craft, but a little slice of handmade happiness. We hope these guides have inspired you to pick up your supplies and dive into the world of watermelon crafting. For more in-depth tutorials on general DIY techniques, don’t forget to check out other diy watermelon themed crafts and holiday DIYs.
We’d absolutely LOVE to see your finished masterpieces! Share photos of your diy watermelon themed crafts in the comments below, or tag us on social media. What was your favorite project? Do you have any extra tips or tricks to share with fellow crafters?
Pro Tips & FAQs for Your Watermelon Crafts
Got a few more questions or looking for ways to elevate your diy watermelon themed crafts? We’ve got you covered!
1. How can I make my DIY watermelon themed crafts for kids safer and easier?
For younger children, always supervise closely, especially with scissors, hot glue, or small beads. Opt for non-toxic, washable paints and glues. For cutting, pre-cut shapes or use safety scissors. Potato stamps (Project 4) or paper crafts like the garland (Project 7) are excellent choices. Instead of Perler beads that require ironing, consider using self-adhesive foam sheets cut into watermelon shapes. Always prioritize safety and age-appropriateness when selecting [DIY watermelon themed crafts for kids](https://www.hgtv.com/design/make-and-celebrate/handmade/our-65-favorite-handmade-holiday-decorating-ideas-pictures).
2. What’s the best way to get vibrant colors for my easy watermelon crafts?
To achieve truly vibrant colors, especially on porous surfaces like terracotta or wood, start with a white primer or a base coat of white acrylic paint. This will make your pinks, reds, and greens pop! For paints, choose good quality acrylics with high pigment concentration. Apply multiple thin coats rather than one thick coat, allowing each to dry in between. This builds up color intensity without streaks or drips. This technique is key for many [Easy watermelon crafts](https://www.hgtv.com/design/make-and-celebrate/handmade/our-65-favorite-handmade-holiday-decorating-ideas-pictures).
3. How do I create watermelon themed crafts that last, especially outdoors?
For projects intended for outdoor use, like the flower pots (Project 1) or welcome mat (Project 2), material choice and sealing are crucial. Use outdoor-rated acrylic paints or paints specifically designed for the material (e.g., coir, terracotta). After your paint is completely cured (which can take 24-72 hours), apply several coats of a clear, waterproof, UV-resistant sealer or varnish. This protects against moisture, fading from sunlight, and general wear and tear, ensuring your [diy watermelon themed crafts](https://www.fixdiy.site/holiday-diys/) stay beautiful for longer.
4. Can I use different materials than those listed for these DIY watermelon themed crafts?
Absolutely! DIY is all about creativity and using what you have or prefer. For example, instead of canvas tote bags, you could decorate t-shirts or pillowcases. Instead of Perler beads, you could try mosaic tiles for a similar effect on a larger scale. Fabric scraps can be sewn into watermelon shapes. The core idea is the watermelon theme; feel free to adapt the materials and techniques to suit your skills and supplies. The fundamental question of “How to create watermelon themed crafts” often leads to innovative substitutions!
5. Where can I find more inspiration for easy watermelon crafts?
The internet is your oyster! Pinterest, Instagram, and craft blogs are treasure troves of inspiration for “[Easy watermelon crafts, DIY watermelon themed crafts for kids, How to create watermelon themed crafts](https://www.hgtv.com/design/make-and-celebrate/handmade/our-65-favorite-handmade-holiday-decorating-ideas-pictures)”. Look at home decor magazines, party supply stores, and even fashion trends for watermelon-inspired ideas. Don’t be afraid to combine elements from different crafts or add your unique twist to any project you find.
Happy crafting, everyone! We hope these projects add a juicy slice of fun to your summer. Don’t forget to share your creations and any questions in the comments below. If you enjoyed these ideas, consider signing up for our newsletter for more DIY inspiration delivered straight to your inbox, or share this post with your fellow craft-loving friends!

