Table of Contents
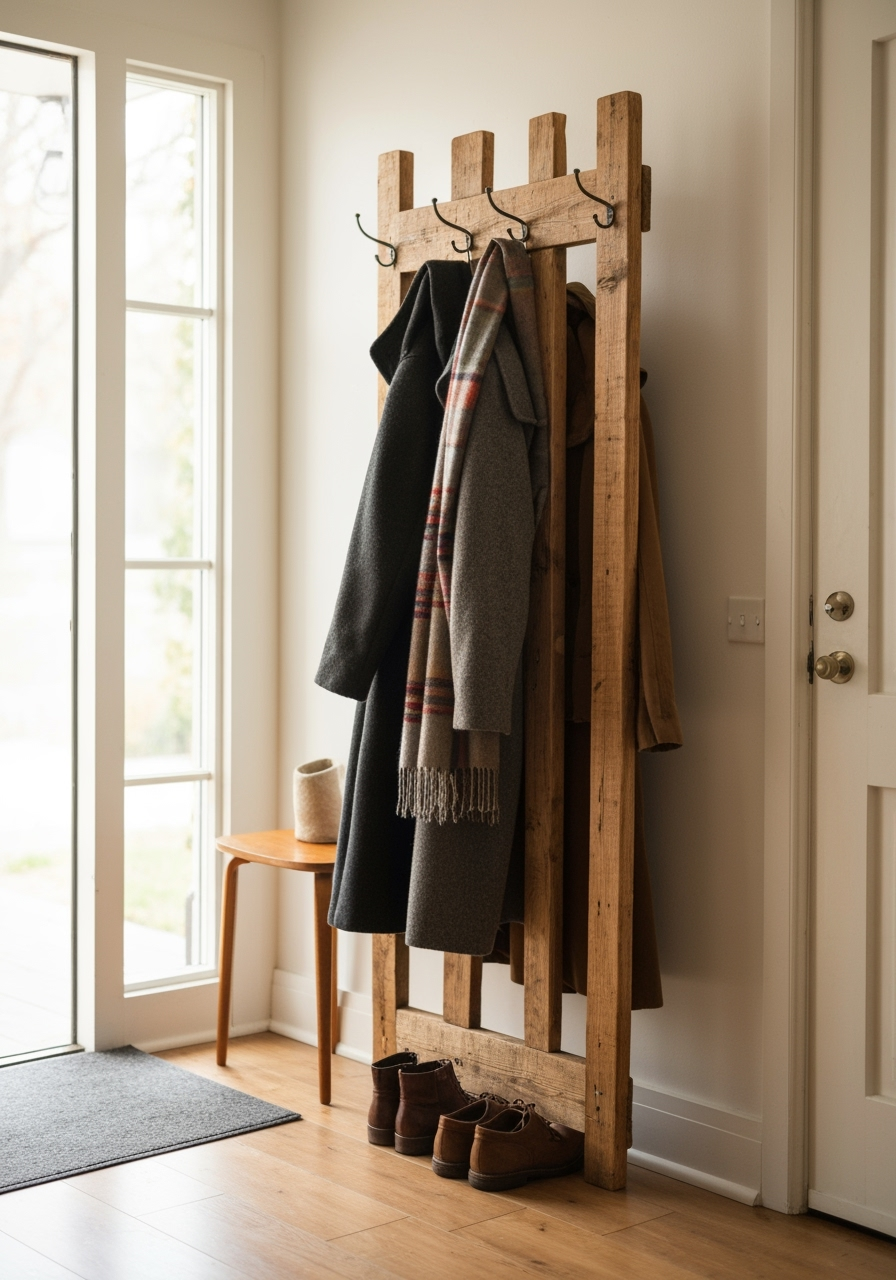
Let’s be honest. We’ve all been there. You walk in the door, and the first thing you see is “the chair”—that one piece of furniture that has surrendered its life to becoming a mountain of coats, scarves, and bags. It’s a cluttered mess, and it’s the first impression you (and your guests) have of your home. But what if you could solve that chaos with a beautiful, functional, and incredibly simple project? That’s where this homemade DIY wooden coat rack comes in.
Forget spending a fortune on a generic, store-bought solution that doesn’t quite fit your style. We’re going to build a stunning, sturdy, and personalized wooden coat rack using just three core items. Yes, you read that right!
This guide is designed for everyone, from the first-time DIYer to the seasoned weekend warrior. I’ll walk you through every single step, share pro tips I’ve learned over a decade of home improvement projects, and show you how to avoid common pitfalls. Get ready to transform your entryway and add a touch of handmade charm to your home.
Why Bother with a DIY Wooden Coat Rack?
Before we grab our tools, let’s talk about the why. In a world of fast furniture, taking an afternoon to build something yourself feels like a small revolution. And the benefits go far beyond just saving a few bucks.
- Ultimate Customization: This is your chance to create something that is perfectly you. Choose a piece of wood with unique grain, select hooks that match your modern farmhouse or industrial chic vibe, and stain or paint it to complement your wall color precisely. You’re the designer!
- Unbeatable Value: Sure, you can buy a cheap coat rack. But a high-quality, solid wood piece can be surprisingly expensive. By building it yourself, you get premium quality for a fraction of the retail price. You’re investing your time to create a piece that will last for years.
- The Satisfaction of “I Made This!”: There’s an incredible sense of pride that comes from pointing to a beautiful, functional item in your home and saying, “I made that.” This simple DIY wooden coat rack project isn’t just about organization; it’s about building confidence and creating something with your own two hands.
- Perfect Fit for Your Space: Do you have a narrow hallway or a small mudroom nook? No problem. You can build this rack to the exact dimensions you need, ensuring it looks like it was always meant to be there.
What You’ll Need for Your Project
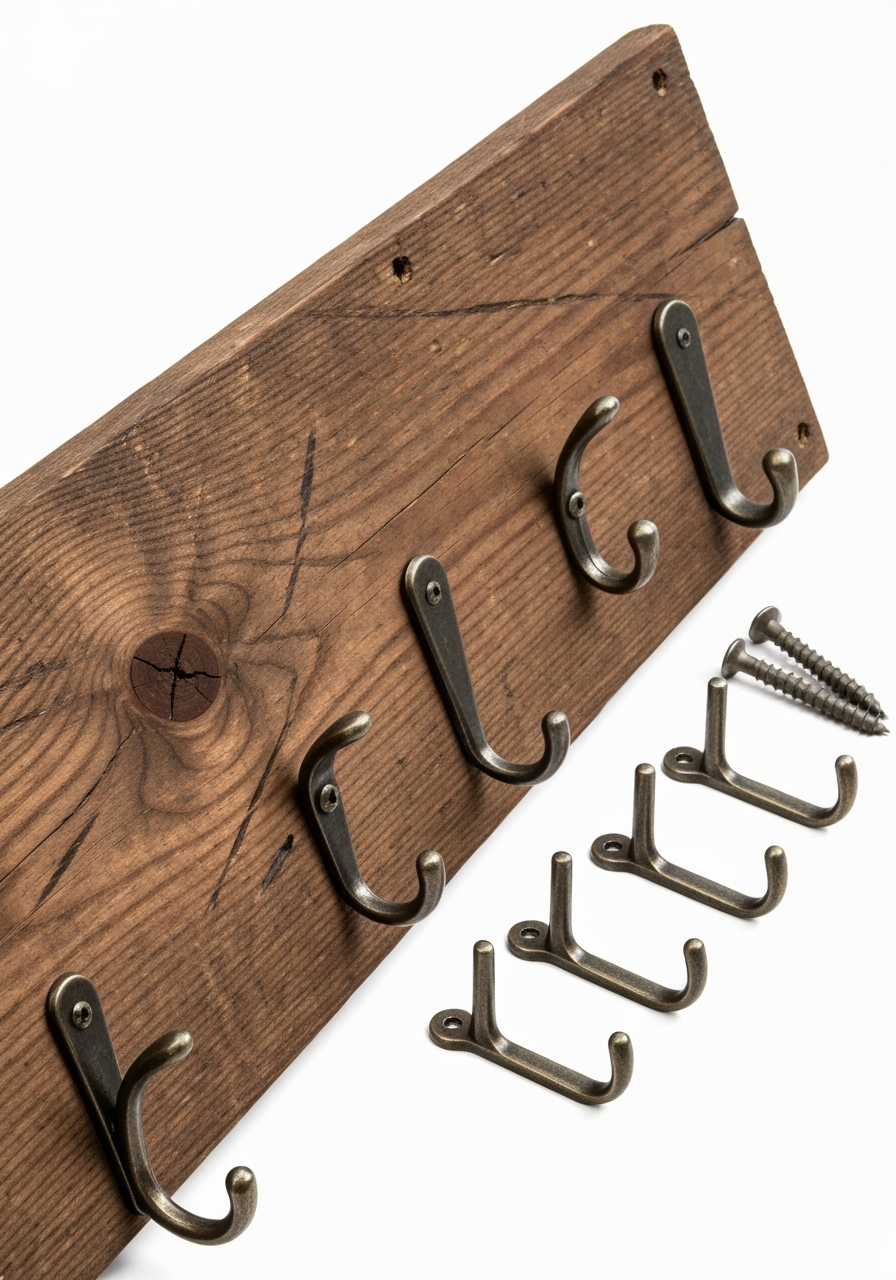
The beauty of this project lies in its simplicity. We’re focusing on a core list of three essentials: a board, some hooks, and a finish. The rest are standard tools and supplies you likely already have in your DIY toolkit.

Image Caption: All the essential materials and tools gathered and ready for your DIY wooden coat rack project.
Core Materials (The “Big 3”):
- One Wooden Board: A 1×4 or 1×6 board is perfect. Pine is inexpensive and easy to work with, oak is harder and more durable, and a piece of reclaimed barn wood can add incredible rustic character. I’m using a 36-inch long piece of 1×6 pine for this guide.
- Coat Hooks: Choose your style! You’ll need 4-6 hooks, depending on the length of your board. Make sure they come with matching screws.
- Wood Stain or Paint: This is where you customize. A natural wood stain brings out the grain, while a coat of paint can provide a pop of color. I’m using a light natural stain to keep it bright.
Tools & Supplies:
- Tape Measure
- Pencil
- Power Drill with Drill Bits (one smaller than your hook screws for pilot holes, and one for the mounting screws)
- Sandpaper (medium grit like 120 and fine grit like 220) or a power sander
- Clean Rags or Paintbrush (for applying the finish)
- Level (a 24-inch level is ideal)
- Wall Mounting Hardware: This is crucial! You’ll need two long screws (at least 2.5 inches) if mounting into studs, or heavy-duty drywall anchors if studs aren’t an option.
- Safety Gear: Safety glasses and gloves are a must!
How to Build a DIY Wooden Coat Rack: The Step-by-Step Guide
Alright, let’s get to the fun part! Building this is a satisfying process that can easily be done in an afternoon. Just follow these steps, and you’ll have a beautiful new piece for your home in no time.
Step 1: Prepare Your Wood
This first step is the foundation of your entire project. Proper preparation ensures a smooth, professional-looking finish. Don’t rush it!

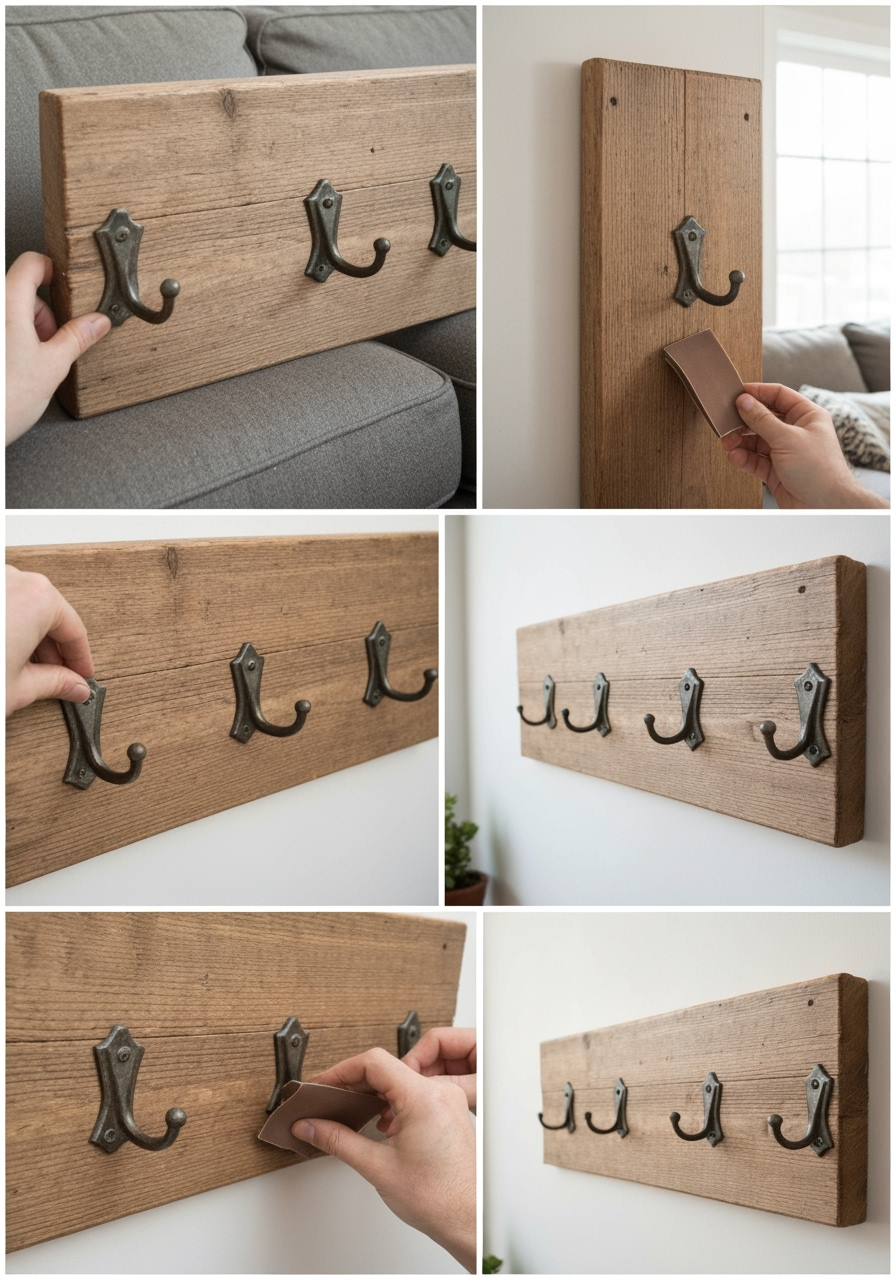
Image Caption: Step 1: Sanding the wood board to achieve a perfectly smooth surface before staining.
Alt Text: Step 1 of the DIY wooden coat rack project, sanding the wood board with sandpaper.
First, inspect your board. If you bought it from a big-box store, it might have some rough spots or sharp edges. Our goal is to make it silky smooth. Start with your medium-grit sandpaper (120-grit). Sand the entire board—the face, the back, and all the edges. Always sand with the grain of the wood, not against it. This prevents ugly scratches from showing up when you apply your stain.
Once you’ve done a pass with the medium grit, wipe away all the dust with a clean, dry rag. Now, switch to your fine-grit sandpaper (220-grit). This is the key to getting that buttery-smooth, professional finish. Go over the entire board again. You’ll be amazed at the difference it makes. The wood should feel incredibly smooth to the touch.
Pro-Tip: Pay special attention to the edges and corners. Gently rounding them over with the sandpaper not only looks better but also prevents them from splintering or chipping later on.
Step 2: Apply Your Finish
Now it’s time to bring your wood to life with some color. Whether you choose stain or paint, the right application technique is key. For this project, a stain is a fantastic choice because it enhances the natural beauty of the wood grain.
Take a clean rag (an old t-shirt works great) and dip it into your stain. Apply it to the wood in long, even strokes, again, following the direction of the wood grain. The goal is to apply a liberal but even coat. Don’t let it pool in any one area. Once the entire board is covered, let it sit for 5-10 minutes, depending on the manufacturer’s instructions. The longer you let it sit, the deeper the color will be.
Next, take a new clean rag and wipe off all the excess stain. This is a critical step! Wiping off the excess prevents the finish from becoming sticky and ensures the wood grain shines through beautifully. Once you’re done, let the board dry completely, usually for several hours. If you want a deeper color, you can repeat the process with a second coat after the first is dry.
Painting Option: If you prefer a painted finish, start with a coat of primer. This helps the paint adhere better and provides a more uniform color. Once the primer is dry, apply 1-2 coats of your chosen paint, letting it dry completely between coats.
Step 3: Plan Your Hook Layout
This step requires a little bit of math, but it’s simple, I promise! A well-spaced layout is the difference between a homemade project and a handmade one. It’s all about visual balance.
First, decide how much space you want at each end. A good rule of thumb is to leave 3-4 inches from the edge to the center of the first and last hooks. Let’s say our board is 36 inches long. If we leave 4 inches on each side, we have 28 inches of space left in the middle for our hooks (36 – 4 – 4 = 28).
Now, divide that remaining space by the number of gaps between your hooks. If we’re using 5 hooks, there will be 4 gaps between them. So, we divide 28 inches by 4, which gives us 7 inches. This means the center of each hook should be 7 inches apart.
Lay your board on a flat surface. Using your tape measure and pencil, make your marks:
- Mark 4 inches in from the left edge. This is for your first hook.
- From that mark, measure and mark every 7 inches (at 11″, 18″, 25″, and 32″).
These marks represent the center point for each hook. Use your level or a square to ensure all the marks are perfectly centered vertically on the board.
Step 4: Attach the Hooks
With your layout perfectly marked, it’s time to attach the hardware. The secret to doing this without splitting your beautiful wood is to pre-drill pilot holes.
Place each hook onto its center mark. Use a pencil to mark where the screw holes are. Set the hooks aside. Now, choose a drill bit that is slightly smaller in diameter than the screws that came with your hooks. This is crucial. The pilot hole removes some wood so the screw can go in easily, but it’s small enough that the screw threads still have plenty to grip onto.
Carefully drill a pilot hole at each mark you made. Don’t drill all the way through the board—just deep enough for the screw to go in. Once all your pilot holes are drilled, line up your hooks and use your drill or a screwdriver to attach them. The screws should go in smoothly and securely. Give each hook a little tug to make sure it’s tight.
Step 5: Mount Your DIY Wooden Coat Rack to the Wall
This is the final and most important step for safety and stability. A coat rack loaded with heavy winter coats needs to be anchored securely to the wall. The best method is to screw it directly into the wall studs.
Use a stud finder to locate the studs in the wall where you want to hang your rack. Mark their locations lightly with a pencil. Ideally, you’ll be able to hit two studs with your board. Hold your coat rack up to the wall, and use your level to make sure it’s perfectly straight. Adjust its position so that at least two of your mounting screws will go into studs.
Once you have it positioned, use a pencil to mark on the wall where your mounting screws should go. I recommend placing them strategically behind two of the hooks for a clean, hidden look. You’ll drill through the wood and directly into the stud.
Pre-drill a hole through your board at the marked spots. Then, hold the rack back up to the wall, and drive your long mounting screws through the board and firmly into the studs. The rack should feel completely solid with no wiggle at all.
What If You Can’t Hit Studs? If your desired location doesn’t line up with studs, you MUST use heavy-duty drywall anchors. Choose anchors rated to hold at least 50 pounds each. Follow the package instructions to install the anchors into the wall first, and then screw your coat rack into the anchors.
The Stunning Final Result!
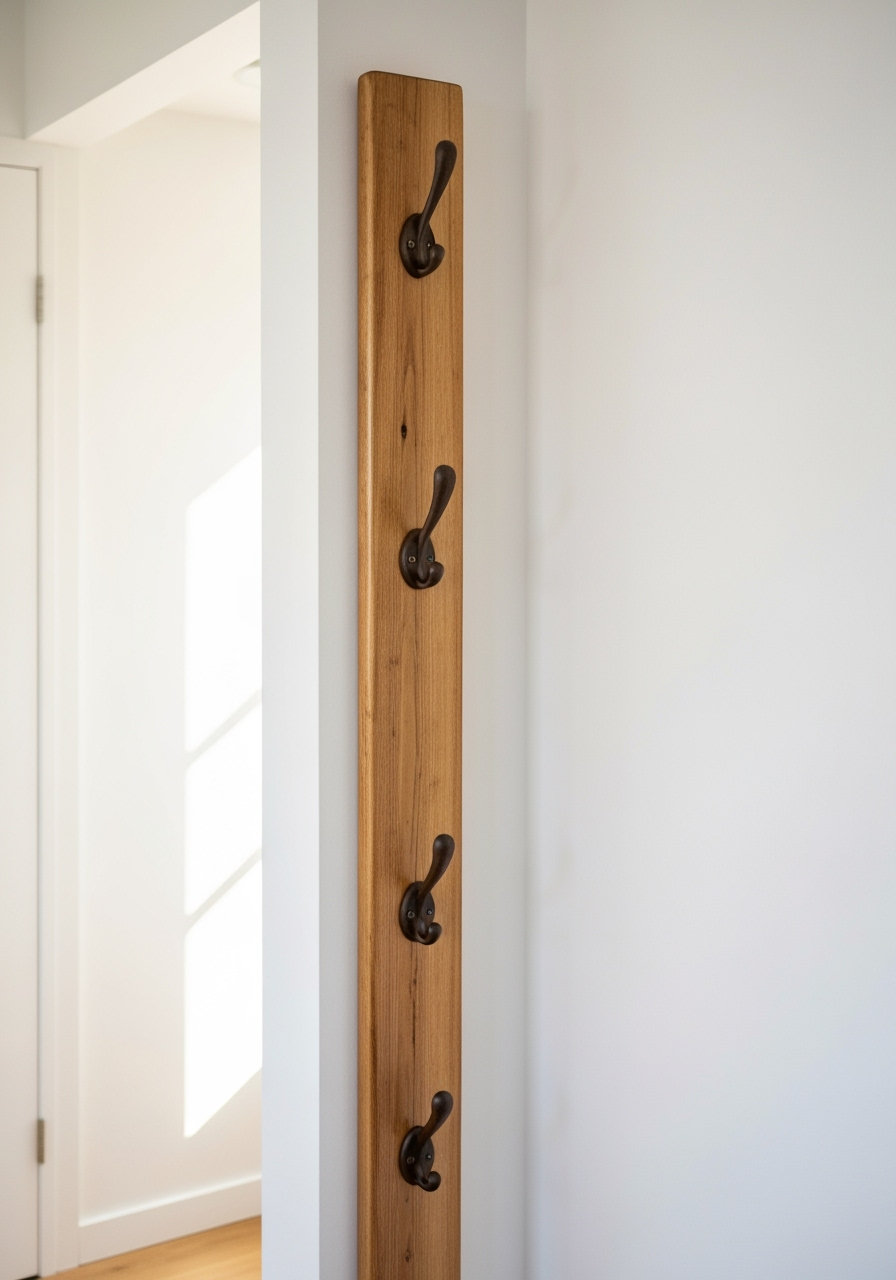
Stand back and admire your work! You’ve just turned a simple plank of wood into a functional piece of art for your home. No more coat pile, just beautiful, stylish organization that you created yourself.

Image Caption: The beautiful, finished DIY wooden coat rack, proudly mounted and ready for action!
This project is more than just a place to hang your hat. It’s a statement piece that says you’re a creator. It’s proof that with a little bit of time and effort, you can make your home more beautiful and functional. The best part? When someone compliments it, you get to say, “Thanks, I made it myself!”
We’d love to see your finished projects! Share a picture in the comments below or tag us on social media.
Pro Tips, Customization, and FAQs
Over the years, I’ve built dozens of these racks and have learned a few things along the way. Here are some extra tips and answers to common questions to help your project go even more smoothly. This is also a perfect opportunity to explore different “DIY wooden coat rack ideas, How to build a DIY wooden coat rack, Simple DIY wooden coat rack project”.
How can I customize my DIY wooden coat rack even more?
The beauty of this project is its versatility. Think of the basic design as a blank canvas.
- Add a Shelf: Mount a 1×4 shelf above the coat rack using small L-brackets for a place to drop keys, mail, or display small plants. This transforms it into a complete entryway command center.
- Get Creative with Hooks: Don’t just stick to standard hooks. Look for quirky, vintage-style hooks at flea markets, use old door knobs, or even large, industrial-style bolts for a more rugged look.
- Use Stencils or Wood Burning: Add a personal touch by stenciling your family name, a favorite quote, or a simple design onto the board before you attach the hooks. A wood-burning tool can also create beautiful, permanent designs.
This simple DIY wooden coat rack can be the perfect starting point for a complete entryway makeover, setting the tone for your entire home.
FAQs for Your Simple DIY Wooden Coat Rack Project
What’s the best type of wood to use?
For a beginner-friendly and budget-conscious project, common pine or poplar is an excellent choice. It’s soft, easy to cut and sand, and takes stain well. If you want something more durable and with a more pronounced grain, look at oak, maple, or walnut, though they will be more expensive and slightly harder to work with. For a truly unique “DIY wooden coat rack ideas” approach, consider using reclaimed wood like a piece of an old pallet or barn wood for instant rustic charm—just make sure it’s clean and pest-free!
How much weight can my coat rack hold?
The weight capacity depends almost entirely on how you mount it to the wall, not the board itself. If you’ve successfully screwed the rack directly into two wall studs using 2.5-inch or longer screws, it can easily hold 50-70 pounds or more—plenty for a family’s worth of heavy winter coats, backpacks, and bags. If you use heavy-duty drywall anchors, check the weight rating on the package. AVOID using standard, small plastic anchors, as they will pull out of the wall under load.
The wood split when I screwed in the hooks! What did I do wrong?
This is a very common issue, and it almost always comes down to one thing: you skipped the pilot holes or the pilot holes were too small. Pre-drilling a pilot hole gives the screw a path to follow and removes just enough material to prevent the wood from being forced apart. As a rule of thumb, your drill bit for the pilot hole should be roughly the same diameter as the solid shank of the screw (the part without threads). This ensures the threads have plenty of wood to bite into for a secure hold without causing any splits.
How do I get a perfectly even stain finish?
Achieving a flawless stain finish involves a few key steps. First, sanding is non-negotiable (as we covered in Step 1). Second, consider using a pre-stain wood conditioner, especially on soft woods like pine. Pine tends to absorb stain unevenly, which can result in a blotchy appearance. A pre-stain conditioner partially seals the wood so the stain absorbs more evenly. Finally, always wipe off the excess stain with a clean rag after letting it penetrate for a few minutes. Leaving excess stain on the surface is the number one cause of a sticky, uneven finish.
You did it! You now have all the knowledge you need to tackle this simple DIY wooden coat rack project and add a dose of order and style to your home. It’s a small project with a huge impact.
What will you do with yours? Drop a comment below to let us know what wood, hooks, or finish you’re planning to use. And if you found this guide helpful, please consider sharing it with a friend who could use a little less clutter and a lot more handmade charm in their life! Happy building


