Ever stared at a plain, frameless mirror and thought, “This needs something more”? You’re not alone! Store-bought frames can be pricey or just not quite right. But what if you could create a stunning DIY wooden mirror frame that perfectly matches your style and doesn’t break the bank? Good news – you absolutely can! This project is surprisingly achievable, even for beginner DIYers, and the result is a custom piece that adds warmth, character, and a personal touch to any room.
Forget intimidating woodworking jargon or complex techniques. We’re going to break down how to build a beautiful, sturdy wooden mirror frame using simple steps and readily available materials. Whether you’re aiming for a rustic farmhouse vibe, a sleek modern look, or something uniquely you, this guide will empower you to make it happen. Get ready to transform that bare mirror into a focal point you’ll be proud to say you made yourself!
DIY Wooden Mirror Frame
Table of Contents

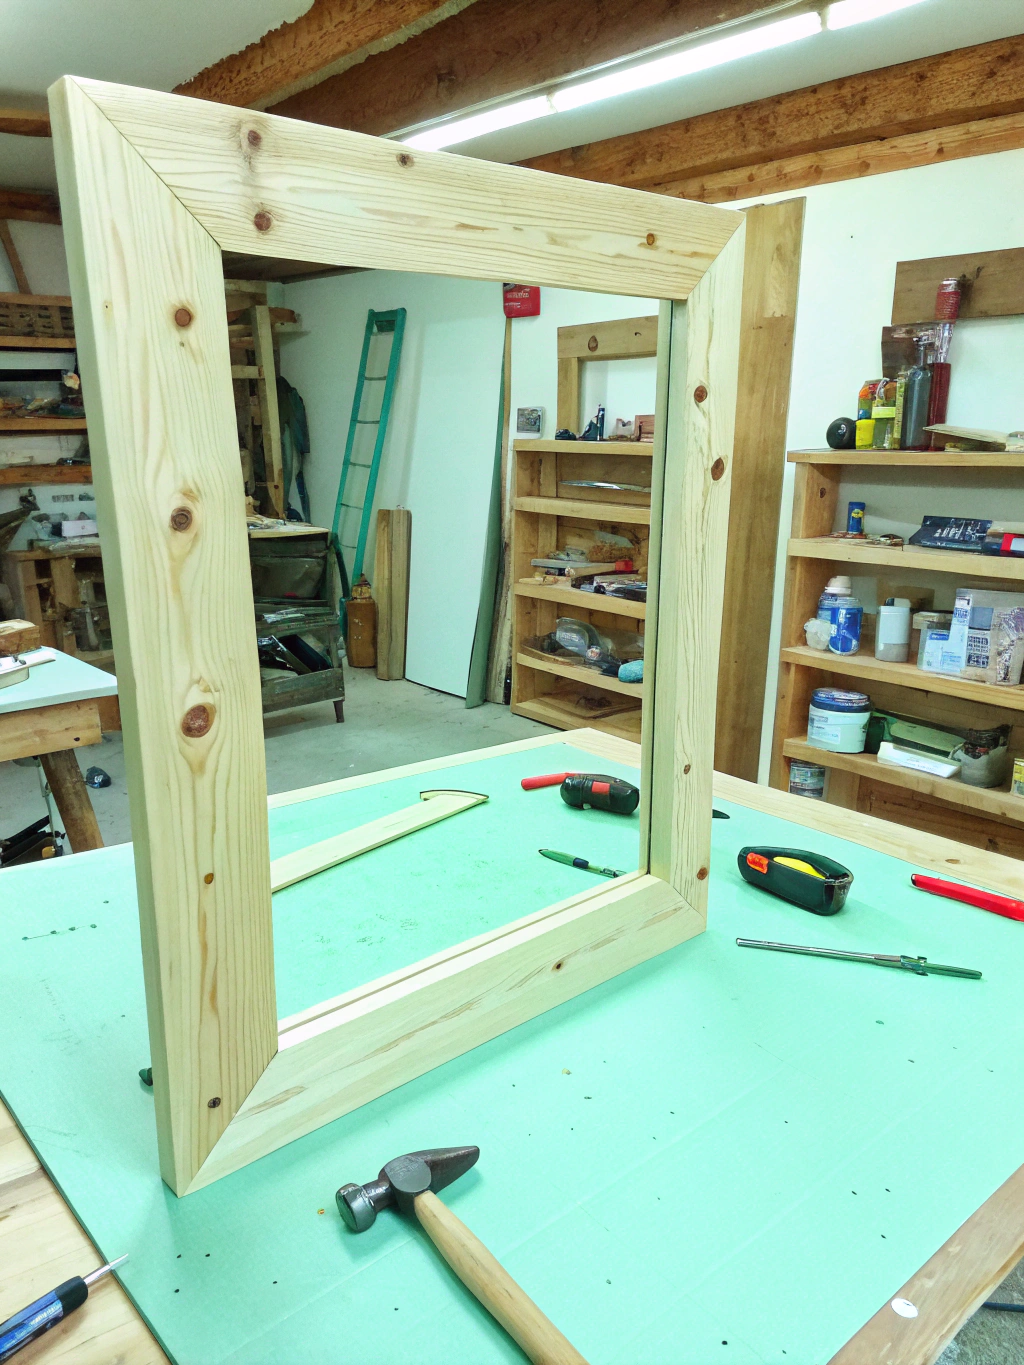
Caption: Transform a simple mirror into a statement piece with your own custom-built wooden frame.
What You’ll Need for Your DIY Wooden Mirror Frame Project
Before we dive into the sawdust and creativity, let’s gather our supplies. Having everything ready makes the process smoother and much more enjoyable. Think of it as your DIY mise en place!

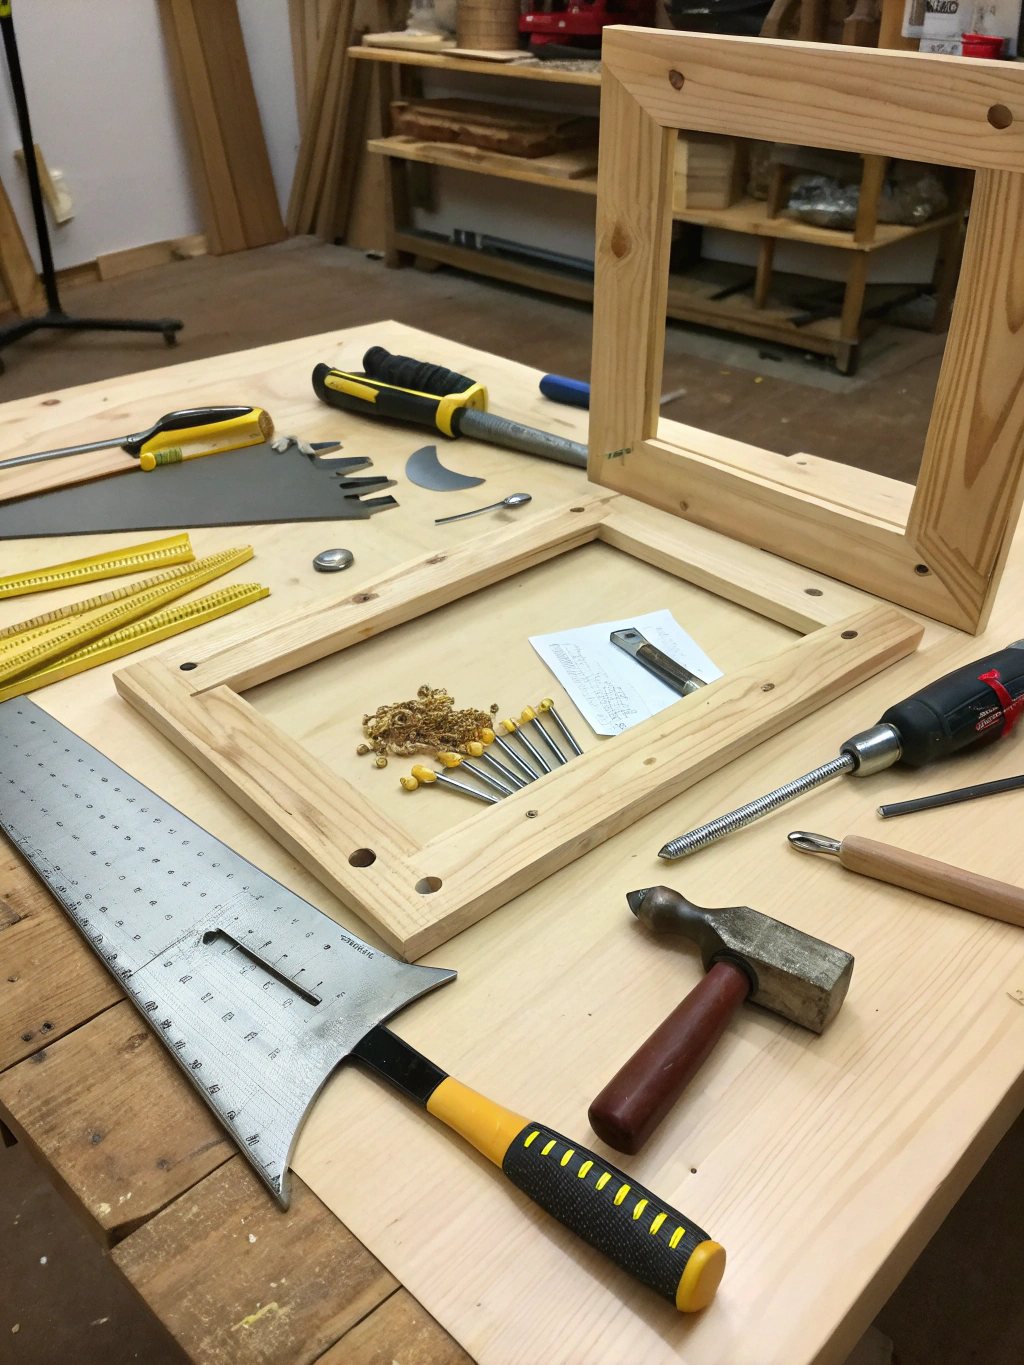
Caption: Gather these essential tools and materials before starting your DIY mirror frame.
Materials: DIY Wooden Mirror Frame
- Mirror: An existing frameless mirror or a new mirror glass cut to your desired size. Measure it carefully!
- Wood Boards: Enough lumber to go around the perimeter of your mirror plus extra for cuts and potential mistakes. Common choices include pine (affordable, easy to work with), oak (durable, beautiful grain), or poplar (smooth, great for painting). The width and thickness depend on the style you want – chunkier frames use wider/thicker boards. Consider 1x4s or 1x6s for a substantial look.
- Wood Glue: A strong wood glue is essential for durable joints.
- Sandpaper: Various grits (e.g., 80, 120, 220) for smoothing the wood.
- Wood Filler (Optional): To fill any small gaps or nail holes for a seamless finish.
- Wood Stain or Paint: Your choice for finishing the frame.
- Top Coat/Sealant: Polyurethane, varnish, or wax to protect the finish.
- Mirror Mounting Hardware: Clips or adhesive specifically designed for mirrors. Make sure it’s rated for your mirror’s weight.
- Picture Hanging Hardware: D-rings, wire, or a French cleat system suitable for the final weight of the mirror and frame.
Tools: DIY Wooden Mirror Frame
- Tape Measure: Absolutely crucial for accurate measurements. Measure twice, cut once!
- Pencil: For marking your cuts.
- Saw: A miter saw is ideal for clean, angled cuts (essential for corners). A hand saw with a miter box can also work but requires more precision and effort. A circular saw or table saw can be used for straight cuts if needed.
- Safety Glasses: Non-negotiable! Protect your eyes from dust and debris.
- Hearing Protection: Especially important when using power saws.
- Dust Mask: To avoid inhaling sawdust.
- Clamps: Corner clamps are incredibly helpful for holding pieces together while the glue dries. Bar clamps or strap clamps are also useful. You’ll likely need at least two, preferably four.
- Power Drill/Driver: For pre-drilling holes (optional but recommended for hardwoods) and potentially driving screws if you choose that joinery method.
- Nail Gun (Optional but Recommended): A brad nailer or finish nailer makes assembly much faster and provides immediate hold while glue dries.
- Hammer and Finishing Nails (If not using a nail gun): For securing corners.
- Square: A combination square or speed square helps ensure your corners are truly 90 degrees.
- Sand block or Orbital Sander: Makes sanding much quicker and easier than by hand alone.
- Paintbrushes or Rags: For applying stain, paint, and sealant.
- Level: For hanging the final framed mirror straight.
Having these items on hand will set you up for success as you follow our step-by-step DIY wooden mirror frame guide. Don’t worry if you don’t own every power tool; sometimes local tool libraries or rental shops can help, or you can adapt using hand tools with a bit more patience.
Making Your DIY Wooden Mirror Frame: 5 Simple Steps
Alright, let’s get building! We’ve broken down the process into five manageable steps. Take your time, enjoy the process, and remember that DIY is about learning and creating something unique.
Step 1: Measure and Cut Your Wood DIY Wooden Mirror Frame
Precision is key in this first step. Accurate measurements and clean cuts are the foundation of a professional-looking DIY wooden mirror frame.

Caption: Accurate measurements are the crucial first step in creating your DIY wooden mirror frame.
First, measure the exact height and width of your mirror glass. Double-check these measurements! Now, decide how you want the frame to sit relative to the mirror. Will the inside edge of the frame overlap the mirror slightly (creating a rabbet, which helps hold the mirror), or will the mirror sit flush against the back of the frame? For simplicity in this guide, we’ll assume the mirror sits behind the frame opening. This means the inside dimensions of your frame need to be slightly smaller than your mirror dimensions to create an overlap (lip) to hold it. A typical overlap is about 1/4 inch (or 6mm) on all sides.
So, calculate the inside dimensions: DIY Wooden Mirror Frame
- Inside Frame Width = Mirror Width – (2 x Overlap) (e.g., Mirror Width – 1/2 inch)
- Inside Frame Height = Mirror Height – (2 x Overlap) (e.g., Mirror Height – 1/2 inch)
Now, let’s determine the outside dimensions and cut lengths. Most frames use 45-degree miter cuts at the corners for a clean look. When cutting mitered pieces, the longest point of the board corresponds to the outside dimension, and the shortest point corresponds to the inside dimension.
Let ‘W’ be the width of your wood planks (e.g., 3.5 inches for a 1×4). The length you need to cut for your horizontal (top/bottom) pieces and vertical (side) pieces depends on your desired inside frame dimensions. For a mitered frame where the inside edge determines the fit:
- Length of Top/Bottom Pieces (Longest Point): Inside Frame Width + (2 x Board Width)
- Length of Side Pieces (Longest Point): Inside Frame Height + (2 x Board Width)
Important: It’s often easier and more accurate to measure and mark the inside length directly onto your board. Set your miter saw to 45 degrees. Make the first angled cut at one end of your board. Measure from the short point of this cut along the inside edge of the board to your required inside dimension (Inside Frame Width or Height). Mark this point clearly. Now, flip the saw angle to the opposite 45 degrees and cut at your mark, ensuring the cut angles away from your measured length, making this mark the new short point. Repeat this process carefully for all four pieces (two top/bottom, two sides). Always double-check your saw angle before cutting!
Common pitfalls here include inaccurate measurements, forgetting the blade kerf (the width of the saw blade), or cutting the angles in the wrong direction. Lay your four cut pieces out roughly in a frame shape to visually check that the angles meet correctly before proceeding. Sand any rough edges lightly after cutting. This meticulous preparation makes the assembly stage much smoother. Many find this step crucial when learning how to make a DIY wooden mirror frame properly.
Step 2: Assemble the Frame DIY Wooden Mirror Frame
With your pieces precisely cut, it’s time to bring the frame together. This is where wood glue and clamps become your best friends.

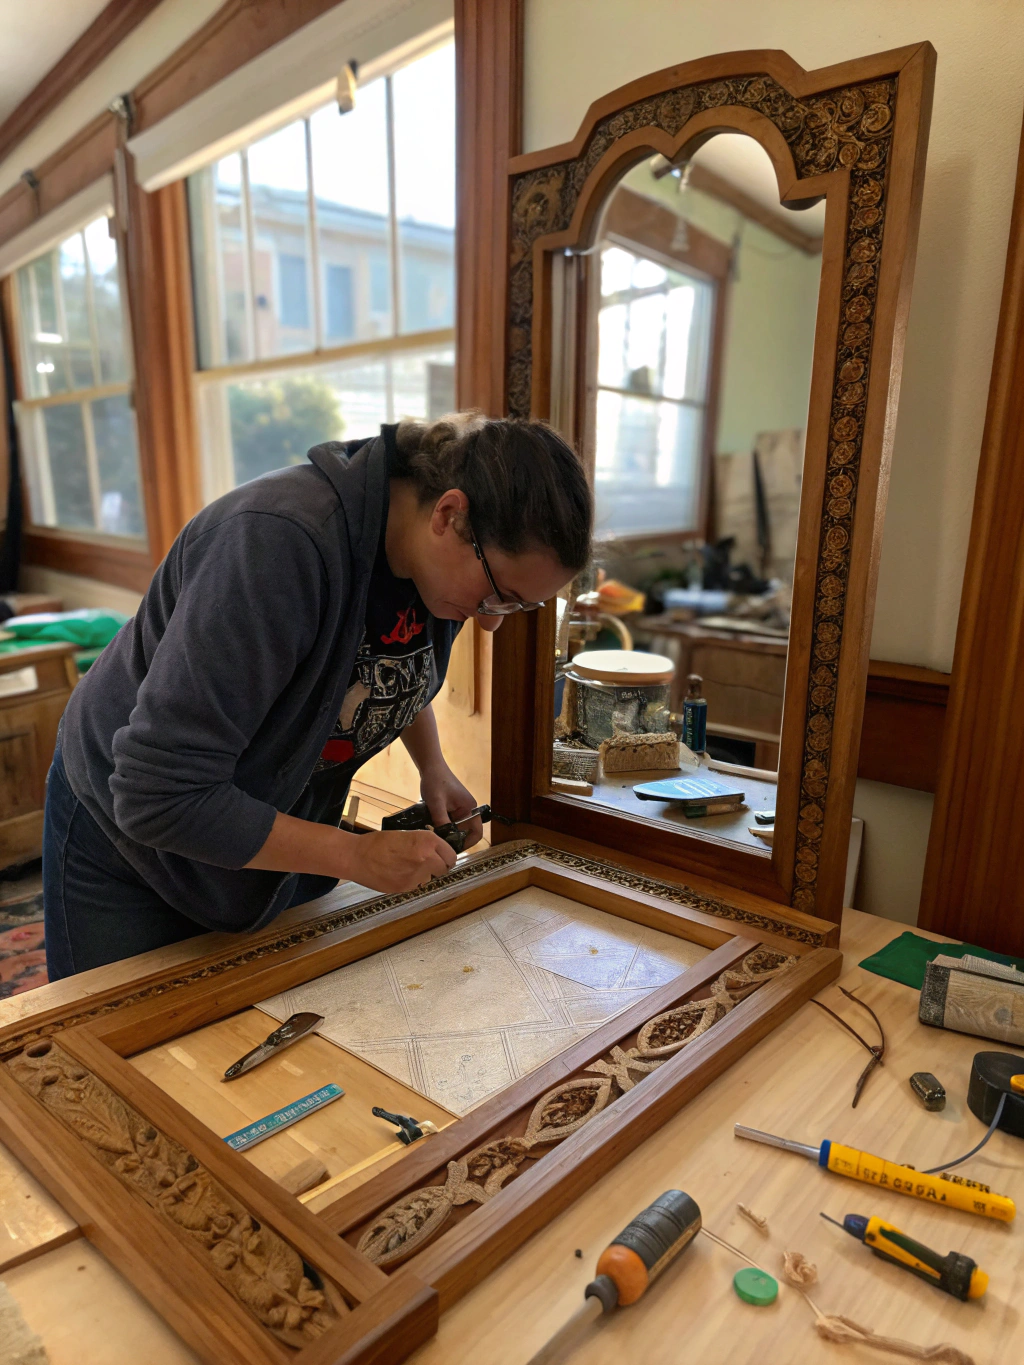
Caption: Step 2: Use wood glue and clamps to assemble the corners of your DIY wooden mirror frame securely.
(Note: Placeholder image URL used – replace with actual Step 2 image URL)
Lay your four cut pieces out on a flat, protected surface in their final frame orientation. Check that the corners meet nicely. Apply a generous bead of wood glue to the mitered face of one piece at each corner joint. Don’t apply glue to both faces, as it can cause too much squeeze-out and make a mess. Spread the glue thinly and evenly across the cut surface using a small brush or even your finger (wear gloves if you prefer).
Carefully bring the two corresponding pieces together at one corner. Ensure the inside and outside edges align perfectly. This is where corner clamps are invaluable. Attach a corner clamp to hold the joint securely at a 90-degree angle. If you don’t have corner clamps, you can use bar clamps across the frame, but you’ll need to use a square to ensure the corner is truly square while clamping. Repeat this process for all four corners. If using L-shaped corner braces, ensure they are placed accurately to maintain squareness.
Wipe away any excess glue squeeze-out immediately with a damp cloth before it dries. Dried glue can interfere with staining or painting later. Once all corners are glued and clamped, double-check the frame for squareness. Measure diagonally from corner to corner. The two diagonal measurements should be equal; if they’re not, gently adjust the frame while the glue is still wet until they match, then re-tighten the clamps.
For extra strength (highly recommended), you can reinforce the joints. While the frame is clamped, you can use a brad nailer to shoot a couple of small nails through the side of one piece into the end grain of the adjoining piece at each corner. Alternatively, drill pilot holes and use finishing nails, or even employ pocket holes (using a Kreg jig) on the back of the frame for very strong, hidden joints. If nailing, be careful not to split the wood, especially near the ends. Let the glue dry completely according to the manufacturer’s instructions, typically for several hours or overnight.
Don’t rush this step a strong frame relies on well-set glue joints. This assembly process is a core part of any good DIY wooden mirror frame tutorial.
Step 3: Sanding and Preparation for Finishing
Now that your frame is assembled and the glue is fully cured, it’s time to achieve that smooth, professional finish. Sanding might seem tedious, but it makes a huge difference in the final appearance.

Caption: Step 3: Sand the frame thoroughly for a smooth surface, preparing it for finishing.
(Note: Placeholder image URL used – replace with actual Step 3 image URL)
Start with a medium-grit sandpaper (like 120 grit) to smooth out any slight unevenness at the joints and remove any remaining dried glue residue. An orbital sander makes quick work of the flat surfaces, but you’ll need to sand the edges and any detailed areas by hand or with a sanding block. Always sand with the direction of the wood grain to avoid scratching the surface.
Pay special attention to the corners, ensuring they feel smooth and seamless. If you have any small gaps or nail holes you want to hide, now is the time to apply wood filler. Use a putty knife to press the filler into the voids, slightly overfilling them. Let the filler dry completely according to the product instructions. Once dry, sand the filled areas smooth, again starting with medium-grit paper and working your way down.
After the initial sanding and filling, progress to a finer grit sandpaper (like 220 grit) for the entire frame. This final sanding step buffs the wood surface silky smooth, which is crucial for an even application of stain or paint. Run your hands over the wood – it should feel smooth to the touch everywhere. Once you’re satisfied with the smoothness, wipe the entire frame down thoroughly with a microfiber cloth or tack cloth to remove all sanding dust. Any remaining dust will get trapped in your finish, creating a gritty texture. This preparation is vital for achieving a high-quality look for your DIY wooden mirror frame.
Step 4: Staining or Painting Your Frame
This is the fun part where your frame really starts to take on its personality! Whether you choose stain to highlight the natural wood grain or paint for a pop of color, proper application is key.

Caption: Step 4: Apply your chosen finish – stain or paint – evenly for a beautiful look.
(Note: Placeholder image URL used – replace with actual Step 4 image URL)
If Staining: Choose a wood stain color that complements your decor. It’s always a good idea to test the stain on a scrap piece of the same wood first to see the true color. Apply the stain according to the manufacturer’s instructions, usually with a brush or clean rag. Work in manageable sections, applying the stain evenly and wiping off any excess after the recommended penetration time (usually a few minutes). Wiping off excess prevents a sticky finish and allows the wood grain to show through beautifully. Let the stain dry completely, which can take several hours or even a day depending on the product and conditions. Apply a second coat if you desire a deeper color.
If Painting: Start with a primer, especially if using light-colored paint or painting knotty wood like pine (primer helps prevent knots from bleeding through). Apply one or two thin coats of primer, sanding lightly between coats (with 220 grit) after it dries. Once the primer is smooth and dry, apply your chosen paint color. Use thin, even coats, avoiding drips. Multiple thin coats are always better than one thick coat. Allow adequate drying time between coats as per the paint instructions. Lightly sand between coats (if recommended by the paint manufacturer) for the smoothest possible finish.
Once your stain or paint is completely dry, apply a protective top coat like polyurethane (available in various sheens like matte, satin, semi-gloss, gloss), varnish, or furniture wax. This seals the wood, protects the finish from scratches and moisture, and makes it easier to clean. Apply the top coat evenly with a good quality brush, following the grain. You’ll likely need 2-3 coats, sanding very lightly with fine-grit sandpaper (like 320 or 400 grit) between coats (but not after the final coat) for maximum durability and smoothness. Ensure the top coat is fully cured before moving to the final step.
This finishing touch elevates your project from a simple step-by-step DIY wooden mirror frame to a polished piece. For more diverse finishing ideas, you can check out resources like DIY & Crafts for home decor inspirations: “DIY wooden mirror frame tutorial, Step-by-step DIY wooden mirror frame, How to make a DIY wooden mirror frame”. DIY Wooden Mirror Frame
Step 5: Attaching the Mirror and Hanging Hardware
The final step! It’s time to unite your beautiful new frame with the mirror and prepare it for its place on your wall.

Caption: Step 5: Carefully secure the mirror to the back of the frame and attach hanging hardware.
(Note: Placeholder image URL used – replace with actual Step 5 image URL)
Carefully clean your mirror glass on both sides, ensuring it’s free of fingerprints and dust. Lay your finished frame face down on a soft, protected surface (like a towel or blanket) to prevent scratching the finish. Gently place the clean mirror face down onto the back of the frame, centering it so the overlap you planned for in Step 1 is even all around.
Secure the mirror to the frame using mirror mounting hardware. Mirror clips (metal or plastic offsets) are a common and secure method. Position the clips around the perimeter of the mirror back, ensuring they press the mirror firmly against the frame’s lip. Mark the screw hole locations for the clips onto the frame back. Pre-drill small pilot holes (shallower than the frame thickness!) to prevent the wood from splitting, then screw the clips securely into place. Don’t overtighten, as this could crack the mirror. Alternatively, specialized mirror adhesive can be used, but ensure it’s compatible with the mirror backing and follow instructions carefully; clips generally offer easier removal if needed.
Once the mirror is securely attached, it’s time to add the picture hanging hardware to the back of the frame. Choose hardware appropriate for the combined weight of your mirror and frame (it can be quite heavy!). D-rings attached to the side pieces of the frame (usually about one-third of the way down from the top) connected by sturdy picture wire are a popular choice.
Ensure the screws used for the D-rings are the correct length – long enough for a secure hold but not so long they poke through the front of the frame! Alternatively, a French cleat system offers a very secure mount, especially for heavier items. Attach one part of the cleat to the frame back (ensure it’s level) and the other part to the wall.
Use a level when installing the corresponding hardware (hooks or the other half of the French cleat) on your wall. Measure carefully to position the mirror exactly where you want it. Ensure you use appropriate wall anchors (like toggle bolts or screw-in anchors) if you aren’t screwing directly into wall studs – mirrors are heavy! Finally, carefully lift your completed DIY wooden mirror frame and hang it securely on the wall. Step back and admire your handiwork!
Your Stunning DIY Wooden Mirror Frame: The Reveal! DIY Wooden Mirror Frame
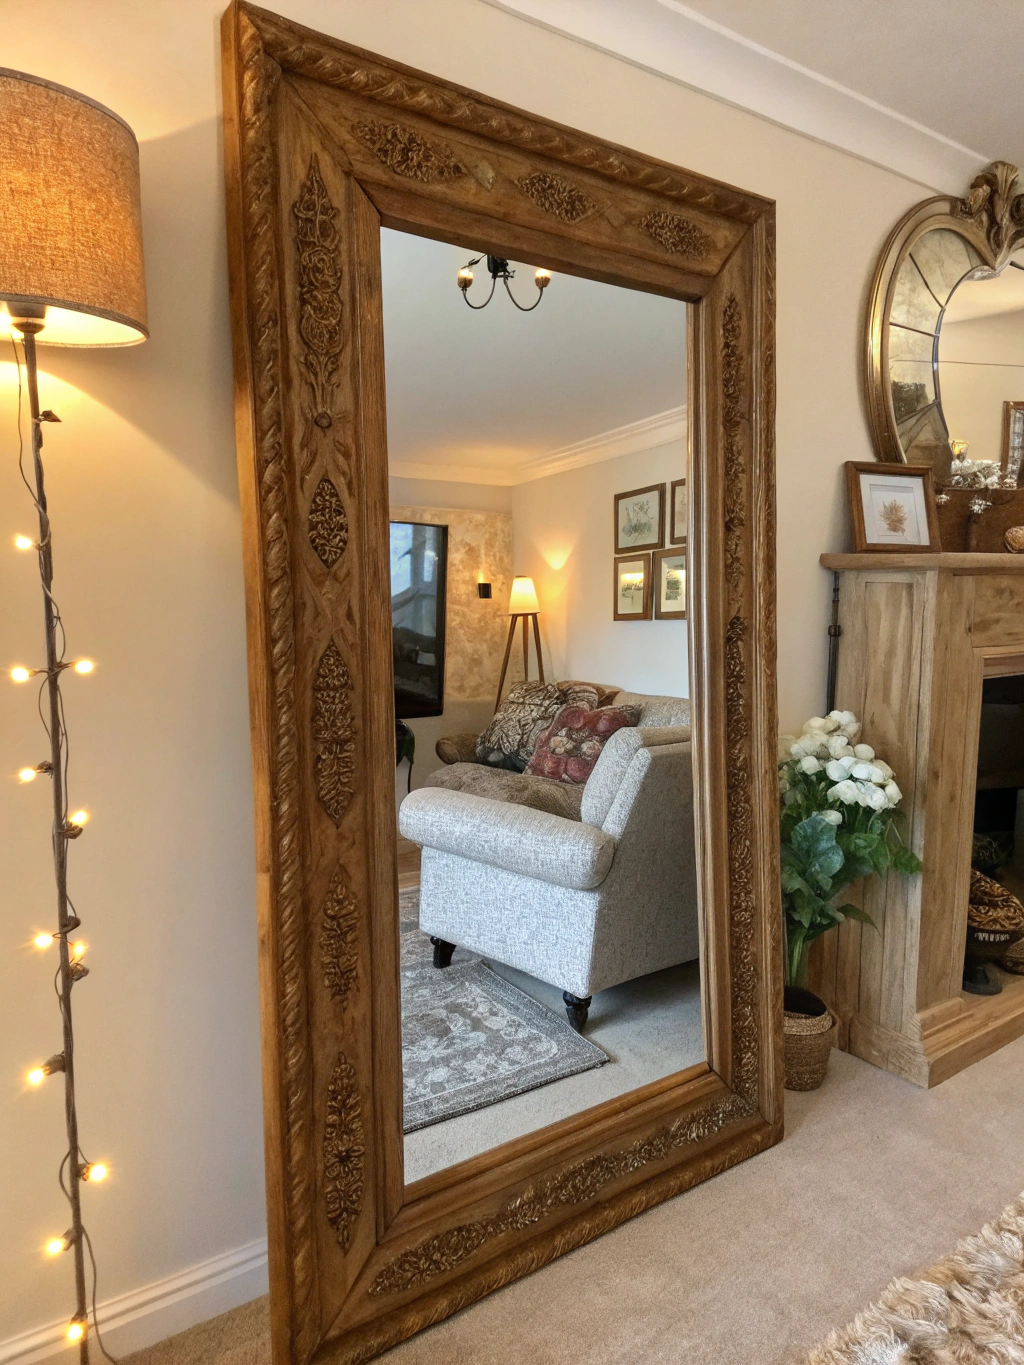
And there you have it! From a few planks of wood and a simple piece of glass, you’ve crafted a beautiful, custom DIY wooden mirror frame. Look at that transformation – it adds so much warmth and style, doesn’t it?

Caption: Your finished masterpiece! A custom-built wooden mirror frame adding style to your space.
You took the measurements, made the cuts, assembled the pieces, and applied the perfect finish. This project not only enhances your home decor but also gives you that incredible satisfaction of making something beautiful with your own two hands. It’s a testament to your creativity and DIY skills. This piece isn’t just a mirror frame; it’s a story you can tell. If you enjoyed this project, you might find more inspiration for similar home upgrades in our other DIY wooden mirror frame guides and tutorials.
We’d absolutely love to see how your DIY wooden mirror frame turned out! Share a photo in the comments below, or tag us on social media. Did you try a unique finish? Use reclaimed wood? Encounter any challenges you cleverly overcame? Share your tips and experiences – let’s inspire each other!
Pro Tips and FAQs for DIY Wooden Mirror Frame Project
Building a DIY wooden mirror frame is rewarding, but sometimes questions pop up. Here are some extra tips and answers to frequently asked questions to help you along the way.
Pro Tips & FAQs DIY Wooden Mirror Frame
What’s the best type of wood for a beginner DIY wooden mirror frame?
For beginners, common pine boards (often sold as “common board” or “select pine”) are usually the best choice. Pine is relatively inexpensive, widely available, lightweight, and easy to cut and sand.
It takes stain and paint well, although it can sometimes blotch with stain if not pre-conditioned. Poplar is another excellent choice, especially if you plan to paint, as it has a smooth, tight grain and takes paint beautifully. Avoid hardwoods like oak or maple for your first frame unless you have good quality saws and more experience, as they are harder to cut and work with.
How do I ensure my miter cuts are accurate for a perfect corner?
Accurate miter cuts are crucial! First, ensure your miter saw blade is sharp and the saw’s angle markings are accurately calibrated (you can check with a reliable square).
When cutting, make a small initial “test cut” on scrap wood to confirm the 45-degree angle. Clamp your workpiece securely to the saw base before cutting to prevent shifting. Cut slowly and smoothly, letting the saw do the work. Remember the “measure twice, cut once” rule, paying close attention to whether you’re measuring the long or short edge based on your design. Using a stop block on your miter saw setup can help ensure pieces intended to be the same length are *exactly* the same length.
My frame corners have small gaps after gluing. How can I fix this?
Small gaps are common, especially on early projects! If the gaps are minor (hairline), a good quality **wood filler** that matches your wood tone (if staining) or is paintable (if painting) works well. Apply it after the glue is dry but before final sanding and finishing (as described in Step 3).
Press the filler firmly into the gap and allow it to dry completely before sanding smooth. For slightly larger gaps, you can sometimes mix fine sawdust (from the same wood) with wood glue to create a custom filler paste that often matches better when stained. If the gaps are significant, it might indicate inaccurate cuts, and while filler can help cosmetically, the joint’s strength might be slightly compromised (though usually still fine for a mirror frame).
What’s the easiest way to create the overlap (rabbet) to hold the mirror?
The simplest method, described in this guide, is to make the frame’s inside opening slightly smaller than the mirror and attach the mirror to the *back* using clips.
This avoids needing specialized tools like a router. However, if you want a more traditional inset look (a rabbet), you’ll need to cut a groove along the inside edge on the *back* of the assembled frame. This is typically done with a **router** and a rabbeting bit. You’d assemble the frame first, then carefully run the router around the inside back edge to create the L-shaped groove for the mirror to sit in. This requires more tools and precision but creates a very clean look from the sides.
Building your own DIY wooden mirror frame is more than just a project; it’s an opportunity to add a personal, handcrafted touch to your living space. We hope this detailed guide has inspired you and given you the confidence to tackle it!
What are you waiting for? Grab your tools, pick out some beautiful wood, and get started on creating a mirror frame you’ll love for years to come!
Have questions we didn’t cover? Or perhaps a genius tip from your own experience? Drop a comment below – we love hearing from fellow DIYers! And if you found this tutorial helpful, consider sharing it with friends or subscribing to our newsletter for more home improvement guides and inspiration. Happy building!


