More Than a Gift: Creating Memories This Father’s Day
Let’s be honest: scrambling to find the perfect gift for Dad can be stressful. We all want to give something meaningful, something that says more than a store-bought tie ever could. This is where the magic of DIY comes in. Finding the perfect easy father’s day crafts for kids isn’t just about making a present; it’s about making memories. It’s about the giggles shared over spilled paint, the pride in a child’s eyes as they show off their masterpiece, and the heartfelt “I made this for you, Daddy!” that melts any father’s heart.
This guide is your secret weapon against last-minute gift panic. We’re diving into 7 simple, genuinely fun, and totally doable easy father’s day crafts for kids that even the littlest hands can help with. From toddlers to pre-teens, there’s something here for every young creator. So, roll up your sleeves, cover the table in newspaper, and get ready to create a gift Dad will cherish for years to come. For even more inspiration, you can always explore a wide variety of “Easy DIY father’s day gifts, Father’s day craft ideas for toddlers, How to make father’s day crafts,” from other creative communities online.
Table of Contents
Table of Contents
Craft #1: The ‘My Dad Rocks!’ Picture Frame
This classic craft is a fan favorite for a reason. It combines a bit of nature, a dash of creativity, and a whole lot of love. It’s a wonderfully tactile project for kids who love to collect treasures on their walks, transforming simple pebbles into a frame that holds a precious memory. This is one of the best easy father’s day crafts for kids for all ages.
What You’ll Need
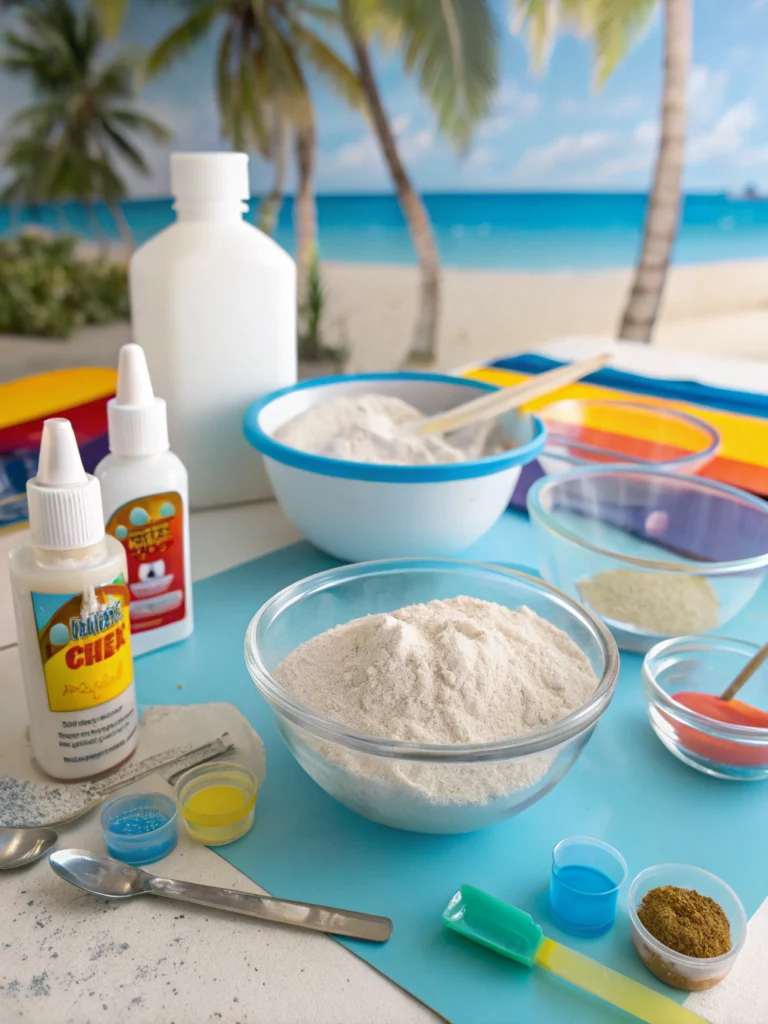
*A simple setup is all you need for this heartfelt Father’s Day craft.*
- A plain wooden or cardboard picture frame: Anything with a flat, wide surface will work perfectly. You can find these at any craft store for a couple of dollars.
- Small, smooth stones or pebbles: Go on a nature walk to collect these! Look for flat-ish stones of various small sizes. If you’re short on time, you can buy a bag of decorative river rocks.
- Strong craft glue or a hot glue gun: For younger kids, a thick, tacky craft glue is safer. For older kids and a faster-drying, more durable hold, a low-temp hot glue gun (with adult supervision) is ideal.
- Acrylic paints and paintbrushes: For decorating the rocks or the frame itself.
- A permanent marker: A fine-tip black marker is perfect for writing a special message.
- A favorite photo of the kids and Dad: The final, most important touch!
Step 1: Prepare Your Frame and Rocks
First things first, get your station ready. Lay down some newspaper or a plastic tablecloth to protect your workspace—this is supposed to be fun, not create a huge cleanup chore! Make sure your picture frame is clean and dry. If you’re using a wooden frame, you might give it a light sanding to ensure the glue and paint adhere well.
Next, clean your rocks. If you collected them from outside, give them a good wash with soap and water to remove any dirt or debris. Let them dry completely. This step is crucial because glue won’t stick properly to dirty surfaces. This is a great job for little helpers who love playing with water.
Step 2: Paint and Personalize
Now for the creative part! Decide on your color scheme. You can paint the frame a solid color that Dad loves, or let the kids paint a fun pattern. Let it dry completely before moving on.
While the frame is drying, you can paint the rocks. Some kids might want to paint each rock a different color. Another popular idea is to use a permanent marker to write one letter on each rock to spell out “DAD,” “PAPA,” or “I ❤️ U.” You can leave some rocks plain to create a nice, natural contrast. There’s no right or wrong way to do this—let your child’s imagination run wild!
Step 3: Arrange and Glue the Rocks
*This is the puzzle part—finding the perfect spot for each special rock.*
Before you break out the glue, do a “practice run.” Arrange the dry, painted rocks on the frame to see how they fit best. This is like a little puzzle, and it helps you plan the layout without making a sticky mess. Try to fit them together snugly, covering as much of the frame’s surface as possible.
Once you’re happy with the layout, it’s time to glue. Apply a generous dot of glue to the back of each rock and press it firmly onto the frame. If you’re using tacky glue, it might take a few hours to dry completely. If using a hot glue gun (adults only!), it will set in seconds. Work in small sections until the entire frame is covered.
The Awesome Final Result!
*A beautiful, handmade frame that Dad will treasure forever.*
Once the glue is completely dry and everything feels secure, pop in your favorite photo. The result is a rustic, charming, and deeply personal gift that’s worlds away from anything you could buy in a store. It’s a tangible piece of your child’s creativity and a beautiful reminder of a special bond.
This project is a perfect example of how the best Easy DIY father’s day gifts are made with love. Did you and your little one make this craft? We’d love to see it! Share your results in the comments below.
Craft #2: Handprint “King of the Grill” Apron
For the dad who is the undisputed master of the barbecue, this personalized apron is both practical and sentimental. Every time he fires up the grill, he’ll have a sweet reminder of his little helpers. It’s a fantastic project for toddlers, as their handprints become the star of the show.
What You’ll Need
- A plain cotton apron: White, black, or any solid color will do.
- Fabric paint: Make sure it’s non-toxic and machine-washable. Red and orange are great for “flames,” and any other bright color works for the handprints.
- A paper plate: To use as a paint palette.
- Paintbrush or foam brush.
- Fabric markers: For adding names, dates, and details.
Step-by-Step Instructions
- Prep the Apron: Wash and dry the apron first to remove any sizing, which can prevent the paint from setting properly. Lay it flat on your covered workspace and place a piece of cardboard inside the apron to prevent paint from bleeding through to the back.
- Paint the Handprints: Squeeze a generous amount of fabric paint onto a paper plate. Using a foam brush, paint an even layer onto your child’s hand. Press their hand down firmly on the apron—this will be the “burger patty” or the main part of the design. You can do one handprint from each child.
- Add the Flames (or Toppings!): Let the kids get creative! Using a paintbrush and red, orange, and yellow paint, they can paint “flames” underneath the handprints. Or, if you want to turn the handprints into “burgers,” use markers to draw a bun around them and add green “lettuce” and red “ketchup”!
- Personalize with Markers: Once the paint is dry (check the paint bottle for drying times), use fabric markers to add the finishing touches. Write “King of the Grill,” “Dad’s Helpers,” or the child’s name and the year.
- Heat-Set the Paint: This is a crucial final step! Most fabric paints need to be heat-set to become permanent and washable. Typically, this involves ironing the painted area (follow the instructions on your fabric paint). An adult should always handle this part.
Craft #3: DIY “Building Memories with Dad” LEGO Jar
If Dad is a LEGO fan, this gift is an absolute winner. It’s part gift, part activity, and 100% fun. It turns a simple jar into a promise of quality time spent together, which is the best gift of all. This is one of those easy father’s day crafts for kids that keeps on giving.
What You’ll Need
- A large glass or plastic jar with a lid: A large mason jar or an old pickle jar works great.
- LEGO bricks: You can use a new set or gather up some from your existing collection.
- Stickers or paint markers: For decorating the jar.
- Paper and pen: For writing down build ideas.
- Ribbon or twine: To decorate the jar.
Step-by-Step Instructions
- Clean and Decorate the Jar: Make sure your jar is clean and completely dry. Let the kids decorate the outside using paint markers or alphabet stickers to write “Building Memories with Dad.” They can also draw pictures of LEGO creations on it.
- Create Building Prompts: This is the heart of the gift. On small slips of paper, write down fun and simple building challenges. Involve your kids in brainstorming ideas! Examples could be: “Build a car that can fly,” “Build your favorite animal,” “Build a spaceship for Dad,” or “Build a castle for the whole family.” Fold them up and put them inside the jar.
- Fill the Jar with LEGOs: Add the building prompts and then fill the rest of the jar with a fun assortment of LEGO bricks. Make sure there’s a good variety of colors and shapes to complete the challenges.
- Add the Finishing Touches: Screw the lid on tightly and tie a ribbon or some twine around the top. You can also create a special tag that reads, “For when you want to build a memory with me. Love, [Child’s Name].” This simple gift provides a wonderful answer to the question, “How to make father’s day crafts,” special and interactive.
Craft #4: Scribble Mug Masterpiece
Give Dad a gift he can use every single morning. A personalized mug decorated by his kids is a surefire way to make his daily coffee or tea feel extra special. The “scribble” technique is perfect for toddlers and young children, as it turns their natural artistic style into a beautiful abstract design.
What You’ll Need
- A plain white ceramic mug: The cheaper, the better, as the smooth glaze on inexpensive mugs often works best.
- Oil-based Sharpie paint pens: It is critical that you use oil-based markers, not regular Sharpies. Regular ink will wash right off.
- An oven: To cure the design.
- Rubbing alcohol: For cleaning the mug before you start.
Step-by-Step Instructions
- Clean the Mug: Wipe the entire surface of the mug with rubbing alcohol on a paper towel. This removes any oils from fingerprints and ensures the paint pens will adhere properly. Let it air dry completely.
- Time to Decorate: This is the fun part! Let your kids draw, scribble, and write all over the mug with the oil-based markers. They can draw pictures of the family, write “Best Dad,” or just create a beautiful, colorful abstract pattern. Don’t worry about perfection; the charm is in the child-like artistry.
- Air Dry: Let the decorated mug air dry for at least 24-48 hours. This allows the paint to cure slightly before it goes into the oven, which helps prevent the colors from changing or burning.
- Bake to Set: Place the mug on a baking sheet in a cold oven. Turn the oven on to 350°F (175°C). Do not preheat it, as the gradual temperature change prevents the mug from cracking. Bake for 30 minutes.
- Cool Down: After 30 minutes, turn the oven off and let the mug cool down completely inside the oven. Once it’s cool, the design is permanent! For best results, it’s always recommended to hand-wash the finished mug to preserve the design for as long as possible.
Craft #5: “Hooked on Daddy” Handprint Fish Card
A handmade card is a Father’s Day staple, and this adorable fish-themed version is a huge step up from a simple folded piece of paper. It’s one of the most popular Father’s day craft ideas for toddlers because it turns their cute little handprint into a recognizable and heartfelt symbol.
What You’ll Need
- Cardstock paper: Blue for the “water” background and another color for the handprint.
- Non-toxic paint: In your child’s favorite color for their handprint “fish.”
- Googly eyes: To bring the fish to life!
- A black marker.
- Glue stick.
- Scissors.
Step-by-Step Instructions
- Create the Handprint: Paint your child’s hand with a nice, even layer of paint and press it horizontally onto a piece of colored cardstock. The thumb should be pointing up to create the top fin. Let it dry completely.
- Cut out the “Fish”: Once the paint is dry, carefully cut around the handprint shape. This will be your fish.
- Make the Card: Fold your sheet of blue cardstock in half to create the card. This will be the “water” where your fish will swim.
- Assemble Your Scene: Glue the handprint fish onto the front of the blue card. Glue on a googly eye near the base of the fingers. Use a black marker to draw a little smile on the fish.
- Add the Message: Above the fish, write a cute message like “Hooked on Daddy!” or “You’re a REEL-Y Great Dad!” on the front. On the inside, your child can write a personal message or draw another picture for Dad.
Craft #6: Personalized Tie-Shaped Bookmark
For the bookworm dad, a personalized bookmark is a thoughtful and useful gift. This craft is super simple, requires very few materials, and is easy enough for even the youngest crafters to decorate. It’s a wonderful, low-mess option when you’re looking for easy father’s day crafts for kids.
What You’ll Need
- Stiff craft foam or heavy cardstock: In various colors and patterns.
- Scissors.
- A hole punch.
- Yarn or ribbon: For the tassel.
- Markers, stickers, or craft jewels: For decorating.
- Glue.
Step-by-Step Instructions
- Cut the Tie Shape: On a piece of cardstock or craft foam, draw a simple tie shape. It should be about 6-7 inches long and 2-3 inches wide at its widest point. An adult can help with this part, or you can find a simple template online to print and trace. Cut it out.
- Decorate the Tie: Let your child take over! They can decorate the tie bookmark using markers to draw stripes or polka dots, add fun stickers, or glue on sparkly craft jewels to make it extra fancy. They could even try to replicate the pattern of one of Dad’s actual ties.
- Add a “Collar”: To make it look even more like a real shirt and tie, cut a small, thin strip of a different colored paper. Glue it across the top of the narrowest part of the tie to look like the knot, and fold two small triangular pieces to look like a shirt collar peeking out from behind.
- Make the Tassel: Punch a hole in the top of the tie. Cut a few strands of yarn or ribbon, fold them in half, and loop them through the hole to create a simple tassel. This makes the bookmark easy to find between the pages of a book.
Craft #7: “Nuts About You” Photo Frame
This is a fun twist on the classic picture frame craft, perfect for the handy dad who loves to tinker in the garage or workshop. Using real hardware gives it a cool, industrial-chic vibe, and it’s a great sensory activity for kids who like to build.
What You’ll Need
- A sturdy, wide-surfaced picture frame: A plain, unfinished wood frame is perfect.
- An assortment of nuts, bolts, washers, and screws: Raid Dad’s toolbox (with permission!) or buy a small variety pack from the hardware store.
- Super glue or a high-strength craft adhesive like E6000: This is an adult-only step. Hot glue is not strong enough to hold the metal pieces permanently.
- A photo of you and Dad.
Step-by-Step Instructions
- Plan Your Design: Just like the rock frame, lay out your hardware on the frame first to create a design. You can create a repeating pattern of nut-bolt-washer, or just go for a random, collage-style look. This is the part where your child can be completely in charge of the creative direction.
- Prepare for Gluing (Adults Only): This step requires a well-ventilated area and careful handling. The strong adhesive is necessary to make sure the heavy metal pieces don’t fall off.
- Glue the Pieces: An adult should apply a small, strong dot of glue to the back of each piece of hardware and press it firmly onto the frame according to the child’s design plan. The child can point to where each piece should go.
- Let it Cure: These strong adhesives need a long time to cure properly. Let the frame sit undisturbed for at least 24 hours to ensure everything is solidly bonded.
- Add the Finishing Touches: Once fully cured, you can add a tag that says “I’m NUTS about you, Dad!” and insert your favorite photo. It’s a rugged and heartfelt gift that celebrates Dad’s handy side.
Pro Tips for a Fun and Mess-Free Crafting Day
- Preparation is Everything: Before you call the kids over, have all your materials gathered, your workspace covered, and a general plan in mind. This keeps the momentum going and prevents little ones from getting bored while you search for the glue.
- Embrace the Imperfection: The true beauty of these crafts is in their imperfection. A slightly crooked handprint or a wobbly line is what makes it unique and precious. Focus on the fun of creating together, not on achieving a flawless result.
- Dress for the Mess: Put kids (and yourself!) in old clothes that you don’t mind getting a little paint on. This frees everyone up to be creative without worrying about stains.
- Let Them Lead: Offer guidance, but let your child make the creative choices. If they want to make a purple fish with orange spots, lean into it! Giving them ownership of the project makes them even more proud of their final creation.
Frequently Asked Questions (FAQs)
What are some good Father’s Day craft ideas for toddlers?
Toddlers do best with projects that involve their senses and large motor skills. The Handprint “King of the Grill” Apron and the “Hooked on Daddy” Handprint Fish Card are perfect because they use their hands directly. The Scribble Mug Masterpiece is also fantastic, as it allows them to scribble freely on a fun object. Prioritize simple steps and non-toxic materials.
How can I make a homemade Father’s Day card more special?
Go 3D! Instead of just drawing on a card, add texture. Glue on a handprint fish as we suggested, or use different materials like craft foam, buttons, or even pasta shapes that they can paint. Including a recent photo of the child and Dad inside the card is always a winning touch.
What basic materials should I have for most easy DIY father’s day gifts?
A great starter kit would include: non-toxic washable paint, construction paper or cardstock in various colors, a strong craft glue or glue stick, safety scissors, markers, and fun extras like googly eyes, stickers, and yarn. With these basics, you can tackle a huge variety of simple projects.
How can I wrap these handmade gifts creatively?
Let the kids create their own wrapping paper! Get a large roll of brown or white craft paper and let them decorate it with stamps, crayons, or paint. It adds another layer of personalization to the gift-giving experience.
Are these crafts safe for my very young child?
Safety is paramount. For every craft, an adult should always supervise, especially with small items like googly eyes or hardware, which can be choking hazards. Always use non-toxic paints and glues, and ensure any step involving scissors, hot glue, or an oven is handled exclusively by an adult. The goal is fun, but safe fun is always number one.
Crafting with your kids for Father’s Day goes beyond the gift itself. It’s about setting aside time, getting a little messy, and creating a tangible piece of love. We hope these 7 easy father’s day crafts for kids have inspired you to start a new tradition in your family.
Which craft are you and your little ones excited to try? Do you have another favorite go-to DIY gift for Dad? Share your ideas, questions, and amazing creations in the comments below! We love hearing from our community of creators.

