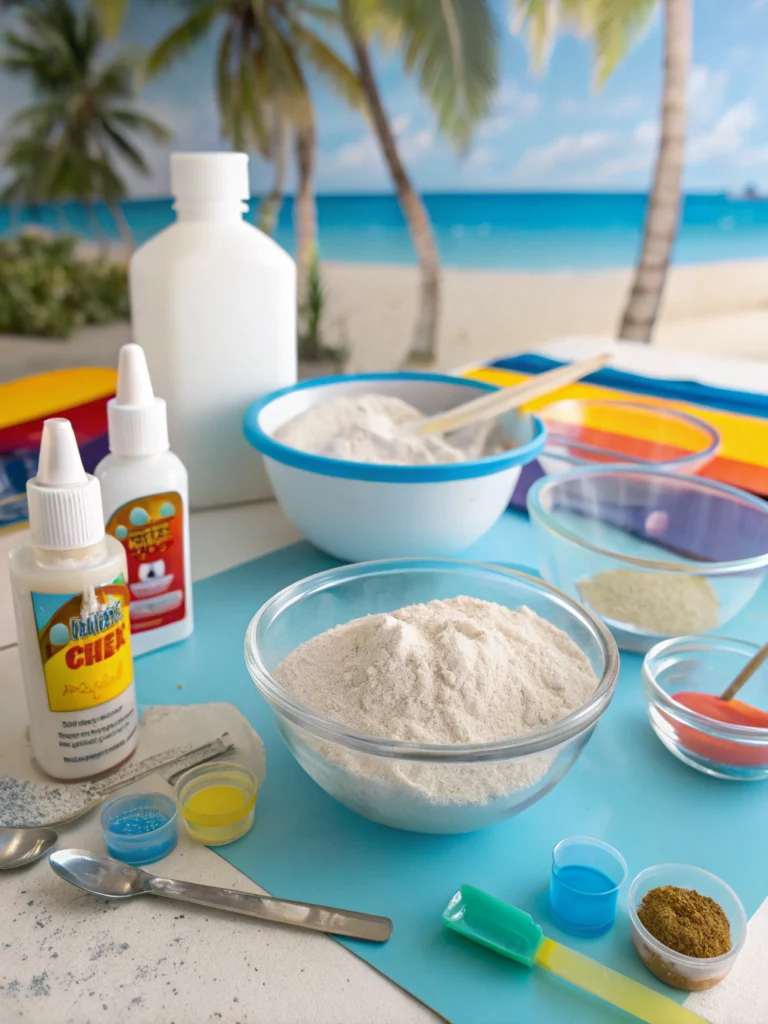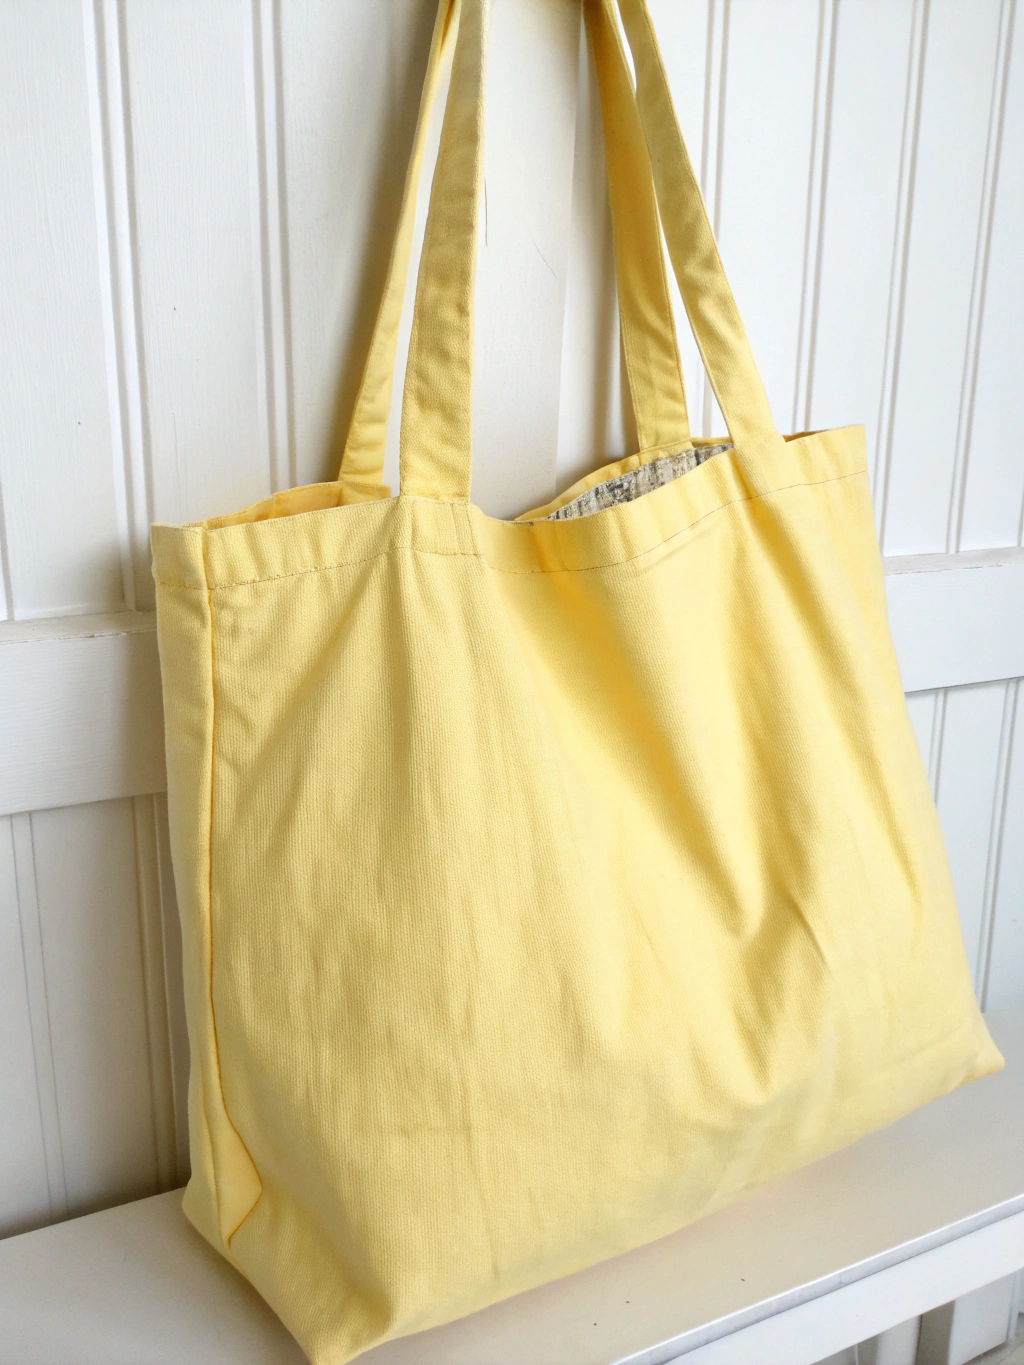
Carry your essentials in style with your very own handmade no-sew tote!
Introduction
Ah, summer! The season of sunny skies, beach trips, picnics in the park, and… the desperate need for a stylish, capacious bag to haul all your warm-weather essentials. If you’ve ever admired those chic custom tote bags but shied away at the thought of wrestling with a sewing machine, then you’re in for a treat! Today, we’re diving into how to create an easy no-sew summer tote bag that’s not only incredibly practical but also a blast to make. Forget complicated patterns and finicky stitches; this project is all about simple techniques and fabulous results, making it a perfect weekend craft or a fun activity to unleash your creativity.
Many DIY enthusiasts, especially those newer to crafting, often feel intimidated by projects requiring sewing. The good news is that with modern adhesives and clever folding, you can achieve a durable and fashionable tote without a single thread. This guide will walk you through crafting your very own easy no-sew summer tote bag, a project so straightforward you’ll wonder why you didn’t try it sooner. It’s perfect for carrying your sunscreen, a good book, a water bottle, and snacks, whether you’re heading to the coast or just your local market. Get ready to turn a simple piece of fabric into your new favorite summer accessory!
We’ll explore everything from choosing the right materials to adding those personal touches that make your bag uniquely yours.
Table of Contents
What You’ll Need for Easy No-Sew Summer Tote Bag
Before we jump into the fun part, let’s gather our supplies. Having everything ready will make the process smooth and enjoyable. For this easy no-sew summer tote bag, we’re keeping the tool list minimal and the materials fun and accessible!
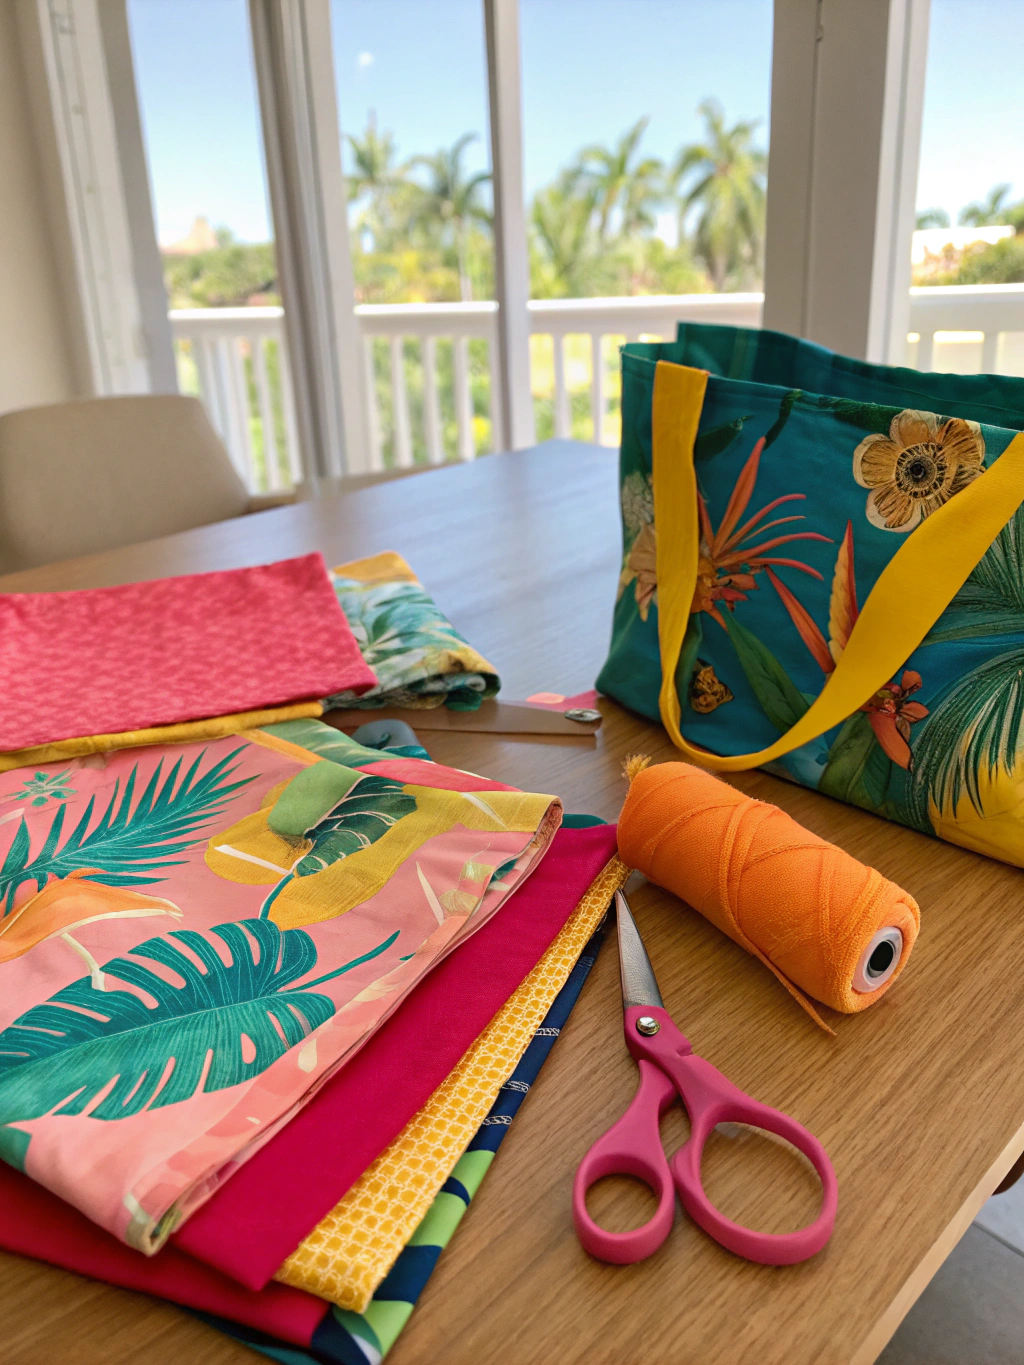
Your crafting arsenal: simple materials for a stunning no-sew tote. Easy No-Sew Summer Tote Bag
Here’s what you’ll need to gather: Easy No-Sew Summer Tote Bag
- Fabric:
- Main Bag Fabric: Approximately 1 yard (or about 1 meter) of sturdy fabric. Canvas, duck cloth, denim, or even heavy-duty cotton are excellent choices. Look for something that can hold its shape and withstand a bit of wear and tear. The pattern or color is all up to you – let your personality shine! Consider outdoor fabrics too, as they often have water-resistant properties.
- Handle Fabric/Material (Optional): If you’re not using the main fabric for handles, you’ll need about 1-2 yards of cotton webbing, rope, leather strips, or even repurposed belts. Pre-made webbing is often the easiest and most durable option for a Beginner-friendly no-sew tote bag. Webbing usually comes in various widths (1 inch to 1.5 inches is common for totes).
- Adhesive:
- Strong Fabric Glue: Choose a high-quality, permanent fabric adhesive designed for no-sew projects. Products like Liquid Stitch, Beacon Fabri-Tac, or Aleene’s Super Fabric Adhesive are popular choices. Ensure it dries clear and is flexible.
- OR Fusible Hem Tape: This is an iron-on adhesive. You’ll need a roll of heavy-duty fusible hem tape (like HeatnBond Ultrahold). This method requires an iron and ironing board.
- Tools:
- Sharp Fabric Scissors: Good quality scissors dedicated to fabric will make cutting clean and effortless. A rotary cutter and mat are fantastic alternatives for perfectly straight lines, especially on thicker fabrics.
- Measuring Tool: A ruler, measuring tape, or a quilter’s grid is essential for accurate measurements.
- Marking Tool: Fabric chalk, a disappearing ink fabric pen, or even a light pencil to mark your cut and fold lines. Test on a scrap piece first to ensure it removes easily.
- Iron and Ironing Board: Crucial if you’re using fusible hem tape, but also very helpful for pressing seams and fabric flat even if you’re using liquid glue. Crisp folds make for a neater bag.
- Clips or Heavy Books: To hold glued sections together while they dry (if using liquid adhesive). Binder clips or wonder clips work well.
- Optional Embellishments:
- Fabric paints, stencils, iron-on transfers, beads, tassels, patches, buttons – anything you’d like to personalize your easy no-sew summer tote bag!
Having these items on hand will set you up for success. Remember, the quality of your materials, especially the adhesive, will directly impact the durability of your finished tote. Don’t skimp here!
How to Create Your Easy No-Sew Summer Tote Bag: A Step-by-Step Guide
Alright, DIY dynamos, it’s time to get crafty! We’ve broken down the process into five simple steps. Follow along, take your time, and most importantly, have fun creating your personalized easy no-sew summer tote bag. Remember, perfection isn’t the goal; a handmade item with character is!
Step 1: Prepare Your Fabric – The Foundation of Your Tote Easy No-Sew Summer Tote Bag
This initial step is arguably one of the most crucial. Clean, well-pressed, and accurately cut fabric will make the subsequent steps much easier and result in a more professional-looking easy no-sew summer tote bag.
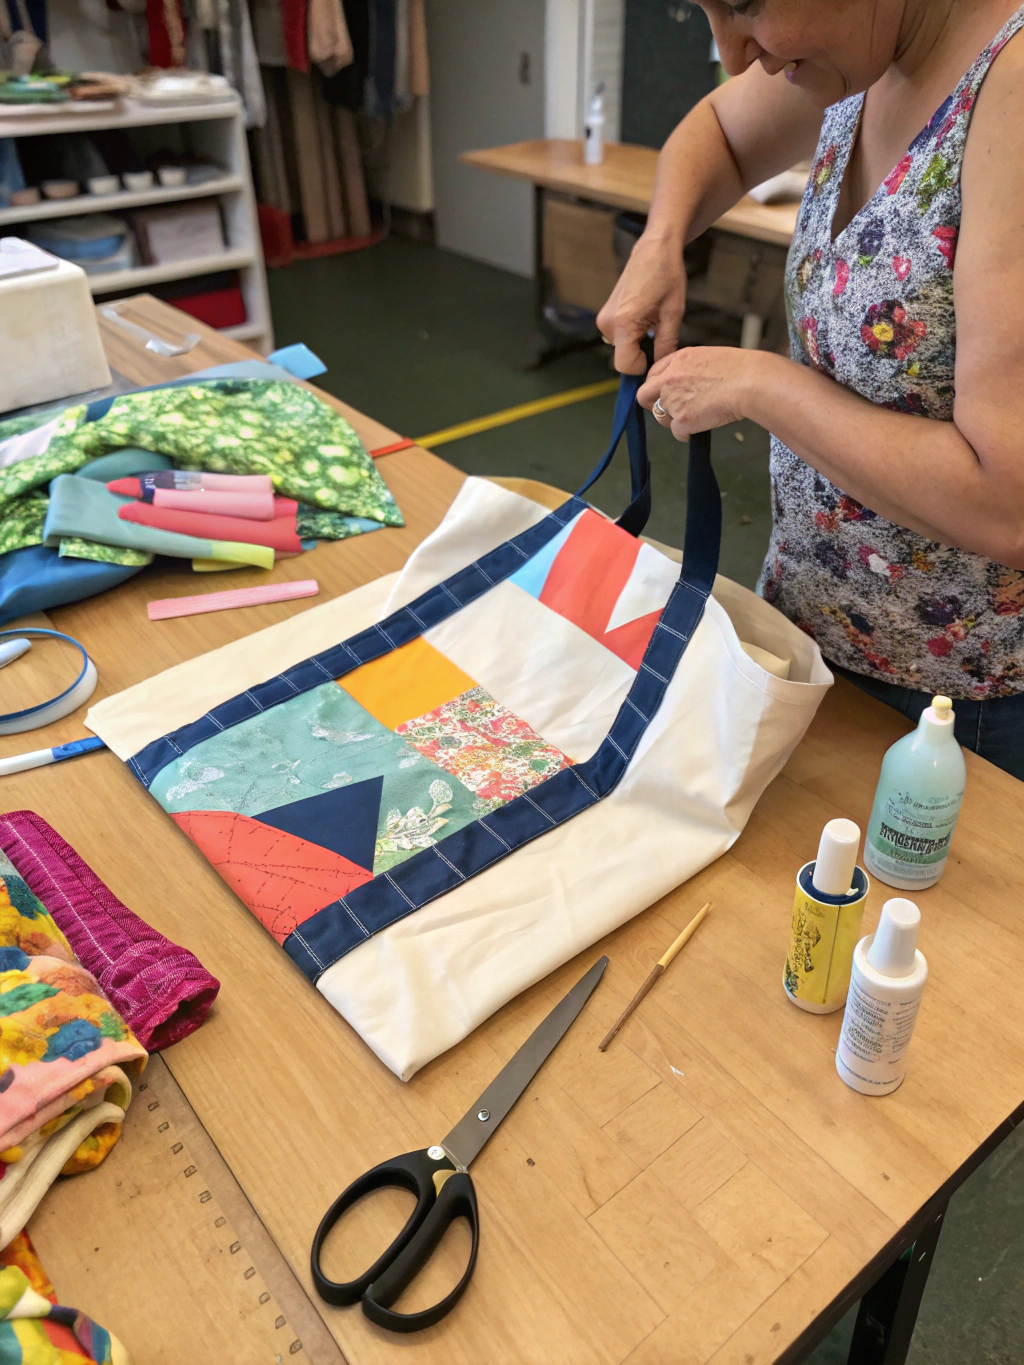
Caption: Step 1 – Carefully measuring and cutting your chosen fabric, the first key action in crafting your easy no-sew summer tote bag.
First, if your fabric is washable (most cotton, canvas, and denims are), it’s a good idea to pre-wash and dry it. This step prevents any unexpected shrinkage after your bag is complete, especially if you plan on washing it later. Once dry, give your fabric a good iron to remove all wrinkles and creases. Working with smooth, flat fabric is key for accurate measurements and clean folds.
Next, decide on the dimensions for your tote. A common size for a versatile tote bag is around 18 inches wide by 15 inches tall, with a 4-5 inch base. For this, you’ll need one large rectangular piece of fabric. To achieve an 18″ wide x 15″ tall bag (finished size, approximately), you might cut a rectangle that is:
- Width: (Desired Width x 2) + Seam Allowance on each side. So, (18 inches x 2 for front and back) + (2 x 1 inch for side “seams”/glue area) = 36 + 2 = 38 inches.
- Height: Desired Height + Hem Allowance at top + Bottom Gusset/Seam Allowance. So, 15 inches (height) + 2 inches (top hem) + 3 inches (for bottom creation) = 20 inches.
So, for this example, you’d cut one piece of fabric approximately 38 inches wide by 20 inches tall. Adjust these measurements based on your preferred bag size. Use your ruler and fabric marker to carefully draw your cutting lines. Double-check your measurements before you cut! Using a rotary cutter and mat will give you the straightest edges, but sharp fabric scissors will also work well if you cut carefully along your marked lines. This careful preparation lays the groundwork for a fantastic Beginner-friendly no-sew tote bag.
A common pitfall here is not cutting straight or not measuring accurately. Uneven cuts can lead to a lopsided bag. Take your time with this step; it’s worth the extra few minutes. If your fabric has a directional print, ensure you orient it correctly before cutting so your pattern isn’t upside down on one side of the bag! This attention to detail will elevate your easy no-sew summer tote bag.
Step 2: Create the Bag’s Body with Adhesive – No Sewing Required!
Now for the magic! This is where your bag starts to take shape, using only your chosen adhesive. Whether you’re using fabric glue or fusible hem tape, the principle is the same: creating strong, durable “seams” without a needle and thread.
Lay your large fabric rectangle wrong side up on your work surface. First, we’ll create the top hem of the bag. Along one of the longer edges (the 38-inch edge in our example), fold the fabric down about 1/2 inch towards the wrong side and press it with your iron. Then, fold it down again by about 1.5 inches to create a neat double hem. Press firmly. Now, apply your adhesive.
- If using fabric glue: Carefully lift the folded edge and apply a thin, even line of glue along the fabric underneath the 1.5-inch fold. Press it down firmly. Use clips to hold it in place if your glue requires it.
- If using fusible hem tape: Cut a piece of hem tape the length of your hem. Place it under the 1.5-inch fold, ensuring it’s hidden. Iron according to the tape manufacturer’s instructions, usually by pressing firmly with a hot iron for several seconds.
Repeat this process for the opposite long edge to create the top hem for the other side of your bag. Having a neat top edge is vital for the finished look of your easy no-sew summer tote bag.
Next, with the wrong side still facing up, fold your fabric rectangle in half widthwise, bringing the two hemmed top edges together. Your fabric is now folded like a book, with the right sides of the fabric facing each other on the inside. The dimensions should now be approximately 19 inches wide by 20 inches tall (using our example). Now, you will “seal” the two open sides.
- If using fabric glue: Apply a consistent line of fabric glue along the raw edges of both open sides, about 1/2 inch to 1 inch in from the edge. Press the edges together firmly. Wipe away any excess glue that seeps out. Use clips or heavy books to apply pressure while the glue dries completely (check drying time on your glue bottle – it can be several hours or even overnight for maximum strength).
- If using fusible hem tape: Place strips of fusible tape inside the bag, along the raw edges of the two open sides, about 1/2 inch to 1 inch in. Carefully align the fabric edges and press with your iron as per the instructions. Work in sections if needed.
Ensure your adhesive goes as close to the bottom fold as possible for a secure side “seam.” A B_eginner-friendly no-sew tote bag _doesn’t mean a flimsy one; proper adhesion is key! Avoid using too much glue, as it can seep through and make the fabric stiff or discolored. If using hem tape, ensure your iron is at the correct temperature for your fabric type and the tape. Too hot can scorch, too cool won’t bond.
Step 3: Form the Bag’s Bottom – Adding Depth and Structure
A flat bag is fine for some things, but a tote bag with a flat bottom (a gusset) can stand on its own and hold much more. This step might seem a bit tricky, but it’s quite simple once you understand the folding technique. This is one of the Steps to craft an easy no-sew summer tote bag that truly elevates its functionality.
Ensure the side “seams” of your bag are completely dry or cooled and bonded. Keep the bag inside out. At one of the bottom corners (where a side seam meets the bottom fold of the bag), pull the front and back layers of fabric apart slightly. You want to make this corner flat, forming a triangle, with the side “seam” line running down the center of this new triangle. Imagine you’re trying to match the side seam to the bottom fold line. Press this corner flat to form a point.
Now, measure down about 2-2.5 inches from the very tip of this triangle, perpendicular to your side “seam” line. Draw a line across the triangle at this point with your fabric marker. This line will be the width of your bag’s base on one side. For a 4-5 inch wide base overall, each corner fold line would be 2-2.5 inches from the tip. Apply your fabric glue or position your fusible hem tape along this marked line.
- If using fabric glue: Apply a generous line of glue along your marked line and fold the tip of the triangle down over the line, pressing firmly. Secure with clips until dry.
- If using fusible hem tape: Place a strip of hem tape along the marked line, fold the tip of the triangle over, and press with your iron according to instructions.
Repeat this exact process on the other bottom corner of the bag. These two “sealed” triangles now form the flat bottom of your easy no-sew summer tote bag. This technique is called “boxing the corners” and is a game-changer for tote bag capacity.
A common pitfall here is not making both corners symmetrical. Ensure you measure and fold equally on both sides for a balanced bag. Another is not using enough adhesive, which can cause the bottom to come apart under weight. Be generous but neat with your chosen bonding agent. Once the adhesive is fully set, you can turn your bag right side out. Admire your progress! You should now have a bag shape with a defined bottom. For those learning How to make an easy no-sew summer tote bag, getting this step right is very satisfying.
Step 4: Attach the Handles – For Carrying in Style
Your bag is almost complete! Now it’s time to add the handles. The placement and secure attachment of handles are crucial for both the look and functionality of your easy no-sew summer tote bag.
First, prepare your handles. If you’re using fabric from your main piece, cut two strips, perhaps 4 inches wide and 22-26 inches long (adjust length for your desired shoulder drop or hand-carry style). Fold each strip in half lengthwise (wrong sides together), press. Then open it up, fold the raw edges into the center crease, press again. Finally, fold it in half along the center crease one more time, encasing all raw edges. You’ll have a sturdy strap about 1 inch wide.
Apply fabric glue or fusible tape inside this folded strap to seal it all along its length. If using webbing or rope, simply cut two pieces to your desired length (e.g., two 24-inch pieces). To prevent fraying on webbing or rope, you can quickly pass the cut ends through a flame (carefully, if synthetic) or apply a bit of Fray Check liquid.
Now, decide on handle placement. Lay your bag flat, right side out. On one side of the bag, measure in about 3-4 inches from each side “seam” along the top hem. Mark these spots. This is where the outer edges of your handles will align. The handles will be attached to the inside of the bag for a cleaner look, or on the outside for a more rustic or decorative effect. We’ll describe attaching to the inside.
Take one handle strip. Apply adhesive (glue or prepare for fusible tape) to about 1.5-2 inches at one end of the handle. Position this end on the inside of the bag, aligning its outer edge with one of your marks, with the 1.5-2 inches extending downwards into the bag. Press firmly. Repeat with the other end of the same handle strip, aligning it with your second mark on the same side of the bag, ensuring the handle isn’t twisted. Now, repeat this entire process on the other side of the bag with the second handle strip.
- If using fabric glue: Apply glue generously to the ends of the handles and press them firmly against the L_inside_ top edge of the bag. Use strong clips to hold them in place while the glue cures completely. This might take 24 hours for maximum strength.
- If using fusible hem tape: Place pieces of heavy-duty fusible tape between the handle ends and the inside of the bag. Carefully use your iron (a smaller craft iron might be easier here) to fuse the handles in place. This can be tricky with the bag’s shape, so work patiently.
For extra reinforcement, especially if you plan to carry heavier items in your easy no-sew summer tote bag, consider adding a small square or rectangle of fabric, also adhered, over the handle ends on the inside of the bag. This distributes the stress. Or, if attaching on the outside, you could glue a decorative patch or button over the handle ends. The strength of your handles is paramount, so don’t rush the curing or fusing process. Tug gently only when you’re sure the adhesive is fully set.
Step 5: Add Personal Touches & Finishing – Make It Uniquely Yours!
This is where your creativity truly takes center stage! Your basic easy no-sew summer tote bag is complete, but now you can embellish it to reflect your personal style. This is also the time for a final check on all your adhesive bonds. Easy No-Sew Summer Tote Bag
Before you start decorating, give your bag a final once-over. Ensure all glued seams are fully dry and secure. Trim any stray threads or bits of dried glue. Now, let the fun begin! Here are a few no-sew decoration ideas:
- Fabric Paints/Markers: Create freehand designs, write your favorite quote, or use stencils for crisp patterns. Test paints on a scrap piece of your fabric first.
- Iron-On Transfers/Vinyl: Available in countless designs, letters, and images. Follow the manufacturer’s instructions carefully for application.
- Patches: Iron-on or glue-on patches can add a retro or quirky vibe.
- Tassels or Pom-Poms: Make your own from embroidery floss or yarn and attach them to the handles or a corner.
- Beads, Buttons, or Studs: Glue these on for some sparkle or texture. For heavier embellishments, ensure your fabric glue is robust.
- Fringe: You can glue a strip of fringe along the top or bottom edge for a bohemian look.
When decorating, consider the theme of your easy no-sew summer tote bag. Is it for the beach? Nautical themes like anchors or stripes work well. Is it a general-purpose summer bag? Florals, bright geometrics, or abstract art could be perfect. If you’re seeking more inspiration for handmade projects, including ideas for various craft techniques, many crafters find resources like HGTV very helpful; they often showcase “Beginner-friendly no-sew tote bag, Steps to craft an easy no-sew summer tote bag, How to make an easy no-sew summer tote bag” and other DIYs.
Once you’ve added your embellishments, allow any paints or glues to dry completely according to their instructions. And that’s it! You’ve successfully navigated the Steps to craft an easy no-sew summer tote bag! Treat your new creation with care – while fabric adhesives are strong, they might not withstand extremely heavy loads or rough machine washing like sewn seams would. Spot clean when possible.
Your Beautiful Easy No-Sew Summer Tote Bag is Ready!
Ta-da! Step back and admire your handiwork. You’ve just created a fabulous, functional, and completely custom easy no-sew summer tote bag without touching a sewing machine. How amazing is that?
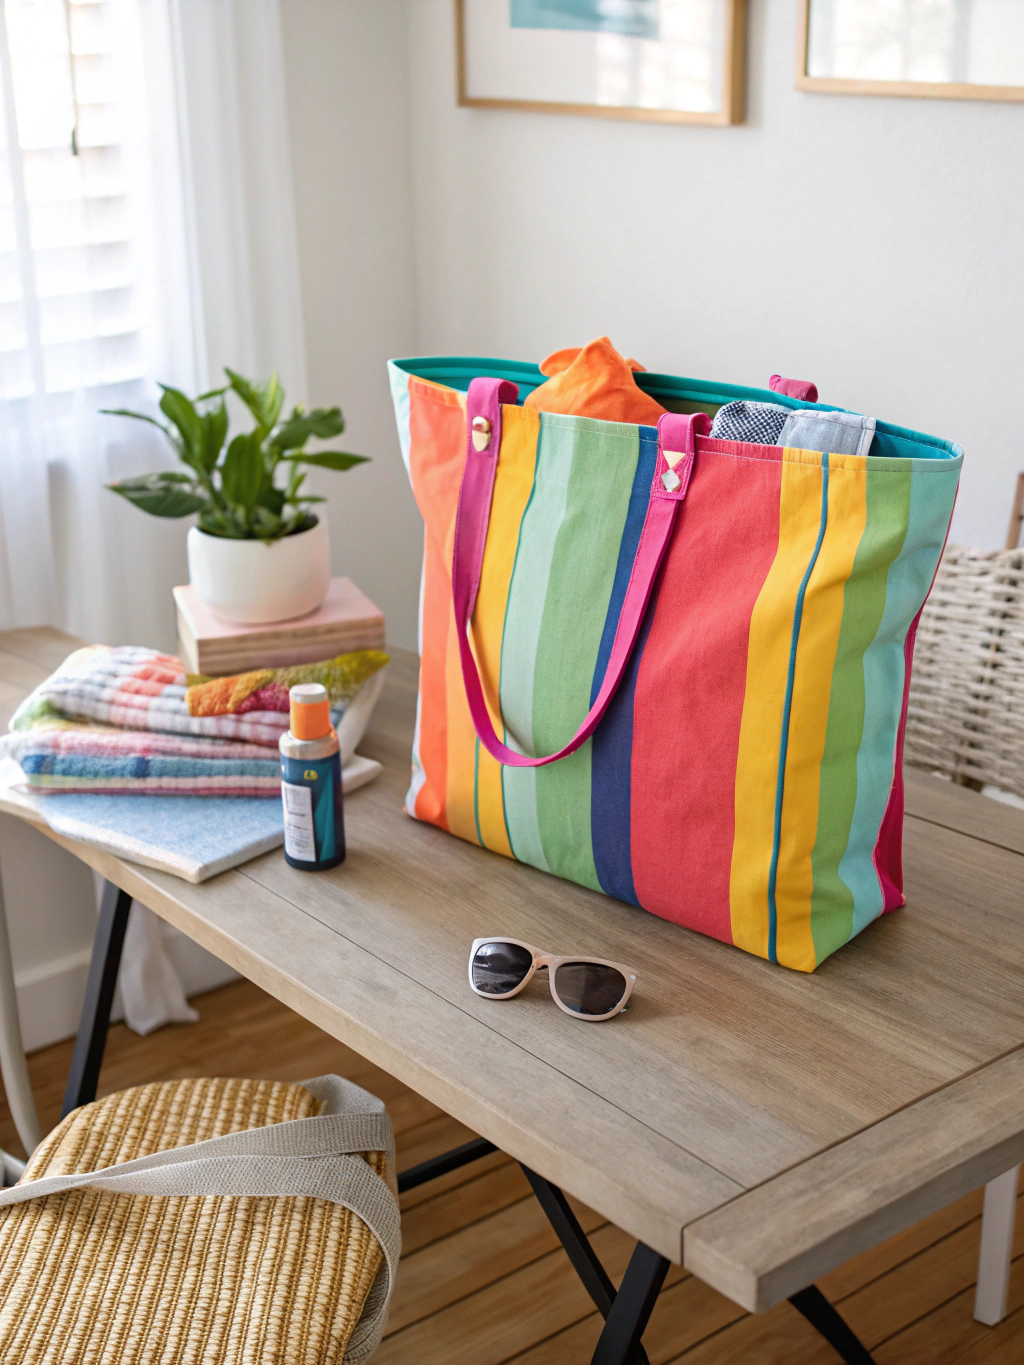
Your stunning, handmade easy no-sew summer tote bag – ready for all your summer adventures!
This project proves that you don’t need complex skills to create something beautiful and practical. Your new tote is perfect for hauling your beach towel and sunscreen, carrying groceries from the farmer’s market, or simply adding a pop of handmade charm to your everyday outfits. The best part? You can proudly say, “I made this!” Easy No-Sew Summer Tote Bag
We absolutely love seeing what our readers create! If you’ve made your own easy no-sew summer tote bag using this tutorial, please share a picture in the comments below or tag us on social media! Got any cool customization ideas or tips you discovered along the way? Share those too – the DIY community thrives on shared creativity!
Pro Tips and FAQs for Your No-Sew Tote Bag Adventure
You’ve got the basics down, but here are a few extra pro tips and answers to frequently asked questions to make your easy no-sew summer tote bag project even more successful and enjoyable.
Pro Tips for an Even Better No-Sew Tote: Easy No-Sew Summer Tote Bag
- Fabric Choice Matters More Than You Think: While we mentioned sturdy fabrics, consider the finish as well. A slightly textured fabric (like canvas) can hide minor imperfections in gluing better than a very slick, smooth fabric. Also, darker colors or busy patterns are more forgiving.
- Test Your Adhesive: Before committing to your main fabric, always test your chosen fabric glue or fusible tape on a scrap piece of the exact same fabric. Check for bleed-through, adhesion strength, and drying time.
- Reinforce Stress Points: The handle attachments and bottom corners are high-stress areas. Consider doubling up on adhesive in these spots or adding an extra layer of small fabric (like a patch on the inside) over the handle ends for added durability.
- Patience is a Virtue (Especially with Glue): If using liquid fabric glue, resist the urge to use or test your bag before the glue has fully cured. Most glues gain their maximum strength after 24-72 hours. Rushing this can lead to seams popping open.
- Clean Application is Key: For liquid glue, use a thin, even bead. Too much can seep out, look messy, and make the fabric overly stiff. Keep a damp cloth handy to wipe away any immediate excess. For fusible tape, ensure it’s completely covered by the fabric fold to avoid sticking to your iron.
- Consider an Inner Pocket (Advanced No-Sew!): If you’re feeling adventurous, you can create a simple no-sew patch pocket for the inside of your bag before you seal the side seams. Just glue three sides of a smaller fabric rectangle to the inside panel of your tote.
- Edge Finishing for Non-Fraying Fabrics: If you use a fabric that doesn’t fray much (like some synthetics or felt), you might be able to skip the double-fold hem at the top for a quicker project, though a folded hem always looks more polished.
Frequently Asked Questions (FAQs): Easy No-Sew Summer Tote Bag
Q1: What’s the best fabric for a Beginner-friendly no-sew tote bag project?
For beginners, medium to heavy-weight cotton canvas, duck cloth, or denim are fantastic choices. They are easy to work with, hold their shape well, take adhesive effectively, and are quite durable. Avoid very thin or slippery fabrics like silk or lightweight synthetics, as they can be harder to glue neatly and may not offer enough structure for a sturdy tote. Upholstery fabric remnants can also be great if they aren’t too thick for the adhesive to penetrate. Always consider the fabric’s ability to create crisp folds when pressed.
Q2: How strong is a no-sew tote bag really? Can it carry heavy items?
The strength of your [easy no-sew summer tote bag](https://www.fixdiy.site/diy-picture-ledge-shelf/) largely depends on two factors: the quality of your fabric adhesive and how well you applied it. High-quality, permanent fabric glues or heavy-duty fusible tapes can create very strong bonds, often comparable to sewing for everyday use. However, a no-sew bag is generally not recommended for consistently carrying extremely heavy items like multiple textbooks or a full load of canned goods. For moderate loads like beach essentials, a few groceries, or library books, it should hold up perfectly well if constructed carefully. Always ensure full curing time for glues.
Q3: Can I wash my easy no-sew summer tote bag?
This depends on the fabric and the adhesive used. Most permanent fabric glues are machine washable after they fully cure (usually 24-72 hours, check the label). However, to prolong the life of your handmade tote and its embellishments, **spot cleaning** is generally recommended. If you must wash it, use a gentle cycle with cold water and air dry. Avoid the dryer if possible, as high heat can sometimes affect adhesives or cause shrinkage. If you used fusible tape, check its packaging for washability. Pre-washing your fabric helps too!
Q4: What are some creative decoration ideas for my tote, aside from paints? Can I find more inspiration?
Absolutely! Beyond paints and markers, consider:
- Appliqués: Cut shapes from contrasting fabric and glue them on. Felt is great for this.
- Buttons and Beads: Glue them on individually or in patterns.
- Rickrack or Ribbon: Glue these along edges or in decorative stripes.
- Stamping: Use fabric ink and rubber stamps.
- Repurposed Jewelry: Old brooches or pendants can be striking additions.
For a wealth of creative ideas and visual inspiration for all sorts of handmade projects, including for your tote, you might explore resources like HGTV; they often feature galleries and tutorials for things like [“Beginner-friendly no-sew tote bag, Steps to craft an easy no-sew summer tote bag, How to make an easy no-sew summer tote bag”](https://www.hgtv.com/design/make-and-celebrate/handmade/our-65-favorite-handmade-holiday-decorating-ideas-pictures) and other delightful DIY crafts.
Q5: Are there common mistakes to avoid when learning How to make an easy no-sew summer tote bag?
Yes, a few common pitfalls to watch out for:
- Using the Wrong Glue: Not all glues are fabric glues, and not all fabric glues are permanent or strong enough for a tote. Choose wisely!
- Impatience: Not allowing glue to fully cure before using the bag or moving to the next step.
- Uneven Cuts/Measurements: This can lead to a lopsided bag. Measure twice, cut once!
- Too Much or Too Little Glue: Too much can seep and look messy; too little won’t create a strong bond. Aim for a consistent, thin layer.
- Not Pressing Seams: Even if using glue, pressing folds with an iron (where appropriate for the fabric) makes for a much neater, more professional finish.
- Overloading the Bag: While sturdy, remember it’s a no-sew creation. Treat it with a bit more care than a commercially heavy-duty sewn bag.
By avoiding these, your journey in learning [How to make an easy no-sew summer tote bag](https://www.fixdiy.site/diy-picture-ledge-shelf/) will be smoother and more rewarding!
Your Next Favorite DIY Project Awaits!
Crafting an easy no-sew summer tote bag is more than just making an accessory; it’s about the joy of creation, the satisfaction of learning a new skill, and the pride in using something you made with your own hands. This project is a fantastic entry point into the world of no-sew DIY, and the possibilities for customization are endless. Imagine creating themed bags for holidays, personalized gifts for friends, or even smaller versions for kids!
We hope this comprehensive guide has inspired you to grab some fabric and get started. Don’t be afraid to experiment with different materials, shapes, and embellishments. The most important thing is to have fun and let your creativity flow.
What do you think? Are you excited to try making your own easy no-sew summer tote bag? Do you have any questions we didn’t cover? Drop a comment below – we’d love to hear from you!
And if you enjoyed this tutorial, why not sign up for our newsletter for more fun DIY projects, tips, and inspiration delivered straight to your inbox? You can also share this post with your crafty friends on Pinterest, Facebook, or your favorite social media platform! Happy crafting!


