Finding engaging and eco-friendly activities for your little ones can sometimes feel like a treasure hunt with no map, right? Well, you’re in luck! We’re diving into the wonderful world of easy recycled crafts for kids , turning everyday trash into artistic treasure. These projects aren’t just about keeping tiny hands busy; they’re a fantastic way to teach children about sustainability and the joy of creating something new from something old. Get ready to unleash your child’s inner artist and spark their imagination with these fun, simple, and earth-friendly crafts! Let’s transform those recyclables into masterpieces!
Table of Contents
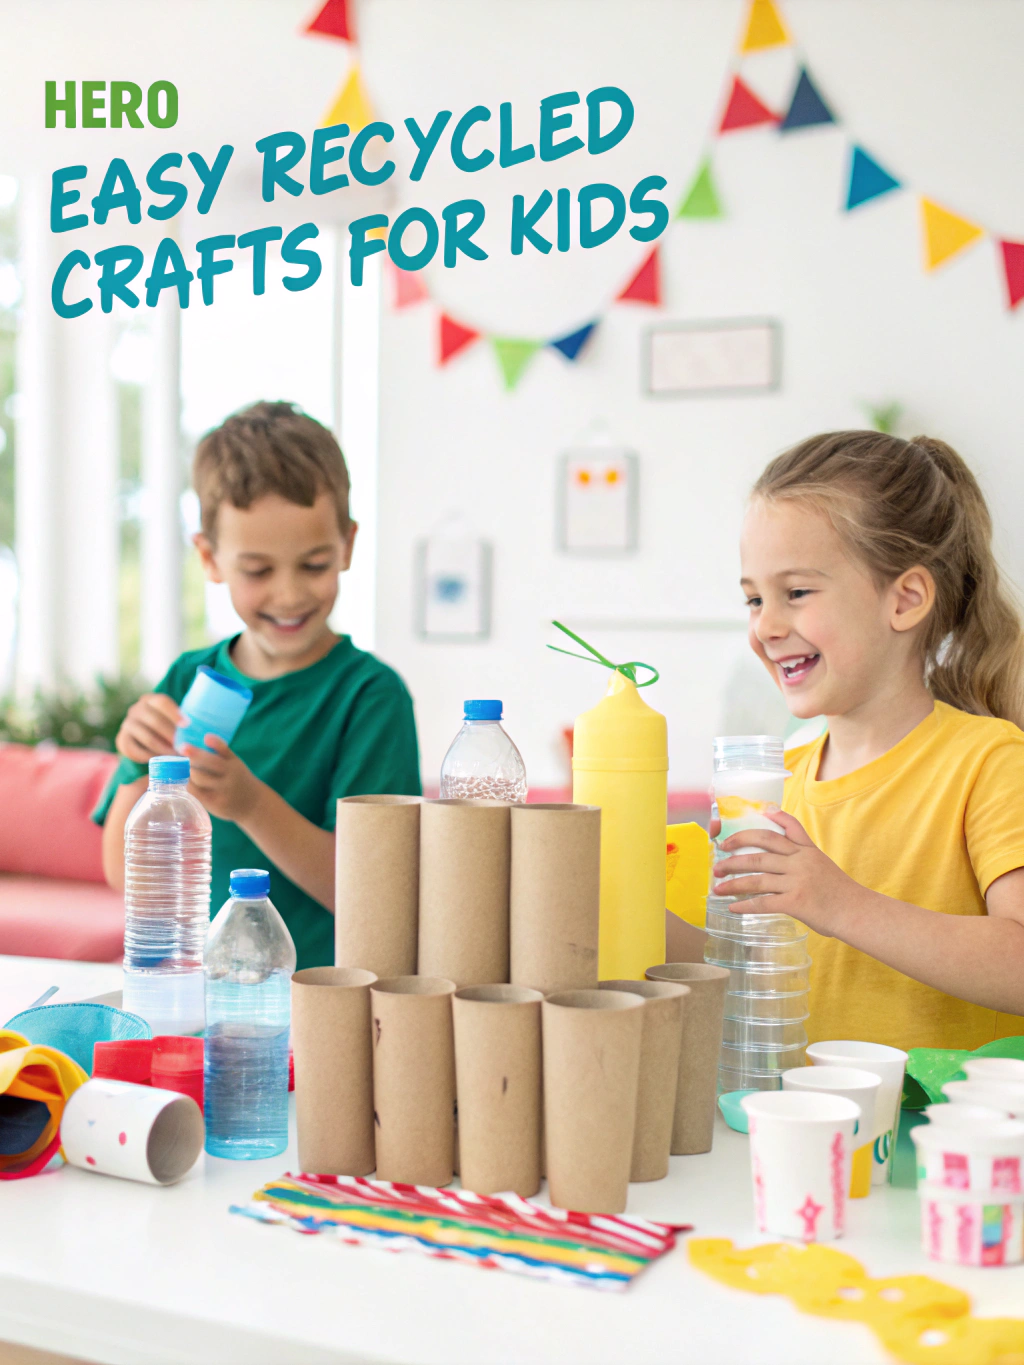
_Caption: Get ready to explore a world of creativity with these easy recycled crafts for kids!_
We’ve all been there – a rainy afternoon, a chorus of “I’m bored!”, and a recycling bin overflowing with potential. Instead of letting those valuable materials go to waste, why not use them for some creative fun? This guide will walk you through five super easy recycled crafts for kids that are perfect for various age groups and skill levels. Not only are these activities budget-friendly, but they also provide a wonderful opportunity to discuss the importance of recycling and caring for our planet. You’ll be amazed at what you can create with items you probably already have around the house!
What You’ll Need for Your Easy Recycled Crafts for Kids
Before we dive into the specific projects, let’s gather our general crafting arsenal. The beauty of recycled crafts is that you often don’t need to buy much. A well-stocked “junk” drawer or recycling bin is your best friend!
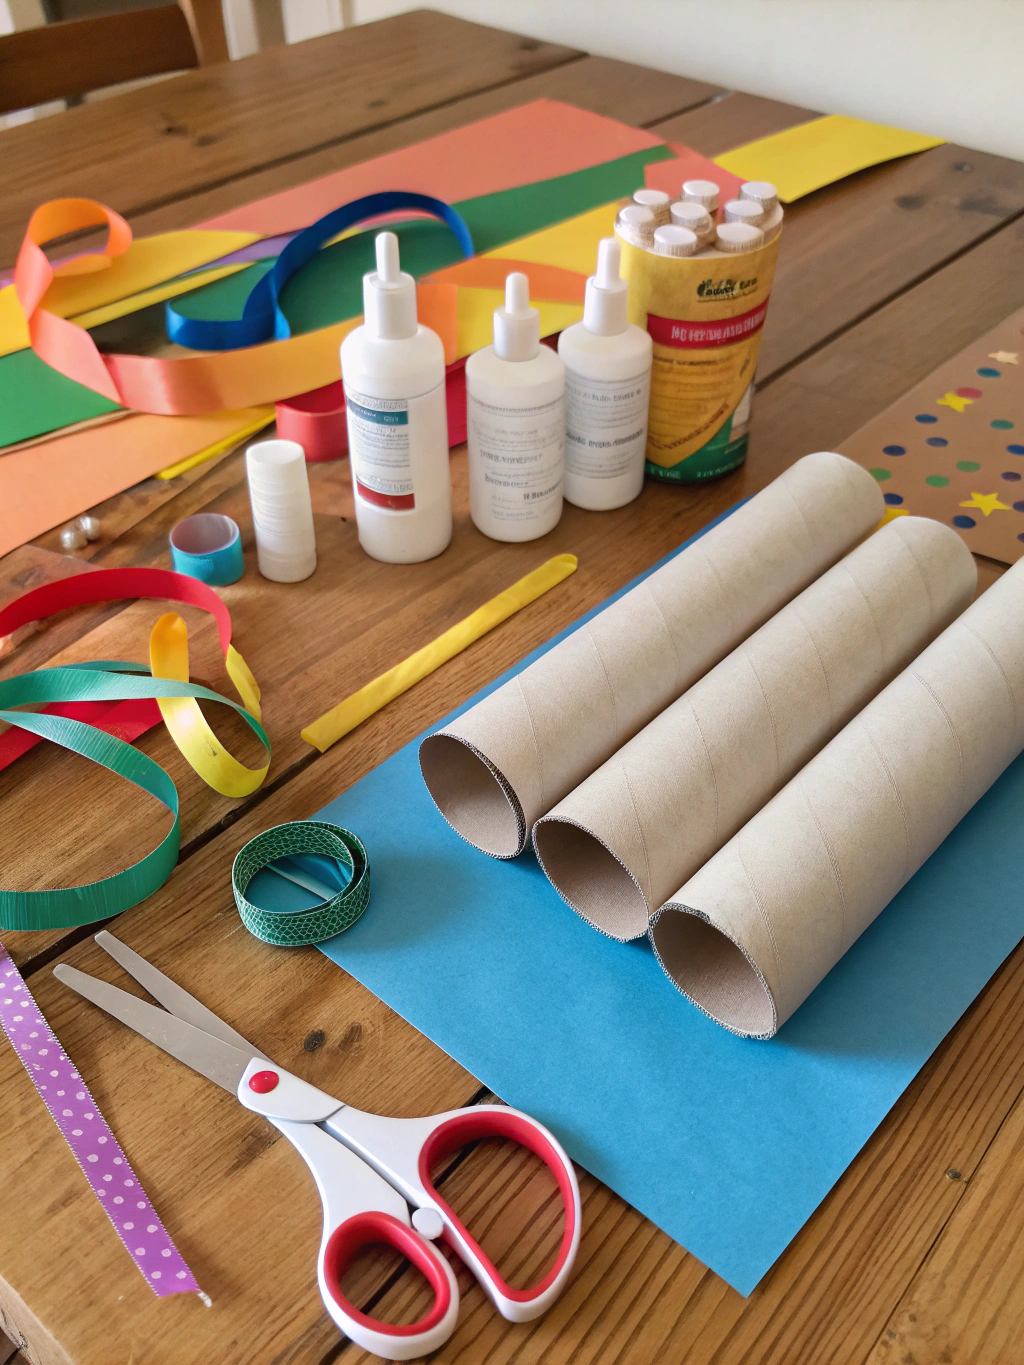
_Caption: Your recycling bin is a treasure trove of materials for these easy recycled crafts for kids!_
Here’s a general list of materials and tools you’ll find useful for most easy recycled crafts for kids:
- Recyclables (The Stars of the Show!):
- Cardboard tubes (toilet paper rolls, paper towel rolls)
- Plastic bottles (water bottles, soda bottles – washed and dried)
- Egg cartons (cardboard or styrofoam – cardboard is easier to paint)
- Old newspapers or magazines
- Cereal boxes or other thin cardboard packaging
- Bottle caps (plastic or metal)
- Tin cans (cleaned, with smooth edges – adult supervision needed for preparation)
- Old CDs or DVDs
- Fabric scraps
- Yogurt cups
- Art & Craft Supplies:
- Non-toxic paint (acrylics, tempera, or washable paints)
- Paintbrushes (various sizes)
- Child-safe scissors
- Glue (PVA/white glue, glue sticks, and for sturdier projects, a hot glue gun with adult supervision)
- Markers, crayons, or colored pencils
- Construction paper or colored cardstock
- Googly eyes (always a hit!)
- Yarn or string
- Tape (clear tape, masking tape)
- Glitter, stickers, buttons, beads (optional embellishments)
- Tools (Adult Supervision Recommended for Some):
- Craft knife (for adult use only, for cutting thicker cardboard)
- Hole punch
- Ruler
- Protective covering for your workspace (old newspaper, plastic tablecloth)
Remember, this is just a starting point. Part of the fun of eco-friendly projects for kids is improvising with what you have. Don’t be afraid to get creative and substitute materials!
Project 1: Toilet Paper Roll Rocket Ships – Blast Off to Fun! Easy Recycled Crafts for Kids
This classic craft is a fantastic way to use up those ubiquitous toilet paper rolls. It’s simple, allows for tons of personalization, and who doesn’t love a good rocket ship? This project is perfect for younger children learning about shapes and colors.
Step 1: Gather Your Rocket Materials Easy Recycled Crafts for Kids
First things first, let’s collect everything you need for your intergalactic vessel. You’ll be surprised how quickly these come together.
- Toilet paper roll(s)
- Construction paper (various colors for the cone and fins)
- Scissors
- Glue or tape
- Markers, paint, stickers, glitter (for decoration)
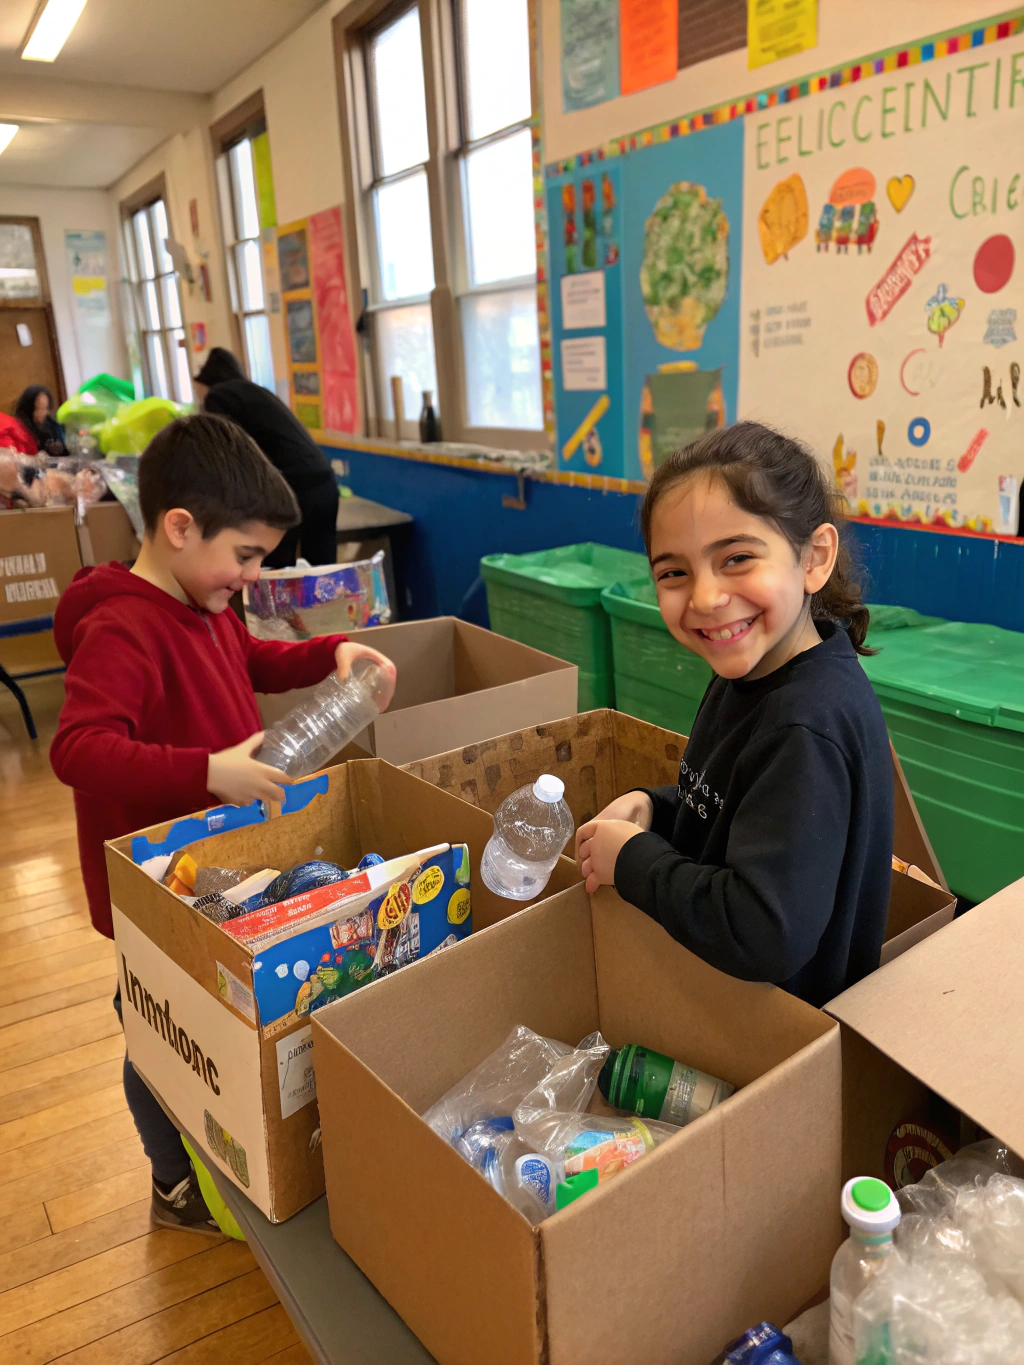
_Caption: Step 1 for toilet paper roll rocket ships: Get your launch materials ready!_
Having all your supplies ready makes the crafting process smoother and more enjoyable for the little ones. It also helps them visualize the project from the start. This is a great time to talk about the different parts of a rocket.
Step 2: Create the Rocket Body and Nose Cone Easy Recycled Crafts for Kids
Now, let’s give our rocket its shape. The toilet paper roll will serve as the main body.
To make the nose cone, cut a circle out of construction paper (about 4-5 inches in diameter works well). Cut a slit from the edge of the circle to its center. Overlap the cut edges and glue them together to form a cone shape.
Glue or tape the cone to one end of the toilet paper roll.
This step involves some basic geometry, making it a sneaky learning opportunity! If the cone is tricky, an adult can help with the cutting and initial shaping. Ensure the cone is securely attached, as it’s a key feature of our rocket. Don’t worry if it’s not perfectly symmetrical; handmade charm is part of the fun!
Step 3: Add Fins and Decorations Easy Recycled Crafts for Kids
A rocket needs fins to fly straight (or at least look like it can!). Cut out 2-4 fin shapes from contrasting construction paper or thin cardboard ( triangles work well).
Glue or tape the fins evenly spaced around the bottom of the toilet paper roll, opposite the nose cone.
Now for the best part: decorating! Let your child’s imagination soar. They can paint the rocket, draw windows and flames, add stickers, or sprinkle it with glitter for an extra cosmic touch.
This is where the real creativity shines. Encourage your child to make their rocket unique. They could even name their rocket or decide which planet it’s flying to! This stage is excellent for developing fine motor skills as they manipulate small stickers or carefully apply paint.
Project 2: Egg Carton Caterpillars – Wiggly Wonders! Easy Recycled Crafts for Kids
These adorable caterpillars are a fantastic way to reuse egg cartons and teach kids about insect life cycles in a fun, hands-on way. They are one of the most charming easy recycled crafts for kids.
Step 1: Prepare Your Egg Carton Segment Easy Recycled Crafts for Kids
First, an adult should carefully cut the egg carton. You’ll need one row of cups from the carton. For a longer caterpillar, use more cups; for a shorter one, use fewer (3-4 cups make a nice size).
Trim any rough edges to make it neat.
- Cardboard egg carton
- Child-safe scissors (adults should do the initial cutting)
- Paint (green is traditional, but any color works!)
- Paintbrushes
- Pipe cleaners (for antennae)
- Googly eyes
- Glue
- Markers (for adding details)
Using cardboard egg cartons is preferable as paint adheres better than to styrofoam. This step requires adult supervision for safety, especially when cutting the sturdy carton material. Discuss how caterpillars have segmented bodies, and the egg cups represent these segments.
Step 2: Paint Your Caterpillar Easy Recycled Crafts for Kids
Now it’s time to bring your caterpillar to life with color! Let your child paint the egg carton segment. Green is a classic choice, but caterpillars come in all sorts of vibrant colors and patterns.
Encourage them to paint both the inside and outside of the cups for a finished look. Let the paint dry completely.
This is a great opportunity to talk about camouflage or aposematism (warning coloration) in nature. If your child wants a rainbow caterpillar, go for it! Letting the paint dry thoroughly is crucial before moving to the next step to avoid smudging. This simple painting activity helps with color recognition and motor skills.
Step 3: Add Antennae and Eyes Easy Recycled Crafts for Kids
Once the paint is dry, it’s time to give your caterpillar its personality.
For the antennae, cut a pipe cleaner in half. Poke two small holes in the “head” end of the caterpillar (the first egg cup) using a skewer or the tip of the scissors (adults should do this part). Insert the pipe cleaner halves into the holes and bend them into antenna shapes.
Glue on googly eyes. If you don’t have googly eyes, your child can draw them on with a marker. They can also use markers to add a smile or other fun details like spots or stripes.
These finishing touches truly make the craft. Be careful when poking holes for the antennae; ensure it’s done safely. Googly eyes add a lot of character, but hand-drawn features can be just as charming and allow for more personalized expressions.
Project 3: Cereal Box Castles – Royal Recycled Creations
Transform humble cereal boxes (or other similar cardboard boxes) into magnificent castles fit for a king, queen, or even a friendly dragon! This is a slightly more involved project but offers endless possibilities for imaginative play. Learning “Recycled craft ideas for children, Fun eco-friendly projects for kids, How to make easy recycled crafts for kids,” can be a royal adventure.
Step 1: Gather Your Castle Construction Materials Easy Recycled Crafts for Kids
Building a castle requires sturdy materials and a bit of planning.
- Empty cereal boxes (different sizes can create interesting towers)
- Cardboard tubes (for turrets)
- Scissors or a craft knife (adult use only for craft knife)
- Strong glue or hot glue gun (adult supervision)
- Tape (masking tape is good for holding pieces while glue dries)
- Paint, markers, crayons
- Construction paper, foil, fabric scraps (for flags, windows, etc.)
This project is great for using up larger pieces of cardboard. Talk about different parts of a castle like walls, towers, and drawbridges. Encourage kids to sketch a simple plan for their castle before they start cutting.
Step 2: Construct the Castle Structure Easy Recycled Crafts for Kids
This is where the engineering begins! Cut the cereal boxes to create walls and towers. You can cut battlements (the зубчатые верхушки стен) along the top edges of the boxes.
Glue cardboard tubes to the corners or sides of the boxes to create turrets. If you want a drawbridge, carefully cut three sides of a rectangle on one of the boxes, leaving one long side attached as a hinge.
Use tape to temporarily hold pieces together while the glue sets.
Patience is key here, as the glue will need time to dry thoroughly for a sturdy structure. This step is excellent for developing spatial reasoning skills. Adults should handle any cutting with a craft knife. Think about how different box shapes can be combined to create a more complex and interesting castle.
Step 3: Decorate Your Royal Abode Easy Recycled Crafts for Kids
Once the glue is dry and your castle structure is solid, it’s time for the royal decorators to get to work!
Paint the castle in stone grays, or perhaps a fantastical color. Add details like brick patterns with markers. Cut out windows and doors from construction paper or draw them on.
Create flags from paper and attach them to toothpick “flagpoles” on the turrets. You can even use foil for shiny details or fabric scraps for banners.
Let your child’s imagination run wild with the decorations. They could add a “moat” around the castle using blue paper or paint. This is where the castle truly comes to life. Consider adding textural elements like sand mixed with glue for a rough stone effect. This is one of those easy recycled crafts for kids that can keep them busy for hours.
Project 4: Newspaper Pirate Hats – Ahoy, Eco-Friendly Mateys!
Shiver me timbers! Turn old newspapers into fantastic pirate hats, perfect for imaginative play and dress-up days. This is a classic paper-folding craft that’s both fun and functional (for play, at least!).
Step 1: Prepare Your Newspaper Sheets Easy Recycled Crafts for Kids
You’ll need a large double-spread sheet of newspaper for each hat.
- Old newspapers (a full double-spread sheet per hat)
- Stapler or tape (optional, for extra security)
- Markers, crayons, or paint (optional, for decoration)
- Feathers, craft foam shapes (optional, for embellishments)
This craft is wonderfully low-mess and uses a readily available recycled material. Ensure the newspaper is clean and dry. You can talk about pirates and their adventures while you prepare.
Step 2: Fold Your Pirate Hat Easy Recycled Crafts for Kids
This involves a few simple folds. It might take a try or two to get it right, but it’s a great way to practice following instructions.
- Lay the double-spread newspaper sheet flat. Fold it in half horizontally (so the main fold is at the top).
- Take the top two corners (from the folded edge) and fold them down to meet in the center, forming a triangle shape at the top, like you’re starting to make a paper airplane.
- You’ll have a rectangular flap of paper along the bottom. Fold one layer of this flap upwards over the base of the triangle.
- Flip the hat over. Fold the other rectangular flap upwards on this side.
- Gently open the hat from the bottom, and it should form a wearable hat shape! You can tuck in the corners or use a staple/tape to secure them if needed.
This folding process is a bit like origami and is excellent for developing fine motor skills and an understanding of symmetry. If the hat is too big for a small child’s head, you can make smaller folds or use a smaller piece of newspaper (like a tabloid size).
Step 3: Decorate Your Pirate Gear Easy Recycled Crafts for Kids
Now that your hat is folded, it’s time to make it look truly piratical!
Your child can draw a skull and crossbones on the front, color it, or even paint it.
For extra flair, glue on a craft feather to one side or add cut-out shapes from craft foam (like an anchor or a parrot).
This is where your little pirate can personalize their headgear. Perhaps they want to add their pirate name or some treasure map symbols. Looking for more “Recycled craft ideas for children, Fun eco-friendly projects for kids, How to make easy recycled crafts for kids,” can lead to even more swashbuckling fun.
Project 5: Bottle Cap Mosaic Art – Tiny Treasures, Big Impact! Easy Recycled Crafts for Kids
Collect those colorful plastic and metal bottle caps to create beautiful mosaic art. This project is great for practicing patterns, color sorting, and fine motor skills. It’s a brilliant example of easy recycled crafts for kids that uses small, often discarded items.
Step 1: Gather Your Mosaic Making Materials Easy Recycled Crafts for Kids
Start collecting bottle caps in advance! The more colors and sizes, the better.
- Clean bottle caps (various colors and sizes)
- Sturdy cardboard or a piece of wood (for the base)
- Strong glue (PVA glue works, but a hot glue gun with adult supervision is quicker and more durable for heavier caps)
- Pencil (to sketch a design)
- Paint (optional, to paint the base or caps)
- Grout or air-dry clay (optional, for a more finished look – adult assistance needed)
Make sure all bottle caps are thoroughly cleaned and dried. This can be a fun sorting activity for kids even before the crafting begins – sorting by color, size, or type.
Step 2: Plan and Sketch Your Design Easy Recycled Crafts for Kids
On your cardboard or wood base, lightly sketch a simple design. It could be an animal, a flower, a geometric pattern, or just an abstract arrangement of colors.
Younger children might prefer a free-form approach, simply arranging caps they like.
Having a simple outline helps guide the placement of the caps, especially for more complex designs. You can also print out a simple coloring page image to use as a template. Keep the design relatively simple, especially for a first project.
Step 3: Glue Down Your Bottle Caps Easy Recycled Crafts for Kids
Now, carefully start gluing the bottle caps onto your base, following your sketched design or creating a pattern as you go.
Apply glue to the back of each cap or directly onto the base in small sections. Press the caps firmly in place.
Encourage kids to place caps closely together to minimize gaps for a true mosaic effect. If desired, caps can be painted before gluing.
This step requires patience and precision. For younger kids, an adult can help with applying glue, especially if using a hot glue gun. Discuss color choices and patterns as they work. This is a fantastic sensory activity too, feeling the different textures and shapes of the caps. If you want a more permanent, outdoor-friendly piece, consider using grout between the caps once the glue is fully dry (this is definitely an adult-assisted step).
Pro Tips & FAQs for Easy Recycled Crafts for Kids
To make your crafting experience even smoother and more enjoyable, here are a few extra tips and answers to frequently asked questions.
How can I make cleanup easier after messy recycled crafts for kids?
Cover your work surface with old newspapers or a plastic tablecloth before you start. Have wet wipes or a damp cloth handy for sticky fingers. Using washable paints is a lifesaver! Teach kids that cleaning up is part of the crafting process.
What are some other fun eco-friendly projects for Easy Recycled Crafts for Kids using common household recyclables?
The possibilities are endless! Think plastic bottle planters, tin can drums or pencil holders, cardboard box dollhouses or cars, old CD animal suncatchers, or even a DIY sprinkler for kids from a plastic bottle for summer fun. Check out resources like “Recycled craft ideas for children, Fun eco-friendly projects for kids, How to make easy recycled crafts for kids,” for more inspiration.
How can I encourage creativity when doing recycled crafts with my child? Easy Recycled Crafts for Kids
Offer a variety of materials and let them lead. Instead of giving strict instructions for the final look, provide the basic technique and then ask open-ended questions like, “What else could this be?” or “What colors would you like to use?” Praise their effort and unique ideas, even if the result isn’t “perfect.”
Are these recycled crafts safe for all ages? Easy Recycled Crafts for Kids
While the general concepts are kid-friendly, always supervise children during craft activities, especially when using scissors, glue guns, or small items that could be choking hazards for very young children. Adapt projects to suit the age and skill level of your child. For toddlers, focus on simpler tasks like painting or sticking, while older kids can handle more complex cutting and construction.
How do I store all these recycled craft supplies? Easy Recycled Crafts for Kids
Designate a “craft zone” or a few storage bins for your recycled materials and art supplies. Sort items like cardboard tubes, bottle caps, and fabric scraps into separate containers. This makes it easier to find what you need and also helps kids see the potential in these “trash” items.
Crafting with recycled materials is more than just a pastime; it’s a joyful journey of learning, creating, and connecting with your children while fostering a love for our planet. We hope these five easy recycled crafts for kids have sparked your inspiration!
What are your favorite recycled crafts to make with your kids? Share your ideas and experiences in the comments below! Don’t forget to sign up for our newsletter for more DIY tips and creative projects, and share this post with other crafty parents! Happy recycling and happy crafting!
(End of blog post content)“`yaml
title: “Easy Recycled Crafts for Kids: 5 Fun Projects to Try Now!”
meta_description: “Looking for eco-friendly activities for your kids? Discover easy recycled crafts for kids with 5 fun projects! Perfect for hours of creative, sustainable fun. Try now!”
focus_keyword: “easy recycled crafts for kids”
related_keywords:
friendly piece, consider using grout between the caps once the glue is fully dry (this is definitely an adult-assisted step).
The Amazing Final Results!
Look at what you and your little creators have made! From trash to treasure, these easy recycled crafts for kids not only provide hours of entertainment but also instill valuable lessons about creativity and sustainability.
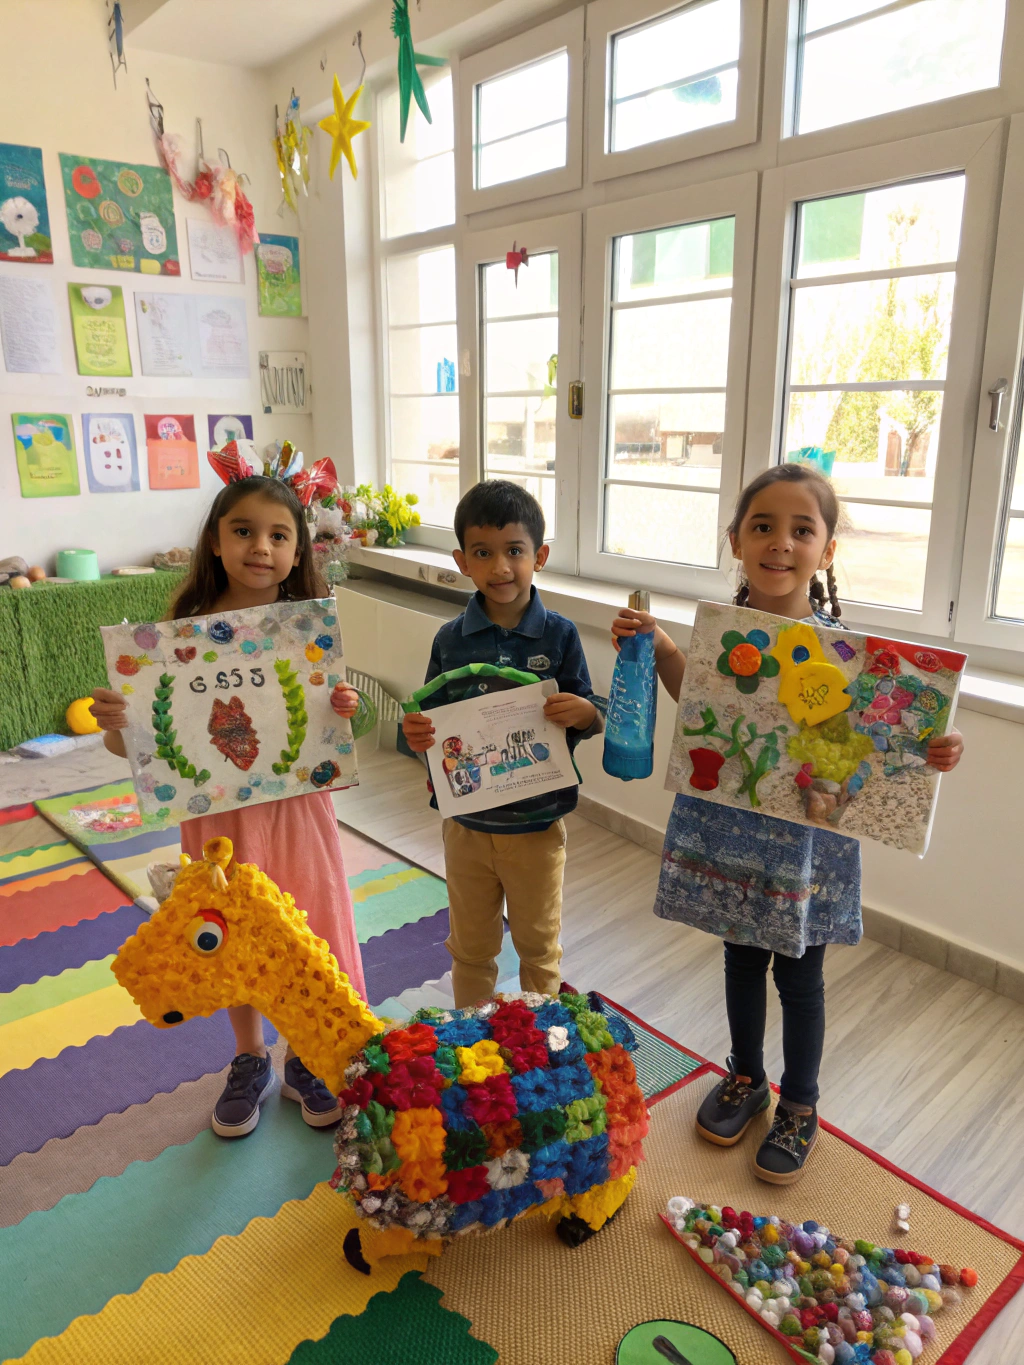
_Caption: Your finished masterpieces! Five fun and easy recycled crafts for kids, ready for play and display._
You’ve successfully navigated the world of eco-friendly projects for kids, transforming everyday recyclables into rockets soaring through imaginary galaxies, caterpillars inching their way across playrooms, majestic castles fit for tiny royalty, pirate hats ready for high-seas adventures, and vibrant mosaics bursting with color. Each creation is a testament to your child’s imagination and your shared commitment to a greener planet.
Don’t let the fun stop here! Display these creations proudly. The rocket ship can be hung from the ceiling, the caterpillar can adorn a bookshelf, the castle can become the centerpiece of a playroom, the pirate hat is perfect for the dress-up box, and the mosaic can be a colorful piece of wall art.
We’d love to see what amazing easy recycled crafts for kids you and your family create! Share your photos and any tips or variations you discovered in the comments below. What other items from your recycling bin have you turned into crafty treasures?
Pro Tips & FAQs for Easy Recycled Crafts for Kids
To make your crafting experience even smoother and more enjoyable, here are a few extra tips and answers to frequently asked questions.
How can I make cleanup easier after messy recycled crafts for kids?
Cover your work surface with old newspapers or a plastic tablecloth before you start. Have wet wipes or a damp cloth handy for sticky fingers. Using washable paints is a lifesaver! Teach kids that cleaning up is part of the crafting process.
What are some other fun eco-friendly projects for kids using common household recyclables?
The possibilities are endless! Think plastic bottle planters, tin can drums or pencil holders, cardboard box dollhouses or cars, old CD animal suncatchers, or even a DIY sprinkler for kids from a plastic bottle for summer fun. Check out resources like “Recycled craft ideas for children, Fun eco-friendly projects for kids, How to make easy recycled crafts for kids,” for more inspiration.
How can I encourage creativity when doing recycled crafts with my child?
Offer a variety of materials and let them lead. Instead of giving strict instructions for the final look, provide the basic technique and then ask open-ended questions like, “What else could this be?” or “What colors would you like to use?” Praise their effort and unique ideas, even if the result isn’t “perfect.”
Are these recycled crafts safe for all ages?
While the general concepts are kid-friendly, always supervise children during craft activities, especially when using scissors, glue guns, or small items that could be choking hazards for very young children. Adapt projects to suit the age and skill level of your child. For toddlers, focus on simpler tasks like painting or sticking, while older kids can handle more complex cutting and construction.
How do I store all these recycled craft supplies?
Designate a “craft zone” or a few storage bins for your recycled materials and art supplies. Sort items like cardboard tubes, bottle caps, and fabric scraps into separate containers. This makes it easier to find what you need and also helps kids see the potential in these “trash” items.
Crafting with recycled materials is more than just a pastime; it’s a joyful journey of learning, creating, and connecting with your children while fostering a love for our planet. We hope these five easy recycled crafts for kids have sparked your inspiration!
What are your favorite recycled crafts to make with your kids? Share your ideas and experiences in the comments below! Don’t forget to sign up for our newsletter for more DIY tips and creative projects, and share this post with other crafty parents! Happy recycling and happy crafting!

