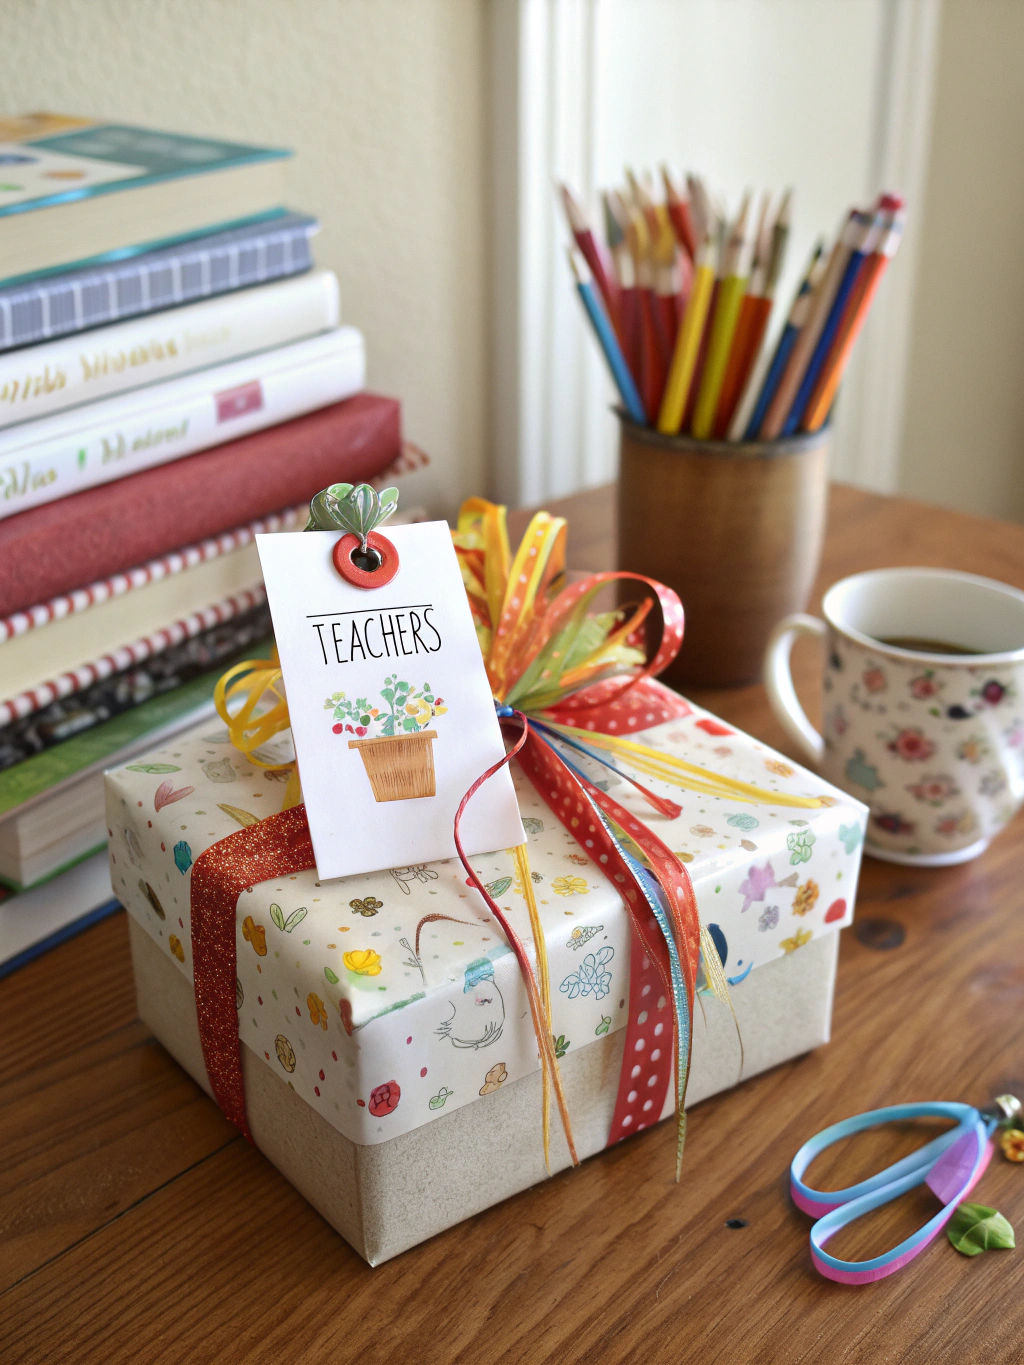
Caption: Show your appreciation with a gift that comes straight from the heart.
Introduction
The final school bell is about to ring, and amidst the excitement of summer plans, there’s one important task left: finding the perfect end of school year teacher gifts diy. It’s easy to grab a generic gift card or another “#1 Teacher” mug, but let’s be honest—the gifts that truly touch a teacher’s heart are the ones with a personal, handmade touch. They’re a tangible “thank you” for a year of patience, guidance, and inspiration.
If the thought of a DIY project feels daunting, don’t worry! I’ve spent over a decade helping fellow home-improvement lovers turn simple materials into stunning creations, and I’m here to guide you. Forget Pinterest fails and craft-astrophes. We’re going to walk through five creative, heartfelt, and genuinely doable projects that any teacher would be thrilled to receive. Let’s get our hands dirty and make something memorable!
Table of Contents
Table of Contents
Why DIY is the Best Way to Say “Thank You”
Before we dive into the projects, let’s talk about why a handmade gift is so special. In a world of mass-produced everything, taking the time to create something unique speaks volumes. It shows a level of thought and appreciation that a store-bought item simply can’t match.
- Personalization is Key: You can tailor a DIY gift to a teacher’s specific personality, hobbies, or even their classroom theme. Do they love gardening? Are they a coffee fanatic? A DIY gift lets you incorporate those little details.
- Involve the Kids: These projects are the perfect opportunity to spend quality time with your child. Getting them involved in making the gift reinforces the lesson of gratitude and makes the final product even more meaningful. It becomes a gift from the whole family.
- Budget-Friendly Brilliance: Let’s be practical. Celebrating multiple teachers can get expensive. DIY gifts are often much more affordable than their retail counterparts, allowing you to give an amazing gift without breaking the bank.
- It’s Memorable: A teacher might receive dozens of gifts, but a hand-painted pot or a custom-decorated tote bag will stand out and be cherished for years to come. It’s a story, not just an object.
Now that we’re all fired up about the power of handmade, let’s get to our first project!
Project 1: The “Thanks for Helping Me Grow” Succulent Planter
This is a classic for a reason! It’s symbolic, beautiful, and low-maintenance—the perfect combination for a busy teacher. This gift is a wonderful metaphor for the growth a student experiences throughout the school year, making it one of the most thoughtful end of school year teacher gifts diy.
This is one of the top homemade teacher gifts for end of school year because it combines a bit of nature with a personal touch. It’s a living reminder of a student’s appreciation.
What You’ll Need
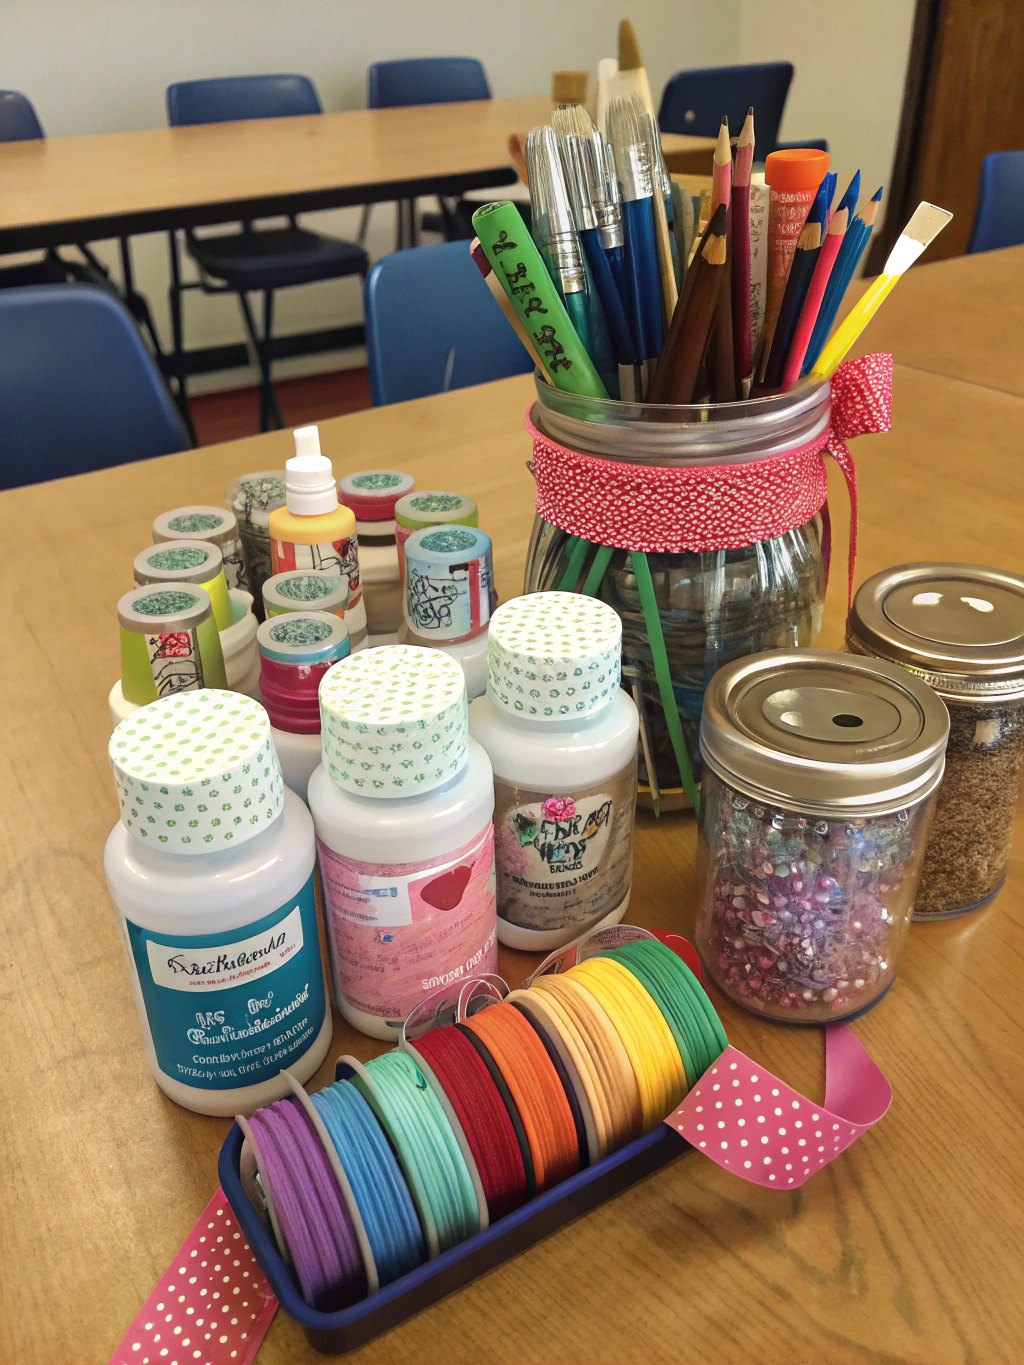
Caption: All you need for this charming gift are a few simple and affordable supplies.
- Small terracotta pot (4-6 inches is a great size)
- Acrylic craft paint in a base color (white or a light pastel works well)
- Foam brush
- Paint pens or permanent markers in various colors
- A small succulent or other low-maintenance plant
- Potting soil suitable for succulents
- Small rocks or pebbles for drainage
- Clear acrylic sealer spray (optional, but recommended for longevity)
- Twine and a small card for the gift tag
Step-by-Step Guide to Your DIY Planter
Ready to create a masterpiece? Follow these simple steps.
Step 1: Prep and Paint the Base Coat
Alt Text: Step 1 of making an end of school year teacher gifts diy: painting a terracotta pot with a white base coat.
First things first, make sure your terracotta pot is clean and dry. Give it a quick wipe to remove any dust or dirt. Lay down some newspaper to protect your workspace—things can get a little messy here!
Using your foam brush, apply a smooth, even coat of your chosen base color. White is a fantastic choice because it makes the other colors pop. Terracotta is very porous, so it will soak up the first coat of paint. Don’t be alarmed if it looks a bit patchy at first.
Let the first coat dry completely, which usually takes about 20-30 minutes. Once it’s dry to the touch, apply a second coat to get a solid, opaque finish. This clean canvas is the foundation for your creative design.
Step 2: Decorate with a Personal Message
This is where the magic happens! Once the base coat is completely dry, it’s time to unleash your (or your child’s) creativity with paint pens or permanent markers.
Write a sweet message like “Thanks for helping me grow!” or “Thank you for a great year!” You can also add the teacher’s name and the school year (“Mrs. Davis 2023-2024”). This personal detail transforms a simple pot into a cherished keepsake.
Encourage your child to draw pictures around the text. They could draw flowers, suns, stars, or even a little portrait of their teacher. This is a core reason these make such wonderful DIY teacher gifts students can make. Let their personality shine through!
A pro tip: If you’re nervous about free-handing, you can lightly sketch your design in pencil first. The paint pens will cover it up easily.
Step 3: Plant the Succulent
Now it’s time to give this little pot a living resident. Start by placing a small layer of rocks or pebbles at the bottom of the pot. This is a crucial step for succulents as it provides drainage and prevents the roots from getting waterlogged.
Next, add a layer of succulent-specific potting soil. Gently remove your succulent from its plastic nursery pot, teasing the roots a bit if they are tightly bound. Place it in the center of your terracotta pot and fill in the surrounding space with more soil, pressing down gently to secure the plant.
Leave about half an inch of space at the top so water doesn’t spill over when the teacher waters it. A light initial watering is a good idea to help the plant settle into its new home.
Step 4: Seal and Add the Finishing Touches
To protect your beautiful artwork from water and sun, you can apply a coat of clear acrylic sealer. This step is optional but highly recommended if you want the design to last. Do this in a well-ventilated area (preferably outside) and let it dry completely according to the can’s instructions.
Finally, write a message on your small card. Something like, “Thank you for everything! Love, [Your Child’s Name].” Punch a hole in the card, thread some twine through it, and tie it around the rim of the pot with a neat bow.
This finishing touch elevates the gift and adds one more layer of heartfelt appreciation. It’s the perfect bow on top of your beautiful end of school year teacher gifts diy.
There you have it! A beautiful, meaningful, and easy-to-make gift that’s bursting with personality. Package it carefully for the trip to school, and get ready for a big smile from a very grateful teacher.
More Creative End of School Year Teacher Gifts DIY
Feeling inspired? The planter is just the beginning! Here are four more fantastic ideas that are just as personal and fun to make. Many people searching for projects ask, “Homemade teacher gifts for end of school year, DIY teacher gifts students can make, What are the best DIY gifts for teachers,” and the answer is always something thoughtful, useful, and made with love. These next ideas check all those boxes.
Project 2: Personalized “Summer Relaxation” Mason Jar Kit
Teachers work incredibly hard all year. What better gift than the promise of some well-deserved rest and relaxation? This mason jar kit is easy to assemble and can be customized with all of the teacher’s favorite things.
Why It’s a Great Gift: It’s a “care package” in a jar, thoughtfully curated to help your favorite educator unwind as soon as summer vacation begins. It’s practical, personal, and a sweet gesture of care.
Materials List
- Large wide-mouth mason jar (32 oz)
- Items to fill the jar:
- Gourmet tea bags or single-serve coffee packets
- A small bag of premium chocolates or candies
- Travel-size sunscreen
- A fun-flavored lip balm with SPF
- A gift card to a local coffee shop or bookstore ($5-$10 is perfect)
- Individually wrapped cookies
- A packet of nice hand lotion
- Ribbon or twine
- Custom gift tag (you can design and print one)
- Shredded paper filler (in a fun color)
Instructions
- Decorate the Jar: Start by designing a “lid topper.” Cut a circle of decorative scrapbook paper to fit inside the metal lid ring. You can also use a small round sticker with a message like “Relax & Recharge!” or “Happy Summer!”
- Create the Tag: Design a tag that says something like, “Your Summer Relaxation Kit.” On the back, you can even list the contents in a fun way, like “A little something to read, a little something to sip, and a little something sweet!”
- Assemble the Kit: Add a handful of shredded paper filler to the bottom of the jar to create a colorful base. Artfully arrange the larger items first, like the gift card and sunscreen. Then, tuck the smaller items like tea bags, chocolates, and lip balm into the gaps. The goal is to make it look full and inviting.
- Seal and Finish: Screw the lid on tightly. Tie your ribbon or twine around the neck of the jar and attach your custom gift tag. This simple project is a wonderful answer to the question, “What are the best DIY gifts for teachers,“. It’s thoughtful, useful, and looks amazing.
Project 3: “One Smart Cookie” Hand-Decorated Cookie Jar
This gift is a sweet pun and a delicious treat all in one! It’s a gift that can be used in the classroom or at home long after the cookies are gone. Plus, who doesn’t love cookies?
Why It’s a Great Gift: It combines a reusable, personalized item with a tasty treat. It’s a classic gift with a fun, modern DIY twist that makes it feel extra special.
Materials List
- Glass or ceramic cookie jar with a good seal
- Oil-based Sharpies or multi-surface paint pens (these are more permanent on glass/ceramic)
- Rubbing alcohol
- Your favorite homemade or store-bought cookies
- Ribbon
- Parchment paper
Instructions
- Prep the Jar: Thoroughly wash and dry the cookie jar. Just before decorating, wipe down the entire outer surface with rubbing alcohol on a paper towel. This removes any oils or residue and helps the paint or ink adhere permanently.
- Decorate Your Heart Out: Use your oil-based markers or paint pens to write “For One Smart Cookie” on the front of the jar. Add the teacher’s name and the year. Your child can add their artistic flair by drawing apples, books, lightbulbs, or even a pattern of colorful polka dots around the jar.
- Set the Design (Optional but Recommended): For maximum durability, you can heat-set the design. Place the decorated jar in a cold oven. Turn the oven to 350°F (175°C) and let it bake for 30 minutes after it reaches temperature. Then, turn the oven off and let the jar cool completely inside the oven. This makes the design much more resistant to washing. (Note: Only do this with markers that are specifically labeled as heat-settable).
- Fill with Goodies: Once the jar is completely cool, line the bottom with a small piece of parchment paper and carefully fill it with cookies.
- Finish with a Flourish: Place the lid on the jar and tie a beautiful, wide ribbon around it or on the handle. Just like that, you’ve created another excellent end of school year teacher gifts diy.
Project 4: “Mark My Words, You’re an Awesome Teacher” Custom Bookmarks
For the teacher who is an avid reader, what could be more fitting than a set of custom bookmarks designed by their student? This is one of the most budget-friendly and kid-friendly homemade teacher gifts for end of school year.
Why It’s a Great Gift: It’s incredibly personal, useful for the teacher, and allows for maximum creativity from the student. It’s small, easy to transport, and a constant reminder of a student’s appreciation every time they open a book.
Materials List
- Heavy cardstock in white or light colors
- Scissors or a paper trimmer
- Markers, colored pencils, and crayons
- Stickers, glitter glue, stamps (optional)
- A hole punch
- Colorful embroidery floss or thin ribbon for tassels
- Self-adhesive laminating sheets or clear packing tape
Instructions
- Cut the Bookmarks: Using a paper trimmer or scissors, cut the cardstock into classic bookmark shapes, typically 2 inches by 6 inches. Cut a few so your child can make a whole set.
- Decorate! This is the best part for the kids. Let them go to town decorating each bookmark. They can write the teacher’s name, draw pictures of their favorite book, or write a nice message like “Thanks for a great chapter!” or “You’re the best teacher, mark my words!”
- Laminate for Durability: To make sure these treasures last, you need to protect them. Lay the decorated bookmark on the sticky side of a self-adhesive laminating sheet. Place another sheet on top and press down firmly, smoothing out any air bubbles. Trim the excess laminate, leaving a small 1/8-inch border to ensure a good seal. If you don’t have laminating sheets, wide, clear packing tape works as a great substitute!
- Add a Tassel: Use a hole punch to make a hole at the top center of the laminated bookmark. Cut a few strands of embroidery floss or ribbon, fold them in half, push the loop through the hole, and then pull the ends through the loop to secure it. This gives it a professional, finished look.
- Present Them Nicely: Bundle the set of 3-4 bookmarks together with a ribbon or place them inside a new book that you think the teacher might enjoy. This is a top-tier example of DIY teacher gifts students can make almost entirely on their own. For other simple ideas your kids will love, check out these end of school year teacher gifts diy.
Project 5: DIY “Helping Hands” Tote Bag
Teachers are always schlepping books, papers, and supplies to and from school. A sturdy, personalized tote bag is both a practical and heartwarming gift, especially from a class of younger students.
Why It’s a Great Gift: It’s a daily-use item that becomes a walking mosaic of memories. Seeing the little handprints from the students they’ve taught is sure to bring a smile to any teacher’s face.
Materials List
- Plain canvas or cotton tote bag (light colors work best)
- Fabric paints in various colors
- Fabric markers (especially in black or a dark color)
- Paper plates for the paint
- Cardboard to place inside the bag
Instructions
- Prep Your Station: Lay the tote bag flat and slide a piece of cardboard inside. This is a critical step to prevent the fabric paint from bleeding through to the other side of the bag.
- The Handprints: Pour a small amount of fabric paint onto a paper plate. Have your child press their hand firmly into the paint, making sure it’s evenly coated, and then press their hand onto the tote bag. You can do one handprint, or multiple handprints in different colors to look like a bouquet. If it’s a class gift, you can have each student add their handprint.
- Turn Prints into Pictures: Let the paint dry completely. This is where you get extra creative! Use fabric markers to turn the handprints into something new. A thumbprint can be the body of a bee, with wings and antennae drawn on. A full handprint can be a flower, with a stem and leaves drawn below it. You can write each child’s name next to their handprint.
- Add a Message: Use the fabric markers to write a message on the bag, like “Best Teacher, Hands Down!” or “Thank you for lending a helping hand, Mrs. Gable!”
- Heat-Set the Paint: Most fabric paints need to be heat-set to become permanent and washable. Follow the instructions on your paint, which usually involves ironing the decorated area (with a cloth in between the iron and the bag) or tumbling it in a hot dryer. This final step ensures your beautiful, practical gift will last for years of use.
Pro-Tips Final Touches
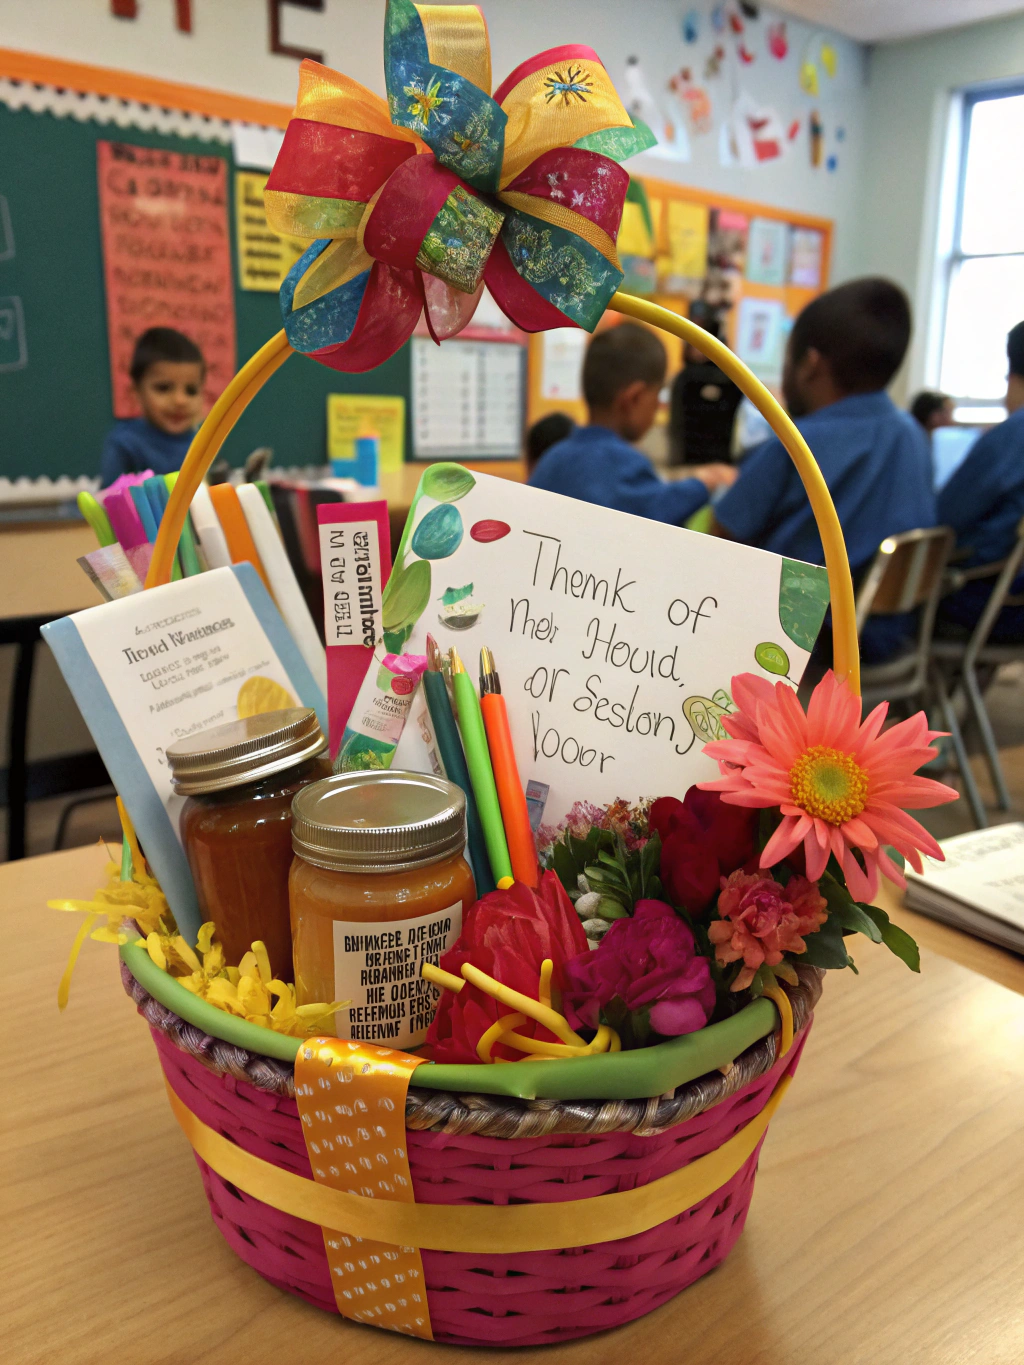
No matter which end of school year teacher gifts diy project you choose, the presentation is what takes it from “craft project” to “amazing gift.”
- Always Include a Card: A heartfelt, handwritten note from you and your child is the most important part. Let your child write what they loved about the year. This is what teachers cherish most.
- Wrap It Up: Use clear cellophane and a big ribbon for the planter or jars. For the tote bag, you can fold it neatly and tie a ribbon around it.
- Deliver with a Smile: The best part is seeing your child proudly hand their creation to their teacher. It’s a moment of pure joy and gratitude for everyone involved.
Frequently Asked Questions (FAQs)
What are the best DIY gifts for teachers?
The best DIY gifts for teachers are ones that are personal, practical, and come from the heart. Ideas like the personalized succulent planter, a relaxation kit in a jar, or a custom tote bag are fantastic because they are thoughtful and useful. The key is to consider the teacher’s personality and choose a project that either you or your child will genuinely enjoy making. The effort and love you put into it are what make it truly special.
How much should I spend on materials for a DIY teacher gift?
That’s the beauty of DIY—it’s incredibly budget-friendly! For most of these projects, you can create a beautiful, high-quality gift for under $15-$20, especially if you already have some basic craft supplies like paint or markers at home. A terracotta pot costs a few dollars, and a canvas tote is usually under $5. It’s about the thought and creativity, not the price tag.
My child is very young. Are there any DIY teacher gifts students can make with minimal help?
Absolutely! The “Helping Hands” tote bag is perfect for even the youngest students (toddlers and preschoolers), as their main job is the handprint itself. The custom bookmarks are also great; let them scribble and sticker to their heart’s content, and an adult can handle the laminating and cutting. Focus on projects that celebrate their unique, charming artwork.
I’m not very crafty. Are these projects truly beginner-friendly?
Yes, 100%! I chose these five ideas specifically because they don’t require any special skills or expert-level crafting ability. They rely on simple techniques like basic painting, drawing with markers, and assembly. The instructions are straightforward, and the results are consistently impressive. Don’t be intimidated—just have fun with it!
Conclusion: It’s the Thought (and a Little DIY Magic) That Counts
Creating a handmade gift is a powerful way to end the school year on a high note. It’s a chance to teach our kids about gratitude, to spend quality time together, and to give a teacher a tangible piece of appreciation they can see and use every day. These end of school year teacher gifts diy are more than just crafts; they’re memories in the making.
So pick a project, gather your supplies, and get ready to create something wonderful. You’ve got this!
I’d love to see what you create! Share your finished teacher gifts in the comments below or tag us on social media. What’s your favorite DIY gift you’ve ever given or received? Let’s chat!


