The sun is blazing, the kids are home, and you’re desperately searching for an activity that’s both fun and screen-free. If you’re wondering how to make sand slime summer style, you’ve come to the right place! This guide will walk you through creating a batch of wonderfully squishy, sandy slime that’s perfect for those long summer afternoons. Forget complicated recipes; we’re all about easy, breezy DIY fun that will keep little hands (and minds) occupied for hours. Let’s dive into one of the best Easy summer slime projects you’ll find.
Table of Contents of How to Make Sand Slime Summer
Table of Contents
What You’ll Need
Before we get our hands gloriously sticky, let’s gather our supplies. Having everything ready makes the process much smoother, especially when you have eager little helpers buzzing around!
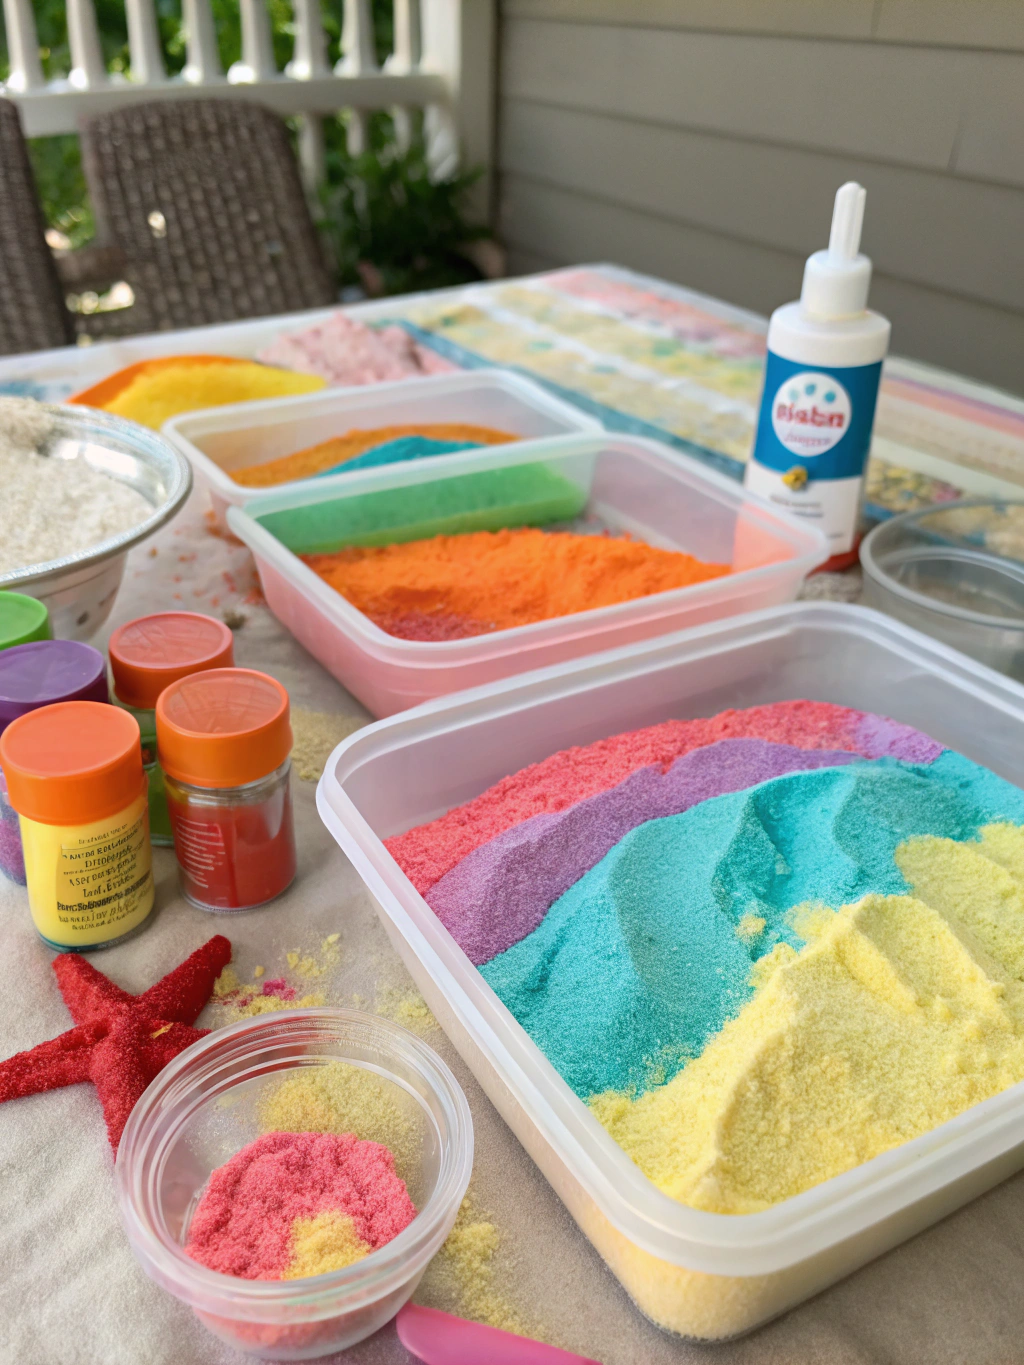
Caption: All the essentials for your super fun how to make sand slime summer adventure!
Here’s your shopping list:
- Clear or White School Glue (PVA glue): About 1/2 cup (4 oz). Elmer’s glue works perfectly.
- Play Sand: About 1/4 to 1/2 cup. Make sure it’s clean and fine-grained. You can find this at most craft or home improvement stores.
- Liquid Starch or Borax Solution:
- Liquid Starch: About 1/4 cup. Sta-Flo is a popular brand.
- Borax Solution (Alternative): 1 teaspoon of borax powder dissolved in 1 cup of warm water. (Adult supervision required for handling borax).
- Warm Water: 1/4 cup (if using glue and starch method, separate from borax solution water).
- Mixing Bowl: A medium-sized bowl will do.
- Measuring Cups and Spoons: For accuracy.
- Spatula or Spoon: For mixing.
- Optional: Food Coloring: A few drops of blue or green can give it a fun beachy vibe.
- Optional: Glitter: For extra sparkle!
- Airtight Container: For storing your finished slime.
Step-by-Step Guide to Making Sand Slime
Alright, DIY enthusiasts, let’s get to the fun part! We’re about to create some amazing sensory play. Follow these simple steps for perfect sand slime every time.
Step 1: Prepare Your Glue Base / How to Make Sand Slime Summer
First things first, let’s get our glue ready. This is the foundation of your slime, so getting this part right is key.
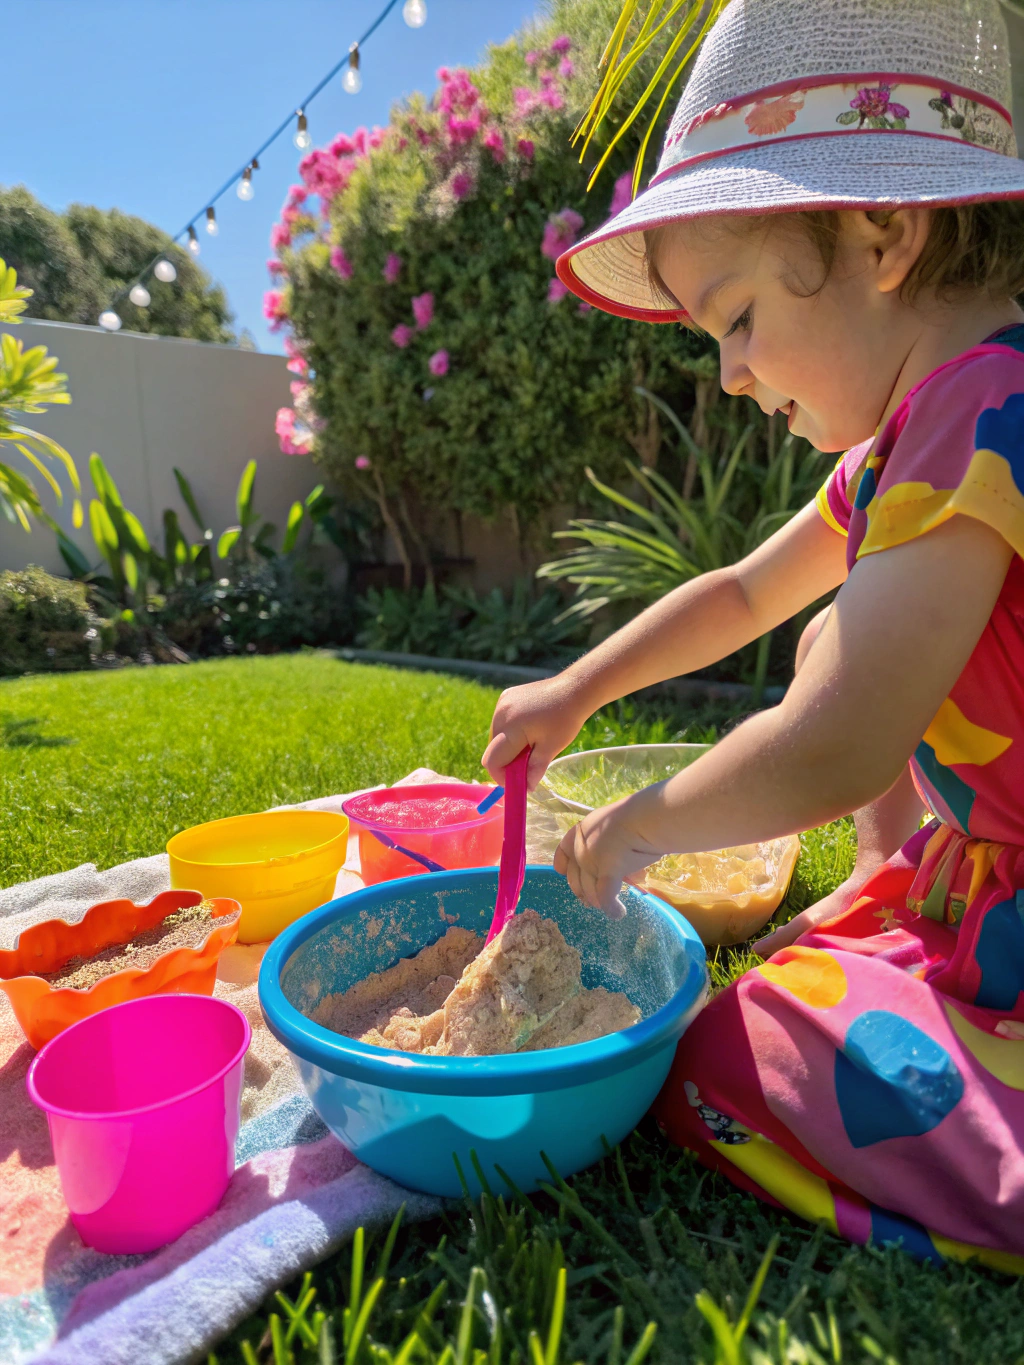
Caption: Step 1: Pouring the glue to start our how to make sand slime summer creation.
Pour your 1/2 cup of school glue into the mixing bowl. If you’re using clear glue, your sand slime will have a more translucent, beach-glass look. White glue will result in a more opaque, “sandy beach” appearance. Both work wonderfully!
Next, add 1/4 cup of warm water to the glue. Stir this mixture thoroughly with your spatula or spoon until the water and glue are completely combined. This step helps to make the slime stretchier and less stiff. If you want to add food coloring or glitter, now is the perfect time to do it! Add a few drops of color or a sprinkle of glitter and mix well until evenly distributed.
Step 2: Add the Sand / How to Make Sand Slime Summer
Now, for the “sand” in sand slime! This is what will give your slime its unique texture.
Slowly start adding your play sand to the glue mixture. Begin with about 1/4 cup of sand. Stir it in completely, ensuring it’s well incorporated into the glue. You can add more sand, a little at a time, until you reach your desired sandy consistency. Some prefer a lightly speckled slime, while others want it packed with sandy goodness.
Why this matters: The amount of sand will directly impact the texture. Too little, and it won’t feel very “sandy.” Too much, and the slime might become too stiff or crumbly and not hold together well. Aim for a good balance where you can feel the grit, but the slime still stretches. Remember, you can always add more sand later if it’s not sandy enough, but it’s harder to take it out!
Step 3: Introduce the Activator / How to Make Sand Slime Summer
This is where the magic happens! The activator is what transforms your gluey, sandy mixture into actual slime. We’ll cover both liquid starch and borax solution methods.
If using Liquid Starch:
Slowly pour about 1 tablespoon of liquid starch into your sand and glue mixture. Begin stirring immediately. You’ll notice the mixture starting to pull away from the sides of the bowl and thicken. Continue to add liquid starch, one tablespoon at a time, stirring well after each addition.
Keep adding and stirring until the slime begins to form a cohesive blob and is no longer overly sticky. It’s crucial to add the starch gradually; adding too much at once can make your slime too rubbery and hard.
If using Borax Solution:
Safety First: Borax should be handled by an adult. Ensure it’s fully dissolved in the warm water before use.
Slowly add your prepared borax solution (1 teaspoon borax dissolved in 1 cup warm water) to the sand and glue mixture, about a teaspoon at a time. Stir continuously. Just like with liquid starch, you’ll see the slime start to form almost instantly.
Continue adding the borax solution in small increments and mixing until the slime pulls together and is no longer sticking excessively to the bowl. Again, patience is key – add the activator slowly to avoid over-activating the slime. Many DIY sand slime recipes highlight the importance of this slow addition.
Step 4: Knead Your Slime / How to Make Sand Slime Summer
Once the slime has mostly pulled together and is difficult to stir, it’s time to get your hands in there! This is arguably the most fun part.
Lightly wet your hands with a bit of water or a tiny amount of your activator (this helps prevent sticking initially). Scoop the slime out of the bowl and onto a clean, flat surface. It might feel very sticky at first, but don’t panic!
Begin to knead the slime like you would bread dough. Stretch it, fold it, squish it. As you knead, the slime will become less sticky and more elastic. If it’s still excessively sticky after a few minutes of kneading, add a tiny bit more activator (a few drops) directly to the slime and continue kneading. Be very careful here, as too much activator at this stage can quickly make it too stiff.
Why kneading matters: Kneading helps to fully incorporate all the ingredients and develop the slime’s structure. It aligns the polymer chains, which is what gives slime its characteristic stretchy, gooey texture. This is a crucial step in many Easy summer slime projects.
Step 5: Play and Store!
Congratulations! You’ve successfully learned how to make sand slime summer edition! Now it’s time for the best part: playing with your creation.
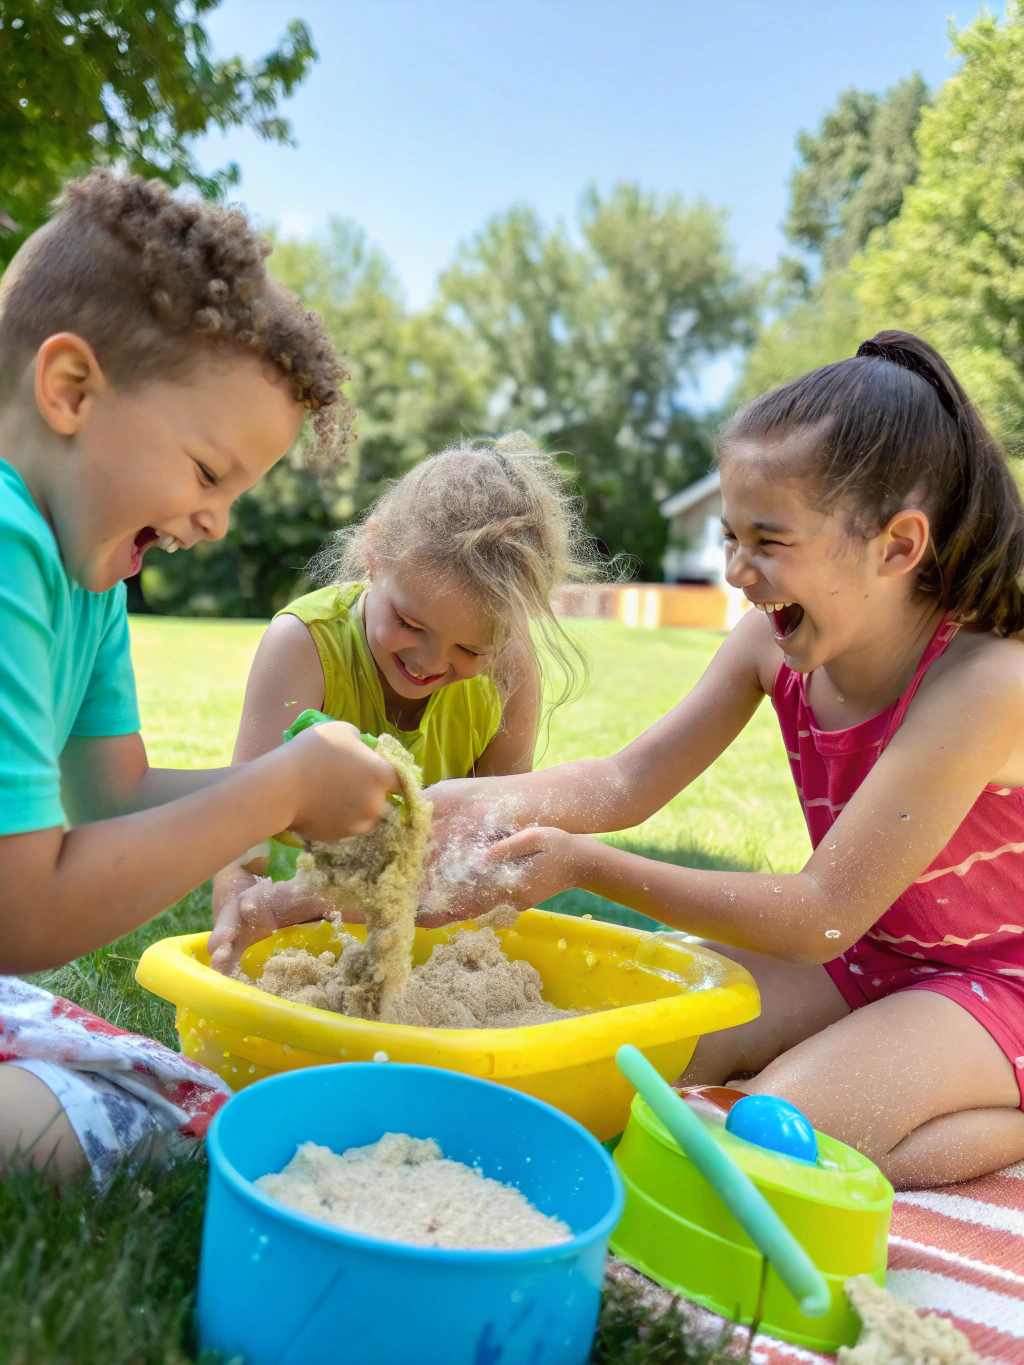
Caption: The fantastic final result of our how to make sand slime summer project – ready for hours of fun!
Stretch it, poke it, squish it, let it ooze through your fingers! The sandy texture provides a wonderful sensory experience for kids (and adults too!). You can even hide small toys like plastic sea creatures in it for a treasure hunt.
When playtime is over, proper storage is essential to keep your sand slime fresh. Place it in an airtight container and store it at room temperature. This will prevent it from drying out. Well-stored slime can last for several days, or even weeks, of fun. If it starts to get a little stiff over time, you can try kneading in a tiny bit of warm water or a drop or two of lotion to soften it up. For more advanced slime techniques and variations, you might want to explore other DIY sand slime recipes, Easy summer slime projects, How to make sand slime summer guides like those found on authoritative craft sites like HGTV.
Pro Tips & FAQs for Your Sand Slime Adventure
Making slime is a bit of an art and a science. Here are some extra tips and answers to common questions to ensure your sand slime experience is a total success.
How to make sand slime summer edition extra special?
To elevate your how to make sand slime summer project, consider adding a few “beachy” elements. A drop or two of coconut or ocean-breeze scented essential oil (skin-safe, of course!) can make it smell like a day at the beach. Tiny seashells or fish-shaped glitter can also enhance the theme. Remember to check out other inspiring DIY sand slime recipes, Easy summer slime projects, How to make sand slime summer for more creative ideas.
Q1: My slime is too sticky! What did I do wrong?
Don’t worry, this is a common issue! Usually, sticky slime means it needs a little more activator. Try adding a tiny bit more liquid starch or borax solution (literally a few drops at a time) and knead it in thoroughly. Be patient; it sometimes takes a bit more kneading to fully incorporate the activator. Also, ensure your hands are slightly damp when you start kneading, as this can prevent initial sticking.
Q2: My sand slime is too stiff or rubbery. Can I fix it?
Yes, often you can! If your slime is too hard, it likely has too much activator. Try kneading in a small amount of warm water, a little bit of lotion, or even a tiny bit more glue. Add these sparingly and knead well after each addition until the slime reaches your desired consistency. This is a frequent query in forums discussing Easy summer slime projects.
Q3: How long will my sand slime last?
If stored properly in an airtight container at room temperature, your sand slime can last for several days, up to a couple of weeks. Over time, it may naturally start to degrade or dry out. Always wash hands before and after playing to keep it cleaner for longer. If it starts to look or smell off, it’s time to make a new batch!
Q4: Is play sand safe for slime? Are there alternatives?
Yes, store-bought play sand is generally clean and safe for use in slime. Always supervise young children during slime play. If you’re concerned or don’t have play sand, you could try using fine craft sand, cornmeal for a different texture (though it might not last as long), or even colored salt. However, for the classic “sand slime” feel, play sand is best. Many DIY sand slime recipes specify play sand for this reason.
Q5: Can I make this sand slime without borax?
Absolutely! That’s why we included the liquid starch method. Liquid starch is a great borax-free activator. You can also find other borax-free slime recipes online that use contact lens solution (containing boric acid and sodium borate, which are borax derivatives but often pre-mixed at safer concentrations for this purpose) and baking soda. Always ensure adult supervision when kids are making or playing with slime, regardless of the ingredients. For more in-depth tutorials on specific DIY projects, including how to make sand slime summer variations, check out our comprehensive guides at [FixDIY.site](https://www.fixdiy.site/holiday-diys/).
Share Your Sandy Creations!
And there you have it – five easy steps to creating your very own batch of incredible sand slime, perfect for keeping those summer boredom blues at bay! We hope you and your little DIYers have a blast making and playing with this unique sensory creation. Learning how to make sand slime summer style is a fantastic way to engage kids in a hands-on activity that’s both fun and secretly educational (hello, science!).
We’d love to see how your sand slime turns out! Did you add any special colors or fun extras? Share your photos, experiences, and any tips you discovered along the way in the comments below. Your insights could help another DIY enthusiast nail their next project!
Don’t forget to subscribe to our newsletter for more easy and fun DIY projects, home improvement hacks, and creative ideas delivered straight to your inbox. And if you loved this tutorial, please share it with your friends on social media – let’s spread the slime-making joy! Happy crafting!

