Introduction
Hey there, fellow DIY enthusiasts! Are you ever stuck wondering how to add that extra special, personal touch to your summer celebrations without breaking the bank or spending weeks on a complicated craft? Well, you’re in luck! This summer, let’s dive into some fantastic red white and blue DIY projects that are not only budget-friendly but also a whole lot of fun to make.
Whether you’re gearing up for the 4th of July, Memorial Day, or just want to sprinkle some patriotic cheer around your home, these ideas will get your creative juices flowing. We’re talking easy-to-follow instructions, readily available materials, and results that will have your friends and family oohing and aahing. Get ready to transform your space with some spirited, handmade charm!
Table of Contents
Table of Contents
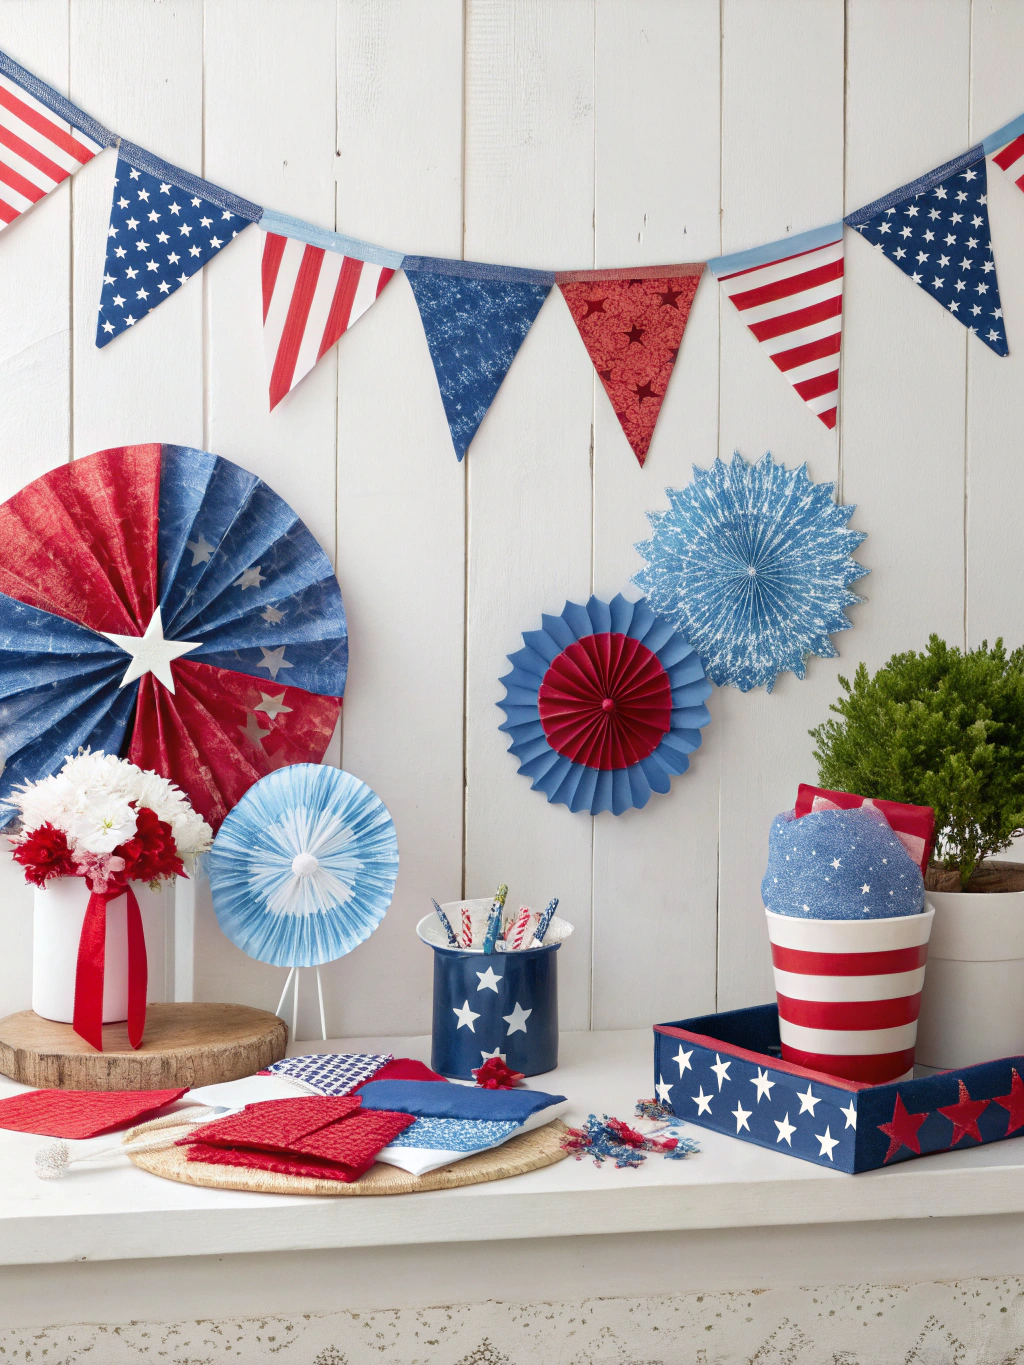
Caption: Get ready to sparkle this summer with these fun and festive red white and blue DIY projects!
Summer is the perfect season for embracing vibrant colors, and what’s more classic and celebratory than red, white, and blue? These colors instantly evoke a sense of joy, patriotism, and warm-weather fun. But store-bought decorations can often feel impersonal and, let’s be honest, a bit pricey. That’s where the magic of DIY comes in! By creating your own decorations, you not only save money but also infuse your personality and love into every piece. From whimsical wreaths to charming table centerpieces, we’ve curated a list of seven red white and blue DIY projects that are perfect for all skill levels.
So, grab your crafting supplies, put on your favorite tunes, and let’s get started on making this summer your most festive one yet!
What You’ll Need for Your Red White and Blue DIY Projects
Before we jump into the exciting world of crafting, let’s gather our supplies. Having everything ready beforehand makes the creative process smoother and much more enjoyable. Think of this as your crafting command center!
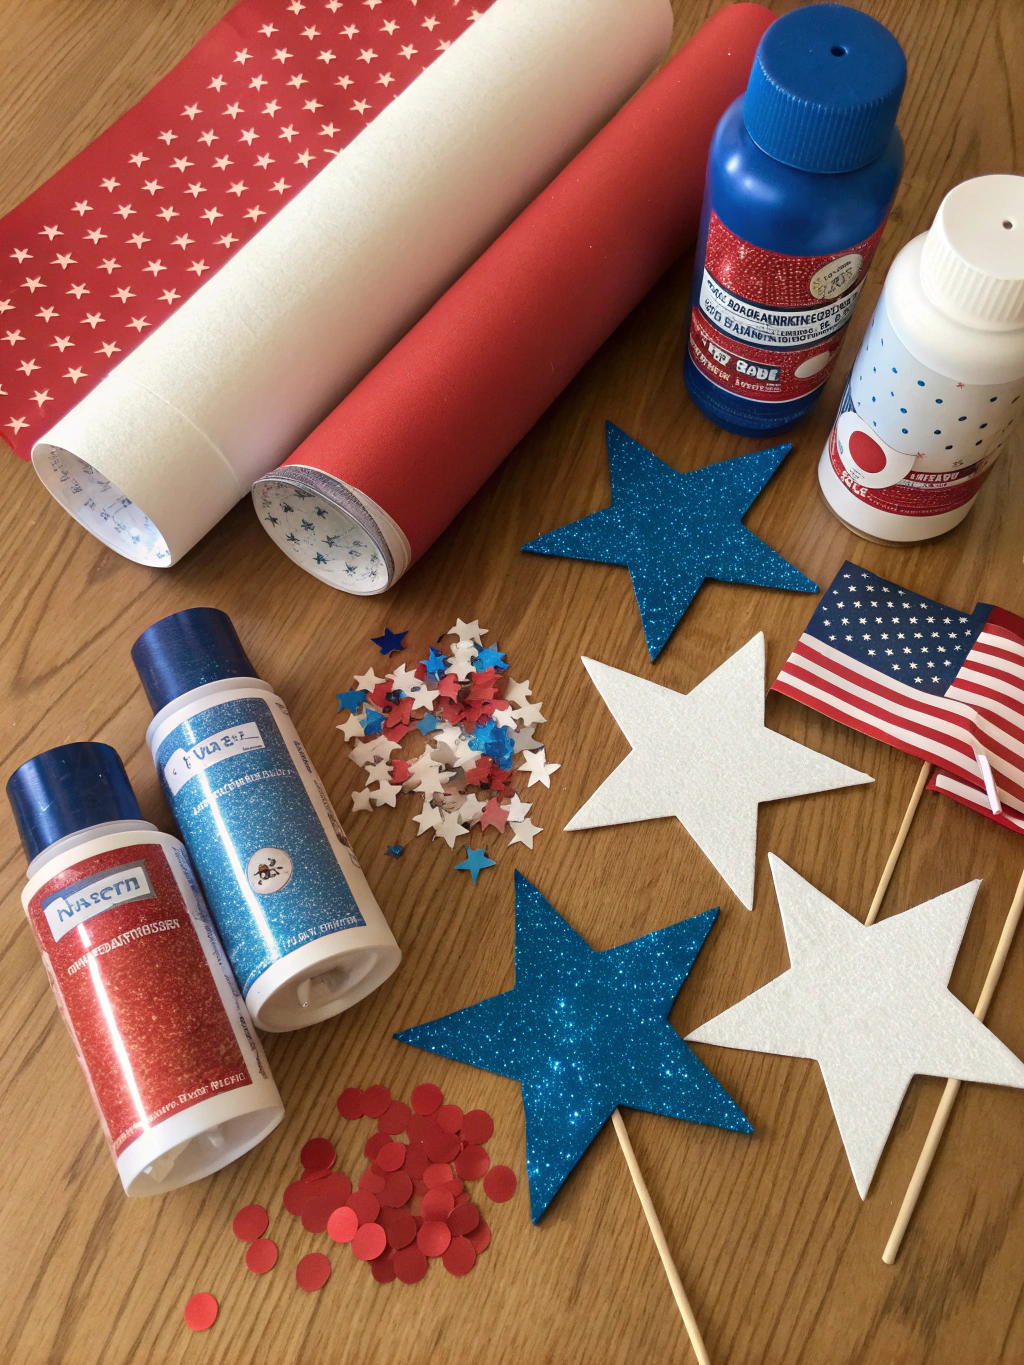
Here’s a general list of materials and tools you might need for the various red white and blue DIY projects we’ll be exploring. Specific projects may require a few unique items, but this covers the basics:
- Paints: Acrylic craft paints in red, white, and blue (various shades are great!). Spray paint can also be handy for larger surfaces.
- Fabrics & Ribbons: Burlap, cotton fabric scraps, felt, and various ribbons (grosgrain, satin, patterned) in patriotic colors and themes (stars, stripes, etc.).
- Adhesives: Hot glue gun and glue sticks (a crafter’s best friend!), craft glue, fabric glue, and Mod Podge.
- Cutting Tools: Sharp scissors, fabric shears, craft knife (like an X-Acto blade), and a cutting mat.
- Wooden Items: Unfinished wooden plaques, stars, letters, dowel rods, or even reclaimed wood pieces.
- Mason Jars or Glass Containers: Perfect for centerpieces or luminaries.
- Twine or Jute Cord: Adds a rustic, charming touch.
- Brushes: A variety of paintbrushes – small detail brushes, medium flat brushes, and foam brushes.
- Embellishments: Buttons, glitter, sequins, small American flags, star-shaped confetti, or anything else that screams “patriotic!”
- Measuring Tools: Ruler or measuring tape.
- Safety Gear: Protective gloves (especially if using spray paint or strong adhesives) and an apron to keep your clothes clean.
- Paper Products: Cardstock in red, white, and blue, patterned scrapbook paper.
Remember, the beauty of DIY is its flexibility! Feel free to substitute materials based on what you have on hand or what you find inspiring at your local craft store. Many wonderful “Patriotic DIY crafts, DIY summer decorations, How to make red white and blue crafts” can be adapted to suit your own style and resources.
Now, let’s get to the fun part – making these projects come to life! We’ll break down each project into simple, manageable steps.
Project 1: Patriotic Mason Jar Centerpieces
These charming Mason jar centerpieces are incredibly versatile and add a rustic, festive touch to any table or mantel. They’re a classic example of easy-to-make red white and blue DIY projects.
Step 1: Prepare and Paint Your Jars
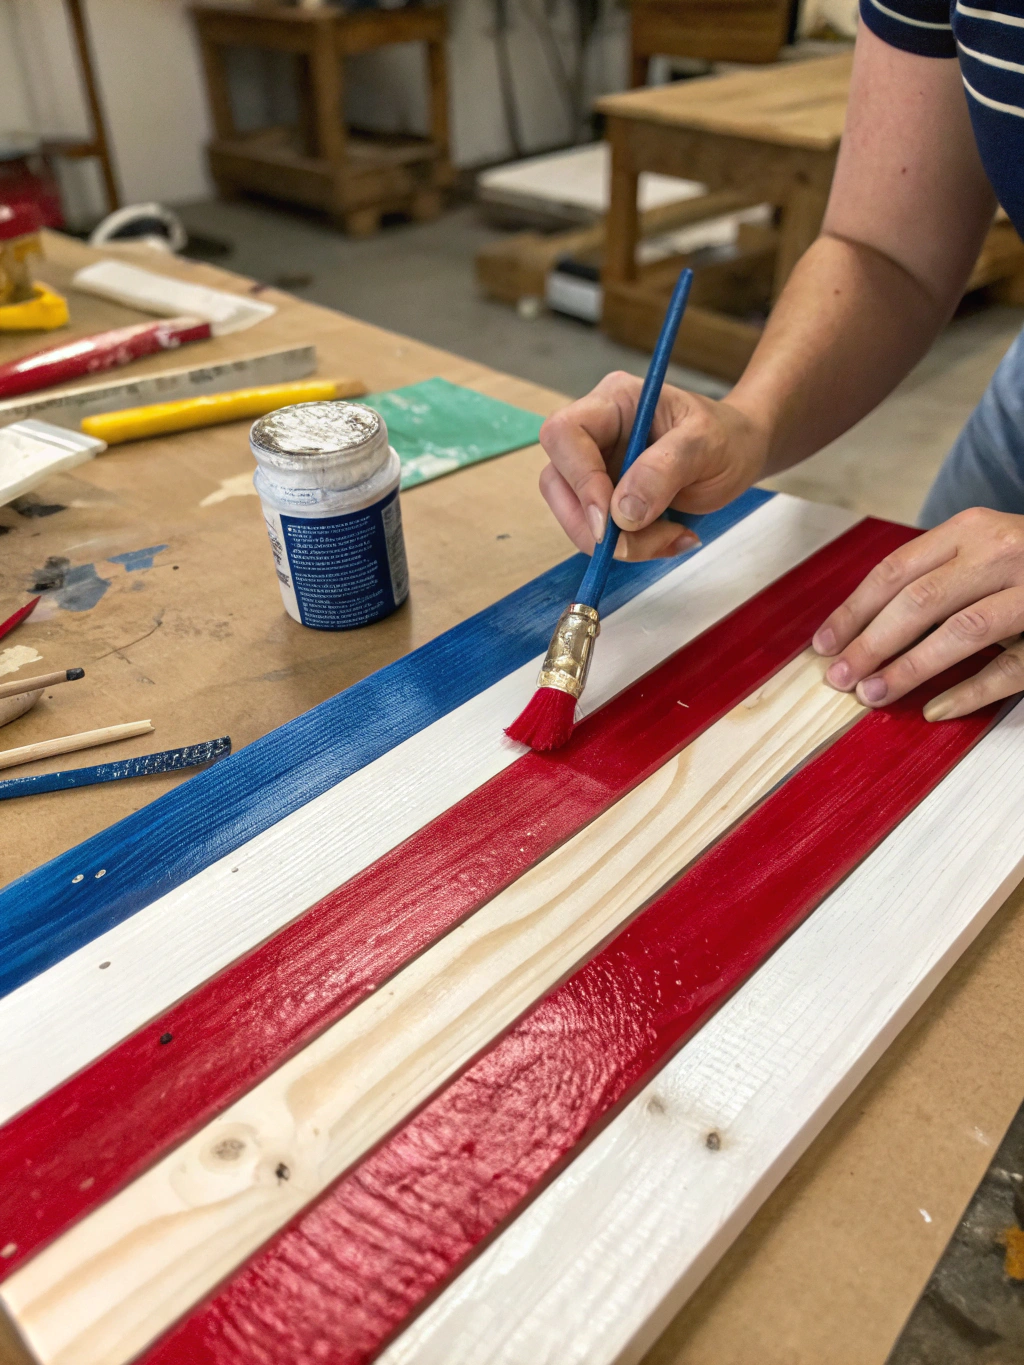
Alt text: Step 1 of red white and blue DIY projects: Painting a Mason jar with white acrylic paint.
First things first, make sure your Mason jars are clean and dry. Any lingering dust or grease will prevent the paint from adhering properly. Once they’re prepped, it’s time to bring in the color! You’ll want one jar red, one white, and one blue for a classic trio.
Using your acrylic craft paint, apply a thin, even coat to the outside of each jar. Don’t worry if the first coat looks a bit streaky or translucent; that’s perfectly normal. Let the first coat dry completely – this usually takes about 20-30 minutes, but check your paint’s instructions. Applying a second coat (or even a third, for deeper colors like red and blue) will give you a solid, vibrant finish. For a smoother look, try using a foam brush. A common pitfall here is applying the paint too thickly, which can lead to drips and longer drying times. Patience is key!
Step 2: Add Stripes and Stars
Once your base coats are fully dry, it’s time for the “stars and stripes” magic. For the white jar, you can paint red stripes. Use painter’s tape to create crisp lines. Apply the tape vertically, leaving spaces for your red stripes. Gently paint red in the exposed areas. For the blue jar, let’s add some stars! You can use a small star stencil and white paint, or if you’re feeling artistic, freehand some stars with a fine-tip brush. Alternatively, white star stickers work wonderfully too!
This step is where your creativity can really shine. Consider different stripe widths or star patterns. Remember, these are your unique creations! A common issue is paint bleeding under the tape. To avoid this, make sure your tape is pressed down firmly, especially at the edges, and don’t overload your brush with paint. Remove the tape while the paint is still slightly tacky for the cleanest lines.
Step 3: Embellish and Finish
Now for the finishing touches that will make your red white and blue DIY projects truly stand out! Once all the paint is completely dry, you can add some rustic charm by tying twine or a festive ribbon around the rim of each jar. A small bow adds a sweet detail.
For an extra touch, you can lightly distress the painted jars for a more vintage look. Gently rub sandpaper (fine grit) along the raised edges and lettering on the Mason jars. This reveals a bit of the glass underneath, giving it a charming, weathered appearance. Finally, fill your jars! They’re perfect for holding fresh flowers, utensils for a BBQ, small American flags, or even LED tea lights for a warm glow in the evening. These make fantastic DIY summer decorations.
Project 2: DIY Patriotic Burlap Wreath
Welcome guests with a stunning, homemade wreath that shouts summer celebration! This burlap wreath is surprisingly easy to make and is a fantastic addition to your collection of red white and blue DIY projects.
Step 1: Prepare Your Wreath Form and Burlap
You’ll need a wire wreath form (any size, but 12-14 inches is a good start) and rolls of burlap ribbon in red, white, and blue. You can find burlap in various widths; a 5-6 inch width works well for this type of wreath. Cut your burlap into strips, approximately 10-12 inches long. You’ll need a good amount of these strips, so it’s a good task to do while watching your favorite show!
The key here is consistency in length, although slight variations won’t be noticeable in the final product. Some crafters prefer to cut the burlap using a rotary cutter and mat for cleaner edges, as burlap can fray. Don’t worry too much about fraying; it adds to the rustic charm!
Step 2: Attach Burlap Strips to the Wreath Form
This is where your wreath starts to take shape. Take a burlap strip, fold it in half to create a loop at one end. Push the looped end through one of the sections of your wire wreath form, from back to front. Then, pull the two loose ends of the burlap strip through the loop and pull tight to secure it to the wire. This is often called a “lark’s head knot.”
Continue this process, alternating colors (red, white, blue) or creating blocks of color, until the entire wreath form is covered and looks full and fluffy. Push the knots together as you go to make the wreath denser. Don’t be afraid to really pack them in for a lush look. A common pitfall is not using enough burlap, resulting in a sparse-looking wreath. It’s better to overestimate how much burlap you’ll need.
Step 3: Add Embellishments and Hanging Loop
Once your wreath is beautifully full of burlap, it’s time to accessorize! This is where you can further personalize your red white and blue DIY projects. Think about adding wooden stars (painted or plain), small American flags, or a bow made from patriotic-themed ribbon. Use your hot glue gun to securely attach these embellishments.
To hang your wreath, create a loop on the back using a piece of sturdy wire or a wider Mored_burlap ribbon. Ensure it’s centered so your wreath hangs straight. Consider the scale of your embellishments; you don’t want them to overpower the wreath itself. For more ideas on “”Patriotic DIY crafts, DIY summer decorations, How to make red white and blue crafts””, looking at online galleries can provide great inspiration.
Project 3: Red, White, and Blue Painted Wood Sign
A custom-painted wood sign adds a personal and welcoming touch to your porch or entryway. This is a wonderfully adaptable project among fun red white and blue DIY projects.
Step 1: Prepare Your Wood Surface
Start with a piece of unfinished wood. This could be a pre-cut plaque from a craft store, a piece of reclaimed pallet wood, or even a smooth board from the hardware store. Make sure the surface is clean and smooth. If it’s rough, give it a light sanding with fine-grit sandpaper and wipe away any dust with a tack cloth or damp rag.
If you want a base color, now is the time to apply it. A coat of white or cream acrylic paint often works well as a background for patriotic designs. Allow it to dry completely. The preparation of the wood is crucial for a professional-looking finish. Skipping sanding can result in a rough paint job and splinters.
Step 2: Design and Paint Your Patriotic Message
Now, plan your design. You could paint “USA,” “Welcome,” “Land of the Free,” or a simple pattern of stars and stripes. Sketch your design lightly with a pencil first. Then, using your red, white, and blue acrylic paints, carefully fill in your design. Use painter’s tape for straight lines if you’re doing stripes.
For lettering, you can use stencils if you’re not confident in your freehand skills. Alternatively, print out your text in a font you like, rub chalk on the back of the paper, place it on the wood, and trace the letters. This will transfer a chalk outline onto the wood for you to paint over. Take your time with this step; neatness counts! Using good quality brushes will also make a big difference.
Step 3: Seal and Add Hanging Hardware
Once your paint is completely dry (give it at least 24 hours to be safe), it’s a good idea to seal your sign, especially if it will be displayed outdoors. Apply a coat or two of clear matte or satin polyurethane or an outdoor-rated Mod Podge. This will protect your beautiful handiwork from the elements and ensure your red white and blue DIY projects last for summers to come.
Finally, attach hanging hardware to the back. Sawtooth hangers are easy to install for smaller signs. For larger signs, D-rings and picture wire are a more robust option. Ensure your sealer is fully cured before exposing the sign to moisture. Many DIY summer decorations benefit from this extra protective step.
Project 4: Star-Spangled Fabric Garland
Fabric garlands are a whimsical and easy way to add a festive touch to mantels, doorways, or party backdrops. This no-sew version is quick and fun!
Step 1: Gather and Cut Your Fabric
Select a variety of fabrics in red, white, and blue. Cotton, linen, or even leftover quilting scraps work perfectly. Look for solids, stripes, polka dots, and star patterns to add visual interest. You’ll also need a length of twine or jute cord for the base of your garland – decide how long you want your garland to be and add a little extra for tying.
Cut or tear your fabric into strips. Tearing often gives a lovely rustic, frayed edge. Aim for strips that are about 1-2 inches wide and 8-10 inches long. You’ll need a good pile of these! The more strips you have, the fuller your garland will be. This is a great project for using up fabric scraps you’ve been saving.
Step 2: Tie Fabric Strips onto Twine
Take your length of twine and start tying the fabric strips onto it. Simply fold a fabric strip in half, place the looped end under the twine, and then pull the two loose ends through the loop, securing it to the twine (another lark’s head knot, just like with the burlap wreath).
Alternate your fabric colors and patterns as you go. Slide the knots close together to create a full, fluffy look. Continue until your desired length of twine is covered with fabric strips. There’s no right or wrong way to arrange the colors; just go with what looks good to you! This process is quite meditative and a fun activity to do with kids.
Step 3: Add Optional Embellishments
Your fabric garland is lovely as is, but you can add extra patriotic flair if you wish! Consider hot-gluing small wooden stars (painted or plain) intermittently along the garland. You could also string a few jingle bells for a festive sound or add small cutouts from patriotic scrapbook paper.
Once you’re happy with your garland, it’s ready to hang! Drape it over a fireplace mantel, string it across a window, or use it as a festive backdrop for a summer BBQ. These garlands are so versatile and a charming example of easy “Patriotic DIY crafts, DIY summer decorations, How to make red white and blue crafts”.
Project 5: Patriotic Painted Flower Pots
Give your porch or patio plants a festive makeover with these easy painted flower pots. This is a great way to incorporate red white and blue DIY projects into your outdoor living spaces.
Step 1: Clean and Prime Your Pots
Start with clean terracotta or ceramic flower pots. If they’ve been used before, scrub them well to remove any dirt or old soil. Allow them to dry completely. Terracotta is porous, so applying a coat of primer (a multi-surface primer works well) will help the paint adhere better and prevent it from soaking in too much.
If your pots are glazed ceramic, a light sanding might be necessary to help the primer and paint stick. Let the primer dry according to the manufacturer’s instructions. This prep step is important for a long-lasting finish, especially for pots that will live outdoors.
Step 2: Paint Your Base Colors and Designs
Once the primer is dry, it’s time to paint! You can paint entire pots solid red, white, or blue, or get creative with stripes, stars, or even chevron patterns. Use acrylic craft paints suitable for outdoor use or seal them well afterward. Painter’s tape will be your best friend for achieving crisp lines for stripes.
For star designs, you can use stencils or try freehanding them. Consider painting the rim of the pot a contrasting color. Let each coat of paint dry thoroughly before adding another or moving on to details. Don’t rush this step; good coverage and neat lines make all the difference.
Step 3: Seal and Plant
After your beautiful designs are painted and completely dry, it’s crucial to seal the pots, especially if they’ll be outdoors. Use a clear, waterproof acrylic sealer (spray or brush-on). Apply two to three thin coats, allowing each coat to dry in between. Make sure to seal the inside rim of the pot as well, where soil and moisture will be in contact.
Once the sealer is fully cured, your patriotic pots are ready for planting! Fill them with festive red, white, or blue flowers (think red geraniums, white petunias, and blue lobelia) for an extra pop of patriotic color. These painted pots truly elevate your DIY summer decorations.
Project 6: Red, White, and Blue Beaded Wind Chimes
Add a touch of musical whimsy to your porch or garden with homemade wind chimes. This project combines color and sound for a delightful sensory experience.
Step 1: Gather Your Chime Components
For this red white and blue DIY projects, you’ll need a base for hanging your chimes (a small embroidery hoop, a sturdy twig, or a pre-drilled wooden disc works well), fishing line or strong nylon thread, an assortment of beads in red, white, and blue (glass, plastic, or wooden), and items to create the chime sounds (small metal washers, old keys, small bells, or even painted bottle caps).
You’ll also need scissors and possibly small pliers for securing knots or crimp beads if you’re using them. The variety in your beads and chime elements will make your wind chime unique. Look for beads with different shapes, sizes, and transparencies.
Step 2: String Your Beads and Chime Elements
Cut several lengths of fishing line or thread – these will be your chime strands. The length will depend on how long you want your chimes to be, but make them varying lengths for more visual interest. Tie a secure knot at one end of a strand, or attach a larger “stopper” bead, then begin threading your red, white, and blue beads in any pattern you like.
At the bottom of each strand, securely attach one of your chime elements (a bell, washer, key, etc.). You might need to tie it on or use a jump ring. Create at least 4-5 strands, or more for a fuller sound. Ensure your knots are tight so you don’t lose any beads!
Step 3: Assemble and Hang Your Wind Chime
Once all your beaded strands are complete, it’s time to attach them to your base. If you’re using an embroidery hoop or wooden disc, tie the top of each strand securely and evenly spaced around the base. If using a twig, you can tie them along its length.
Finally, create a hanger for your wind chime. Use three or four equal lengths of fishing line or twine, tie them to equidistant points on your base, then gather them at the top and tie them together in a secure knot, forming a loop for hanging. Find a breezy spot on your porch or in your garden, hang your beautiful creation, and enjoy the gentle sounds and patriotic colors of your unique DIY summer decorations.
Project 7: DIY Patriotic Bandana Quilt (No-Sew Option!)
For a cozy and festive touch, how about a no-sew bandana quilt? This is a larger project but surprisingly simple and perfect for summer picnics or as a throw.
Step 1: Collect Your Bandanas
You’ll need a collection of red, white, and blue bandanas. Standard bandanas are usually around 22×22 inches. Decide on the size of your quilt to determine how many you’ll need. For example, a 3×4 bandana quilt (making it roughly 66×88 inches before any hemming/tying) would require 12 bandanas.
Wash and iron your bandanas before starting. This preshrinks them and makes them easier to work with. Look for bandanas with fun patterns – classic paisley, stars, or even solid colors will work well together. This is a great way to showcase different shades and patterns within your red white and blue DIY projects.
Step 2: Lay Out Your Design and Prepare for Joining
Lay out your bandanas on a large flat surface (like the floor) to plan your design. Arrange them in a pattern that pleases you, alternating colors and patterns. Once you’re happy with the layout, you’re ready to join them. For a no-sew version, you have a couple of options: fabric glue or fusible hem tape.
If using fusible hem tape, you’ll cut strips of tape to match the length of the bandana edges. Place the tape between the edges of two bandanas you want to join (right sides up, edges overlapping slightly over the tape), and then use a hot iron to fuse them together according to the tape’s instructions. Work row by row, then join the rows.
Step 3: Finish the Edges (Optional) and Enjoy
If you used fusible tape, your quilt is mostly done! You can leave the outer edges as they are, or for a more finished look, you can fold the outer edges over by about half an inch, tuck fusible tape underneath, and iron to create a neat hem. Alternatively, if you want a fringed edge, you can cut small slits (about 1-2 inches deep) all around the perimeter.
If you opted for a tying method (cutting slits along the edges of each bandana and tying them to adjacent ones), ensure all your knots are secure. This no-sew quilt is perfect for draping over a couch, taking to a fireworks show, or as a festive picnic blanket. It’s a truly memorable piece among your DIY summer decorations.
Final Result
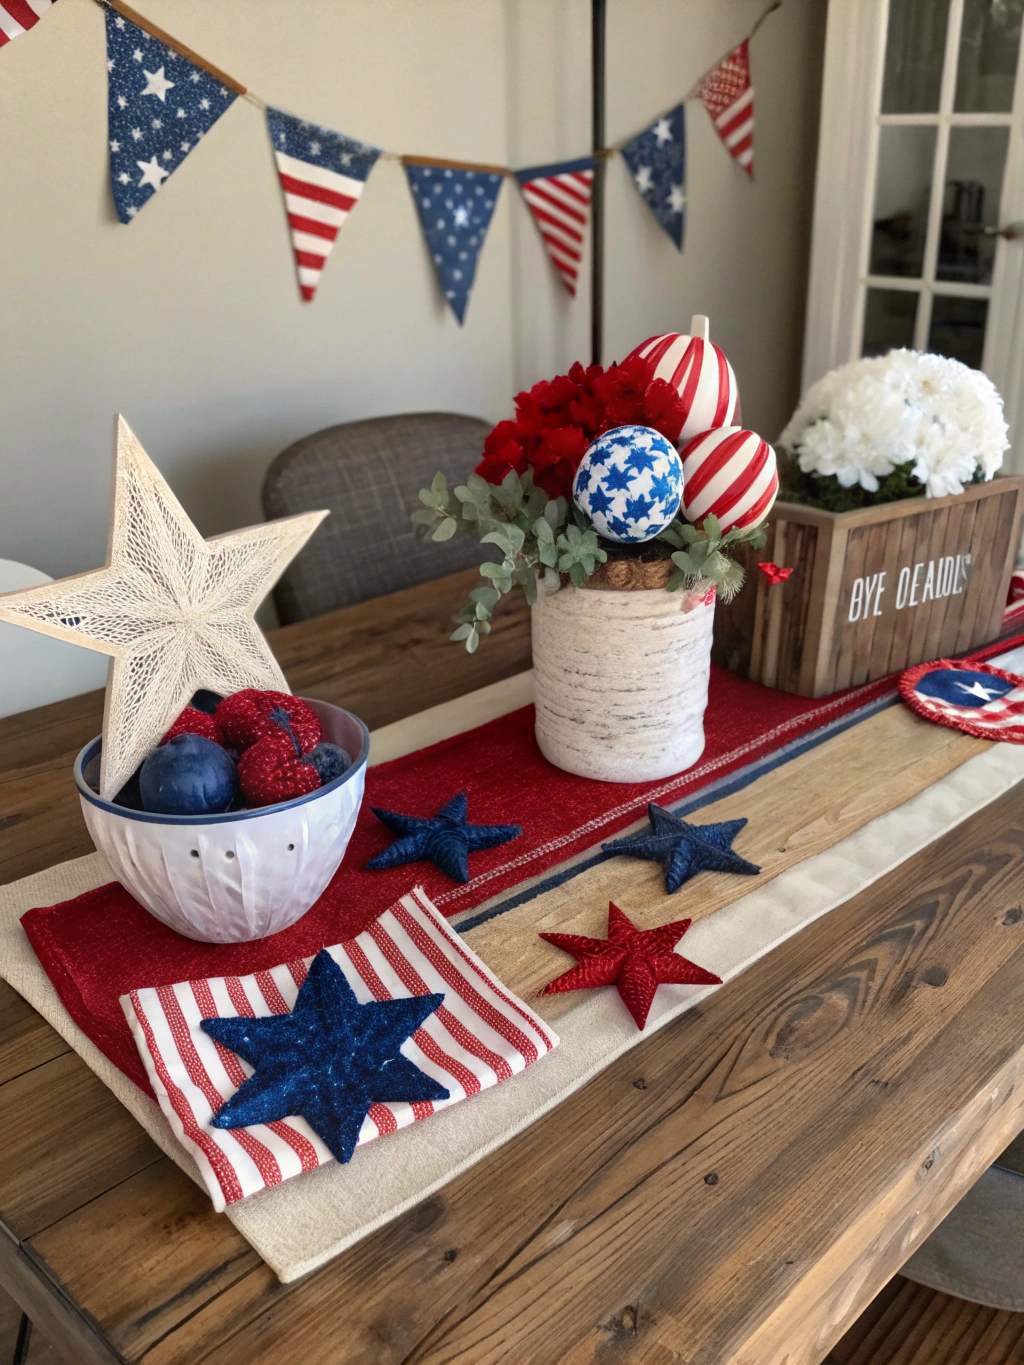
Caption: Your stunning collection of handmade red white and blue DIY projects, ready to celebrate summer in style!
And there you have it! Seven fantastic, fun, and festive red white and blue DIY projects to brighten up your summer. From charming Mason jar centerpieces and welcoming burlap wreaths to personalized wood signs and cozy bandana quilts, you’ve now got a treasure trove of ideas to infuse your home and celebrations with patriotic spirit. Each project offers a unique way to express your creativity and add that special handmade touch that store-bought decorations simply can’t match.
Imagine your porch adorned with a vibrant wreath and cheerfully painted flower pots, your BBQ table graced with unique centerpieces, and a cozy patriotic quilt ready for an evening of fireworks. These projects aren’t just about making decorations; they’re about creating memories, enjoying the process, and sharing your talents. We hope these ideas have inspired you to get crafting and make this summer your most stylish and spirited one yet! We’d absolutely love to see your creations. Share photos of your finished red white and blue DIY projects in the comments below, or tag us on social media! What are your favorite patriotic crafting tips?
Pro Tips / FAQs for Your Red White and Blue DIY Adventures
To help you make the most of your crafting experience, here are a few pro tips and answers to frequently asked questions:
Q1: What are the best budget-friendly materials for Patriotic DIY crafts?
A: Some of the most budget-friendly materials include repurposing items you already have (like Mason jars or old fabric), using craft store basics like acrylic paints, felt, and burlap (often sold in affordable quantities or on sale), and sourcing wood from reclaimed pallets or scrap lumber. Dollar stores can also be a goldmine for basic craft supplies and embellishments. Remember, many beautiful “Patriotic DIY crafts, DIY summer decorations, How to make red white and blue crafts” focus on ingenuity rather than expensive materials.
Q2: How can I make my DIY summer decorations last longer, especially outdoors?
A: For outdoor decorations, material choice and sealing are key. Use paints and fabrics rated for outdoor use if possible. For painted items (like wood signs or flower pots), apply several thin coats of a clear, waterproof outdoor sealer (polyurethane or an outdoor Mod Podge). For fabric items that might get damp, consider a fabric protector spray. Bringing items indoors during harsh weather will also significantly extend their lifespan.
Q3: I’m not very artistic. Are there any super easy red white and blue DIY projects for beginners?
A: Absolutely! Many of the projects listed, like the fabric garland or the basic Mason jar painting, are very beginner-friendly. For projects involving lettering or specific shapes like stars, don’t hesitate to use stencils, stickers, or print-and-trace methods. The key is to choose projects with simple steps and techniques. Focus on enjoying the process rather than achieving perfection. Even simple painted stripes or polka dots can look incredibly festive!
Q4: Where can I find good quality but affordable craft supplies for these projects?
A: Major craft stores like Michaels, Joann Fabric and Craft Stores, and Hobby Lobby frequently have sales and coupons. Online retailers like Amazon also offer a wide selection. Don’t forget discount stores like Walmart or Target, which often have decent craft sections. For unique finds, check out thrift stores or local hardware stores for items like unfinished wood or interesting containers.
Q5: How to make red white and blue crafts that are kid-friendly?
A: Many of these projects can be adapted for kids with a bit of supervision! Simpler painting projects (like the flower pots or base coats on Mason jars), stringing beads for wind chimes (using larger beads for smaller hands), or helping tie fabric strips for a garland are great options. Always use non-toxic paints and glues, and supervise any use of scissors or hot glue guns. Focus on the fun and creative expression, and let them embrace imperfections – that’s part of the charm of kid-made crafts!
We hope this comprehensive guide to red white and blue DIY projects has sparked your creativity! Crafting is all about having fun and making something uniquely yours. For even more DIY inspiration, be sure to check out other articles on our site, like how to make your own bubble solution giant for more summer fun!
What are you waiting for? Grab your supplies and let the patriotic crafting begin!
Don’t forget to share your amazing creations and any tips you have in the comments below. We love hearing from our community of DIYers! If you found this post helpful, please consider sharing it with your friends on Pinterest or Facebook, and sign up for our newsletter for more DIY ideas, tips, and tricks delivered straight to your inbox! Happy crafting!

