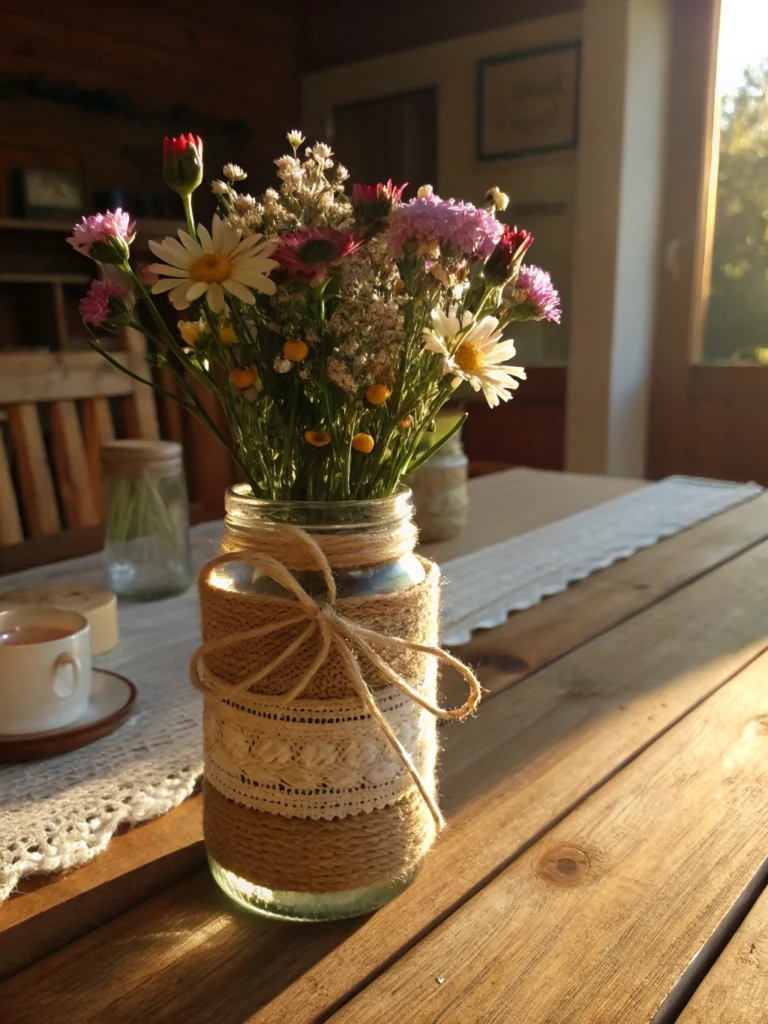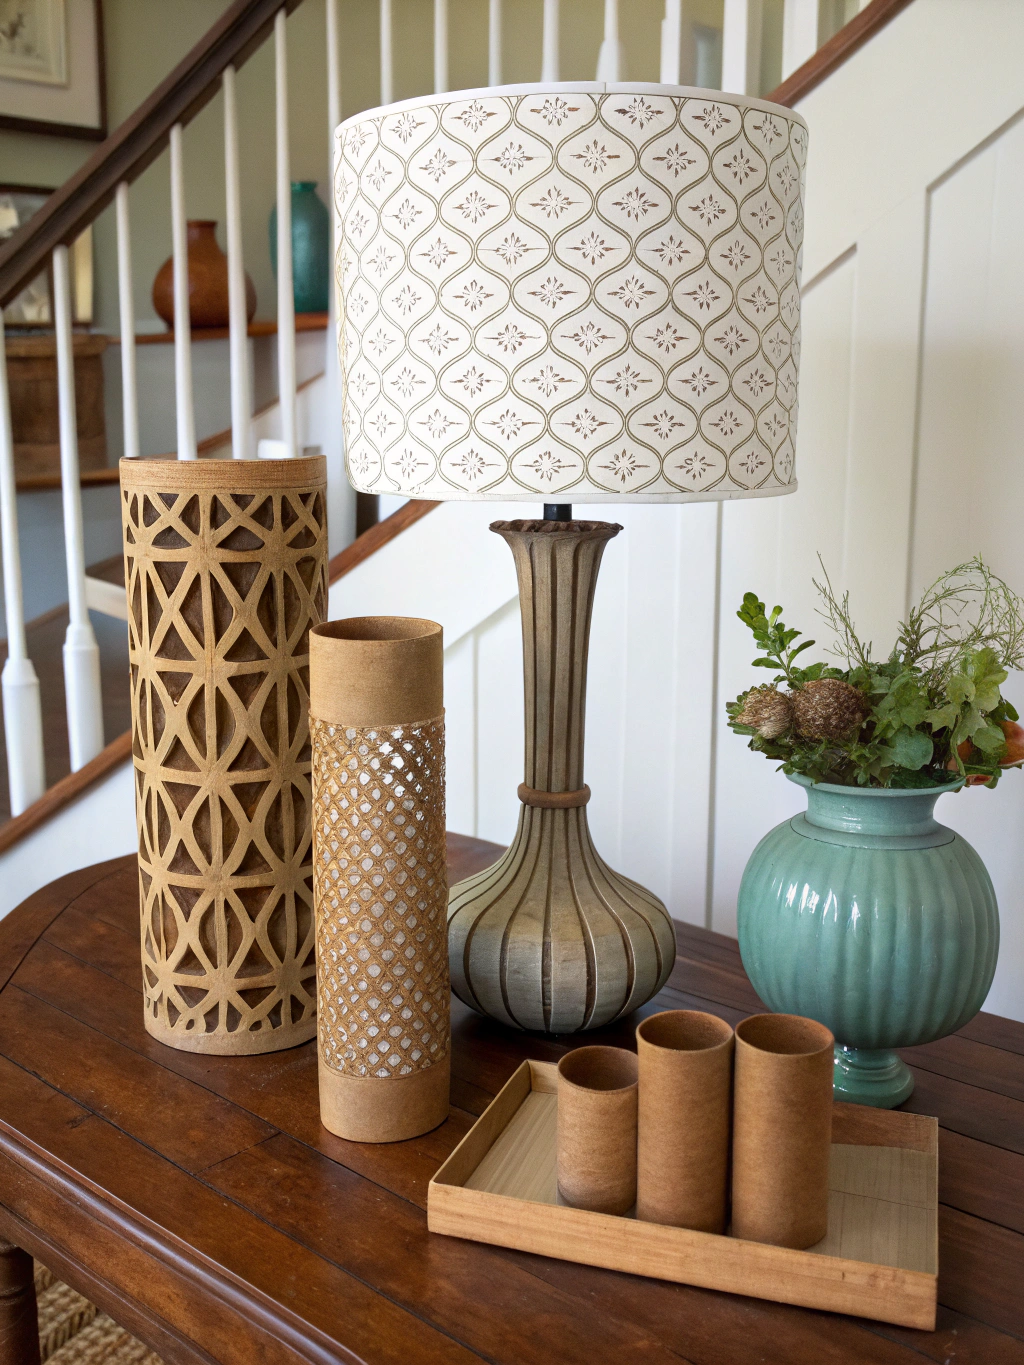
*Caption: Unleash your creativity with these amazing [repurpose cardboard tubes crafts](https://www.fixdiy.site/upcycling-crafts/)!*
Introduction of Repurpose Cardboard Tubes Crafts
Are you staring at a growing pile of toilet paper rolls and paper towel tubes, wondering if there’s a better fate for them than the recycling bin? You’re not alone! Many home-improvement enthusiasts and crafty individuals are constantly seeking innovative ways to reduce waste and create something beautiful and functional.
That’s where the magic of repurpose cardboard tubes crafts comes into play. These humble cylinders are surprisingly versatile, offering a free and eco-friendly material for an incredible array of DIY projects.
From charming home décor to fun kids’ toys and practical organizers, learning how to repurpose cardboard tubes crafts can unlock a world of creativity. This guide will walk you through everything you need to get started, plus 10 fantastic project ideas that are perfect for beginners and seasoned crafters alike. Let’s transform that trash into treasure!
Table of Contents
Table of Contents
What You’ll Need (General Supplies) Repurpose Cardboard Tubes Crafts
Before we dive into specific projects, let’s gather some common supplies you’ll likely need for most repurpose cardboard tubes crafts. Having these on hand will make your crafting sessions smooth and enjoyable.
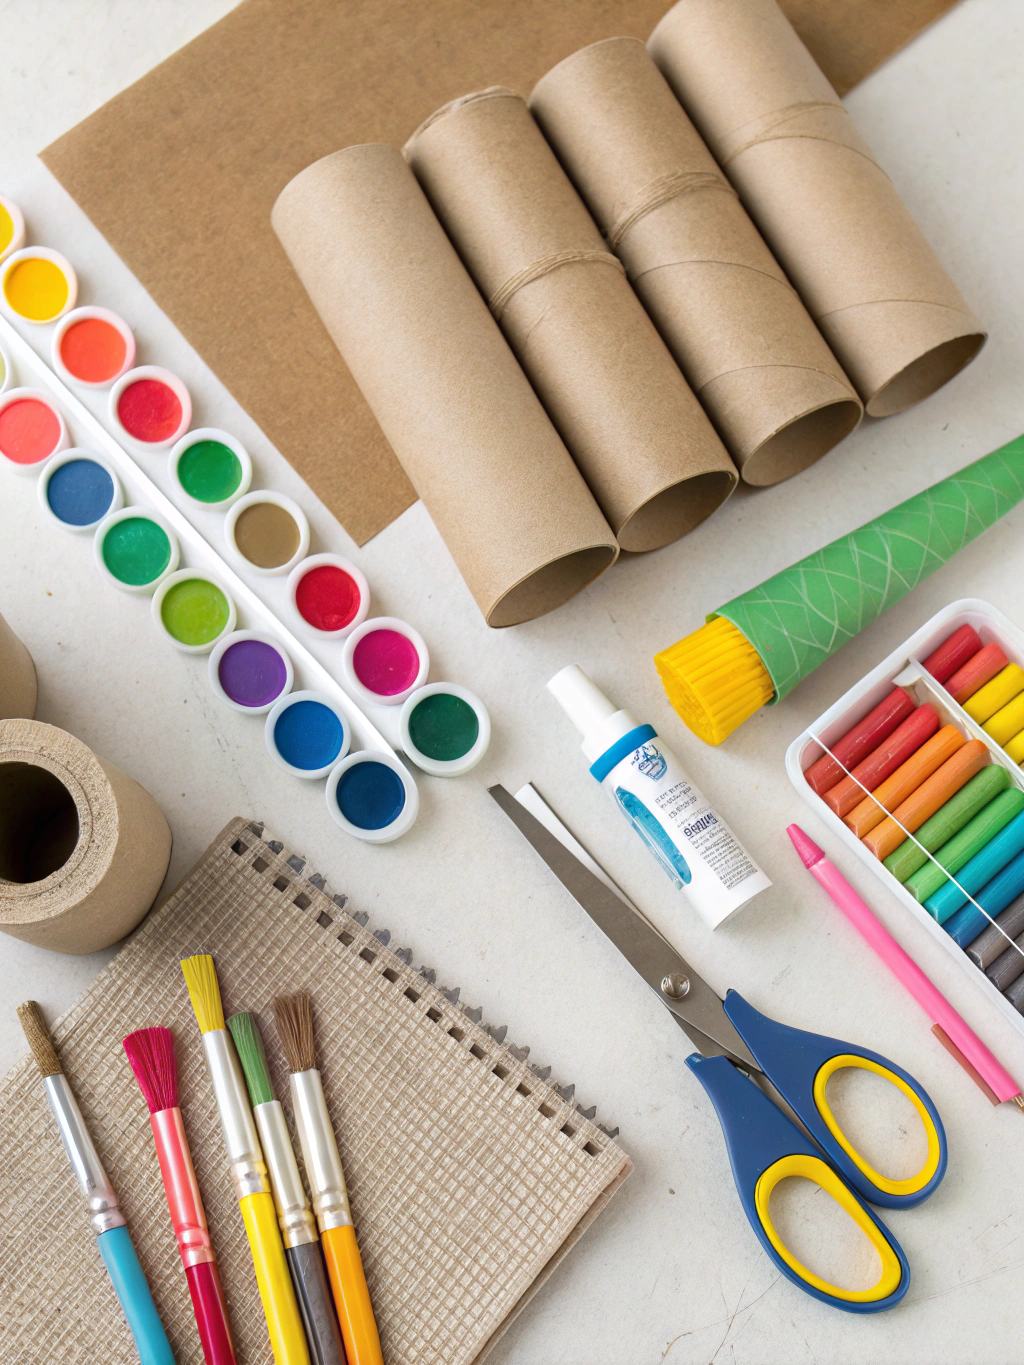
*Caption: Gather these basic supplies for your cardboard tube crafting adventure.*
Here’s a list of general materials and tools: Repurpose Cardboard Tubes Crafts
- Cardboard Tubes: Toilet paper rolls, paper towel tubes, wrapping paper tubes, etc. (collect a variety of sizes!)
- Scissors: Sharp scissors are crucial for clean cuts.
- Craft Knife: For more precise cuts (adult supervision required).
- Ruler: For measuring.
- Pencil: For marking.
- Hot Glue Gun and Glue Sticks: For strong, quick bonds.
- White Craft Glue (PVA glue): Good for paper and lighter embellishments.
- Acrylic Paints: A rainbow of colors to bring your creations to life.
- Paintbrushes: Various sizes.
- Decorative Paper: Scrapbook paper, wrapping paper, construction paper, old magazines.
- Markers, Crayons, Colored Pencils: For adding details.
- Washi Tape: For easy, colorful decoration.
- Embellishments: Buttons, glitter, yarn, ribbon, googly eyes, fabric scraps, beads, etc.
- Cutting Mat: To protect your work surface.
Remember, these are general supplies. Each specific project below might call for a few additional items.
Getting Started: Basic Steps for Your Repurpose Cardboard Tubes Crafts
Before tackling specific projects, it’s helpful to understand the basic preparation involved in most repurpose cardboard tubes crafts. These initial steps ensure your tubes are ready for transformation.
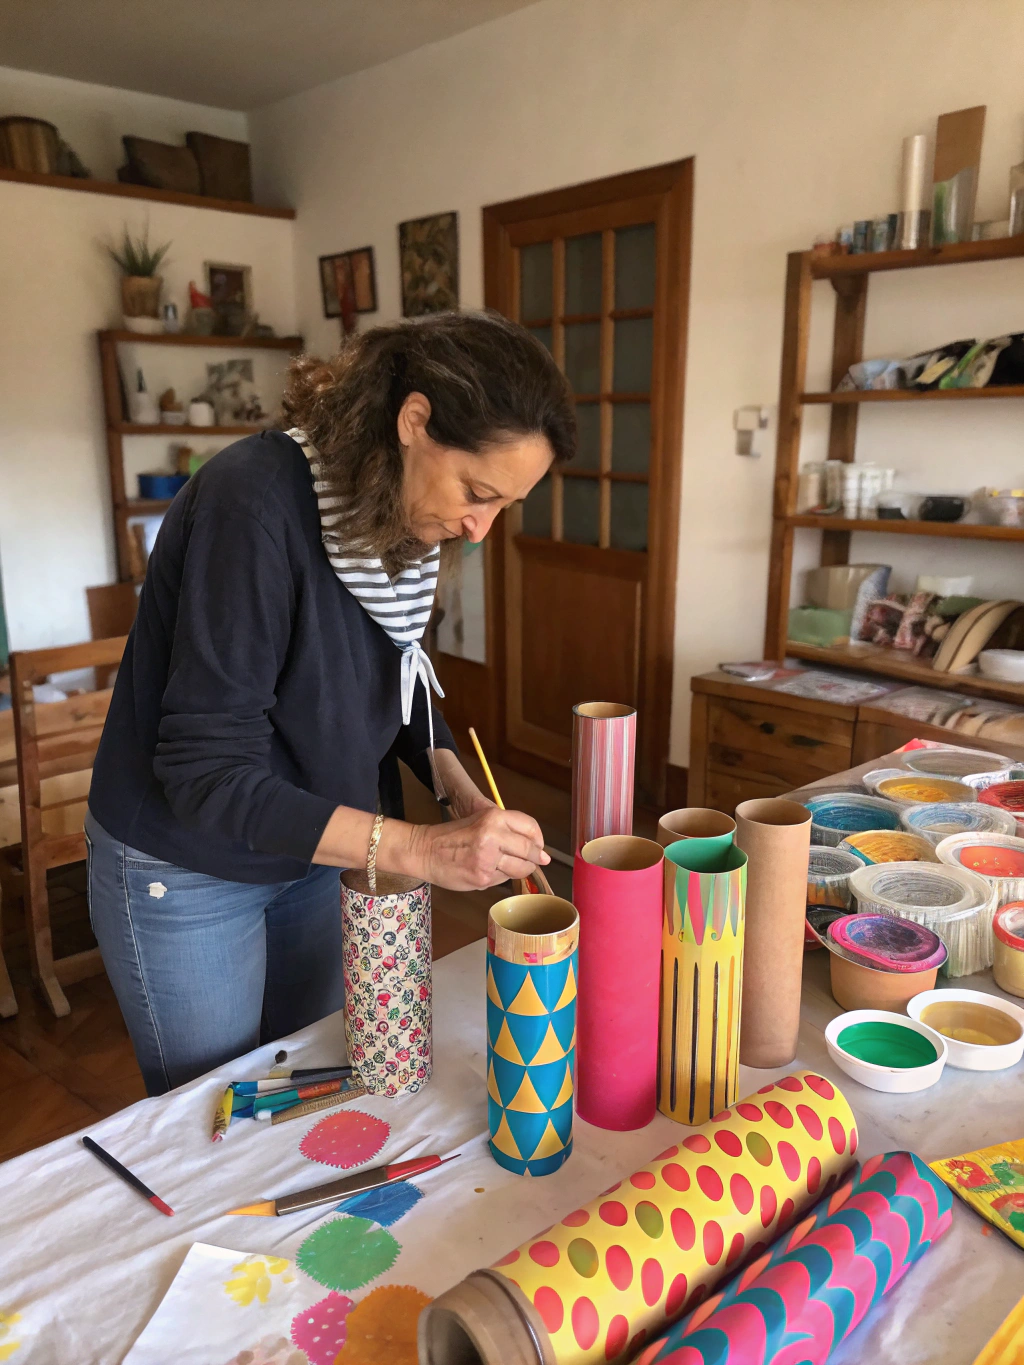
*Caption: Following these initial steps will set you up for success in your [repurpose cardboard tubes crafts](https://www.fixdiy.site/upcycling-crafts/) endeavors.*
Step 1: Gather Your Treasure (The Tubes!) Repurpose Cardboard Tubes Crafts
Start collecting cardboard tubes! Don’t just stick to toilet paper rolls; paper towel tubes are great for taller projects, and wrapping paper tubes offer even more length and sturdiness for certain Cardboard tube DIY projects. Keep a designated box or bag for them. Ask friends and family to save theirs for you too – you’ll be surprised how quickly your stash grows.
Why this matters: Having a good selection of tubes on hand means you’re always ready when inspiration strikes. Different sizes open up different project possibilities.
Common pitfall: Not having enough tubes when you want to start a larger project, or only having one size which limits your options.
Step 2: Clean and Prepare Your Tubes Repurpose Cardboard Tubes Crafts
Most tubes will be clean enough to use as is. However, if there’s any residue (like leftover toilet paper bits), gently remove it. For tubes that might have been exposed to moisture, ensure they are completely dry. Some crafters like to lightly spray the inside with a disinfectant spray and let them air out, especially if they’re being used for projects handled by children.
Why this matters: A clean, dry tube provides a better surface for paint and glue to adhere to. It also makes for a more hygienic crafting experience.
Common pitfall: Trying to paint or glue a dusty or damp tube, which can lead to poor adhesion and a messy finish.
Step 3: Decide on Your Base – To Paint or To Cover? Repurpose Cardboard Tubes Crafts
Think about how you want the base of your cardboard tube to look. You can paint it directly, which is great for vibrant colors and custom designs. Alternatively, you can cover it with decorative paper, fabric, or even washi tape for a different texture and pattern.
Why this matters: The base treatment sets the stage for your embellishments. If you’re aiming for a sleek look, paint might be best. For intricate patterns, paper coverings are easier than freehand painting.
Common pitfall: Applying embellishments before the base paint is dry, or not cutting covering paper accurately, leading to gaps or overlaps.
Step 4: Cutting (If Necessary) Repurpose Cardboard Tubes Crafts
Many repurpose cardboard tubes crafts projects will require cutting the tubes into different lengths or shapes. For straight cuts, measure and mark your line with a pencil. Use sharp scissors for thinner tubes. For thicker tubes or very precise cuts, a craft knife (used with a cutting mat and extreme care) works best. You can also cut tubes into rings.
Why this matters: Accurate cuts are essential for projects that need pieces to fit together or for achieving a neat final appearance.
Common pitfall: Jagged or uneven cuts, which can make your project look untidy. Always cut away from yourself when using a craft knife.
Now that you’re prepped, let’s dive into some exciting projects!
Top 10 Creative Repurpose Cardboard Tubes Crafts Projects
Get ready to be inspired! Here are 10 fun and easy DIY projects that beautifully showcase how to repurpose cardboard tubes. Many of these ideas can be adapted for different themes and occasions.
1. Adorable Cardboard Tube Animals Repurpose Cardboard Tubes Crafts
Transform humble tubes into a veritable zoo! This is a fantastic project for kids and a great way to use up smaller tubes.
Specific Materials:
- Cardboard tubes (toilet paper size ideal)
- Acrylic paints or construction paper in various animal colors
- Googly eyes
- Felt or cardstock for ears, wings, noses, etc.
- Pipe cleaners for tails or whiskers
- Markers
- Scissors
- Glue (hot glue or craft glue)
Steps:
- Choose Your Animal & Base Color: Decide which animals you want to make (e.g., owl, fox, cat, bunny, bee). Paint the cardboard tube the main body color of your chosen animal or cover it neatly with construction paper. Let it dry completely.
- Cut and Create Features: While the tube dries, cut out features like ears, wings, beaks, or noses from felt or cardstock. For example, triangles for cat ears, ovals for bunny ears, or circles for owl eyes.
- Assemble Your Creature: Glue the googly eyes onto the tube. Then, attach the features you cut out. A dot of hot glue works well for quick adhesion, but craft glue is safer for younger children (it just takes longer to dry).
- Add Details: Use markers to draw mouths, whiskers, spots, or stripes. You can also add pipe cleaner tails by poking a small hole in the back of the tube and inserting the pipe cleaner, or simply gluing it on. For an owl, you might fold the top edges of the tube inwards to create “ear” tufts. For a bee, paint yellow and then add black stripes with paint or paper.
This is a classic example of Creative crafts with cardboard tubes, perfect for sparking imagination.
2. Desk Organizer Caddy Repurpose Cardboard Tubes Crafts
Tired of pens, pencils, and scissors cluttering your desk? This practical organizer is easy to make and can be customized to fit your style.
Specific Materials:
- Several cardboard tubes (various heights look good – paper towel and toilet paper tubes)
- A sturdy piece of cardboard for the base (e.g., from a cereal box or shipping box)
- Decorative paper, fabric, or paint
- Hot glue gun
- Ruler, pencil, scissors
Steps:
- Prepare Tubes: Decide on the heights you want for your organizer compartments. Cut the cardboard tubes to your desired lengths. You might want some tall ones for rulers and scissors, and shorter ones for pens and paperclips.
- Decorate Tubes: Cover each tube with decorative paper or fabric, or paint them. If using paper/fabric, cut it to size, wrap it around the tube, and glue the seam. Make sure the top edge is neat.
- Create Base: Cut a piece of sturdy cardboard to the size and shape you want for your caddy’s base (e.g., circular, rectangular, or an organic shape). Decorate this base by painting it or covering it with paper to match your tubes.
- Assemble Caddy: Arrange your decorated tubes on the base in a layout you like. Once you’re happy with the arrangement, use a hot glue gun to secure the bottom of each tube to the base. Apply glue to the bottom rim of the tube and press it firmly onto the base. You can also glue adjacent tubes to each other for extra stability.
This project is a fantastic option for Cardboard tube DIY projects that are both functional and stylish.
3. Cardboard Tube Seed Starters Repurpose Cardboard Tubes Crafts
Get a head start on your gardening with these eco-friendly seed starters. They can be planted directly into the ground, as the cardboard will decompose.
Specific Materials:
- Toilet paper tubes
- Scissors
- Seed starting mix
- Seeds
- Waterproof tray or container
Steps:
- Prepare Tubes: Take a toilet paper tube. Make four evenly spaced cuts (about 1/2 to 1 inch deep) around one end of the tube.
- Fold the Bottom: Fold the four cut flaps inward, one over the other, much like closing a cardboard box. This creates the bottom of your seed starter pot. Press firmly to make it relatively flat.
- Fill with Soil: Place your newly formed pots on a waterproof tray (to catch any drips). Fill each pot with seed starting mix, leaving a little space at the top.
- Plant Seeds: Plant your seeds according to the instructions on the seed packet. Gently water.
- Grow and Transplant: Keep the soil moist and place the tray in a sunny spot. Once your seedlings are ready for transplanting and the risk of frost has passed, you can plant the entire cardboard tube pot directly into your garden or a larger container. The cardboard will break down naturally.
This is such a clever way for “How to repurpose cardboard tubes crafts” into something beneficial for your garden.
4. Miniature Gift Boxes Repurpose Cardboard Tubes Crafts
Need a small, cute box for a tiny gift or party favor? Cardboard tubes to the rescue!
Specific Materials:
- Toilet paper tubes
- Decorative paper or paint
- Ribbon or twine
- Scissors
- Optional: stickers, small tags
Steps:
- Flatten and Shape: Gently flatten a toilet paper tube.
- Create Ends: On each open end of the flattened tube, fold the top edge down towards the center, creating a curved flap (like a pillow box). Do this for both sides of one end, then repeat on the other end. You’ll notice the sides naturally bulge out, forming the box shape.
- Secure One End (Optional): If you want one end permanently closed, you can add a dab of glue to the flaps before folding them in, or secure with a small piece of tape on the inside.
- Decorate: Before fully closing, decorate your box! You can paint it, cover it with decorative paper, or wrap it with washi tape. If covering with paper, it’s easiest to do this while the tube is still cylindrical or only lightly flattened.
- Fill and Close: Place your small gift inside. Close the remaining open end by folding in the flaps. Tie a ribbon or twine around the box to secure it and add a decorative touch. Add a small tag if desired.
These are wonderful for small trinkets and make party favors extra special.
5. Cardboard Tube Bird Feeder Repurpose Cardboard Tubes Crafts
A simple, classic craft that’s great for kids and helps out your local feathered friends.
Specific Materials:
- Cardboard tube (paper towel or toilet paper)
- Peanut butter (ensure it’s xylitol-free if pets might access it) or another sticky spread like shortening or sunflower seed butter
- Birdseed
- String or twine
- A plate or shallow dish
Steps:
- Prepare Hanger: Punch two holes opposite each other near one end of the cardboard tube. Thread a piece of string or twine through the holes and tie it to create a hanging loop.
- Spread the “Glue”: Using a knife or spatula, coat the outside of the cardboard tube evenly with peanut butter or your chosen spread. It doesn’t need to be super thick, just enough for the seeds to stick.
- Roll in Seeds: Pour a generous amount of birdseed onto a plate or shallow dish. Roll the peanut butter-coated tube in the birdseed, pressing gently so the seeds adhere all over. Cover it as completely as possible.
- Hang and Observe: Take your bird feeder outside and hang it from a tree branch or a hook where birds can easily access it. Watch and enjoy as your local birds discover their new treat!
This is an engaging project that combines crafting with nature appreciation.
6. DIY Kaleidoscope Repurpose Cardboard Tubes Crafts
Create a world of mesmerizing patterns with a homemade kaleidoscope. This one requires a bit more patience but the result is magical.
Specific Materials:
- Sturdy cardboard tube (e.g., from kitchen foil or a Pringles can, cleaned)
- Mylar reflective sheets or aluminum foil (shiny side out)
- Clear plastic (e.g., from packaging or a clear plastic report cover)
- Translucent beads, small pieces of colored plastic, glitter, sequins
- Cardstock or black paper
- Scissors or craft knife
- Ruler
- Tape (strong, clear packing tape is good)
- Decorative paper or paint for the outside
Steps:
- Create Reflective Prism: Cut three strips of Mylar or foil-covered cardstock that are the same length as your tube and about 1/3 of its circumference wide (so when formed into a triangle, they fit snugly inside). Tape these three strips together along their long edges to form a triangular prism, shiny sides facing inward. Slide this prism into your cardboard tube.
- Prepare Viewing End: Trace one end of the tube onto a piece of cardstock. Cut out this circle. In the center of this circle, cut a small peephole. Tape or glue this cardstock circle to one end of the tube – this is your viewing end.
- Create Object Chamber: At the other end of the tube, you need to create a chamber for your colorful bits.
- Trace the tube’s opening onto clear plastic and cut out two identical circles.
- Place one plastic circle inside the tube, pushing it down until it rests against the end of your Mylar prism. Secure it with a little tape or glue around the edge if needed.
- Place your beads, glitter, and other translucent items on top of this plastic circle. Don’t overfill.
- Place the second plastic circle on top of the beads, creating a sandwich. Secure this second plastic circle to the end of the tube with tape. You might want to create a small “lip” or ring of cardstock around this end to hold the plastic disc more securely.
- Decorate: Decorate the outside of your kaleidoscope tube with paint, paper, or washi tape.
Now, point the object chamber towards a light source, look through the peephole, and rotate the tube to see the beautiful patterns change! This is a more advanced repurpose cardboard tubes crafts project, but incredibly rewarding.
7. Cord Organizers Repurpose Cardboard Tubes Crafts
Keep your charging cables and other cords tidy and untangled with these super simple organizers.
Specific Materials:
- Toilet paper tubes
- Decorative paper, washi tape, or paint (optional)
- Scissors (optional, if you want to shorten them)
Steps:
- Decorate (Optional): If you want your cord organizers to look a bit fancier, decorate the toilet paper tubes. You can paint them, cover them with pretty scrapbook paper, or wrap them in colorful washi tape. Let any paint or glue dry completely. This is a great way to use up small scraps.
- Shorten (Optional): Depending on the length of your cords, you might want to cut the tubes in half or into thirds to make smaller organizers. Use scissors for this.
- Organize Cords: Neatly coil a cord (like a phone charger, USB cable, or headphones). Slide the coiled cord into a decorated (or plain) cardboard tube.
- Store: You can now store these neatly in a drawer, box, or travel bag. Label them with a marker if you have many similar-looking cords.
It’s amazing how such a simple idea can make a big difference in managing “cord chaos.” Many people find inspiration for such practical solutions from “”Cardboard tube DIY projects, How to repurpose cardboard tubes crafts, Creative crafts with cardboard tubes,”” resource sites.
8. Cardboard Tube Marble Run Repurpose Cardboard Tubes Crafts
Hours of fun for kids (and adults!) can be had by creating an epic marble run using various cardboard tubes. This project encourages engineering thinking.
Specific Materials:
- Lots of cardboard tubes (toilet paper, paper towel, wrapping paper tubes)
- Masking tape or painter’s tape (strong, but removable for adjustments)
- Scissors or craft knife
- Marbles
- Optional: A large piece of cardboard or a wall to attach the run to, plastic cups or containers for the marble catch at the end.
Steps:
- Plan Your Run: Think about how you want your marble run to look. Do you want it to go straight down, have twists, turns, or drops? It’s often easiest to build against a wall or a large, upright piece of cardboard.
- Cut and Shape Tubes: You’ll likely need to cut some tubes in half lengthwise to create open tracks or channels. You might also cut holes in the sides of tubes to create “drop-throughs” or connections. Some tubes can be kept whole to act as tunnels.
- Assemble the Run: Start taping your tube pieces together and to your support surface (wall or cardboard backing). Use masking tape or painter’s tape, as it allows for adjustments. Test frequently with a marble to see how it flows and make changes as needed. Create ramps, tunnels, and drops.
- Add a Catch: At the end of your marble run, place a plastic cup or small container to catch the marbles.
- Decorate (Optional): Once you’re happy with the functionality, you can decorate the tubes with paint or markers for extra flair.
This project is all about experimentation and iteration. It’s a fantastic way to explore physics in a fun, hands-on manner.
9. Fire Starters / Kindling Holders Repurpose Cardboard Tubes Crafts
For those with fireplaces or who enjoy campfires, cardboard tubes can be used to make effective fire starters or neat kindling holders.
Specific Materials (for Fire Starters):
- Toilet paper tubes
- Dryer lint
- Melted wax (old candle ends, paraffin wax – be careful when melting!)
- Double boiler or an old pot and a heat-safe container for melting wax
- Optional: Sawdust or shredded paper
Steps for Fire Starters:
- Stuff Tubes: Tightly pack each toilet paper tube with dryer lint. You can also mix in some sawdust or shredded paper.
- Melt Wax: Carefully melt your wax in a double boiler or by placing a heat-safe container (like an old coffee can) inside a pot with a few inches of simmering water. Never melt wax directly over a flame or leave it unattended.
- Soak Lint-Filled Tubes: Once the wax is melted, carefully dip the lint-filled tubes into the wax, or pour the melted wax over and into the tubes, ensuring the lint is well saturated. Use tongs or an old fork to handle the tubes.
- Cool and Dry: Place the wax-saturated tubes on a piece of parchment paper or an old baking sheet to cool and harden completely.
- Use: To use, simply place one fire starter under your kindling and light the cardboard edge. The wax-soaked lint will burn long enough to get your fire going.
For Kindling Holders:
Simply use longer paper towel tubes or wrapping paper tubes as is. Decorate them if you wish. Stand them upright in a basket or box near your fireplace and fill them with small pieces of kindling. This keeps the kindling neat and contained.
These practical repurpose cardboard tubes crafts are perfect for the utilitarian DIYer.
10. Napkin Rings for a Festive Table Repurpose Cardboard Tubes Crafts
Add a personal touch to your table setting with custom-made napkin rings. These can be themed for holidays, seasons, or just to match your décor.
Specific Materials:
- Cardboard tubes (toilet paper tubes are ideal)
- Scissors or craft knife
- Decorative paper, fabric scraps, ribbon, paint, or twine
- Hot glue gun or craft glue
- Embellishments: small buttons, beads, faux flowers, mini pinecones, cinnamon sticks, etc.
Steps:
- Cut Rings: Cut your cardboard tube into rings, typically about 1 to 1.5 inches wide. A craft knife and ruler will give you the cleanest cuts. One toilet paper tube can yield 2-3 rings.
- Cover or Paint: Decorate the rings.
- Paint: Apply a coat or two of acrylic paint in your chosen color. Let dry.
- Paper/Fabric: Cut strips of decorative paper or fabric wide enough to cover the ring and long enough to wrap around with a slight overlap. Apply glue to the ring and wrap the material tightly, securing the seam.
- Ribbon/Twine: Tightly wrap ribbon or twine around the ring, securing the start and end with a dab of hot glue.
- Add Embellishments: Once the base covering is dry and secure, add your chosen embellishments. A small dot of hot glue can attach a button, a tiny faux flower, a sprig of artificial greenery for a holiday theme, or even a piece of a cinnamon stick for a rustic fall look.
- Set Your Table: Slide your cloth napkins through your beautiful, handmade napkin rings and impress your guests!
These are great “”Cardboard tube DIY projects, How to repurpose cardboard tubes crafts, Creative crafts with cardboard tubes,”” that add elegance and personality to any meal. You can find more upcycling craft ideas, including advanced ones like this, by exploring further resources on repurpose cardboard tubes crafts.
The Amazing Final Result!
And there you have it! With a bit of creativity and some common household supplies, those unassuming cardboard tubes have been transformed into fun, functional, and fabulous creations.
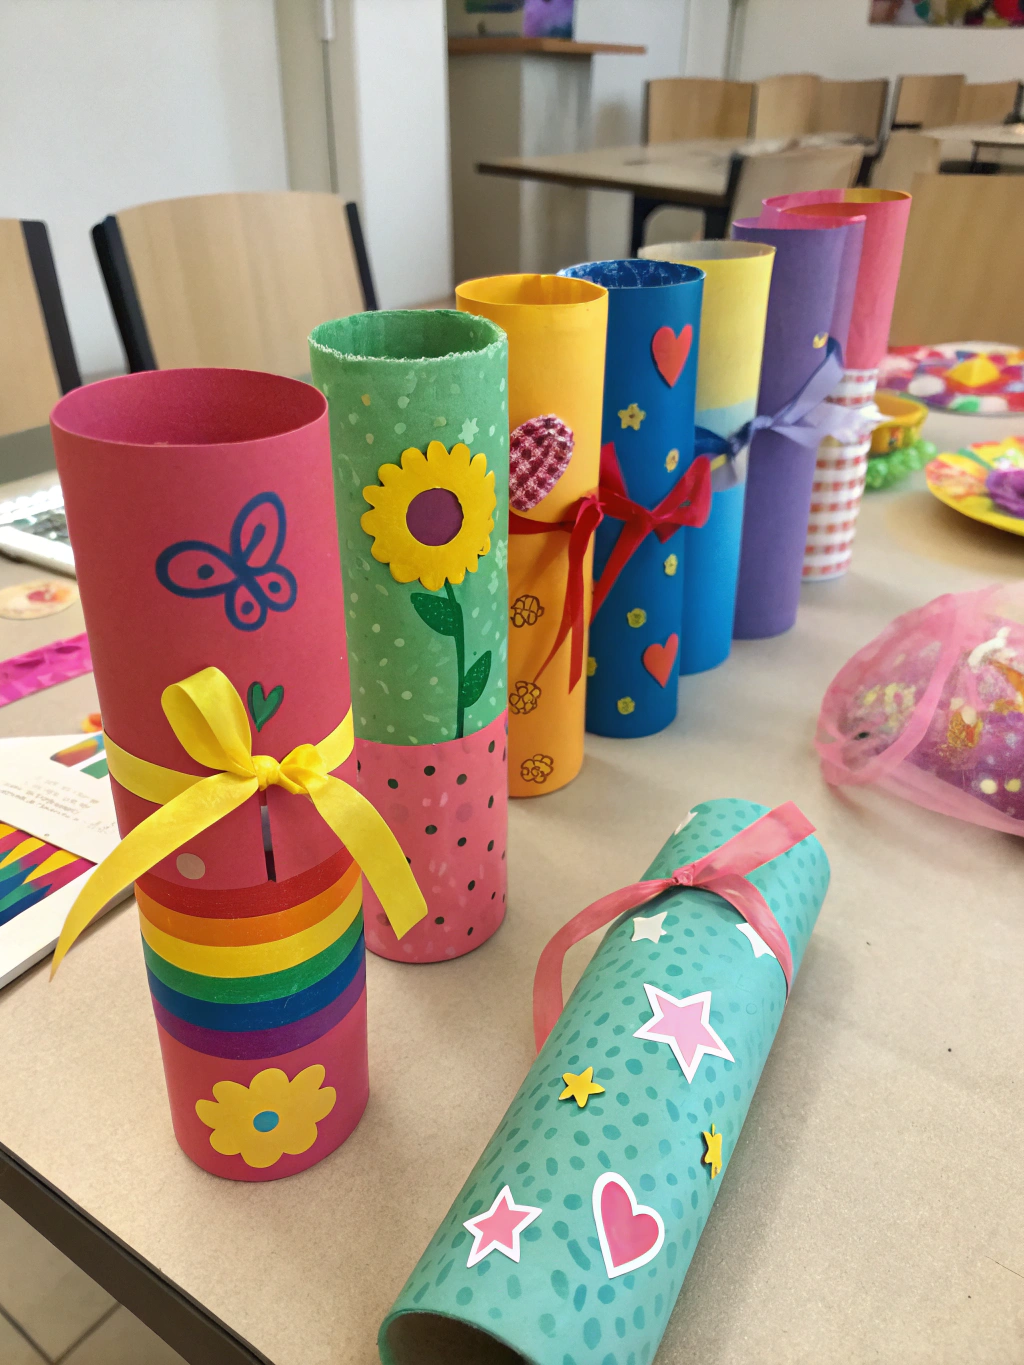
*Caption: Your finished [repurpose cardboard tubes crafts](https://www.fixdiy.site/upcycling-crafts/) can bring joy and utility to your home!*
From whimsical animals to practical organizers and charming décor, the possibilities for repurpose cardboard tubes crafts are truly endless. Not only have you saved these items from the landfill, but you’ve also created something unique with your own hands.
We’d love to see what you’ve made! Share photos of your cardboard tube creations in the comments below, or tag us on social media. What are your favorite tips for working with cardboard tubes?
Pro Tips & FAQs for Repurposing Cardboard Tubes
To help you get the best results and answer some common questions, here are a few pro tips and frequently asked questions about working with cardboard tubes.
Mastering Your Cardboard Tube DIY Projects: Pro Tips
- Flatten for Storage: If you’re collecting tubes but not ready to craft, flatten them. They take up much less space! You can easily reshape them when you’re ready to use them.
- Prime Before Painting (Sometimes): If you’re using light paint colors, especially on darker cardboard tubes (like some paper towel tubes), applying a coat of white gesso or primer first can help your colors pop and require fewer coats of paint.
- Scoring for Bends: If you need to bend a tube sharply or create crisp folds (other than just flattening it), lightly score the inside of the tube with a craft knife (don’t cut all the way through). This will help it fold more neatly along the scored line.
- Reinforce for Strength: For projects that need to be more durable (like certain parts of a marble run or a heavily used organizer), you can reinforce tubes by inserting a slightly smaller tube inside, or by coating them with a layer of Mod Podge or a clear sealant after decorating.
- Think Outside The Tube (Literally!): Don’t just think of tubes as cylinders. Cut them into rings, flatten them into ovals, cut spirals, or combine them with other recyclable materials to expand your creative horizons. Many inspiring upcycling ideas can be found on sites like Good Housekeeping’s craft section.
Frequently Asked Questions (FAQs) about Creative Crafts with Cardboard Tubes
Q1: How do I get clean cuts on cardboard tubes?
A: For the cleanest cuts, a sharp craft knife or box cutter and a cutting mat are your best friends. Measure and mark your line with a pencil. Place the tube on the cutting mat and roll it slowly as you apply gentle, even pressure with the knife. For cutting rings, this method is far superior to scissors, which can crush the tube. If using scissors, make sure they are very sharp and use long, smooth strokes.
Q2: What’s the best glue for Cardboard tube DIY projects?
A: It depends on what you’re gluing!
- White PVA glue (like Elmer’s): Good for paper to cardboard, kid-friendly, dries clear. Takes longer to set.
- Hot glue gun: Excellent for quick, strong bonds between cardboard pieces, or for attaching 3D embellishments. Use with caution due to heat.
- Tacky glue: Thicker than PVA, grabs quickly, good for fabric, felt, and heavier embellishments.
- Glue sticks: Best for lightweight paper applications, like covering tubes with thin decorative paper. Not very strong for structural elements.
Q3: Are cardboard tubes safe for kids’ crafts?
A: Yes, generally, cardboard tubes are safe and fantastic for kids’ crafts! They are non-toxic and easy to work with. Always supervise children when using scissors or craft knives. If you’re concerned about hygiene (especially with toilet paper tubes), you can let them air out for a few days, or lightly spray the inside with a disinfectant spray and let them dry completely before crafting. Or, stick to paper towel and wrapping paper tubes if it’s a concern.
Q4: How can I make my repurpose cardboard tubes crafts last longer?
A: To increase the longevity of your creations, consider sealing them. A coat or two of Mod Podge (which comes in various finishes like matte, satin, or gloss) or a clear acrylic spray sealant can protect the paint, make the project more water-resistant, and add a bit of strength. For items that will be handled a lot, this is a good step. Also, ensure all glued parts are very secure.
Q5: Where can I find more inspiration for “How to repurpose cardboard tubes crafts”?
A: The internet is brimming with ideas! Pinterest is a visual goldmine – just search for “cardboard tube crafts” or “toilet paper roll crafts.” Craft blogs, DIY websites, and even sites like [Good Housekeeping](https://www.goodhousekeeping.com/home/craft-ideas/how-to/g139/genius-upcycling-ideas/) often feature “”Cardboard tube DIY projects, How to repurpose cardboard tubes crafts, Creative crafts with cardboard tubes,””. Don’t forget to check out our other [upcycling crafts](https://www.fixdiy.site/upcycling-crafts/) for more ideas!
We hope this comprehensive guide has sparked your imagination and shown you the incredible potential hidden within simple cardboard tubes. It’s time to raid that recycling bin and start creating! Which project will you try first?
Let us know your thoughts, experiences, and any other brilliant repurpose cardboard tubes crafts ideas in the comments below. We love hearing from our community of DIY enthusiasts!
Don’t forget to share this post with your crafty friends and follow us on social media for more DIY inspiration! Sign up for our newsletter to get the latest projects and tips delivered straight to your inbox.

