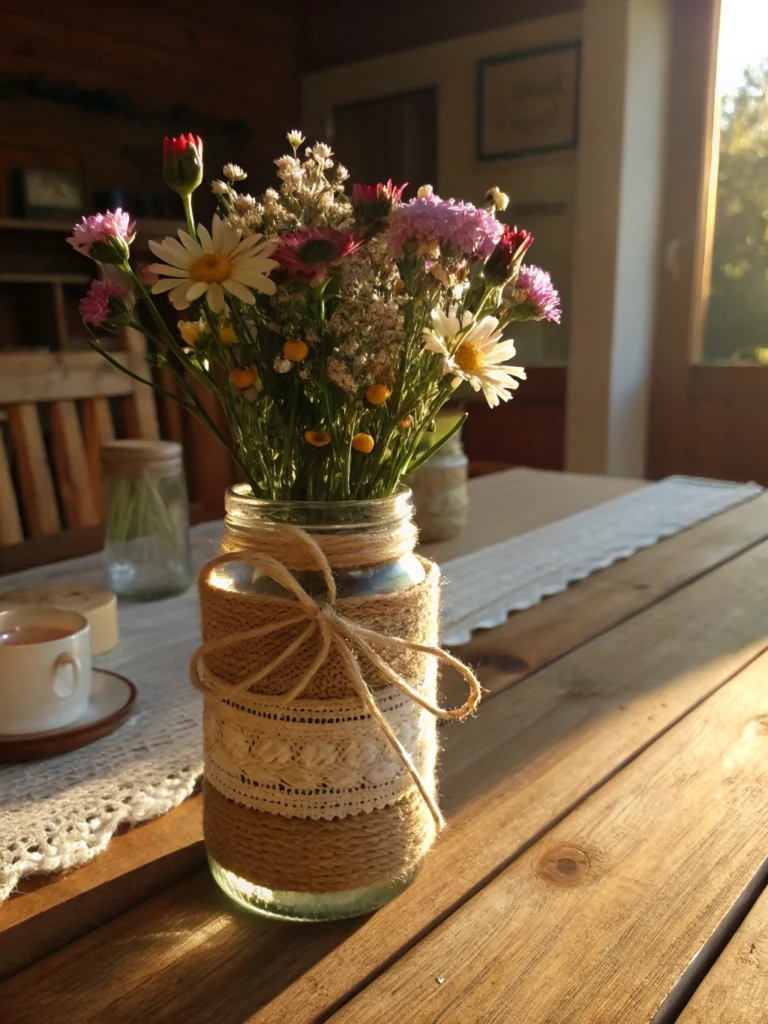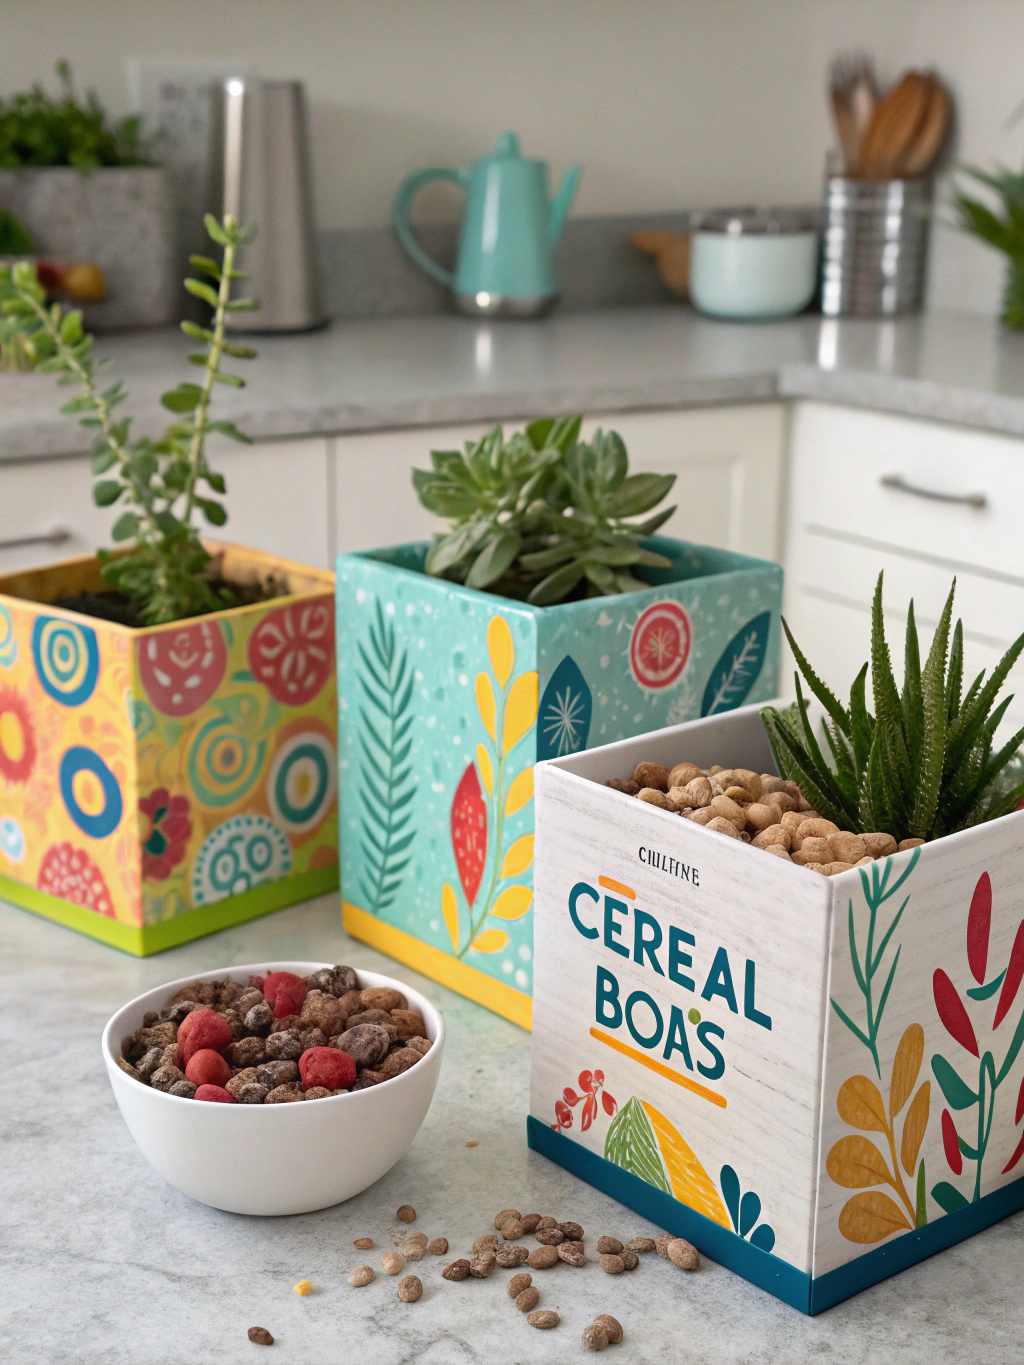
*Caption: Unlock your creativity and give those empty cereal boxes a new lease on life!*
Introduction
Hey there, fellow DIY enthusiasts! Do you ever look at that pile of empty cereal boxes in your recycling bin and think, “What a waste of good cardboard!”? If you’re anything like me, the thought of simply tossing them out feels a bit like missing an opportunity.
Well, you’re in the right place! Today, we’re diving into some fantastic ways to repurpose cereal boxes, turning that “trash” into treasure. It’s amazing what you can create with a little imagination and a few basic craft supplies. We’ll explore five fun, practical, and surprisingly stylish projects that will make you look at your breakfast packaging in a whole new light. Get ready to unleash your inner crafter and discover creative ways to repurpose cereal boxes that are both eco-friendly and enjoyable.
Table of Contents
Table of Contents
What You’ll Need to Repurpose Cereal Boxes
Before we jump into the specific projects, let’s gather our general arsenal of supplies. Most of these items are probably already lurking in your craft stash or around your home. Having these ready will make it easier to tackle any project to repurpose cereal boxes that sparks your interest!
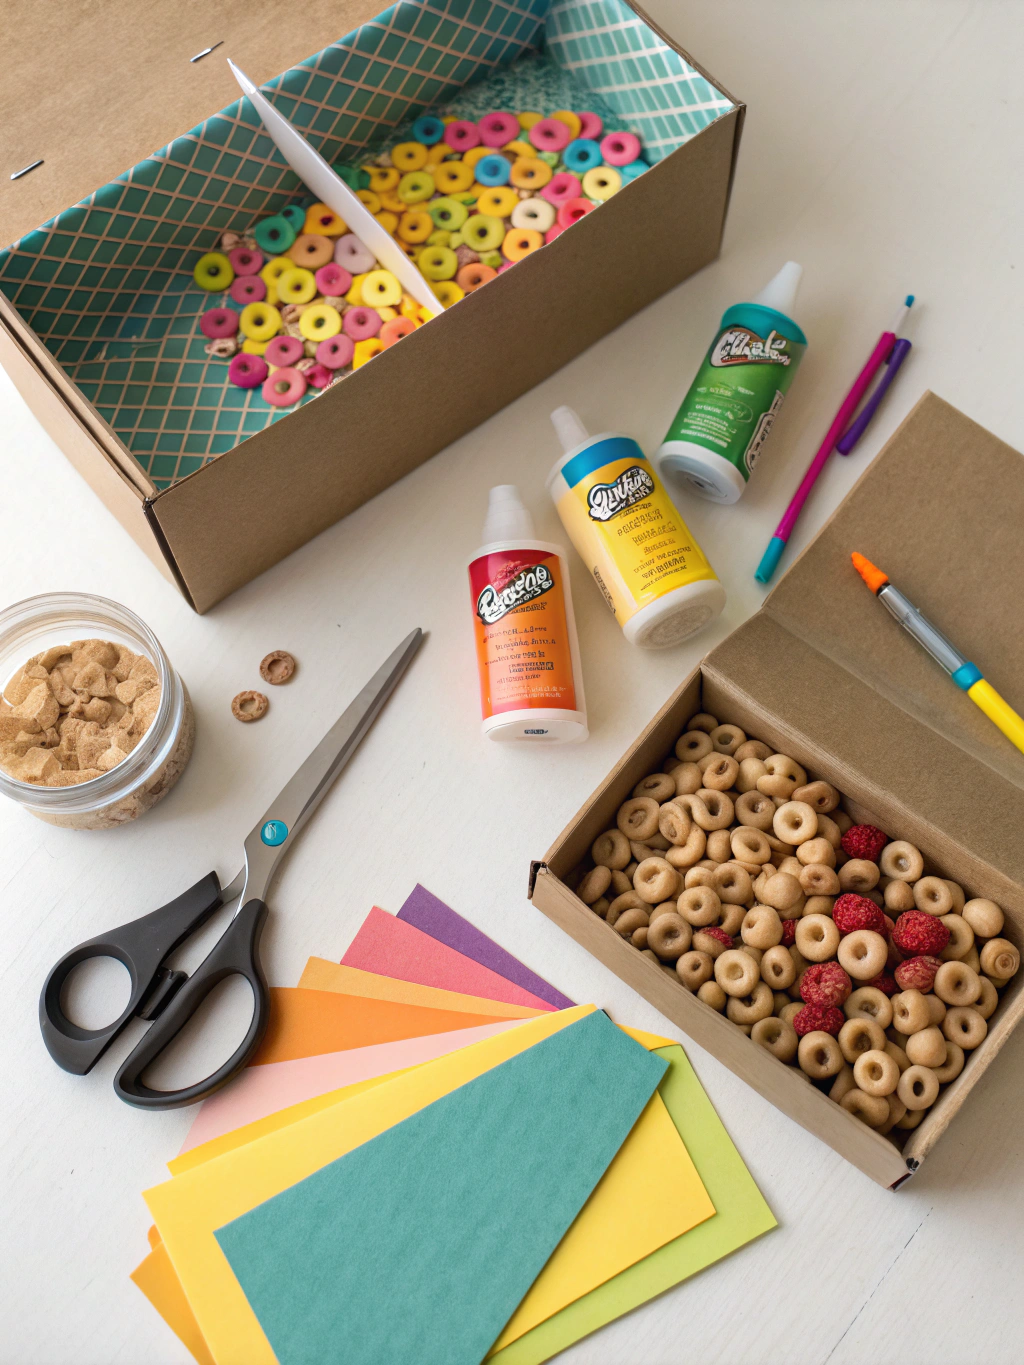
*Caption: Your basic toolkit for countless cereal box transformations.*
Here’s a general list of what you might need:
- Empty Cereal Boxes: Obviously! The bigger, the better for some projects, but all sizes are useful. Make sure they are clean and dry.
- Sharp Scissors: A good pair of scissors is crucial for clean cuts.
- Craft Knife (X-Acto knife) and Cutting Mat: For more precise cuts, especially on thicker cardboard or intricate shapes. Adult supervision required!
- Ruler or Straight Edge: For measuring and making straight lines.
- Pencil or Pen: For marking your cuts.
- Strong Glue: Options include PVA glue (like Elmer’s), a glue gun (for quick, strong bonds), or craft glue. Mod Podge is also great if you’re decoupaging.
- Decorative Paper: Scrapbook paper, wrapping paper, old maps, fabric scraps, or even junk mail can be used to cover the cereal box print.
- Paint: Acrylic paints work well on cardboard. You might need a primer (like gesso) if you want vibrant colors without the box design showing through.
- Brushes: For applying glue or paint.
- Optional Embellishments: Ribbon, buttons, twine, stickers, washi tape – let your imagination run wild!
- Clear Sealer (Optional): If you want to make your creation more durable or water-resistant, a spray sealer or a coat of Mod Podge can help.
Having these basics on hand means you’re ready to tackle a variety of repurpose cereal boxes projects whenever inspiration strikes. Now, let’s get to the fun part – the DIY ideas!
DIY Idea 1: Stylish Magazine or File Holders
Tired of magazines, papers, or kids’ artwork cluttering your surfaces? This is one of the most popular and practical ways to repurpose cereal boxes. It’s simple, effective, and you can customize it to match your décor perfectly.
What you’ll need specifically for this project:
- Large cereal box(es)
- Ruler
- Pencil
- Craft knife or strong scissors
- Decorative paper, fabric, or paint
- Glue (PVA or hot glue)
Step 1: Prepare Your Cereal Box
First things first, make sure your cereal box is empty, clean, and flattened out or with the top flaps opened. If it’s a bit flimsy, you can reinforce the inside with extra cardboard scraps from another box, gluing them in place. This will give your magazine holder a bit more sturdiness, especially if you plan to store heavier items.
Consider the height you want your holder to be. You can use the full height of the box or trim it down. It’s all about creating something that fits your specific needs and the items you plan to store.
Step 2: Marking and Cutting the Cereal Box
This is where you shape your holder. Stand the cereal box upright. Decide on the angle for the open top. A common way is to mark a diagonal line from one top corner down to a point about one-third or halfway up the adjacent side. Use your ruler to draw a straight line. Do this on both of the wider sides of the box.
*Caption: Carefully mark your cutting lines for a neat and professional-looking magazine holder.*
Carefully cut along these lines using your sharp scissors or a craft knife (against a cutting mat for safety and precision). If using a craft knife, score the line a few times before cutting all the way through; this gives you more control and a cleaner edge. The remaining part of the box will now have that classic slanted opening typical of magazine files. This step is key to transforming a simple box into a functional organizer.
Step 3: Decorate Your Holder
Now for the fun part – making it pretty! The printed side of the cereal box isn’t usually the look we’re going for. You have several options here:
- Paint: Apply a coat of primer (like gesso) first, especially if the box has dark or busy printing. Once dry, paint with your chosen acrylic colors. Two coats might be needed for full coverage.
- Decorative Paper/Fabric: Measure and cut your paper or fabric to cover the outside (and optionally, the inside) of the box. Apply glue evenly to the cardboard and smooth the paper/fabric on, avoiding air bubbles. Mod Podge works great here as both an adhesive and a sealant. Wrapping paper is a fantastic, inexpensive option.
- Washi Tape: For a quicker, more modern look, cover the box in washi tape. You can create stripes, patterns, or cover it entirely.
Ensure all surfaces are covered neatly. Pay attention to the edges for a professional finish. You can even add a label holder or a small tag to identify the contents. This is your chance to really personalize your creation and make it blend seamlessly with your home office or living room style. Many “Upcycling ideas for cereal boxes, Creative ways to repurpose cereal boxes, How to repurpose cereal boxes,” emphasize the importance of a good finish.
Step 4: Finishing Touches and Use
Once your decoration is complete and thoroughly dry, your new magazine holder is ready! You can make several of these and line them up on a shelf for a coordinated look. They are perfect for magazines, important documents, kids’ coloring books, or even thin cookbooks in the kitchen.
Consider adding little felt pads to the bottom to prevent scratching your furniture. If you made multiple, you could even connect them side-by-side with a little hot glue or by punching holes and tying them with ribbon for an even sturdier multi-unit organizer. This is a brilliant example of how to creatively repurpose cereal boxes into something truly useful.
DIY Idea 2: Customizable Drawer Organizers
Are your drawers a jumbled mess of bits and bobs? Cereal boxes are perfect for creating custom-sized dividers and small trays to bring order to the chaos in your junk drawer, desk, or even dresser. This is one of the most satisfying ways to repurpose cereal boxes because it tackles a common household problem.
What you’ll need specifically for this project:
- Cereal boxes (various sizes can be useful)
- Ruler
- Pencil
- Craft knife or scissors
- Glue or tape (duct tape works well for reinforcing corners)
- Optional: Decorative paper, fabric, or paint
Step 1: Measure Your Drawer and Plan
First, take out the drawer you want to organize. Measure its internal dimensions – width, depth, and height. Think about what you want to store in it and how you’d like to divide the space. Sketch out a simple plan if it helps.
You’ll be cutting down the cereal boxes to fit within these dimensions. The height of your organizers should be slightly less than the drawer height so the drawer can close easily. This planning phase is crucial for creating effective “Upcycling ideas for cereal boxes, Creative ways to repurpose cereal boxes, How to repurpose cereal boxes,” as functionality is key.
Step 2: Cut the Cereal Boxes to Size
Flatten your cereal boxes. Based on your plan, mark the dimensions for your organizer trays or dividers onto the flattened cardboard. For simple trays, you’ll typically cut the base of the box to your desired tray height. For example, if you want a 2-inch deep tray, cut the box 2 inches from the bottom all around.
If you’re making longer, thinner dividers, you might cut strips from the larger panels of the cereal box. Remember to account for any folds if you’re constructing new box shapes. Precision here will make assembly easier and the final result neater.
Step 3: Assemble and Reinforce (if needed)
If you’ve cut down existing box bottoms, they might already be sturdy enough. If you’re creating custom-sized boxes from flat pieces, you’ll need to score and fold them into shape, then glue or tape the corners. Hot glue provides a quick, strong bond. Duct tape or strong packing tape can also be used, especially on the inside of the corners for added durability.
For a cleaner look, you can make “lids” from the leftover cardboard to become the bases of your trays if you’ve cut off the original bottom. This can make them sturdier and neater. The goal is to create sturdy little containers that will hold up to daily use.
Step 4: Decorate (Optional but Recommended)
While not strictly necessary for functionality, decorating your drawer organizers makes them much more pleasant to look at every time you open the drawer. You can:
- Line the inside or outside with pretty scrapbook paper or fabric.
- Paint them a solid color or fun patterns.
- Cover them with contact paper for a durable, wipeable surface.
If you choose to decorate, do it before you place them in the drawer. This is where you can really elevate the project from just cutting up boxes to creating custom, stylish storage. It’s a small touch that makes a big difference when you repurpose cereal boxes.
Step 5: Arrange in Drawer
Once your organizers are cut, assembled, and decorated (if desired), arrange them in your drawer according to your plan. You’ll be amazed at how much more organized your drawer looks and how much easier it is to find things! This project is endlessly customizable – you can make organizers for makeup, office supplies, kitchen utensils, craft bits, and so much more.
DIY Idea 3: Charming Gift Boxes and Tags
Why buy expensive gift boxes and tags when you can make beautiful, personalized ones for free? Learning to repurpose cereal boxes for gifting adds a thoughtful, handmade touch to any present. The sturdy cardboard is perfect for small boxes, and the plain side is great for tags.
What you’ll need specifically for this project:
- Cereal boxes
- Scissors and/or craft knife
- Ruler, pencil
- Glue
- Hole punch (for tags)
- Twine or ribbon (for tags)
- Decorative paper, paint, stamps, stickers for embellishment
Step 1: Create Small Gift Box Templates or Use Existing Ones
For gift boxes, you can find many free printable templates online (search for “DIY gift box template”). Print one, trace it onto the plain side of your flattened cereal box, and cut it out. Alternatively, you can deconstruct a small existing box you like, trace its shape, and use that as your template.
Look for templates for pillow boxes, small square boxes, or even pyramid-shaped boxes. The thin-yet-sturdy nature of cereal box cardboard is ideal for these. Ensure your template fits onto the panels of your cereal box.
Step 2: Cut, Score, and Fold Your Boxes
Carefully cut out your box shape using scissors or a craft knife. It’s very important to then score along all the fold lines indicated on your template. You can do this with the back of a craft knife (gently!), a bone folder, or even an empty ballpoint pen. Scoring creates a crisp, clean fold, which is essential for a professional-looking box.
Once scored, gently fold along all the lines. If the printed side of the cereal box is on the outside, you’ll definitely want to cover it. If you’ve managed to cut it so the plain cardboard is on the outside, you might just need minimal decoration.
Step 3: Decorate and Assemble the Gift Boxes
Before gluing the box together, it’s usually easier to decorate the flat pieces. Cover with decorative paper, paint, stamp designs, or use washi tape. Once decorated and dry, apply glue to the tabs and assemble your box. A little bit of patience here goes a long way.
For a simpler approach, you can assemble the box with the plain cardboard side out and then decorate. Small embellishments like a ribbon, a dried flower, or a custom sticker can make your handmade box look incredibly chic.
Step 4: Crafting Gift Tags
Gift tags are even simpler! Cut out tag shapes (rectangles, circles, traditional tag shapes) from the plain side of the cereal box cardboard. You can make them any size you like. Use a paper punch or decorative-edged scissors for fancy shapes.
Decorate one side of the tag with stamps, drawings, small pieces of washi tape, or stickers. Write your to/from message on the other (plain) side. Punch a hole at one end and thread a piece of twine or ribbon through it. Voila! Custom gift tags that cost nothing. This is such a quick and rewarding way to repurpose cereal boxes.
Step 5: Package Your Gifts with Love
Your handmade boxes and tags are now ready to make your gifts extra special. The recipient will appreciate the thoughtful, eco-friendly touch. These are perfect for small gifts, party favors, or jewelry. This project truly showcases some of the most “Creative ways to repurpose cereal boxes,” turning everyday packaging into something delightful.
DIY Idea 4: Handy Mini Notebooks or Sketchpads
Unleash your inner writer or artist (or keep the kids entertained) by creating adorable mini notebooks from cereal boxes. The cardboard provides a sturdy cover, and you can fill them with any paper you like. This is a fantastic craft to repurpose cereal boxes, especially for back-to-school or as little party favors.
What you’ll need specifically for this project:
- Cereal box
- Paper for the inside pages (plain, lined, or graph)
- Ruler, pencil
- Scissors or craft knife
- Strong needle and thread (embroidery floss or thin twine works well) or a long-arm stapler
- Optional: Decorative paper for the cover, hole punch, ribbon
Step 1: Design Your Notebook Cover
Decide on the size of your mini notebook. A good size might be around 4×6 inches or 3×5 inches, but it’s entirely up to you. Cut two identical pieces of cardboard from the cereal box to serve as the front and back covers. Make sure the plain side of the cardboard can be oriented to the outside, or be prepared to cover the printed side.
You can round the corners with scissors for a more finished look if you like. This is the foundation of your notebook, so take your time to get the covers neat and even.
Step 2: Prepare the Inside Pages
Cut your chosen paper for the inside pages. Each sheet should be the same height as your cover and twice the width (because it will be folded in half). For example, if your cover is 4 inches wide and 6 inches tall, your pages should be 8 inches wide and 6 inches tall.
Stack several sheets of paper together (5-10 sheets is a good starting point, depending on paper thickness) and fold them in half neatly to create a “signature” of pages. You can make multiple signatures if you want a thicker notebook, but for a simple mini-notebook, one signature is often enough.
Step 3: Decorate the Cover (Optional)
If you want to decorate the outside of your cardboard covers, now is the time. You can:
- Cover them with decorative scrapbook paper or fabric.
- Paint them.
- Draw or doodle directly onto the plain cardboard side.
- Use stickers or washi tape.
Let any decorations dry completely before proceeding. This step makes your project to repurpose cereal boxes truly unique.
Step 4: Bind Your Notebook
There are a few ways to bind your mini notebook:
- Simple Staple: If you have a long-arm stapler, align your folded pages inside your cover (also scored and folded down the middle), and staple along the spine.
- Sewn Binding (Pamphlet Stitch): This is a classic and sturdy method. Align your folded pages inside the cover. Using an awl or a thick needle, punch three (or five, for larger notebooks) evenly spaced holes along the spine, through all layers of paper and the cover. Thread a needle with strong thread or embroidery floss. Start from the inside, go out through the center hole, in through a top (or bottom) hole, out through the other end hole, and back in through the center hole. Tie the ends securely on the inside. Trim excess thread. There are many great tutorials online for “pamphlet stitch binding.”
This binding step might seem tricky, but it’s quite simple once you get the hang of it and gives a lovely handmade feel.
Step 5: Finishing Touches
Your mini notebook is almost ready! Press it flat under some heavy books for a few hours to help it keep its shape. You can add a ribbon closure by gluing a piece of ribbon to the back cover that can wrap around and tie in the front, or attach an elastic band.
These little notebooks are perfect for jotting down ideas, grocery lists, quick sketches, or as a little journal. They make wonderful, personalized gifts too! Exploring “How to repurpose cereal boxes,” like this, can lead to very practical items.
DIY Idea 5: Simple Puzzles or Puzzle Organizers for Kids
Let’s not forget the little ones! Cereal box cardboard is fantastic for making simple puzzles for toddlers or for creating organizers to keep store-bought puzzle pieces tidy. This is a playful and educational way to repurpose cereal boxes.
What you’ll need specifically for this project:
- For Puzzles:
- Cereal box (preferably with a large, colorful image on one side, or plain cardboard to draw/glue an image onto)
- Scissors or craft knife
- Optional: Mod Podge to seal the image, clear contact paper
- For Puzzle Organizers:
- Cereal box (larger ones are good)
- Scissors or craft knife
- Ruler, pencil
- Glue or strong tape
- Optional: Decorative paper, labels
Option A: Making a Simple Cereal Box Puzzle
Step 1: Choose or Create Your Image
If your cereal box has a nice, large, kid-friendly image on it already (like a character or a colorful scene), you can use that directly! Carefully cut out the panel with the image.
Alternatively, take a plain panel of cereal box cardboard. You or your child can draw a picture on it, or you can glue a printed picture or a photo onto the cardboard. If gluing, make sure it’s adhered smoothly without wrinkles.
Step 2: Reinforce and Seal (Optional but good for durability)
Cereal box cardboard is decent, but for a puzzle that will see a lot of handling, you might want to make it sturdier. You can glue the image panel onto another piece of cereal box cardboard to double its thickness.
To protect the image, you can coat it with a thin layer of Mod Podge or cover it with clear contact paper. This also makes it wipeable. Let it dry completely.
Step 3: Cut into Puzzle Pieces
Flip the image over to the plain cardboard side. With a pencil, draw your puzzle piece lines. For very young children, start with very simple, large pieces (2-4 pieces). For slightly older children, you can make more pieces (6-12) with more traditional interlocking puzzle shapes if you’re feeling ambitious, or just wavy/straight cuts.
Carefully cut along the lines with sharp scissors or a craft knife (adults only for craft knife).
Step 4: Playtime!
Your simple, homemade puzzle is ready! Store the pieces in a small bag or one of the cereal box organizers we’ll discuss next. This is a fantastic way to repurpose cereal boxes that encourages learning and fun.
Option B: Making Cereal Box Puzzle Piece Organizers
Step 1: Design Your Organizer Tray
This is similar to the drawer organizers (DIY Idea 2) but can be tailored for puzzle boxes or keeping loose pieces from different puzzles separate. You essentially want to create small, shallow trays or boxes.
Measure the puzzle box if you want the tray to fit inside, or just decide on a convenient size. A shallow tray made from the bottom 2-3 inches of a cereal box works well.
Step 2: Cut and Assemble
Cut the cereal box to the desired height. If you want multiple compartments within one tray, you can cut additional strips of cardboard to act as dividers. Glue or tape these dividers into place inside your main tray.
Reinforce corners with tape if they feel flimsy. The key is to create sections that make it easy to sort pieces (e.g., edge pieces in one section, specific colors in another).
Step 3: Decorate and Label (Optional)
You can make these organizers more appealing by covering them with bright paper or letting kids decorate them with stickers. Labeling the sections or the entire tray (e.g., “Dinosaur Puzzle Pieces”) can also be helpful.
These organizers are not just for homemade puzzles; they are great for keeping pieces of store-bought puzzles from getting lost or mixed up, especially if you have several on the go. This is a super practical application within the realm of “Upcycling ideas for cereal boxes, Creative ways to repurpose cereal boxes, How to repurpose cereal boxes,”.
The Final Result: Treasures from Trash!
*Caption: Look at what you can create! From handy organizers to charming gifts, cereal boxes hold endless DIY potential.*
And there you have it – five creative, fun, and eco-friendly ways to repurpose cereal boxes! Who knew that humble breakfast packaging could be transformed into such stylish and useful items? From decluttering your desk with magazine holders and drawer organizers to adding a personal touch with handmade gift boxes and notebooks, or even creating fun for the kids, the possibilities are vast.
The best part about these projects is that they are accessible to everyone, regardless of your DIY skill level. They require minimal materials, most of which you probably already have, and they save perfectly good cardboard from ending up in a landfill. So, the next time you finish a box of cereal, pause before you toss it and think about what new creation it could become.
We’d absolutely LOVE to see what you make! Share your repurposed cereal box creations in the comments below, or tag us on social media. What are your favorite ways to repurpose cereal boxes? Any tips or tricks you’d like to share? Let’s inspire each other!
Pro Tips & FAQs for Cereal Box Crafting
To help you get the best results when you repurpose cereal boxes, here are a few extra tips and answers to common questions:
Q1: How do I get rid of the cereal box printing completely if I want to paint it?
A: The easiest way is to apply a coat or two of gesso or a good quality white acrylic paint as a primer. This blocks out the underlying print and provides a nice base for your colored paints to pop. Alternatively, for some projects, you can carefully deconstruct the box and reassemble it with the plain cardboard side facing out.
Q2: What’s the best way to cut cereal box cardboard cleanly?
A: For straight lines, a sharp craft knife (like an X-Acto knife) used with a ruler and a cutting mat will give you the cleanest edges. Make several shallow passes rather than trying to cut through in one go. For curves or less precise cuts, a sturdy pair of sharp scissors works well. Make sure your blades are sharp to avoid tearing the cardboard. This is a key skill for many “Creative ways to repurpose cereal boxes”.
Q3: My cereal box creations feel a bit flimsy. How can I make them stronger?
A: You can reinforce your projects by gluing an extra layer of cereal box cardboard to the inside surfaces. For corners of boxes or organizers, using strong tape (like duct tape or packing tape) on the inside, or ensuring a good application of hot glue, can add significant strength. For items like magazine holders, consider doubling up the main panels.
Q4: Are there any types of cereal boxes that work better for these DIYs?
A: Generally, larger, family-sized cereal boxes offer more cardboard to work with, which is great for bigger projects like magazine holders or larger organizers. However, smaller boxes are perfect for gift tags, mini notebooks, or small drawer inserts. The thickness is usually pretty consistent, but some thicker, more robust boxes (often from granola or premium cereals) can be extra nice to work with. Always ensure they are clean and dry before starting any project to repurpose cereal boxes.
Q5: Where can I find more “Upcycling ideas for cereal boxes, Creative ways to repurpose cereal boxes, How to repurpose cereal boxes,”?
A: The internet is your oyster! Websites like Pinterest are full of visual inspiration. Crafting blogs and DIY sites often feature upcycling projects. For a great resource on reducing waste with creative ideas, check out sources like “Upcycling ideas for cereal boxes, Creative ways to repurpose cereal boxes, How to repurpose cereal boxes,”. And don’t forget to experiment – sometimes the best ideas come from just playing around with the materials!
We hope these ideas and tips have sparked your creativity! Happy crafting, and may your recycling bin be a little lighter and your home a little more organized and beautiful, thanks to the humble cereal box.
Don’t forget to share this post with your fellow DIY lovers, and sign up for our newsletter for more crafty inspiration delivered straight to your inbox!

