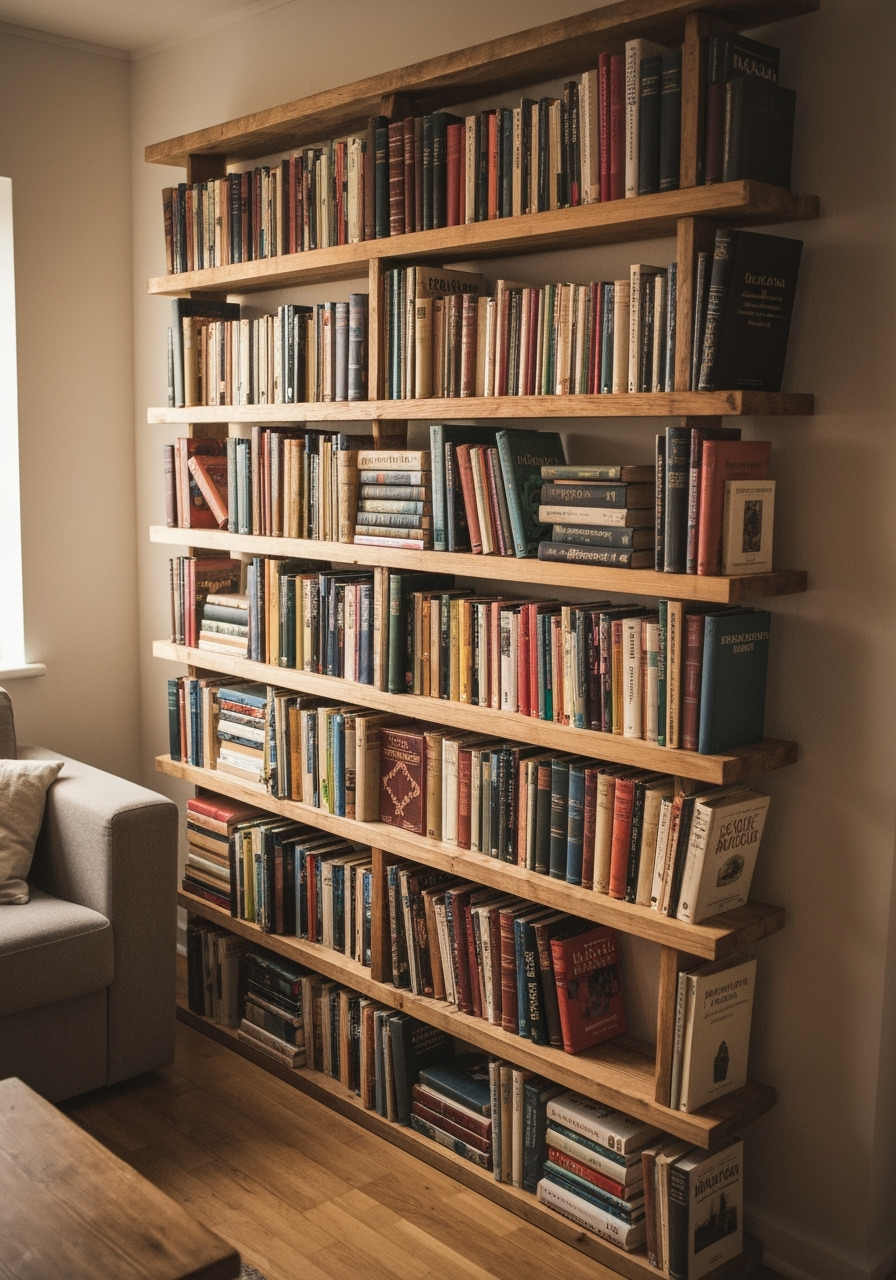
Hey there, fellow bookworms and DIY enthusiasts! Do you have a teetering stack of old books collecting dust in a corner? You love them too much to toss them, but let’s be honest, you’re probably not going to read that 1980s encyclopedia set again. What if you could give those cherished-but-unused volumes a new, functional, and jaw-droppingly cool purpose? This is where you can repurpose old books into shelves, turning a problem of clutter into a statement of style.
It’s a project that ticks all the boxes: it’s sustainable, it’s budget-friendly, and it results in a one-of-a-kind piece of home decor that tells a story. Forget boring, flat-pack shelves from a big-box store. We’re talking about creating functional art that will have every guest asking, “Wow, how did you do that?”
In this ultimate guide, we’re not just showing you one way; we’re diving into seven different creative ideas to transform your old literary friends into stunning displays. From the classic “invisible” floating shelf to unique stacked designs, you’ll find the perfect project to match your skill level and home aesthetic. So grab a cup of coffee, and let’s turn those page-turners into head-turners!
Table of Contents
Why Bother Repurposing Books? The Magic of Upcycled Decor / repurpose old books into shelves
Before we grab our power tools, let’s talk about why this project is so rewarding. In a world of fast furniture and disposable trends, taking the time to create something with your own hands from existing materials feels pretty fantastic.
Sustainability First: Every book you repurpose is one less item in a landfill and one less new product you need to buy. It’s a small but meaningful step toward a more eco-conscious home. This is the heart of upcycling—giving an object a new purpose with a higher value than its original form.
Unbeatable Character: You simply cannot buy this kind of character. An old book with a beautifully worn cover, slightly yellowed pages, and a unique typeface brings a warmth and history that mass-produced items lack. Your finished shelf won’t just hold things; it will hold memories and personality.
The Ultimate Conversation Starter: Be prepared for compliments! When guests see a stack of books seemingly floating on your wall, holding a plant or a framed photo, they will be intrigued. It’s a testament to your creativity and a fantastic story to share. These truly are "Repurposing books creative projects" that make a home feel unique.
Choosing the Perfect Books for Your Shelf Project
Not all books are created equal when it comes to structural integrity. Choosing the right candidates is the foundation of a successful project. Rushing this step is a common pitfall, so let’s get it right.
- Hardcovers are King: For any project that needs to bear weight, a hardcover book is non-negotiable. Their stiff, sturdy covers provide the necessary support that paperbacks just can’t offer. Paperbacks can be used for purely decorative stacks, but for a functional shelf, go hardcover.
- Size and Condition Matter: Look for books that are in decent shape. You want a vintage look, not a falling-apart-at-the-seams look. Ensure the spine is intact and the cover isn’t crumbling. A book that’s at least 1 inch thick and has a depth of 6-8 inches is ideal for a standard shelf.
- Aesthetic and Theme: This is the fun part! You can coordinate book colors for a cohesive look, choose titles that are meaningful to you, or pick books related to the room’s function (cookbooks in the kitchen, anyone?). Don’t be afraid to judge a book by its cover!
- The Sacrificial Book: For projects like the invisible shelf where one book will be drilled into, make sure it’s not a rare first edition or a beloved gift from your grandmother! Head to a thrift store, library sale, or a used bookstore where you can find beautiful old books for just a dollar or two.
Idea #1: The Classic “Invisible” Floating Book Shelf repurpose old books into shelves
This is the quintessential project when you decide to repurpose old books into shelves. It creates a magical illusion of a stack of books floating effortlessly against your wall. It’s surprisingly sturdy and is the perfect starting point for your book-crafting journey.
What You’ll Need
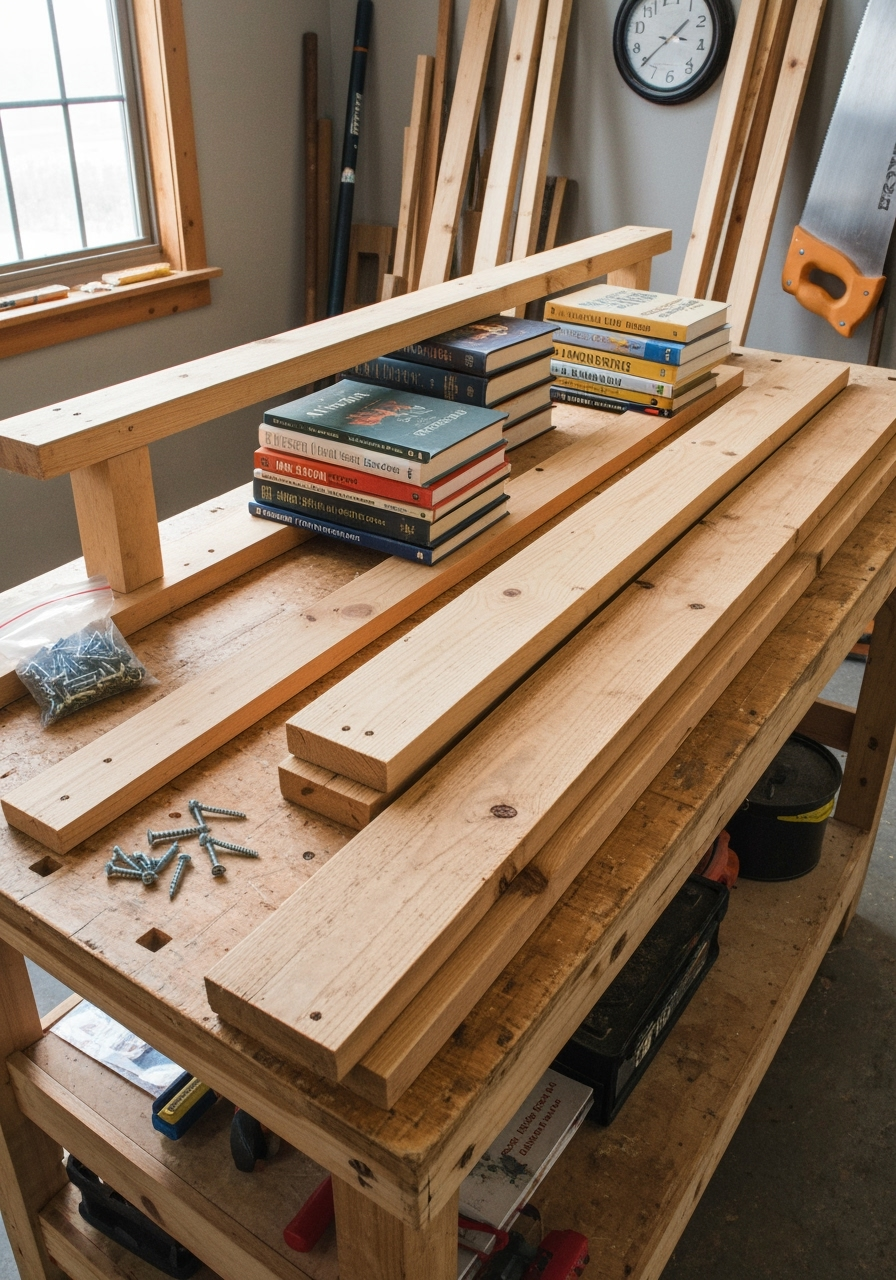
A clean workspace with all your tools laid out is the first step to a successful DIY project.
Materials:
- One sturdy hardcover book (at least 1″ thick)
- One small, sturdy metal L-bracket (or “corner brace”)
- Wall screws and anchors appropriate for your wall type (drywall, plaster, etc.)
- Short, flat-head wood screws (to attach the book to the bracket)
- Craft glue or PVA glue
- A small paintbrush
Tools:
- Power drill with various drill bits
- Screwdriver
- Ruler or tape measure
- Pencil
- Clamps (optional, but very helpful)
- Utility knife
Step 1: Prepare Your Foundation Book / repurpose old books into shelves
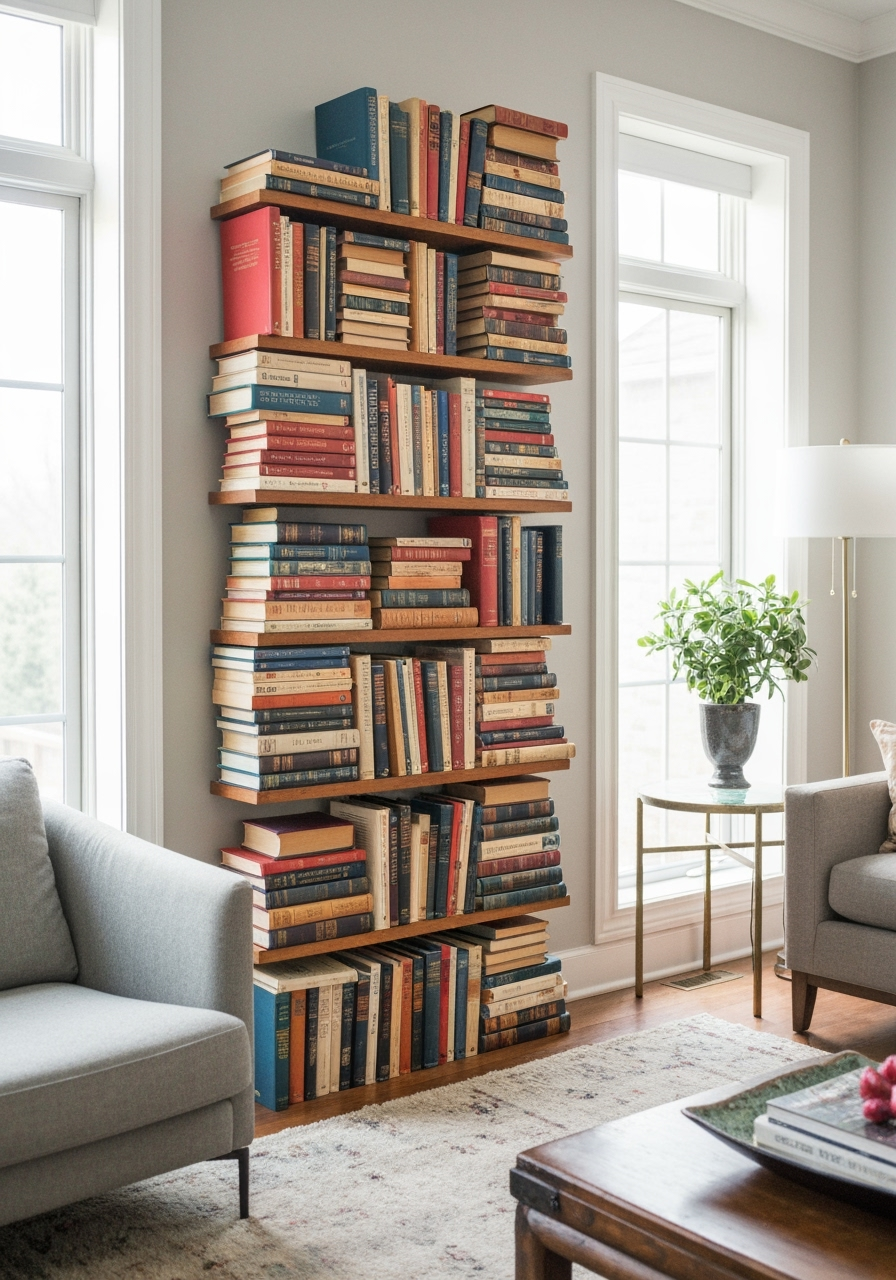
Alt text: Step 1 in how to repurpose old books into shelves: Carefully measure and mark the inside back cover for the bracket.
The secret to this shelf’s strength lies in creating a solid base out of the book itself. You can’t just screw a bracket into loose pages. First, open the book to the very last page. You’ll be attaching the L-bracket to the inside of the back cover.
Using your utility knife, carefully cut a rectangle out of the last 15-20 pages of the book, matching the size and thickness of your L-bracket. The goal is to create a recessed cavity where the bracket can sit flush. Take your time with this step, cutting a few pages at a time.
Next, take your craft glue and, using a paintbrush, apply a thin layer of glue between the last 20-30 pages and along the three outer edges of the page block. This essentially turns the bottom portion of your book into a solid block of wood. If you have clamps, clamp the pages together and let the glue dry completely according to the manufacturer’s instructions. This step is crucial for ensuring your shelf is strong and stable.
Step 2: Attach the L-Bracket to the Book repurpose old books into shelves
Once the glue is fully cured, it’s time to marry the book and the bracket. Place the L-bracket into the cavity you cut out. One arm of the “L” should lie flat against the inside of the back cover, and the other should stick out perpendicularly, ready to be mounted to the wall.
Mark the screw holes on the back cover with your pencil. It’s wise to pre-drill pilot holes that are slightly smaller than your short wood screws. This prevents the book cover from splitting. Now, securely screw the bracket to the book cover. You’re not just screwing into the cover; you’re screwing into the glued-together block of pages behind it, which provides the real strength.
Step 3: Mount Your New Shelf to the Wall repurpose old books into shelves
This step is all about secure installation. An improperly mounted shelf is a safety hazard. Use a stud finder to locate a wall stud if possible—this provides the most secure anchor point. If a stud isn’t available in your desired location, you must use appropriate drywall anchors that can support the weight of the shelf and its contents.
Hold your book-bracket assembly against the wall and use a level to make sure it’s perfectly straight. Mark the screw holes on the wall through the bracket. Drill your pilot holes (or install your anchors), and then securely fasten the bracket to the wall with the wall screws. Give it a gentle but firm tug to ensure it’s solid.
Step 4: Create the Illusion repurpose old books into shelves
You’re almost there! The final step is to close the book. The bottom cover and the glued pages should neatly conceal the horizontal part of the L-bracket mounted to the wall. The spine of the book will face outwards, looking just like a normal book.
Now for the magic: stack 3-5 more books on top of your mounted book. The weight of these books will hold the front cover of your shelf-book closed, completely hiding the bracket and hardware. Step back and admire your work. You’ve just learned how to transform books into shelves that defy gravity!
6 More Creative Ideas for Your Old Books repurpose old books into shelves
The invisible shelf is a fantastic start, but it’s just one chapter in the story of book repurposing. Let’s explore more innovative designs.
Idea #2: The Sturdy Stacked-Book Side Table
Why stop at one shelf when you can build a whole piece of furniture? This project creates a small side table or a low-profile bookshelf by stacking books vertically.
The Concept: A stack of 5-7 large, uniform-sized hardcover books are drilled through the center and secured with a threaded rod and nuts, creating a surprisingly stable and incredibly charming table base. You can top it with a small piece of wood or a tray.
Mini-Guide:
- Select Your Books: Choose large, heavy books like old atlases, textbooks, or coffee table books.
- Drill: Stack the books and clamp them together securely. Using a long drill bit, drill a hole straight through the center of the entire stack.
- Assemble: Feed a threaded rod through the hole. Place a washer and a nut on both the top and bottom of the stack and tighten them firmly to compress the books together, making the structure rigid.
- Finish: You can leave the top book as is, or you can glue a small, custom-cut piece of wood or plexiglass to the top for a more traditional table surface.
Idea #3: The Minimalist Hanging Book Sling repurpose old books into shelves
For a lighter, more bohemian look, the hanging book sling is perfect. It’s less of a shelf for multiple items and more of a beautiful display for a single, open book.
The Concept: This design uses two loops of material (like leather straps, rope, or even sturdy fabric) to cradle an open book, which are then hung from a single hook on the wall. It’s one of the simplest "DIY shelves from old books" projects.
Mini-Guide:
- Cut Your Material: Cut two identical lengths of leather strip or rope (about 24-30 inches each, depending on how low you want it to hang).
- Create Loops: Fasten the ends of each strip together to create two identical loops. You can use strong glue, rivets for leather, or a tight knot for rope.
- Hang: Place a decorative hook or even a simple nail on the wall. Hang both loops from the hook.
- Display: Open your chosen book to your favorite page or a beautiful illustration. Slide the front and back covers into the bottom of the loops, allowing the book to hang open in the cradle you’ve created.
Idea #4: The Literary Bookend Brackets repurpose old books into shelves
In a fun twist, this idea uses books not as the shelf surface, but as the brackets themselves. It’s a meta-masterpiece for any library or study.
The Concept: Two thick, sturdy hardcover books are mounted to the wall, standing on their bottom edges. A simple wooden plank is then placed across the top of them, creating a shelf that is literally supported by literature.
Mini-Guide:
- Prep the Books: You’ll need two L-brackets per book. Attach one L-bracket to the inside back cover (like in the invisible shelf method) and a second one to the bottom of the book, screwed into the glued-together pages.
- Mount: Mount the books to the wall at your desired distance apart, ensuring they are level with each other. The books will now be jutting out from the wall like traditional shelf brackets.
- Add the Shelf: Place a finished wooden plank (sanded and stained to your liking) across the top of the two books. You can secure it with a small amount of construction adhesive or small screws from underneath if you wish.
Idea #5: The Hollowed-Out Secret Niche Shelf repurpose old books into shelves
This project requires a bit more patience and precision but the result is a fantastic “secret” compartment shelf, perfect for holding keys, jewelry, or other small treasures.
The Concept: A very thick book is hollowed out, creating a hidden niche. The book can then be placed on a desk or mounted on the wall to serve as a tiny, clever shelf. Discussing "How to transform books into shelves" often leads to these more intricate, rewarding projects.
Mini-Guide:
- Select a Thick Book: A tome of at least 2-3 inches thick is ideal.
- Glue the Pages: Leaving the front cover and the first few pages free, apply a generous amount of glue to the outer edges of the rest of the book’s pages. Clamp it shut and let it dry completely. This creates a solid block.
- Carve the Niche: Open the book to the first glued page. Draw the shape of your desired compartment. Using a sharp utility knife or a Dremel tool, begin carefully carving out the pages within your outline. This is the most time-consuming part.
- Seal the Interior: Once you’ve reached your desired depth, paint the inside of the cavity with more glue or a layer of Mod Podge to seal it and create a clean finish. Once dry, your secret shelf is ready.
Idea #6: The Long-Form Multi-Book Ledge repurpose old books into shelves
This is an expansion of the classic invisible shelf, perfect for creating a longer ledge above a desk or couch. Upcycling enthusiasts have come up with a huge variety of “Repurposing books creative projects, DIY shelves from old books, How to transform books into shelves,” and this is a popular and impactful variation.
The Concept: Instead of one book on one bracket, you mount a long, narrow wooden board to the wall first. Then, you glue the spines of multiple books together and attach this entire book-facade to the front of the wooden ledge, hiding it completely.
Mini-Guide:
- Mount the Ledge: Securely mount a 1×4 or 1×6 wooden board to the wall using several L-brackets.
- Create the Book Facade: Stand your chosen books up, spine-out, and arrange them in a pleasing order. Apply a strong wood or construction glue between the covers of the books to connect them into a single, long unit. Clamp and let dry.
- Attach: Apply a generous amount of construction adhesive to the front edge of your mounted wooden shelf and press the glued book-facade firmly against it. Use painter’s tape or clamps to hold it in place while it cures. The result is what looks like a very long shelf made entirely of books.
Idea #7: The Clever Corner Book Tower repurpose old books into shelves
Corners are often awkward, unused spaces. This project turns a forgotten corner into a stunning vertical display.
The Concept: This design uses the invisible shelf technique but alternates books on each side of the corner, creating a staggered tower effect that climbs the wall. It’s a brilliant way to repurpose old books into shelves for maximum spatial efficiency.
Mini-Guide:
- Plan Your Layout: Decide how many shelves you want and how far apart they should be.
- Prep Your Books: Prepare each book and L-bracket as described in the “Invisible Shelf” guide (Idea #1).
- Mount Alternately: Start at the bottom. Mount your first book-shelf on one wall, right up against the corner. Mount the next shelf above it on the other wall, also right up against the corner.
- Continue Upwards: Continue this alternating pattern up the wall. The finished effect is a beautiful, interlocking tower of books that provides unique storage and draws the eye upwards.
Show Off Your Literary Masterpiece! repurpose old books into shelves
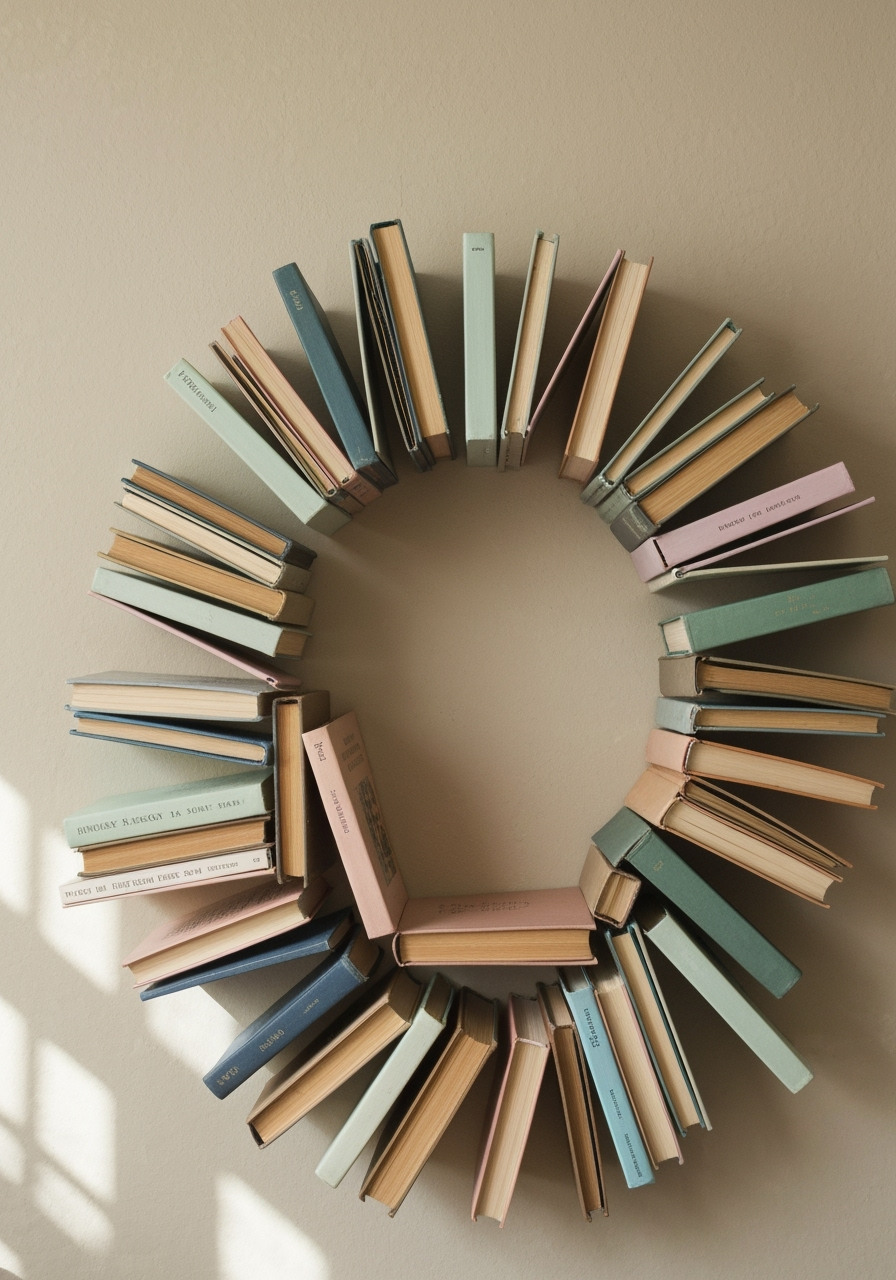
The final result: a stylish, functional, and conversation-starting shelf made from a beloved old book.
There you have it! You’ve taken something old and overlooked and transformed it into something beautiful and useful. Step back and take a moment to appreciate your handiwork. You’ve saved a book from landfill, saved money, and added a piece of your own personality to your home.
Now comes the best part: styling it. Place a small trailing plant, a favorite framed photo, a scented candle, or another cherished trinket on your new shelf. We would absolutely love to see what you’ve created! Share a picture of your project on Instagram and tag us [@FixDIY.site] with the hashtag #BookShelfRevival.
Pro Tips & Frequently Asked Questions about repurpose old books into shelves
You’ve got questions, we’ve got answers. Here are a few common queries to help you perfect your project.
What are the best types of books for these projects?
As we mentioned, hardcover books are essential for any shelf that needs to bear weight. Look for books with interesting spines and covers, and of a size that fits your space. For projects like the stacked table, heavier, larger books like old encyclopedias or art books work best. For a delicate hanging sling, a beautiful poetry book might be perfect.
How much weight can a DIY book shelf actually hold?
This depends entirely on the book, the bracket, and how well you’ve mounted it to the wall. A single invisible shelf, when properly installed into a wall stud, can typically hold 5-10 pounds—plenty for a stack of paperbacks or a small decorative item. Never use these shelves for heavy, fragile, or expensive items. Always prioritize secure installation into a stud or with heavy-duty anchors.
How can I protect my new book shelves from dust and wear?
To give your book shelf extra durability and make it easier to clean, you can apply a coat or two of clear sealant. A matte or satin finish polyurethane spray or a coat of Mod Podge will protect the book cover from dust and minor moisture without making it look overly glossy. Test it on a small, inconspicuous area first.
Can I make these shelves without permanently damaging the books?
Absolutely! The Hanging Book Sling (Idea #3) is completely non-destructive. Another option is to build a very narrow floating shelf and simply place a closed book on top of it, with the spine hanging over the edge to hide the shelf. These methods are perfect if you want the look without committing to drilling into a volume. The principles of creative reuse are versatile. For more clever repurposing ideas around your home, like how we transformed old pipes into a towel ladder, check out our other guides. The same innovative thinking applies when you repurpose old books into shelves.
Where’s the best place to find cheap books for crafting?
Your local thrift store is your best friend! They often have a huge selection of old hardcovers for a dollar or two. Also, keep an eye out for library book sales, garage sales, and flea markets. You’re not looking for literary masterpieces, just books with good “bones” and beautiful covers.
We hope this comprehensive guide has inspired you to look at that pile of old books in a new light. This project is more than just a DIY; it’s a celebration of stories, sustainability, and personal style.
Now it’s your turn! Which of these seven ideas are you most excited to try? Do you have another creative way to repurpose old books? Drop a comment below—we’d love to hear your thoughts and ideas!
And if you found this guide helpful, don’t forget to share it with your fellow DIY-loving friends and sign up for our newsletter for more creative projects delivered straight to your inbox. Happy building

