Don’t you just hate that feeling when an old light bulb flickers its last and you’re left with a tiny piece of glass and metal? Tossing it in the bin feels so wasteful, but what else can you do? If you’re looking for a brilliant way to repurpose old light bulbs, you’ve come to the right place. Instead of contributing to landfill waste, you can transform these everyday objects into stunning, one-of-a-kind home decor pieces.
This guide is all about sparking your creativity and showing you how to give those burnt-out bulbs a second life. We’ll walk you through five imaginative and eco-friendly projects that are perfect for any DIY enthusiast, whether you’re a seasoned pro or just starting out. Get ready to turn trash into treasure and add a personal touch to your living space.
Table of Contents
Table of Contents
Why You Should Repurpose Old Light Bulbs
Before we dive into the fun stuff, let’s talk about the why. Repurposing isn’t just a trendy hobby; it’s a meaningful way to practice sustainability. Every light bulb you upcycle is one less item in a landfill. Plus, you get to create something beautiful and unique that you can’t buy in a store—a true conversation starter.
These projects are fantastic for flexing your creative muscles. They challenge you to see potential in the mundane and prove that with a little imagination, anything can be transformed. It’s one of the most satisfying Creative DIY projects you can undertake.
What You’ll Need to Get Started on repurpose old light bulbs
Before you start dismantling your old bulbs, let’s gather our tools and materials. Having everything ready to go makes the creative process smooth and enjoyable. Here’s a general list for most light bulb upcycling projects, but we’ll specify any unique items for each idea.
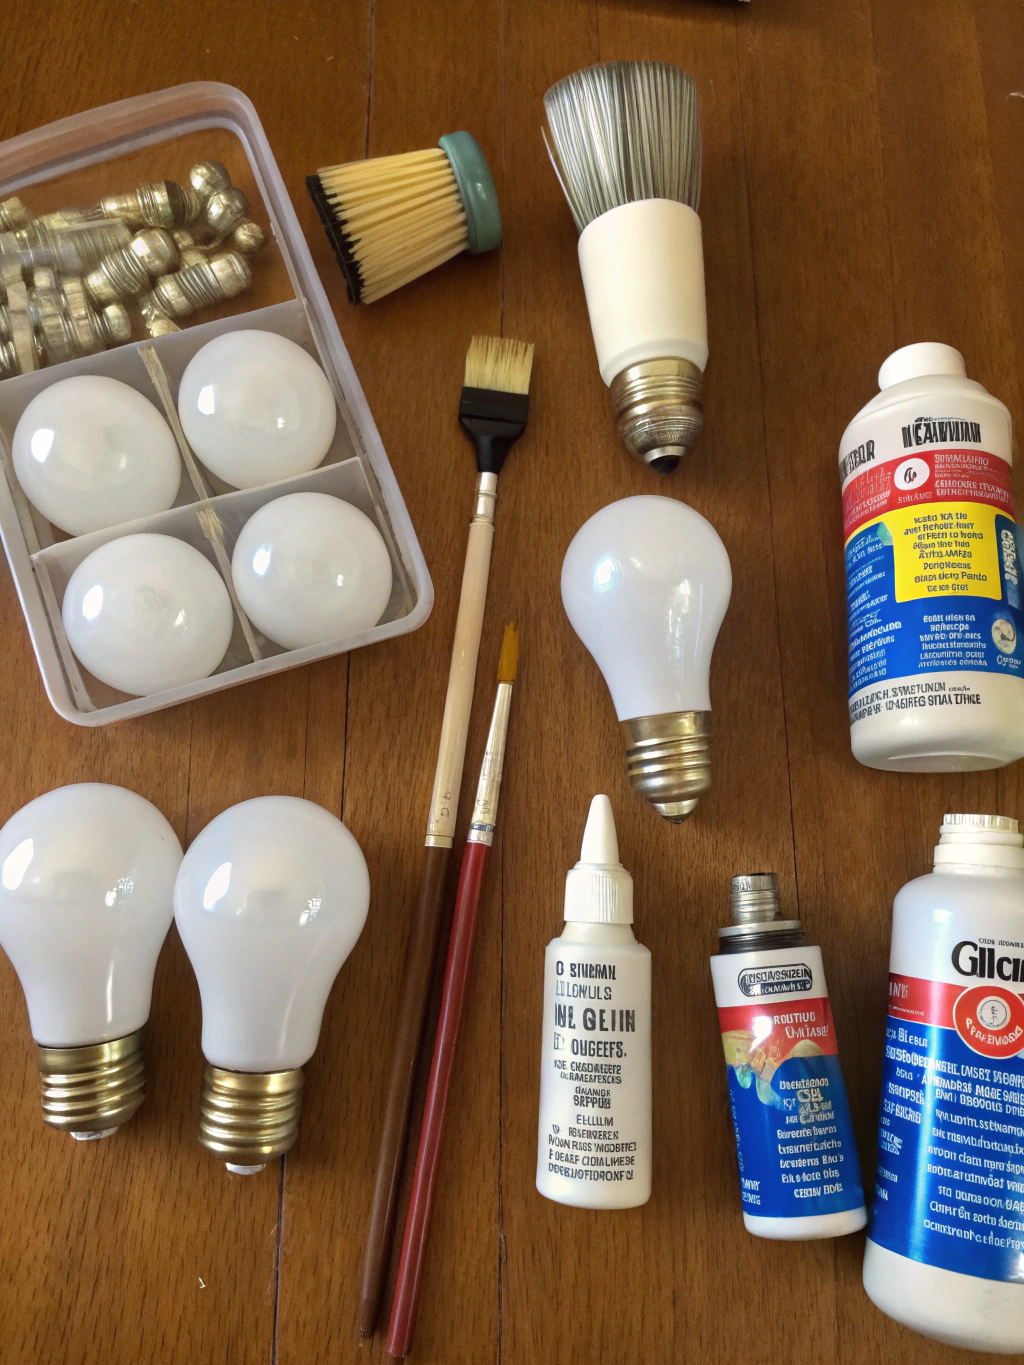
Caption: Gather your gear! Having your tools and materials ready makes the crafting process a breeze.
Essential Tools & Safety Gear:
- Safety Glasses: This is non-negotiable! You’ll be working with glass, so protecting your eyes is paramount.
- Thick Gloves: Protect your hands from sharp edges. Leather or heavy-duty work gloves are ideal.
- Needle-Nose Pliers: Perfect for carefully removing the filament and other internal components.
- Flat-Head Screwdriver: Useful for prying off the metal contact at the base of the bulb.
- Hot Glue Gun: Your best friend for attaching decorations and securing components.
Materials for Your Creations:
- Old Incandescent Light Bulbs: The classic pear-shaped bulbs work best. LEDs and CFLs are constructed differently and are not suitable for these projects.
- Twine, Yarn, or Thin Rope: great for adding a rustic, natural touch.
- Air Plants, Small Succulents, or Flower Cuttings: For creating beautiful mini-terrariums.
- Sand, Small Pebbles, or Colorful Gravel: Acts as a base for your plants or as a decorative filler.
- Acrylic Paints & Small Brushes: If you want to add a splash of color to your creations.
- Small Figurines or Miniatures: To create tiny, magical scenes inside your bulbs.
Now that we’re all set up, let’s get to the exciting part. We’re about to explore how to repurpose old light bulbs in five fantastic ways.
Project 1: The Enchanting Air Plant Terrarium repurpose old light bulbs
This is a classic for a reason. A light bulb’s delicate, transparent shell is the perfect vessel for a tiny ecosystem. It’s a wonderfully simple project that brings a touch of green to any desk, shelf, or windowsill.
Step 1: Safely Hollowing Out the Light Bulb
This is the most crucial—and trickiest—step. Take your time and remember: safety first!
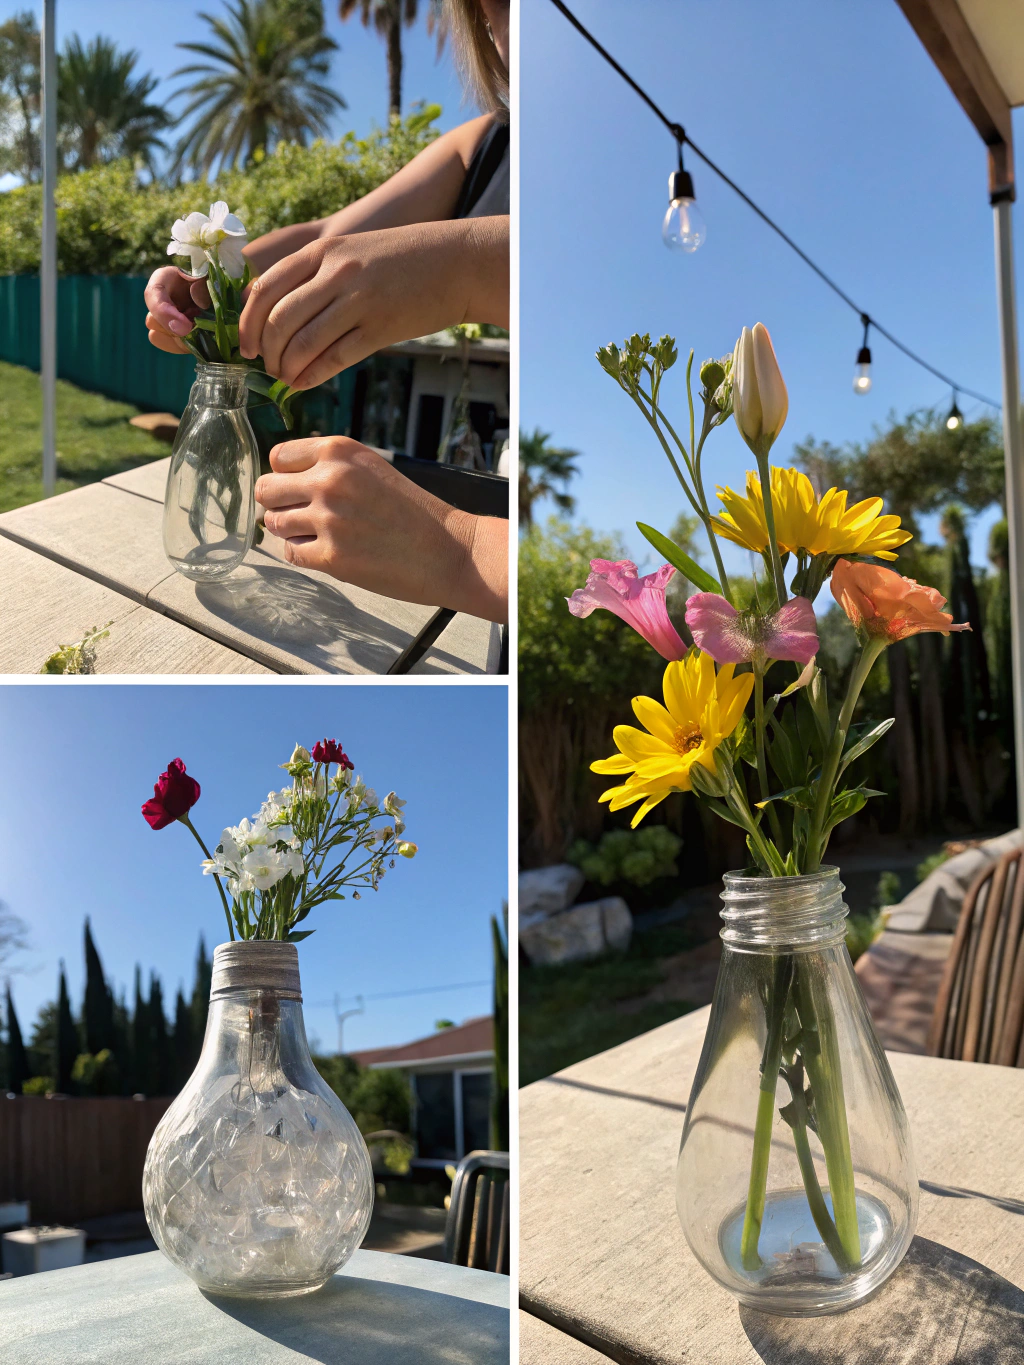
Caption: Step 1 involves carefully hollowing out the light bulb with pliers while wearing safety gear.
First, put on your safety glasses and gloves. Grip the bulb firmly but gently. Using your flat-head screwdriver, carefully pry off the small, round metal contact at the very bottom of the screw base. Once it’s off, you’ll see the black glass insulator.
Next, gently break the insulator glass with your screwdriver. You might need to tap it a few times. Once it shatters, you can use your needle-nose pliers to pull out the filament and the rest of the internal wires. Be patient and work slowly to avoid cracking the main glass bulb. Shake out any remaining glass fragments over a trash can.
Step 2: Creating a Stable Base
An empty light bulb is round and wobbly, so it needs a base to stand upright. You have a few options here. You can hot glue the bulb to a small wooden disc, a large flat stone, or even a few bottle caps glued together for an industrial look.
A popular and easy method is to use small, self-adhesive rubber feet (like the ones you find on the bottom of electronics). Stick three or four of these onto the widest part of the bulb, and you’ll have a stable, minimalist stand that lets the terrarium shine.
Step 3: Assembling Your Mini-Garden
Now for the fun part! Gently pour a small amount of sand or fine gravel into the hollowed-out bulb. This will create a nice base for your air plant and add some visual texture. Don’t fill it more than a quarter of the way.
Carefully place your air plant inside. Use tweezers or your needle-nose pliers to gently guide it into position. Air plants (Tillandsia) are perfect for this because they don’t need soil and absorb moisture from the air. Just be sure the plant has enough room and isn’t crammed inside.
Project 2: Adorable Hot Air Balloons repurpose old light bulbs
Looking for whimsical upcycling light bulb ideas? This project turns a simple bulb into a charming hot air balloon, perfect for a child’s room or a quirky decoration anywhere in your home.
Step 1: Painting Your Balloon
First, make sure your bulb is clean and dry. You can leave it clear for a minimalist look, but painting it adds a wonderful pop of color. Use acrylic paint to cover the entire glass portion of the bulb. You might need two or three coats for an opaque, even finish.
Let your imagination run wild! You can paint solid colors, stripes, polka dots, or even a rainbow pattern. Once you’re happy with your design, set the bulb aside to dry completely. A good tip is to stand it up in a small cup or piece of modeling clay while it dries.
Step 2: Creating the Basket
The “basket” of our hot air balloon can be made from many things. A bottle cap is the perfect size and shape. You can paint it to match your balloon or leave it as is. Other creative options include a large button, a small cork, or even a little basket woven from twine.
Once you’ve chosen your basket, cut four equal lengths of twine or string. These will be the ropes connecting your balloon to the basket. A length of about 4-6 inches usually works well, but you can adjust it to your liking.
Step 3: Assembling the Hot Air Balloon
Time to put it all together. Use your hot glue gun to attach the four pieces of twine to the side of the bulb, spacing them out evenly. Dab a small amount of glue on the bulb and press the end of the twine into it.
Next, glue the other ends of the twine to the inside rim of your bottle cap “basket.” Try to keep the strings taut and even so the basket hangs straight. Finally, tie another piece of string or fishing line to the metal screw part of the bulb so you can hang your adorable creation.
Project 3: Rustic Twine-Wrapped Vase repurpose old light bulbs
This is one of the simplest yet most elegant ways to repurpose old light bulbs. It transforms a cold piece of glass into a warm, rustic decorative vase, perfect for holding a single flower stem or some dried lavender. This is one of those “Creative DIY projects, How to repurpose old light bulbs, Upcycling light bulb ideas” that looks store-bought.
Step 1: Hollowing the Bulb (Again!)
Just like our terrarium project, you’ll need to start by safely hollowing out the light bulb. Remember to wear your safety glasses and gloves. Carefully remove the metal contact, break the black insulator, and pull out the filament with your needle-nose pliers.
Once the bulb is empty and clean, you’re ready to start wrapping. This project doesn’t require a perfectly clean interior, as it will be covered, but it’s still good practice to shake out any loose glass.
Step 2: Wrapping with Twine
Start at the metal screw base of the bulb. Apply a small ring of hot glue around the very top of the metal part and press the end of your twine into it. From there, it’s a simple process of wrapping.
Apply a thin line of hot glue as you go and slowly wrap the twine around the bulb, making sure each new row sits snugly against the previous one. Keep the twine tight to avoid any gaps. Continue this process until the entire bulb is covered in twine. When you reach the bottom, snip the twine and secure the end with a final dab of glue.
Step 3: Creating a Stand and Finishing Touches
A twine-wrapped bulb has the same stability issue as a clear one. For this rustic look, a simple and effective base is a small ring of twine. Take a length of twine, coil it into a flat circle about an inch in diameter, and use hot glue to hold its shape. This creates a little nest for your vase to sit in.
Now you have a charming, rustic vase. Fill it with a tiny bit of water and a single fresh flower, or pop in some dried botanicals for a long-lasting display. It looks fantastic on a bookshelf or as part of a farmhouse-style centerpiece.
Project 4: The Tiny Ship in a Bottle repurpose old light bulbs
This project is a true test of patience and a wonderful homage to the classic ship in a bottle. It’s a fantastic upcycling light bulb idea that creates a magical, miniature world.
Step 1: Creating the “Ocean”
After safely hollowing out your light bulb, you’ll want to create the sea. A simple and effective way to do this is with blue-colored sand or epoxy resin. Pour a small amount of blue craft sand into the bulb to create a sandy seabed.
For a more realistic water effect, you can use clear epoxy resin mixed with a drop of blue dye. Prepare the resin according to the package instructions, pour a small amount into the bulb, and let it cure completely. This creates a solid, glass-like ocean that will hold your ship permanently in place.
Step 2: Building Your Tiny Ship
This is where you can get really creative. You can carve a tiny ship from a small piece of wood or even a cork. A simpler method is to use a small sea shell, like an auger shell, as the hull of your ship.
For the mast and sails, use a toothpick or a small twig. You can create sails from a small piece of paper or fabric. Use a dab of superglue to attach the mast to your “hull” and the sails to the mast. Let everything dry completely.
Step 3: Setting Sail
This is the most delicate part of the operation. Using long tweezers, carefully insert your tiny ship into the light bulb and place it on your “ocean.” If you used sand, you can gently push the ship into it to secure it. If you used resin, you can add another very thin layer of clear resin to lock the ship in place.
Finally, you can seal the opening. A small cork, carved to fit the opening of the bulb, is the perfect finishing touch. Now you have a mesmerizing piece of art that will have everyone asking, “How did you do that?”
Project 5: Festive Holiday Ornaments repurpose old light bulbs
Why buy new ornaments when you can make your own? This is a fantastic way to repurpose old light bulbs during the holiday season. It’s fun for the whole family and results in truly personal decorations for your tree. The possibilities for these “Creative DIY projects, How to repurpose old light bulbs, Upcycling light bulb ideas” are endless.
Step 1: Picking a Theme and Painting
First, decide on your holiday character. The pear shape of a light bulb is perfect for creating snowmen, penguins, reindeer, or even Santa Claus himself! Clean the bulb thoroughly before you start.
Use acrylic paints to bring your character to life. For a snowman, paint the bulb white, let it dry, then add a face and buttons with a fine-tipped black marker or paint. For a reindeer, paint the bulb brown and add a red nose at the tip. For a penguin, paint the front white and the back and sides black.
Step 2: Adding Festive Embellishments
This is where you add the personality. Use felt, fabric scraps, or colored paper to create accessories. Give your snowman a tiny felt scarf. Create antlers for your reindeer out of brown pipe cleaners and glue them to the metal screw base. A small cotton ball glued to the top of a red-painted bulb makes a perfect Santa hat.
Don’t forget the glitter! You can apply a thin layer of craft glue and sprinkle glitter to add some holiday sparkle. A little bit goes a long way in making your ornaments catch the light on the tree.
Step 3: Creating a Hanger
Your ornament needs a way to hang on the tree. The easiest method is to take a piece of festive ribbon or twine, loop it, and hot glue the ends to the sides of the metal screw base. Make sure the glue is secure before you hang it.
These homemade ornaments are not only eco-friendly but also carry wonderful memories. Imagine decorating your tree year after year with ornaments you made together as a family.
Your Turn to Get Creative! repurpose old light bulbs
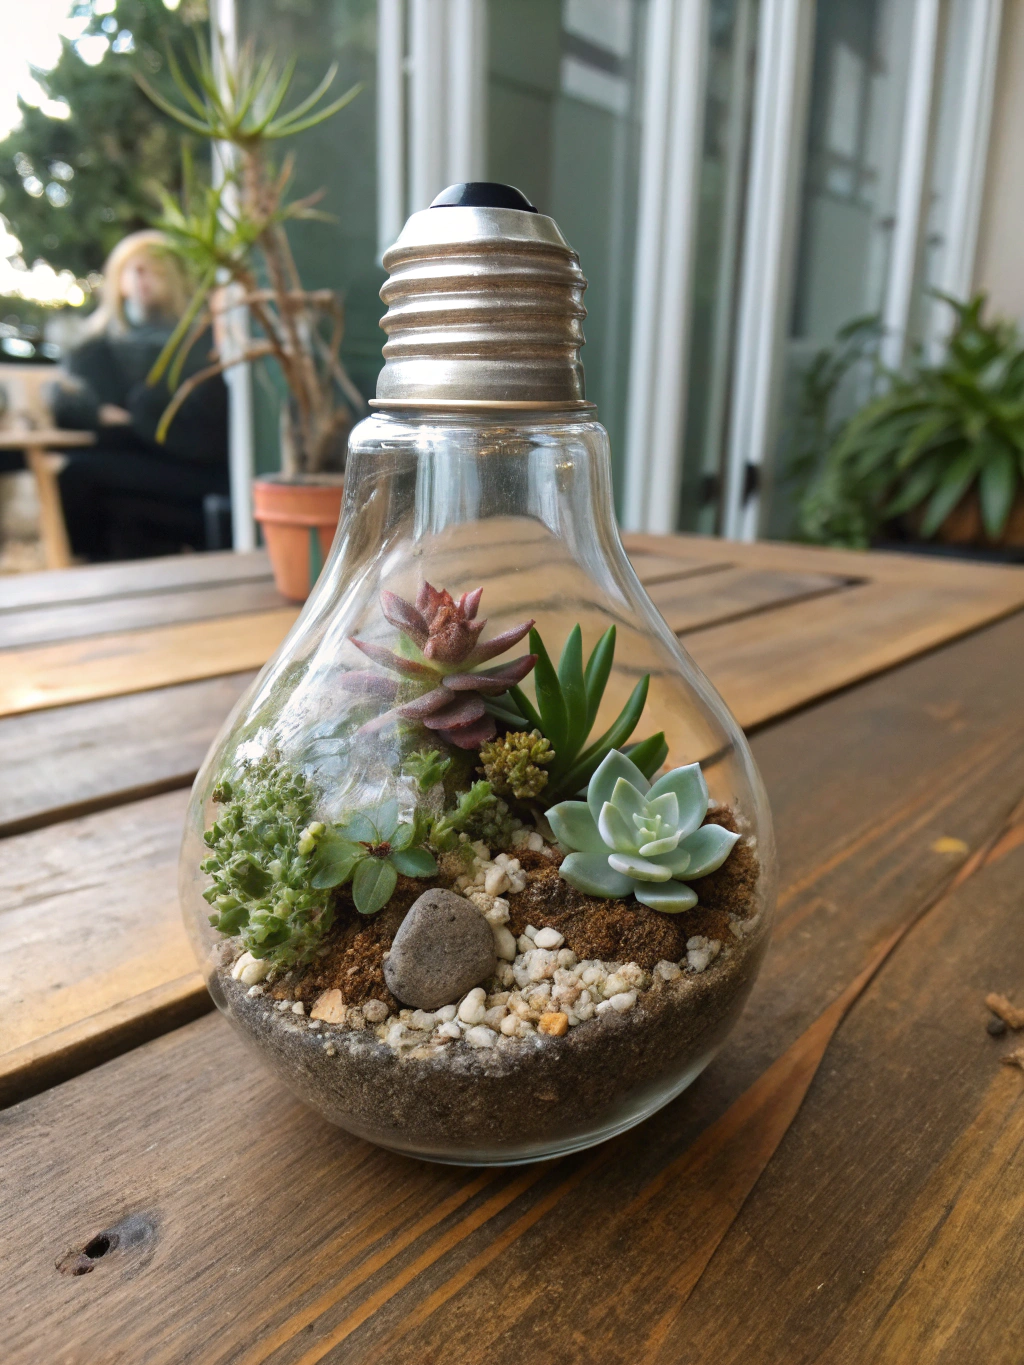
And there you have it—five creative, fun, and sustainable ways to give old incandescent light bulbs a new purpose. From a tiny green oasis to a whimsical hot air balloon, these projects show that with a little imagination, you can turn potential waste into something wonderful. You’ve now learned how to repurpose old light bulbs like a pro.
We hope these ideas have sparked your inspiration. The best part about DIY is making a project your own, so don’t be afraid to experiment with different colors, materials, and designs.
Pro Tips and Frequently Asked Questions repurpose old light bulbs
As you embark on your light bulb upcycling journey, you might have a few questions. We’ve gathered some common queries and pro tips to help you along the way. Think of this as your go-to guide for troubleshooting and perfecting your creations.
Pro Tips / FAQs about repurpose old light bulbs
What kind of light bulbs are best for these projects?
Traditional incandescent light bulbs with the classic pear shape are ideal. Their glass is relatively easy to work with, and they are simple to hollow out. Avoid using CFL (compact fluorescent) bulbs as they contain a small amount of mercury and require special disposal. LED bulbs are also difficult to deconstruct and are not suitable for these types of crafts.
How can I clean the inside of the bulb more effectively?
After you’ve removed the filament, there might be a white or yellowish powder coating inside (kaolin). To remove it, pour a little bit of salt into the bulb and shake it around vigorously. The salt acts as a gentle abrasive and will scrub the powder off. Pour out the salt and rinse the bulb with water. Let it dry completely before starting your project.
Any ideas for upcycling light bulb ideas for kids?
Absolutely! The holiday ornament project is fantastic for kids, with proper adult supervision for the painting and decorating parts. An adult should always handle the hollowing-out process. Another kid-friendly idea is to fill a hollowed bulb with colorful layers of sand to create a mini piece of sand art. You can also fill them with glitter and water (and a drop of glycerin) to make a tiny snow globe.
What’s the best way to cut the glass if a project requires it?
Cutting the glass bulb itself is an advanced technique and can be dangerous if not done correctly. We don’t recommend it for beginners. However, if you’re experienced, a diamond-tipped Dremel bit can be used to carefully score and cut the glass. Always wear heavy-duty gloves, a face shield, and work in a well-ventilated area. For most projects, hollowing the bulb is all you need.
How do I care for my air plant terrarium?
Air plants are very low-maintenance. To water your plant, remove it from the bulb every one to two weeks and submerge it in room-temperature water for about 20-30 minutes. Gently shake off the excess water and let it dry completely (for at least a few hours) before placing it back inside the bulb. This prevents rot. Air plants also love bright, indirect light.
We’d love to see what you create! Share your repurposed light bulb projects in the comments below, or tag us on social media. Happy crafting

