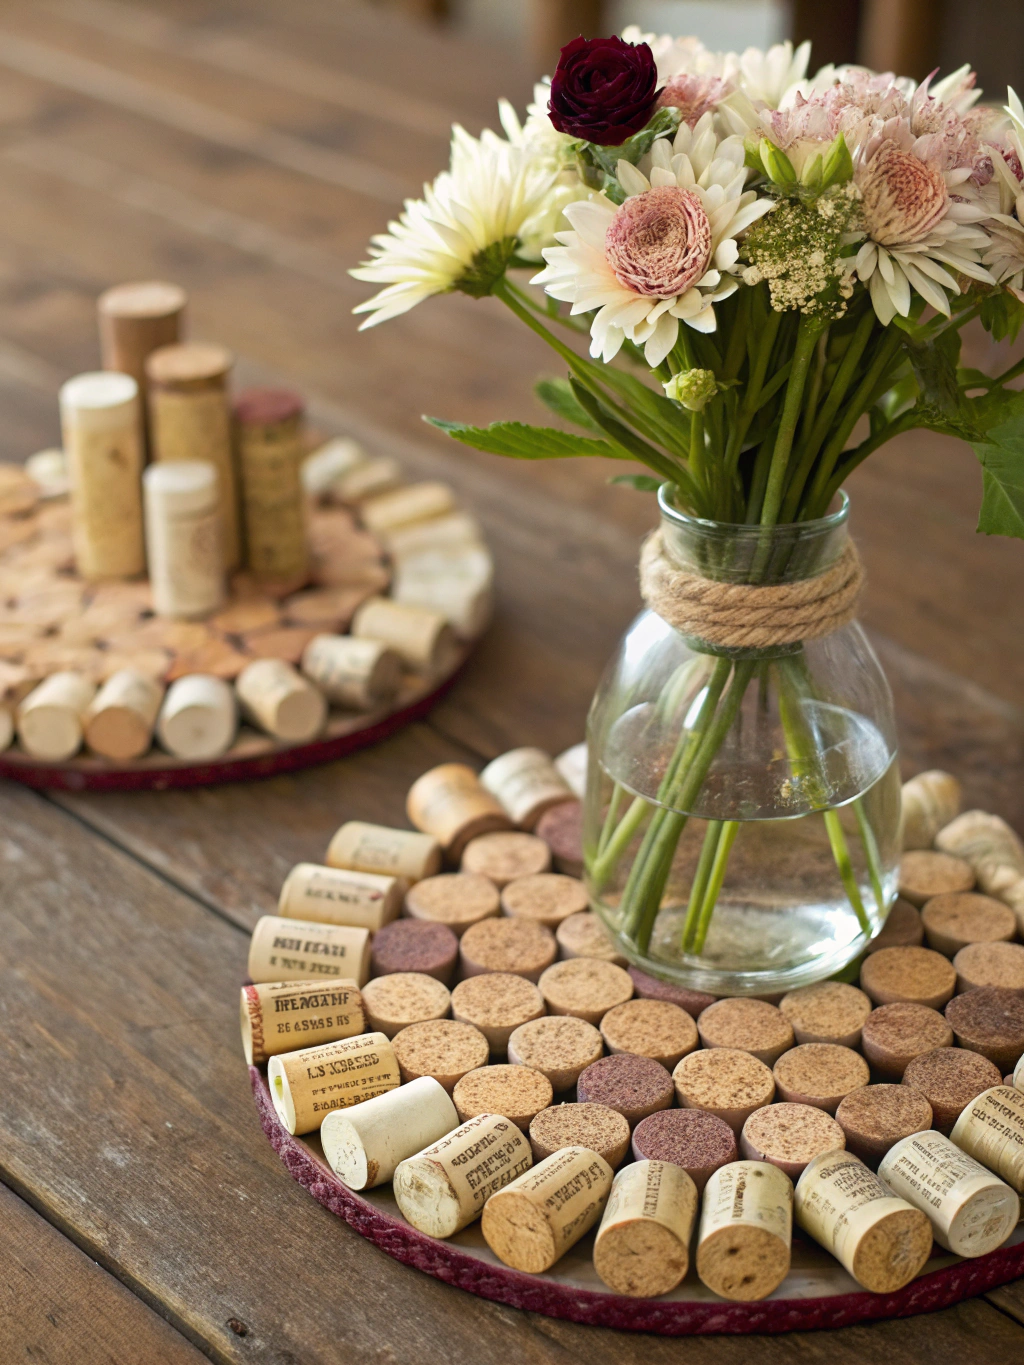
Unlock your creativity with these charming wine cork crafts!
Introduction
Ever stare at that growing pile of wine corks and think, “There must be something amazing I can do with these”? If you’re a home-improvement enthusiast with a penchant for creative recycling, then learning how to repurpose wine corks craft projects is your next exciting adventure! It’s a fantastic way to add a personal, rustic touch to your home decor without breaking the bank.
Plus, you’re giving a second life to materials that would otherwise end up in the landfill. In this guide, we’ll uncork (pun intended!) seven incredible DIY ideas that are both fun to make and stunning to display. Get ready to transform those humble corks into treasures! Many crafters find that the real joy comes from creating something beautiful and functional from simple, everyday items.
Table of Contents
What You’ll Need
Before we dive into the fun part, let’s gather our supplies. Having everything ready makes the crafting process smoother and much more enjoyable. Most of these items are likely already in your DIY toolkit!
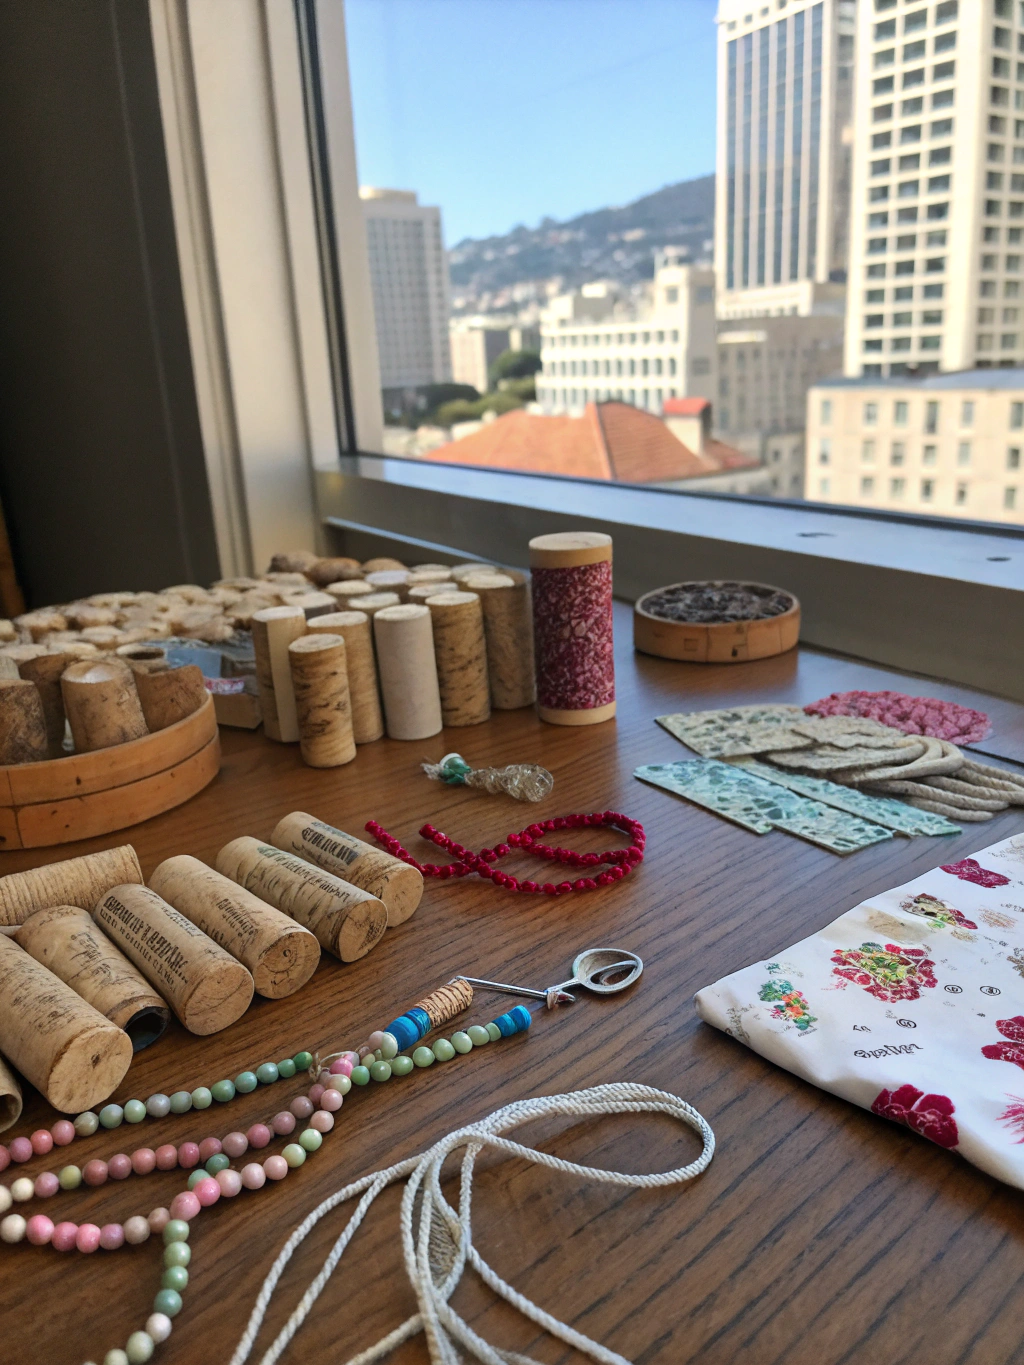
Your crafting arsenal: basic tools and, of course, wine corks!
Materials & Tools:
- Wine Corks: Plenty of them! Start saving now, or ask friends and local restaurants. Both natural and synthetic corks can work, though natural corks are often easier to cut.
- Hot Glue Gun & Glue Sticks: Your best friend for most repurpose wine corks craft adventures.
- Sharp Craft Knife or Utility Knife: Essential for slicing corks. Always cut on a protected surface and away from yourself.
- Cutting Mat: Protects your work surface.
- Ruler: For measuring and ensuring straight cuts.
- Sandpaper (optional): To smooth any rough edges after cutting.
- Strong Adhesive (e.g., E6000): For projects requiring a more durable bond than hot glue.
- Acrylic Paints & Brushes (optional): If you want to add color to your creations.
- Twine or Ribbon (optional): For decorative accents or hanging loops.
- Small Magnets (for some projects): To create fridge magnets.
- Picture Frame Backing or Sturdy Cardboard: For creating corkboards or trivets.
- Protective Gloves (recommended): Especially when using sharp knives.
- Safety Glasses (recommended): To protect your eyes from flying debris or glue.
Now that we’re equipped, let’s explore some creative ways to use wine corks!
Amazing DIY Repurpose Wine Corks Craft Ideas
Here are seven fantastic projects to get your creative juices flowing. We’ll cover a range of difficulties, so there’s something for everyone.
Idea 1: Rustic Wine Cork Coasters
One of the simplest yet most practical upcycled wine cork ideas is creating coasters. They protect your furniture and add a touch of charm to any coffee table.
Step 1: Prepare Your Corks
Carefully slice your corks into even discs.
For this project, you’ll typically want to slice your corks into discs. Aim for about 1/4 to 1/2 inch thickness. Using a sharp craft knife and a cutting mat, carefully slice the corks. Try to keep the thickness consistent for an even coaster surface. If you prefer, you can also use whole corks arranged side-by-side.
A common pitfall here is uneven slicing. Take your time, and don’t force the knife. If the corks are very dry, they might crumble; soaking them in warm water for about 10 minutes can make them easier to cut.
Step 2: Arrange and Glue
Decide on the shape of your coaster – square, round, or even hexagonal. Arrange your cork discs (or whole corks) in your desired pattern on a piece of felt or thin cork sheet, which will serve as the base. This base adds stability and a non-slip surface.
Once you’re happy with the arrangement, use your hot glue gun to carefully glue each cork to the base and to each other. Apply glue to the sides of the corks where they meet. Work methodically to ensure a strong bond. For an alternative approach, you could glue the corks into a small picture frame mold.
Step 3: Finishing Touches
After the glue has completely dried, trim any excess base material from around the edges of your coaster. You can sand the edges of the corks lightly if desired for a smoother finish.
For extra protection against spills, you can apply a thin coat of clear waterproof sealant. This step is optional but recommended if you anticipate heavy use. Your rustic coasters are now ready to use or gift!
Idea 2: Charming Wine Cork Trivet
Similar to coasters but larger, a wine cork trivet is perfect for protecting your table or countertops from hot dishes. This is another great example of how to repurpose wine corks craft-fully.
Step 1: Gather and Plan
You’ll need more corks for a trivet – typically 30-50, depending on the size you want. Decide if you want to use whole corks or halved corks. Halved corks (cut lengthwise) create a flatter, more stable surface.
Sketch out your desired shape and size. A simple square or rectangle is easiest, but circles or even octagons are possible with a bit more planning. Consider using an old picture frame backing or a sturdy piece of cardboard as your base structure, or even an embroidery hoop for a round trivet.
Step 2: Cutting the Corks (if applicable)

Cutting corks in half lengthwise creates a flat_sider surface for your trivet.
If you’ve chosen to use halved corks, carefully slice each cork in half lengthwise. This is the trickiest part, so take your time and use a very sharp knife. A miter box can be helpful for getting straight, consistent cuts. Safety first – always cut away from your body and wear protective gloves.
The benefit of halved corks is that they provide a larger, flatter surface area, making the trivet more stable for hot pots and pans. Whole corks can also work, but the surface will be more uneven.
Step 3: Assembling Your Trivet
Start by arranging your corks (whole or halved, cut-side down) within your chosen frame or directly onto your base material in your desired pattern. Popular patterns include alternating the direction of the corks or creating a herringbone design.
Once satisfied with the layout, begin gluing the corks to the base and to each other using a strong adhesive like E6000 or a generous amount of hot glue. If you’re not using a frame, ensure the outer edges are neatly aligned. Clamp or weigh down the trivet while the glue dries to ensure a strong bond and a flat surface. Wipe away any excess glue immediately.
Step 4: Optional Embellishments
Once the glue is fully cured (this can take up to 24 hours with some adhesives), your trivet is almost ready. You can leave it as is for a natural look or add some flair.
Consider painting the exposed ends of the corks, or wrapping the perimeter with a decorative ribbon or twine, secured with hot glue. Some people even stain the corks for a darker finish. These creative ways to use wine corks allow for personalization.
Idea 3: Quirky Cork Character Magnets
Let’s lighten things up with a fun and whimsical project: wine cork character magnets! These are fantastic for adding personality to your fridge or as small, handmade gifts.
Step 1: Design Your Characters
This is where your imagination takes center stage! Think about what kind of characters you want to create: animals, monsters, little people, or abstract designs. You can use single corks or combine a few for more complex shapes.
Sketch out your ideas. Consider using other small craft supplies like googly eyes, felt scraps, tiny buttons, yarn for hair, or paint pens for details. The more creative, the better!
Step 2: Decorate Your Corks

Bring your cork characters to life with paint and fun accessories.
Using acrylic paints, color your corks according to your designs. You might want to paint a base coat first and let it dry before adding details. Small brushes are essential for intricate work.
Once the paint is dry, use hot glue to attach your embellishments: googly eyes, felt ears, yarn hair, button noses, etc. Let each element dry before moving on to the next. This is a great project to involve kids in, as they often have the wildest and most fun ideas for characters.
Step 3: Attach the Magnets
Turn your decorated cork character over. Apply a small dab of strong adhesive (E6000 is excellent for this, as hot glue might not hold well enough long-term for magnets) to the back of the cork.
Press a small, strong craft magnet onto the glue. Ensure the magnet is positioned centrally for good balance. Let the adhesive cure completely according to the manufacturer’s instructions, usually for several hours or overnight. Avoid using weak magnets, as they might not be able to hold the weight of the cork on the fridge.
Idea 4: Wine Cork Bulletin Board
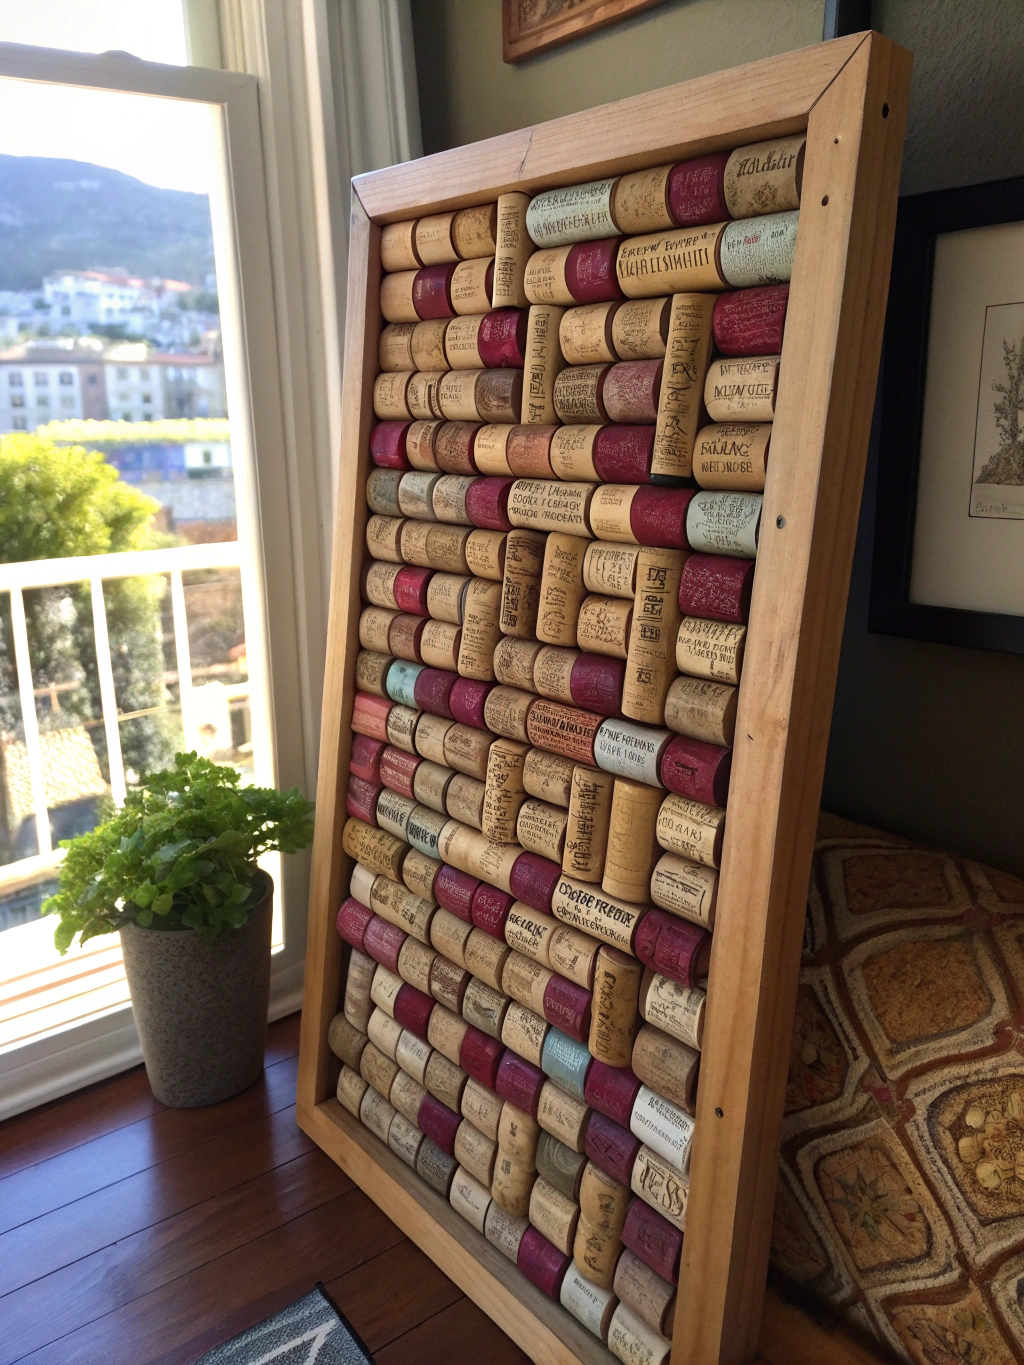
A DIY bulletin board made from wine corks is not only functional for pinning notes and photos but also a stylish piece of wall decor. This is an excellent way to repurpose wine corks craft on a larger scale.
Step 1: Choose Your Frame and Prepare Corks
Find an old picture frame of your desired size, or construct a simple wooden frame. Remove the glass and backing, keeping the backing if it’s sturdy (like MDF or hardboard). If not, cut a piece of sturdy cardboard or thin plywood to fit the frame.
You’ll need a lot of corks for this! Decide if you want to stand them upright, lay them flat, or cut them in half. Halved corks (cut lengthwise) cover more area and provide a flatter pinning surface. If using whole corks stood upright, ensure they are of similar heights.
Step 2: Arrange and Glue Corks into the Frame

Patiently fill your frame with corks, creating a unique pattern.
Start by dry-fitting your corks inside the frame (or onto your backing board if frameless) to plan your layout. You can arrange them in rows, a herringbone pattern, or any design you like. Alternating the direction of corks can create interesting visual texture.
Once you have a layout you’re happy with, begin gluing the corks to the backing board using a strong adhesive or hot glue. If you’re using halved corks, glue the cut side down. Ensure the corks are packed tightly together to create a solid pinning surface. If your frame is deep, you might glue corks to each other as well for stability.
Step 3: Finishing and Hanging
Allow the glue to dry completely. If you didn’t use a pre-made frame, you might want to add a simple wooden border around your cork panel for a more finished look.
Attach hanging hardware to the back of your frame or bulletin board. Now you have a custom, eco-friendly bulletin board! This project beautifully showcases upcycled wine cork ideas. For more inspiration on displaying your creations, check out our guide on DIY gallery wall ideas.
Idea 5: Adorable Wine Cork Plant Markers
For the green-thumbed DIYer, wine cork plant markers are a cute and practical addition to your garden or indoor pots. They’re a simple way to keep your herbs and veggies organized.
Step 1: Prepare Corks and Stakes
Gather your wine corks. You’ll also need wooden skewers, thin dowels, or even sturdy twigs to act as stakes.
You can use the corks as-is or paint/decorate them. Some people like to lightly sand one side of the cork to create a flatter surface for writing.
Step 2: Write Plant Names

Clearly label your corks with plant names using a permanent marker.
Using a permanent marker (fine-tipped Sharpies work well), write the names of your plants on the corks. If you’ve painted the corks, make sure the paint is completely dry first.
For a more rustic look, you could also use a wood-burning tool to etch the names into the cork (with caution, in a well-ventilated area). Alternatively, print tiny labels and glue them on, then seal with a clear varnish.
Step 3: Attach Corks to Stakes
Carefully insert one end of your skewer or dowel into the bottom of the wine cork. You may need to create a small pilot hole first with an awl or a thin drill bit if the cork is very dense. Push it in about half an inch to an inch for stability.
Add a dab of waterproof glue (like E6000 or even super glue) into the hole or onto the skewer before inserting it for a more secure hold, especially if they’ll be outdoors. Let the glue dry. Your charming plant markers are ready to grace your garden!
Idea 6: Decorative Wine Cork Wreath
A wine cork wreath is a stunning piece of decor, perfect for your front door, kitchen, or as a gift for a wine lover. This project requires more corks and patience but the result is well worth it.
Step 1: Gather Supplies and Wreath Form
You’ll need a lot of corks for this – anywhere from 100 to 300 or more, depending on the size of your wreath and how densely you pack them. You’ll also need a wreath form (straw, foam, or wire are all good options) and a reliable hot glue gun with plenty of glue sticks.
Consider if you want to add other embellishments like ribbons, faux grapes, or greenery. These can be incorporated as you go or added at the end.
Step 2: Start Gluing Corks

Layer by layer, build up your beautiful wine cork wreath.
Start by gluing a base layer of corks directly onto the wreath form. You can lay them flat, stand them up, or angle them. Varying the direction and angle of the corks creates more visual interest. Apply hot glue to the cork and press it firmly onto the form.
Continue adding layers of corks, gluing them to the previous layer and to each other. Fill in any gaps. This can be a time-consuming process, so take breaks! It’s often easiest to work on a flat surface. Some people prefer to stand all corks on end, while others like to mix orientations.
Step 3: Add Embellishments and Hanging Loop
Once your wreath is fully covered in corks and the glue is set, it’s time for final touches. If you planned to include ribbons or faux greenery, weave them through the corks or glue them strategically.
Create a sturdy hanging loop on the back of the wreath using wide ribbon or floral wire, securing it well. Ensure it’s strong enough to support the weight of the wreath. Admire your handcrafted masterpiece! This truly shows off creative ways to use wine corks.
Idea 7: Wine Cork Keychains
A simple, charming, and useful repurpose wine corks craft project is making keychains. These are great for personal use or as small, thoughtful gifts.
Step 1: Select Corks and Hardware
Choose wine corks that are in good condition. You’ll also need small screw eyes (eyepins) and keychain rings. You can find these at most craft stores.
You might want to personalize the corks by painting them, adding small beads, or stamping initials onto them.
Step 2: Insert Screw Eye

Securely insert a screw eye into the cork – this will hold the keychain ring.
Carefully twist a screw eye into one end of the wine cork. It’s usually easiest to start the hole with a thumbtack or a small awl to guide the screw eye. Make sure it’s screwed in straight and deep enough to be secure.
For extra strength, you can add a tiny drop of super glue to the threads of the screw eye before inserting it into the cork. Allow it to dry completely.
Step 3: Attach Keychain Ring and Personalize
Once the screw eye is securely in place, open the jump ring on your keychain hardware (you might need small pliers for this) and slip it through the loop of the screw eye. Close the jump ring securely.
Now you can add any further personalization. Attach small charms, beads on a wire, or a short length of decorative chain. Some people even dip the ends of the corks in colorful paint. These little details make your keychain unique. For more ideas on using and upcycling materials, you can find inspiration from resources like Sum of Their Stories, which offers many “Upcycled wine cork ideas, Creative ways to use wine corks, How to repurpose wine corks craft,”.
Your Beautifully Repurposed Wine Cork Creation!
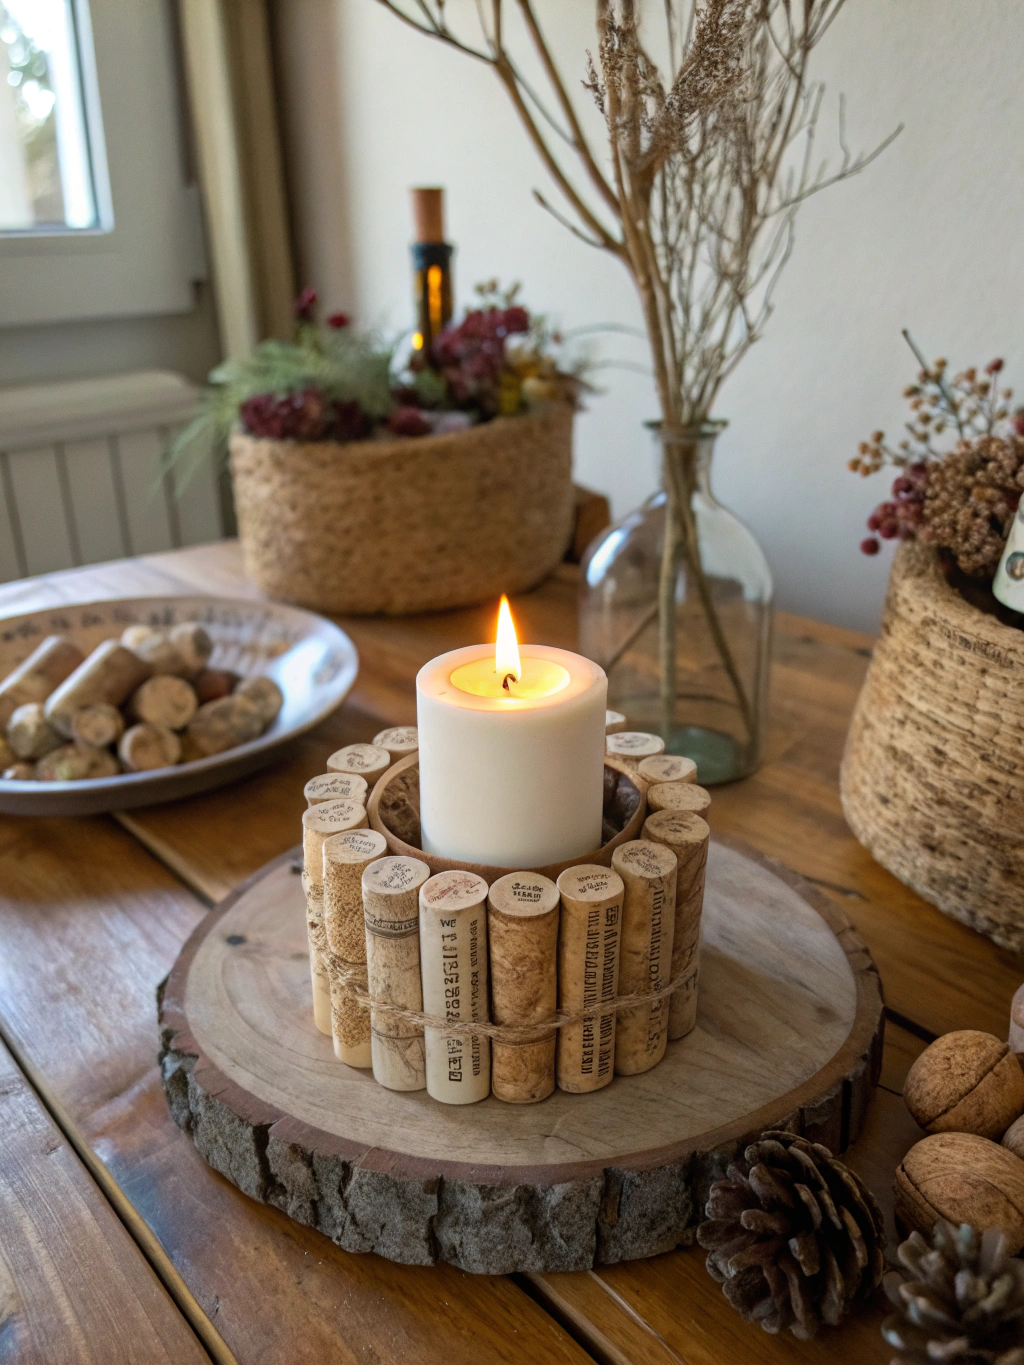
Voila! Your collection of unique, handcrafted wine cork items.
Look at that! From a simple pile of corks, you’ve created something truly special. Whether it’s a set of rustic coasters, a charming bulletin board, or a whimsical keychain, your repurpose wine corks craft project is a testament to your creativity and resourcefulness. These items not only add a personal touch to your home but also make fantastic, thoughtful gifts.
We’d absolutely love to see what you’ve made! Share photos of your wine cork creations in the comments below, or tag us on social media. And if you have any other brilliant ideas for repurposing wine corks, please share those too!
Pro Tips & FAQs for Wine Cork Crafting
To help you on your repurpose wine corks craft journey, here are some extra tips and frequently asked questions:
Q1: How do I clean wine corks before crafting?
A: If your corks have red wine stains you want to remove (though many crafters like the aged look!), try soaking them in a solution of warm water and a little bleach (about 1 tablespoon of bleach per gallon of water) for a few hours or overnight. Rinse them thoroughly and let them dry completely before using. For general cleaning, wiping them with a damp cloth is usually sufficient.
Q2: What’s the best way to cut wine corks safely and easily?
A: Always use a very sharp craft knife or utility knife and a cutting mat. To make cutting easier, especially for dense corks, you can boil them in water for about 10-15 minutes. This softens them up. Let them cool slightly before cutting. Always cut away from your body and fingers. For very precise or numerous cuts, a small miter box and saw can be helpful.
Q3: Can I use synthetic wine corks for these crafts?
A: Yes, you can use synthetic corks for many of these projects. They are often more uniform in shape and size. However, they can be harder to cut than natural corks and may not absorb paint or glue as well. Hot glue generally works fine, but test other adhesives. Natural corks offer a more rustic aesthetic. Many resources for **upcycled wine cork ideas** will specify if one type is preferred for a particular project.
Q4: Where can I get a lot of wine corks if I don’t drink much wine?
A: Ask friends and family to save them for you! You can also often get corks from local restaurants, bars, or wineries – many are happy to give them away. Online marketplaces like eBay or Etsy sometimes have sellers offering bulk corks. Craft stores also sell new, unused corks if you need a very uniform look. Exploring platforms that discuss **creative ways to use wine corks** might also lead to community swaps or groups. For instance, check out communities like those found via links such as “Upcycled wine cork ideas, Creative ways to use wine corks, How to repurpose wine corks craft,” as they might have forums or contacts.
Q5: How can I make my wine cork crafts waterproof or more durable?
A: For projects like coasters or trivets that might encounter moisture or heat, consider applying a clear sealant. Mod Podge Outdoor, clear acrylic spray sealant, or even a thin coat of polyurethane can work. Apply thin, even coats and let dry completely between applications. This will protect the cork and any paint or decorations you’ve added.
We hope these ideas have inspired you to start your own repurpose wine corks craft adventure! It’s a wonderfully satisfying way to be creative and sustainable.
What will YOU make first? Let us know in the comments below!
Don’t forget to subscribe to our newsletter for more DIY tips, tricks, and inspiration delivered straight to your inbox. And if you loved this post, please share it with your crafty friends on Pinterest, Facebook, or your favorite social platform! Happy crafting!

