Turn that mountain of plastic bags into beautiful, functional treasures for your home.
Introduction
Hey there, fellow DIYer! Let’s talk about that one spot in every home: the bag of bags. You know the one—stuffed under the sink or overflowing in a cabinet, it’s a modern-day hydra where every two bags you use, five more seem to appear. But what if I told you that this plastic hoard is actually a treasure trove of crafting material? This guide is all about the art of repurposing plastic grocery bags, turning what seems like waste into something wonderful and useful.
We’re not just talking about stuffing them into a spare tissue box. We’re diving deep into 10 genuinely creative, easy, and impactful projects. Whether you’re a seasoned crafter or just looking for simple ways to live a little greener, you’re in the right place. Get ready to transform those flimsy bags into durable, functional, and even beautiful items for your home and garden. Let’s flatten that bag monster once and for all!
Table of Contents
Why Bother with Repurposing Plastic Grocery Bags?
Before we grab our scissors, let’s chat for a second about the “why.” Sure, it’s a fun way to spend a Saturday afternoon, but the impact of repurposing plastic grocery bags goes much deeper. These single-use plastics are a major environmental headache, clogging landfills and harming wildlife. Every bag we keep out of the waste stream is a small but significant victory.
By finding creative ways to reuse these bags, you’re not just decluttering your kitchen; you are:
- Reducing Landfill Waste: Plastic bags can take centuries to decompose. Giving them a second life keeps them functional for years to come.
- Saving Money: Why buy new crafting materials, packing supplies, or storage containers when you have a free source waiting for you?
- Unlocking Creativity: The challenge of turning a “disposable” item into something durable and cool is incredibly rewarding. It’s a fantastic way to stretch your creative muscles and problem-solving skills.
- Creating Unique, Durable Items: You’ll be amazed at how strong and versatile repurposed plastic can be. From waterproof mats to sturdy tote bags, the possibilities are endless.
Getting Started: Prepping Your Plastic Bag Stash
Proper preparation is the key to a successful project. Rushing this step can lead to clumpy, dirty, or hard-to-work-with materials. Let’s get our bags ready for their transformation!
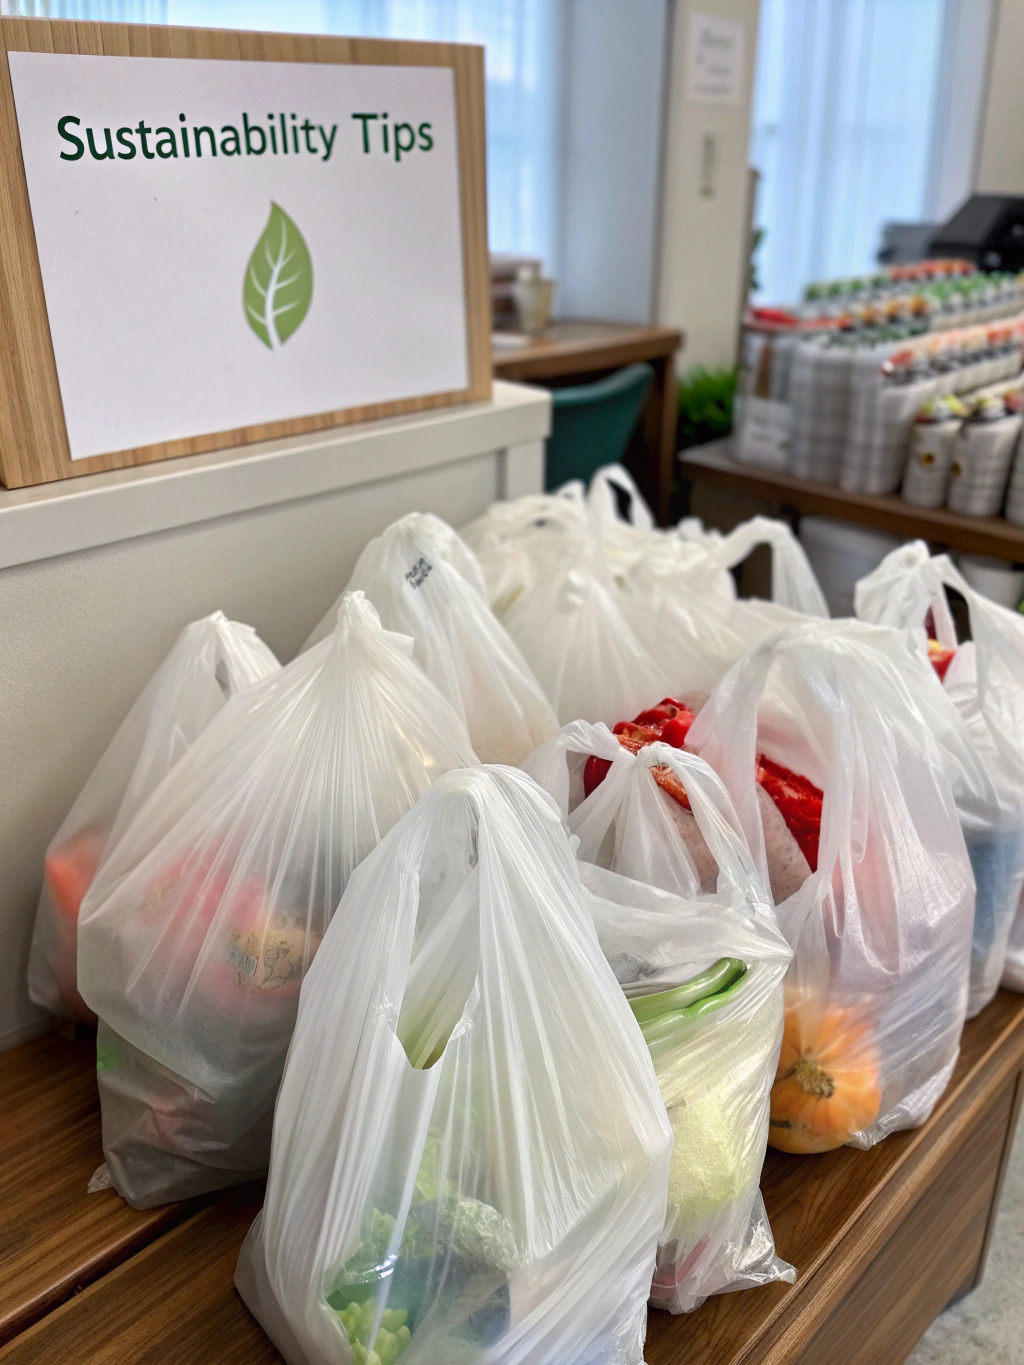
Your simple toolkit for transforming plastic bags into crafting gold.
What You’ll Need
For most of these projects, the toolkit is surprisingly simple. Here’s a general list of what you should gather:
- A large pile of plastic grocery bags! (The more, the merrier)
- Sharp scissors or a rotary cutter and cutting mat
- A ruler or measuring tape
- Parchment paper (for any heat-related projects)
- A household iron (for fusing projects)
- A crochet hook or knitting needles (for plarn projects)
- A sturdy piece of cardboard (for a DIY loom)
- Strong glue or a sewing machine (optional, for finishing)
The Prep Process: Clean, Flatten, and Sort
Clean Them Up: First things first, make sure your bags are clean and dry. If any have sticky residue or crumbs, give them a quick wipe with a damp cloth and let them air dry completely. You don’t want old grocery gunk in your new tote bag!
Flatten and Smooth: Take each bag and lay it on a flat surface. Smooth out all the wrinkles and folds as best you can. Fold it in half lengthwise, and then in half again, creating a long, neat strip. This makes cutting uniform pieces so much easier.
Trim the Ends: Snip off the very bottom seam and the handles at the top. You should now be left with a clean, seamless plastic tube. This is your primary building block for many exciting projects.
10 Easy & Creative Ways for Repurposing Plastic Grocery Bags Ideas
Alright, with our bags prepped and ready, it’s time for the fun part! Here are ten fantastic projects, ranging from super simple to impressively crafty.
Project 1: Create Versatile ‘Plarn’ (Plastic Yarn)
This is the quintessential project for repurposing plastic grocery bags and the foundation for many others. Plarn is surprisingly strong and works just like regular yarn for crochet, knitting, and weaving.
Cutting uniform strips is the first step to creating strong, continuous plarn.
Step-by-Step Guide to Making Plarn
Prepare the Bag: Take your cleaned, flattened bag (with handles and bottom seam removed) and fold it into a shorter, thicker rectangle, about 2-3 inches wide.
Cut the Strips: Using your sharp scissors or rotary cutter, slice the folded rectangle into strips. Aim for about 1-inch wide for a standard, sturdy plarn. Don’t cut all the way through the final fold on one side if you want an easy looping method, but cutting all the way through into loops also works.
Link the Loops: Now, you should have a bunch of plastic loops. To connect them, take two loops and lay one over the other. Pull the end of the top loop through its own center, over and around the second loop, and pull tight. This creates a simple, strong knot. It’s called a lark’s head knot!
Create Your Ball: Continue linking loops together until you have a long, continuous strand of plastic yarn. Roll it into a neat ball just like you would with regular yarn, and voila! You’ve made plarn.
What to make with it? Tote bags, doormats, waterproof beach bags, durable baskets, and coasters.
Project 2: Fuse Bags into a Durable “Plastic Fabric”
This technique is pure magic. By using a hot iron and parchment paper, you can melt several layers of plastic bags together to create a tough, waterproof, and sewable fabric. It’s one of the most creative ways to repurpose plastic bags.
Safety First: Always do this in a well-ventilated area, as melting plastic can release fumes. Never place the iron directly on the plastic—parchment paper is your best friend here.
Layer Up: On an ironing board, lay down a sheet of parchment paper. On top of that, place 6 to 8 layers of your plastic bags. You can mix colors for a cool, marbled effect. Smooth out any air bubbles and place another sheet of parchment paper on top.
Gentle Heat: Set your iron to a medium setting (like wool or polyester) with no steam. Gently and continuously move the iron over the top sheet of parchment paper for about 15-20 seconds. Don’t press too hard or hold it in one spot.
Flip and Repeat: Carefully peel back the parchment paper to check your progress. The layers should be fused. If they are, flip the entire plastic-and-parchment sandwich over and iron the other side to ensure an even fuse.
Cool and Cut: Let it cool completely. You now have a stiff, durable sheet of plastic fabric that you can cut with scissors and even sew with a machine (use a heavy-duty needle).
What to make with it? Wallets, rain ponchos, placemats, reusable lunch bags, and artist portfolios.
Project 3: Weave a Sturdy Doormat
Using the plarn from Project 1, you can weave an incredibly resilient and practical doormat that’s perfect for scraping mud off shoes.
Make a Simple Loom: Grab a sturdy piece of cardboard, a bit larger than your desired mat size. Cut even notches (about half an inch apart) along two opposite ends.
Warp the Loom: String a strong twine or more plarn lengthwise across the loom, securing it in the notches. This is your “warp.”
Start Weaving: Take your ball of plarn and start weaving it horizontally (“the weft”) over and under the warp strings. Push each row down tightly against the one before it.
Finish It Off: Once you’ve reached your desired size, cut the warp strings from the back of the loom and tie them together in pairs to secure the weaving. This project takes patience but the result is a functional piece of art for your doorstep. For more inspiration, check out these “Repurposing plastic grocery bags ideas, Easy ways to reuse plastic bags, How to repurpose plastic bags creatively,”.
Project 4: No-Cost Packing and Shipping Material
This is one of the easiest ways to reuse plastic bags and it’s incredibly practical. Instead of buying styrofoam peanuts or bubble wrap, use your bag stash.
Simply scrunch up individual bags and use them as void-fill in shipping boxes. They are lightweight, so they won’t add much to your shipping costs, and they do a fantastic job of cushioning items and preventing them from shifting during transit. You can also use them to wrap fragile items before placing them in storage boxes. It’s a simple, effective, and free solution.
Project 5: Garden Pot Filler and Drainage Aid
Do you have large, deep planters for your patio or balcony? Filling those giants completely with potting soil can be expensive and make them incredibly heavy.
Here’s the hack: Fill the bottom third of the pot with clean, scrunched-up plastic bags. This serves two purposes. First, it takes up space, saving you a significant amount of soil. Second, it creates air pockets that aid in drainage, preventing your plant’s roots from getting waterlogged. Just add a layer of landscape fabric on top of the bags before adding your soil to prevent it from washing down.
Project 6: Improvised Waterproofing
Plastic bags are, by their very nature, waterproof. Keep a few folded up in your car, backpack, or bike bag for on-the-go weather protection.
- Bike Seat Cover: Caught in a surprise rain shower? Throw a bag over your bike seat to keep it dry.
- Dirty Shoe Holder: After a muddy hike, pop your boots into a couple of bags to keep your car trunk clean.
- Gardening Knee Pads: Working in damp soil? Tie a few folded bags around your knees for instant, disposable knee pads.
- Outdoor Faucet Protector: In the winter, wrap your outdoor faucets with a thick layer of bags and secure with duct tape to provide some insulation against freezing.
Project 7: The Perfect Small Trash Can Liner
This might be the most common form of reuse, but it deserves a spot on the list for its sheer practicality. Why buy special small trash bags for your bathroom, home office, or bedroom bins?
A standard grocery bag is the perfect size. Keep a neat, folded stack of them at the bottom of each bin. When you take out the full bag, its replacement is already there waiting for you. It’s a simple system that saves money and gives every single bag a useful second life before it heads to the landfill.
Project 8: Craft Fluffy Pom-Poms and Tassels
Let’s get decorative! You can turn colorful plastic bags into fun, weather-resistant pom-poms and tassels.
For Pom-Poms: Cut a bag into long, thin strips (about a quarter-inch wide). Wrap these strips around two or three of your fingers dozens of times to create a thick bundle. Carefully slide the bundle off your fingers and tie another strip tightly around the middle. Snip through the loops on both sides and fluff it out to create a pom-pom.
For Tassels: Cut a bag into a rectangle. Then, cut thin fringe along one of the long edges, leaving about an inch uncut at the top. Tightly roll the uncut edge and secure it with a piece of tape or another strip of plastic to form the tassel’s head.
What to make with them? Party decorations, keychains, gift toppers, or even a fun, crinkly cat toy (supervise your pet, of course!).
Project 9: Stuffing for Pet Beds or Outdoor Cushions
If you have a massive amount of bags, this is the project for you. Plastic bags make an excellent stuffing material for items that need to be weather-resistant or easily washable.
Sew a durable, washable outer shell (like canvas or outdoor fabric) for a pet bed or an outdoor throw pillow, leaving one side open. Then, stuff it firmly with clean, dry plastic bags until it reaches your desired plumpness. Sew the final seam shut, and you have a cushion that won’t get ruined by a little rain and can be easily cleaned. It’s a fantastic solution for a porch swing or a dog bed.
Project 10: DIY Braided Jump Rope
This is a wonderful project to do with kids and results in a toy that encourages active play.
Create Long Strips: Prepare three bags by cutting off the handles and bottom seam, as we did for plarn. Instead of cutting them into loops, cut them in a spiral to create one long, continuous strip from each bag. You’ll need three of these long strips.
Start Braiding: Tie the ends of your three strips together in a knot. Secure the knotted end to a doorknob or have a friend hold it.
Braid Tightly: Begin braiding the three strips together, just like you would with hair. Keep the braid tight and consistent for strength. When you reach the end, tie another firm knot.
Add Handles (Optional): You can create simple handles by wrapping the knotted ends with duct tape for a better grip. Now you have a colorful, lightweight jump rope ready for action!
Showcasing Your Upcycled Creations
Look at what you can accomplish! From a simple pile of plastic bags comes a world of possibility. Whether you’ve woven a mat, fused a wallet, or crocheted a tough new tote, you’ve successfully diverted waste and created something with your own two hands.
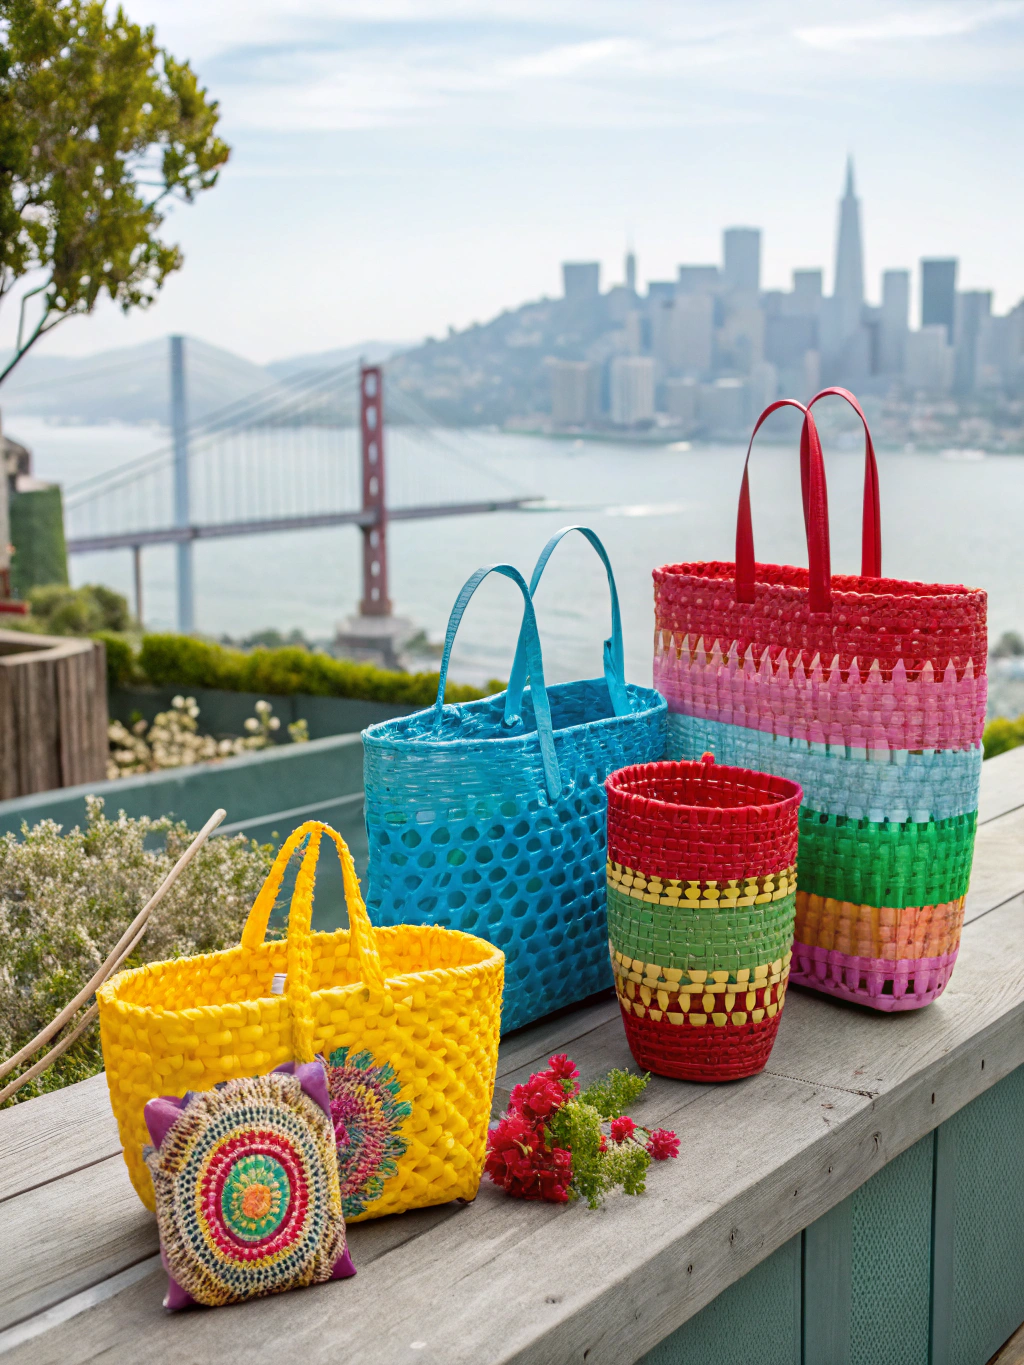
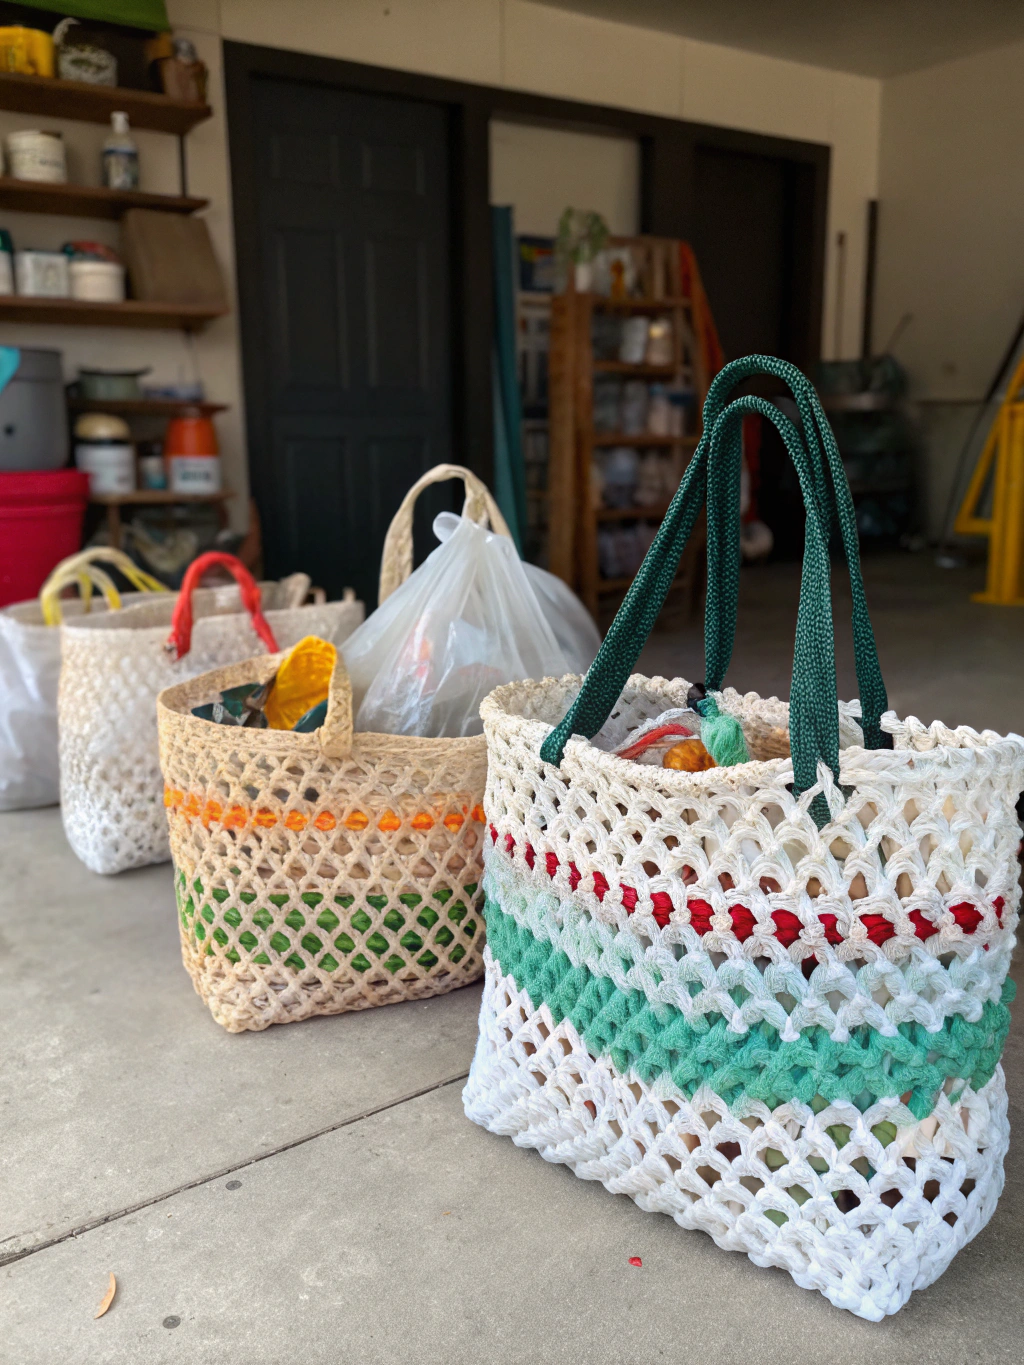
This durable, stylish tote bag was made entirely from recycled plastic bags. Imagine what you’ll create!
The real beauty of repurposing plastic grocery bags is seeing the final product in action. That mat by your door, the pouch in your backpack, the jump rope in your child’s hands—these are all tangible reminders of your creativity and commitment to a greener lifestyle.
Pro Tips & Frequently Asked Questions (FAQs)
You’ve got questions, and as a decade-long DIY enthusiast, I’ve got answers! Let’s tackle some common queries.
What’s the best way to clean plastic bags before repurposing?
For most bags that just held dry goods, a simple shake-out is all you need. If a bag held meat or something sticky, it’s best to turn it inside out and wash it with a bit of dish soap and water. Be sure to let it air dry completely before storing or using it for a project, as trapped moisture can lead to mildew.
Can I mix different types of plastic bags for these projects?
Yes, you can, but it’s good to be mindful of thickness. Thicker, more store-brand bags are great for plarn that needs to be strong. Thinner produce bags work well for fusing or as stuffing. Mixing colors can create beautiful, random patterns, especially in weaving or fusing projects. Experimentation is part of the fun!
Are there any safety precautions for fusing plastic bags with an iron?
Absolutely! This is the most important FAQ. ALWAYS work in a well-ventilated area (open a window or have a fan going). The fumes from melting plastic are not good to inhale. Second, NEVER let the hot iron touch the plastic directly. It will melt onto your iron and ruin it. Always sandwich the plastic between two layers of parchment paper (not wax paper!). Start with a lower heat setting and work your way up if needed.
How many bags do I need to make something substantial, like a tote bag?
It can be surprising how many bags go into a single project. As a rough estimate, a medium-sized crocheted tote bag made from plarn can use anywhere from 50 to 100 bags, depending on the thickness of your plarn and the tightness of your stitches. It’s a great reason to start saving them up!
Beyond these, what are some other creative ideas for repurposing plastic bags?
The sky is the limit! People have used them to create sculptures, outdoor art installations, and even clothing. A great way to get more inspiration is to browse crafting communities and blogs online. For a wealth of creative upcycling projects, check out these phenomenal “”Repurposing plastic grocery bags ideas, Easy ways to reuse plastic bags, How to repurpose plastic bags creatively,””
We’ve only scratched the surface of what’s possible with that humble plastic bag. I hope these 10 ideas have sparked your imagination and inspired you to look at your “bag of bags” in a whole new light.
Now, I want to hear from you! Which project are you most excited to try? Do you have your own secret tips for repurposing plastic grocery bags? Drop a comment below and share your thoughts and creations. Let’s build a community of creative recyclers together!
And if you found this guide helpful, don’t forget to share it with your friends and on your favorite social media platforms. Happy crafting

