How to Upcycle T-Shirts No Sew: 7 DIY Ideas
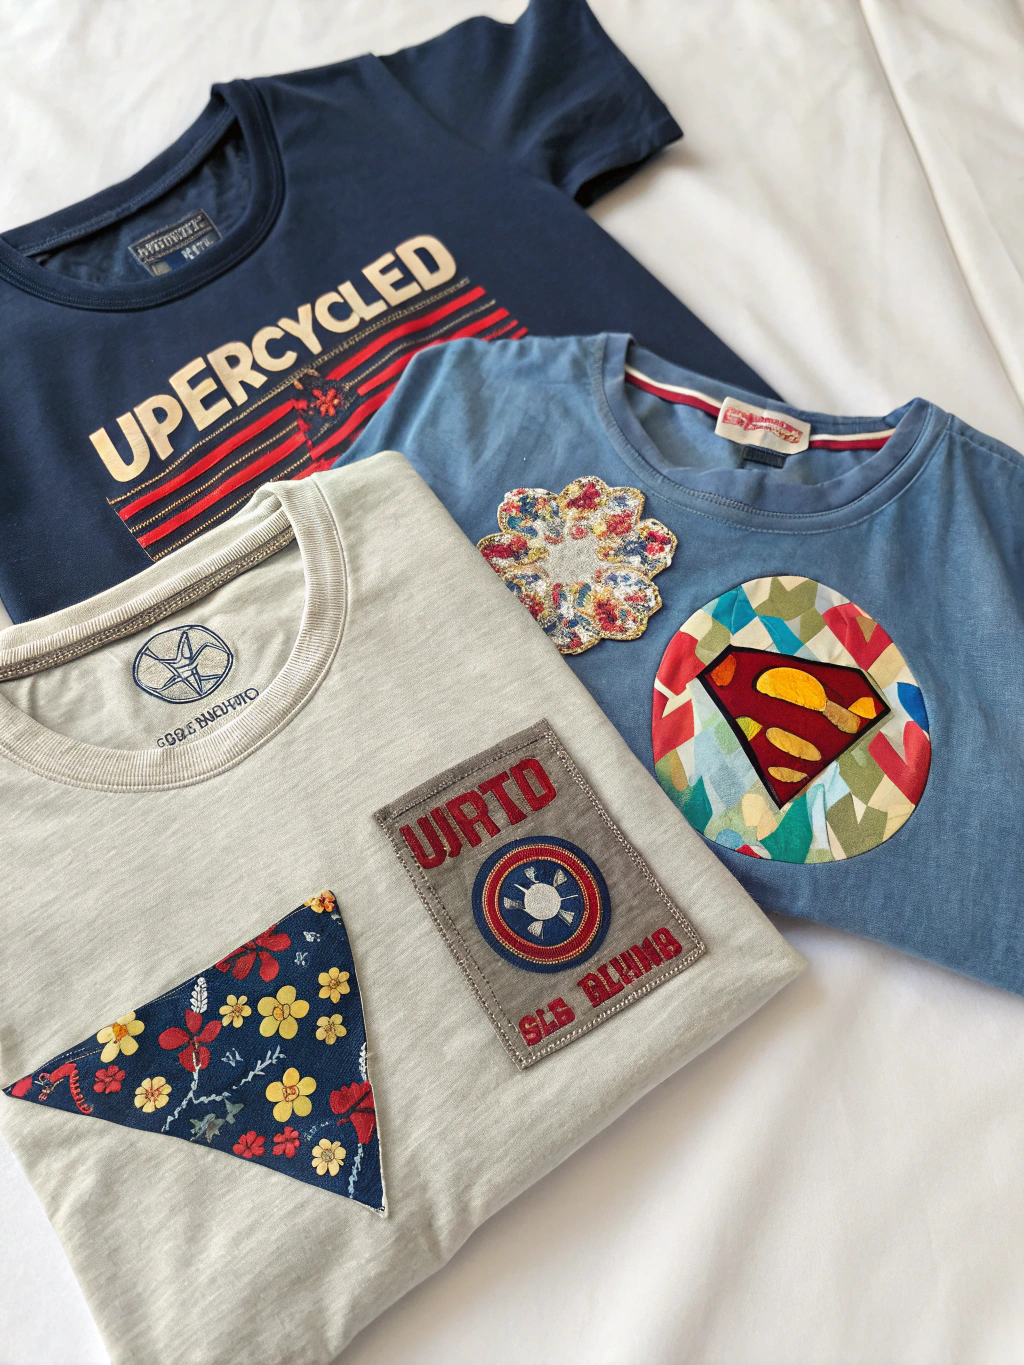
Caption: Get ready to transform your old tees into treasures without a needle and thread!
Introduction: Your T-Shirt Stash is Calling!
Got a drawer (or maybe a whole closet!) overflowing with old t-shirts? You know, the ones with the faded band logos, the slightly-too-small charity run tees, or the shirts that have just seen better days? Tossing them feels wasteful, but maybe you’re not a whiz with a sewing machine, or simply don’t have the time. Well, good news! You can absolutely upcycle t-shirts no sew and give them a fabulous new life. This guide is packed with 7 fun and easy DIY ideas that require zero stitching. That’s right – no needle, no thread, just some creative cutting and knotting.
We’re diving into the wonderful world of no sew t-shirt crafts today. Prepare to be amazed at what you can create with items you probably already have at home. From practical items like tote bags to fun accessories, these projects are perfect for a rainy afternoon, a crafting session with kids, or just a way to de-stress and make something awesome. Let’s unlock the potential in that pile of old cotton and explore some fantastic how to upcycle t-shirts no sew ideas!
Table of Contents
Table of Contents
What You’ll Need for Your No-Sew T-Shirt Adventures
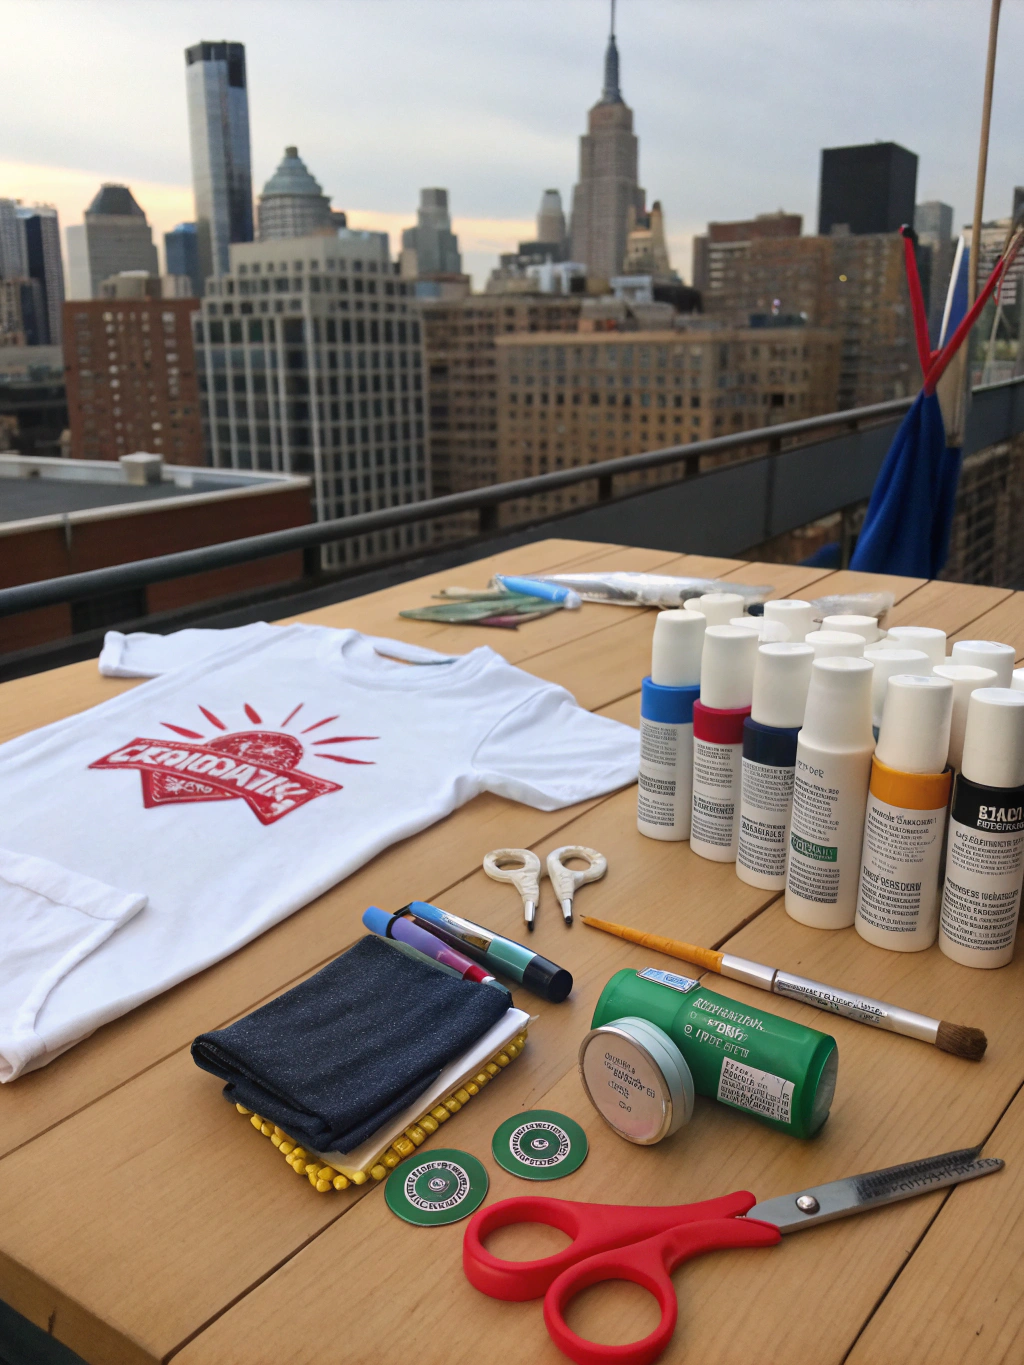
Caption: Basic tools are all you need for these amazing upcycle t-shirts no sew projects.
Before we jump into the specific projects, let’s gather some basic supplies. The beauty of these no sew t-shirt crafts is their simplicity, so you likely have most of these items already.
- Old T-Shirts: Any size, color, or type (cotton and cotton blends work best). Wash and dry them first!
- Sharp Fabric Scissors: This is crucial! Good scissors make clean cuts and prevent fabric snagging. A rotary cutter and mat can also be super helpful for straight lines and cutting multiple layers, but aren’t strictly necessary for most projects.
- Ruler or Measuring Tape: For ensuring your cuts are (somewhat) even, especially for projects like tote bags or yarn.
- Fabric Marker or Chalk: To draw guidelines before you cut. This washes out or fades, unlike permanent markers.
- (Optional) Embellishments: Think fabric glue (for adding non-stitched details), beads, stencils, fabric paint if you want to get extra fancy after the no-sew construction.
- (Optional) Cutting Mat: If using a rotary cutter, this is essential to protect your work surface.
Having these tools handy will make your upcycle t-shirts no sew journey smoother and more enjoyable. Now, let’s get to the fun part – the projects!
Idea 1: The Classic No-Sew T-Shirt Tote Bag
This is perhaps one of the most popular upcycle t-shirts no sew projects, and for good reason! It’s incredibly practical, super easy, and looks fantastic. You’ll have a new reusable shopping bag, beach bag, or general carry-all in minutes.
Step 1: Prepare Your T-Shirt / Upcycle T-Shirts No Sew
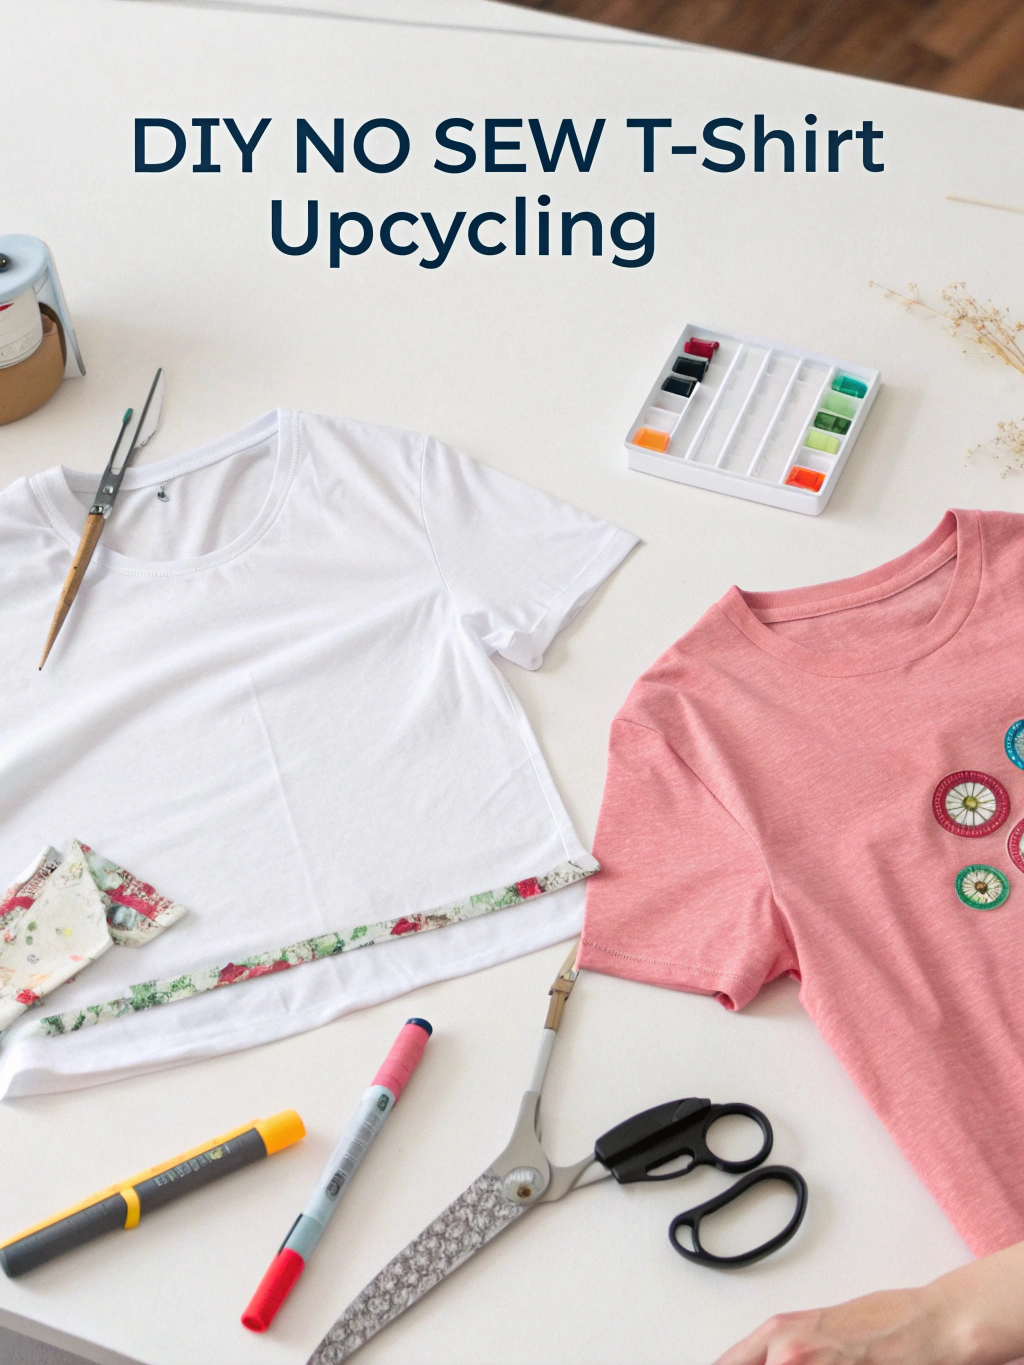
Caption: Step 1 – Laying out your t-shirt flat is key for an even no-sew tote bag.
First, lay your chosen t-shirt flat on a clean work surface. Smooth out any wrinkles to ensure your cuts are as straight as possible. The graphic or design on your t-shirt will be the front of your bag, so position it accordingly.
Next, you’ll want to cut off the sleeves. Follow the seam of the sleeve as your guide, cutting just inside the seam on the body of the shirt. This creates the openings for the bag handles. Don’t worry if it’s not perfectly symmetrical; handmade charm is part of the appeal!
Why this matters: Cutting carefully here defines the shape of your bag’s handles. A common pitfall is cutting too far into the body of the shirt, which can make the handles weak or too wide. Take your time!
Step 2: Widen the Neckline (Optional) / Upcycle T-Shirts No Sew
If your t-shirt has a high crew neck, you might want to widen it slightly to create a larger opening for your bag. You can do this by cutting along the existing neckband, or cutting a deeper U-shape or V-shape.
Be conservative with this cut; you can always trim more, but you can’t add fabric back. This step is entirely optional. Some people prefer the look of the original neckline as the bag’s opening.
Why this matters: This purely affects the aesthetics and accessibility of your bag’s opening. A pitfall here is making the opening too wide, which could compromise the integrity of the handles if you cut too close to your sleeve cuts.
¡Step 3: Cut the Fringe / Upcycle T-Shirts No Sew
Now for the magic that closes the bottom of your bag! Decide how deep you want your bag to be. Lay your ruler across the bottom of the t-shirt, about 3-4 inches up from the hem (or deeper if you want a shorter bag with longer fringe). Using your fabric marker or chalk, draw a line across the width of the t-shirt. This is your “stop cutting” line.
Next, cut off the bottom hem of the t-shirt. Then, starting from the bottom edge, cut vertical strips (fringe) up to the line you drew. Each strip should be about ¾ to 1 inch wide. You’ll be cutting through both layers of the t-shirt simultaneously.
Why this matters: These fringes will be tied together to form the bottom of your bag. A common pitfall is making the fringes too thin (they might tear) or too thick (harder to tie neatly). Also, ensure you cut up to your marked line consistently.
Step 4: Tie the Fringe / Upcycle T-Shirts No Sew
This is the fun, albeit slightly time-consuming, part. You have a few options for tying:
- Simple Knots: Take one strip from the front layer and the corresponding strip from the back layer and tie them together in a tight double knot. Repeat for all pairs of strips.
- Loop-Through Method: Take a front and back strip. Tie a single knot. Then, take one of the tails and loop it through itself again before pulling tight. This creates a very secure closure.
- Knot and Tuck (for a cleaner look): Tie a double knot, then tuck the tails of the knot up into the inside of the bag.
Work your way across the entire bottom edge, ensuring each knot is secure. The closer your knots, the fewer gaps there will be in the bottom of your bag.
Why this matters: This step literally creates the bottom of your bag. Pitfalls include not tying the knots tightly enough (leading to holes or unraveling) or missing a pair of fringes. Give each knot a good tug!
And there you have it – your very own no-sew t-shirt tote bag! Perfect for groceries, library books, or a casual day out. This is a cornerstone project for anyone learning how to upcycle t-shirts no sew ideas.
Idea 2: Make Your Own T-Shirt Yarn (T-Yarn) / Upcycle T-Shirts No Sew
T-shirt yarn, or “tarn,” is a fantastic material for all sorts of crafts, from crochet and knitting (if you do that sort of thing) to weaving, macramé, or even just making chunky bracelets. Creating it is a brilliant upcycle t-shirts no sew project.
Step 1: Prepare the T-Shirt / Upcycle T-Shirts No Sew
Caption: Smooth out your t-shirt, ready to become versatile t-yarn for various no sew t-shirt crafts.
Lay your t-shirt flat on your cutting surface. Smooth it out well. You’ll want to remove the bottom hem and the top part of the shirt (from the armpits up), so you’re left with a tube or rectangle of fabric.
Use your fabric scissors or rotary cutter and ruler to make straight cuts. Cut off the bottom hem first. Then, cut straight across the t-shirt just under the armpits. You should now have a large rectangle or tube of fabric.
Why this matters: Removing the bulky hem and the uneven top section ensures your yarn will be more consistent in width and texture. A common pitfall is not cutting straight, which can lead to uneven yarn later.
Step 2: Cut the Loops / Upcycle T-Shirts No Sew
If you have a tube (from a t-shirt with no side seams), keep it folded. If you have two separate layers (from a t-shirt with side seams), you can work with them one at a time or stacked if your cutter is sharp enough.
Starting from one of the folded edges (or a side edge if it’s not a tube), begin cutting strips about 1 to 1.5 inches wide. Do not cut all the way through to the other side. Leave about 1 inch of fabric intact along one edge (this will be the “spine”). Imagine you’re making a comb.
Why this matters: Leaving one edge intact is crucial for creating one continuous long strand of yarn. Cutting all the way through by mistake is a common pitfall, resulting in many short strips instead of one long one.
Step 3: Create the Continuous Strand / Upcycle T-Shirts No Sew
Caption: The magic cut that turns loops into a single, long piece of t-yarn!
Now, open up the t-shirt so you can see the “spine” you left uncut. Lay this spine flat. You’ll see it connects all the loops you just cut.
To make one continuous strip, you need to cut diagonally across this spine. Start at the bottom edge of the spine. Make your first cut diagonally from the outer edge of the spine to the beginning of the first slit you made. Then, for the next cut, go from the end of the first slit on one side of the spine diagonally to the beginning of the second slit on the other side. Continue cutting diagonally across the spine, connecting one loop to the next.
This part can be a little tricky to visualize, so take your time. Essentially, you’re spiraling your cuts. Many “Upcycle t-shirts no sew projects, No sew t-shirt crafts, How to upcycle t-shirts no sew ideas” tutorials online show this step visually, which can be very helpful. Good Housekeeping often features genius upcycling ideas that might illustrate similar cutting techniques.
Why this matters: This is the key step to getting a single, long piece of yarn. The main pitfall is cutting straight across instead of diagonally, which will just separate the loops.
Step 4: Stretch and Roll / Upcycle T-Shirts No Sew
Caption: Stretching the fabric makes it curl into yarn, ready for your next project.
Once you have your long strip of fabric, gently pull it section by section. As you pull, the cut edges will curl inwards, forming a soft, stretchy yarn. This is the satisfying part!
After stretching the entire length, roll your t-shirt yarn into a ball, just like regular yarn. Now it’s ready to be used in countless other crafting projects!
Why this matters: Stretching helps the yarn achieve its characteristic roundness and softness. A pitfall is pulling too hard on very thin or delicate t-shirt fabric, which might cause it to tear.
Idea 3: No-Sew Braided T-Shirt Headband / Upcycle T-Shirts No Sew
This is a quick and stylish way to upcycle t-shirts no sew, perfect for using up smaller scraps or the sleeves you cut off from the tote bag project!
Step 1: Cut Your Strips / Upcycle T-Shirts No Sew
Caption: Uniform strips are the base for a neat braided headband. This is one of the simplest no sew t-shirt crafts.
You’ll need three strips of t-shirt fabric, each about 1-2 inches wide and at least 20-24 inches long (long enough to go around your head with some extra for tying or securing). If you’ve made t-shirt yarn from Idea 2, you can use that! Otherwise, cut strips from another t-shirt.
Cut them across the grain of the fabric (usually the stretchiest direction). Gently stretch each strip; they will curl in on themselves, much like t-shirt yarn.
Why this matters: Consistent strip width leads to a more uniform braid. The length needs to be adequate for your head size. A pitfall is cutting strips too short.
Step 2: Start the Braid / Upcycle T-Shirts No Sew
Caption: Starting the braid securely is key for a lasting headband.
Take your three strips and hold them together at one end. You can secure this end temporarily by tying a small knot (which you can undo later), using a clothespin to hold them to something, or even just pinching them tightly.
Begin a standard three-strand braid. Cross the right strip over the middle strip. Then, cross the left strip over the new middle strip. Continue this pattern, keeping the braid fairly snug but not too tight, as t-shirt fabric has some give.
Why this matters: A consistent braid tension will result in a neater-looking headband. A common pitfall is braiding too loosely (it might look sloppy) or too tightly (it might not stretch enough or could be uncomfortable).
Step 3: Finish the Braid and Secure / Upcycle T-Shirts No Sew
Caption: Tying off the braid to complete your stylish no-sew accessory.
Braid until the headband is long enough to comfortably fit around your head. You want it to be snug enough to stay on, but not so tight it gives you a headache.
Once you reach the desired length, you have a couple of no-sew options to finish it:
- Tie it Off: Simply tie the three ends together in a secure knot. Then, tie the two knotted ends of the headband together to form a circle. You can trim any excess fabric.
- Fabric Glue (Optional): If you want a flatter join, slightly overlap the ends of the braid and use a strong fabric glue to secure them. You might need to clamp it while it dries. This makes it truly seamless.
- Hidden Knot: Overlap the ends, then use one of the strip tails to wrap around and tie off the join tightly.
Why this matters: A secure finish ensures your headband lasts. A pitfall is not securing the ends properly, leading to the braid unraveling.
This upcycle t-shirts no sew headband is a great accessory, and you can make them in all sorts of colors to match your outfits!
Idea 4: Easy No-Sew Fringe Scarf
Transform an old t-shirt into a chic fringe scarf in minutes. This is one of the simplest how to upcycle t-shirts no sew ideas and works wonderfully with t-shirts that have interesting graphics or colors.
Step 1: Prepare Your T-Shirt / Upcycle T-Shirts No Sew
Caption: Choosing the right t-shirt and laying it flat for the fringe scarf.
Select a t-shirt. Softer, drapier fabrics work best for scarves. Lay it flat on your cutting surface.
Decide how wide you want your scarf to be. Typically, you’ll use the entire width of the t-shirt body.
Cut off the bottom hem of the t-shirt. Then, cut straight across the t-shirt just under the armpits, so you have a large fabric tube.
Why this matters: Removing the hem allows the fringe to hang freely. The tube of fabric forms the main body of your scarf. A pitfall is cutting unevenly, which will be noticeable in the final scarf.
Step 2: Cut the Fringe
Caption: Carefully cutting the fringe for a stylish no-sew t-shirt scarf.
Now, decide how long you want your fringe to be – anywhere from 2 inches to 6 inches or more looks good. Using your ruler and fabric marker, you can mark a guideline on the fabric to ensure your fringe is an even length if you wish, or you can eyeball it for a more organic look.
Start cutting vertical strips into one of the open edges of the tube. Make your cuts about 1/4 to 1/2 inch wide. Cut through both layers of the fabric tube at the same time. Continue cutting fringe all the way around that edge of the tube.
You can choose to fringe just one end of the scarf or both ends for a different look. If you fringe both, repeat the process on the other open edge of the tube.
Why this matters: The fringe is the main decorative element. Consistent width and length (or intentionally varied if that’s your design) make for a better-looking scarf. A common pitfall is cutting fringes too wide (they won’t drape well) or accidentally cutting through the “top” of the scarf.
Step 3: Stretch and Style
Caption: Giving the fringe a gentle tug helps it curl and look its best.
Once all your fringe is cut, gently pull on each piece of fringe. This will cause the fabric to curl slightly and stretch, giving it a more finished, spaghetti-like appearance.
That’s it! Your no-sew fringe scarf is ready to wear. You can loop it, knot it, or just let it hang. This project is a fantastic example of “Upcycle t-shirts no sew projects, No sew t-shirt crafts, How to upcycle t-shirts no sew ideas” that yields quick, fashionable results. You can find more inspiration for upcycling fabric items and other creative ideas from sources like Good Housekeeping’s craft section.
Idea 5: No-Sew T-Shirt Quilt Squares (Preparation)
While a full quilt often involves sewing, you can do all the preparation for t-shirt quilt squares using no-sew methods. This is great if you plan to collaborate with someone who sews, or if you want to use fabric glue for a completely no-sew quilt top assembly later. This project focuses on preserving those cool t-shirt graphics.
Step 1: Select and Cut Out T-Shirt Graphics
Caption: Preserving memories by carefully cutting out t-shirt graphics for quilt squares.
Go through your t-shirt collection and pick out the ones with logos, graphics, or designs you want to save.
Lay each t-shirt flat. Roughly cut around the graphic, leaving a generous margin of at least 2-3 inches of fabric around all sides of the design. Don’t worry about being precise at this stage.
Why this matters: This isolates the desired part of the t-shirt. Leaving a margin gives you room to trim it down to a perfect square later and allows space for applying interfacing. A pitfall is cutting too close to the graphic initially.
Step 2: Apply Fusible Interfacing (Iron-On)
Caption: Interfacing stabilizes the stretchy t-shirt fabric, crucial for quilt squares.
T-shirt fabric is stretchy, which isn’t ideal for quilting as it can distort. Fusible interfacing is a special fabric that you iron onto the back of your t-shirt material to give it stability and prevent stretching. This is an essential step for t-shirt quilts, even no-sew ones.
Cut a piece of medium-weight fusible interfacing slightly smaller than your rough-cut t-shirt graphic piece. Place the t-shirt graphic face down on your ironing board. Place the interfacing on the back of the graphic, typically with the bumpy/glue side down against the fabric. Follow the manufacturer’s instructions for your specific interfacing, but generally, you’ll press with a hot, dry iron for 10-15 seconds in each spot until the interfacing is fused to the t-shirt fabric.
Why this matters: Stabilizing the fabric is key to creating neat, uniform quilt squares that won’t warp. A common pitfall is using too hot an iron (can melt some synthetic graphics) or not enough heat/pressure (interfacing won’t stick properly). Test on a scrap piece first if unsure.
Step 3: Trim to Uniform Squares
Caption: Precision cutting creates uniform squares, the building blocks of your t-shirt quilt.
Once the interfacing is applied and cooled, it’s time to trim your fabric pieces into perfect squares. Decide on a standard size for your quilt squares (e.g., 12×12 inches, 14×14 inches).
Using a rotary cutter, quilting ruler, and cutting mat is highly recommended for this step to get perfectly straight edges and precise corners. Carefully measure and cut each interfaced t-shirt piece into your chosen square size, centering the graphic as best as possible.
Why this matters: Uniform squares are essential for assembling a quilt, whether sewn or no-sew. Pitfalls include inaccurate measurements or crooked cuts, which will make assembly difficult.
You now have a collection of stabilized t-shirt quilt squares! These can be joined with fabric glue (look for strong, permanent fabric adhesives), iron-on seam tape, or by punching holes and lacing them together for a truly unique no-sew quilt top. This upcycle t-shirts no sew technique is fantastic for memory quilts.
Idea 6: No-Sew Pet Bed Filling / Braided Tug Toy
Our furry friends can also benefit from your upcycle t-shirts no sew efforts! Old t-shirts make excellent stuffing for pet beds or can be turned into durable tug toys.
For Pet Bed Filling – Step 1: Cut T-Shirts into Strips or Pieces
Caption: Transforming old tees into comfy, eco-friendly filling for a pet bed.
Take your clean, old t-shirts. Using your fabric scissors, simply cut them into small strips or irregular small pieces. The size doesn’t need to be exact, but aim for pieces that are roughly 1-2 inches wide and a few inches long. The goal is to create a fluffy, pliable mass.
Avoid any parts with buttons, zippers, or hard embellishments that could be uncomfortable or a choking hazard for your pet. Cotton t-shirts are ideal as they are soft and breathable.
Why this matters: Smaller pieces create a more comfortable and evenly distributed filling. A common pitfall is leaving pieces too large, which can make the bed lumpy.
For Pet Bed Filling – Step 2: Stuff Your Pet Bed Cover
Caption: Giving an old pet bed new life or creating a new one with upcycled t-shirt stuffing.
If you have an existing pet bed cover that needs re-stuffing, or if you’ve made or bought a new one, simply fill it with your cut-up t-shirt pieces. Fluff it up as you go to ensure even distribution.
This is a fantastic, eco-friendly alternative to synthetic poly-fill and a great way to make use of t-shirts that are too stained or damaged for other projects.
Why this matters: Proper stuffing ensures comfort for your pet. A pitfall could be overstuffing (making it too hard) or under-stuffing (not supportive enough).
For Braided Tug Toy – Step 1: Cut Long, Wide Strips
Caption: Durable t-shirt strips ready to be braided into a fun toy for your dog.
For a tug toy, you’ll want longer, wider strips of t-shirt fabric. Cut strips about 2-4 inches wide and as long as possible (e.g., from the bottom of the shirt up to the armpits, then cut open the tube). You’ll need at least three such strips for a simple braid, or more for a thicker, more complex braid (like a square knot braid).
Heavier weight t-shirts (like those from men’s sizes or thicker cotton) work best as they are more durable.
Why this matters: The length and width of the strips will determine the size and durability of your toy. Strips that are too thin might break easily during enthusiastic play.
For Braided Tug Toy – Step 2: Braid Tightly and Knot
Caption: A sturdy, braided tug toy made from upcycled t-shirts – hours of fun for your pup!
Take your strips (let’s say three for a start). Tie a very secure knot at one end, leaving a little bit of fringe. Then, braid the strips together as tightly as you can. A tight braid makes the toy stronger and more resistant to tearing.
Once you reach near the end of your strips, tie another very secure knot. You can leave some fringe on this end too. For extra durability, you can even incorporate knots along the length of the braid.
Why this matters: Tight braiding and secure knots are essential for a toy that can withstand playful tugging. A common pitfall is loose braiding or weak knots, which can lead to the toy unraveling quickly. Always supervise your pet with homemade toys.
Idea 7: Super Simple No-Sew Reusable Cleaning Rags
This is the ultimate utilitarian upcycle t-shirts no sew project and requires minimal effort but provides maximum practicality! Old cotton t-shirts make fantastic cleaning rags.
Step 1: Select Your T-Shirts
Caption: Giving even the most worn-out t-shirts a new purpose as cleaning rags.
Choose t-shirts that are clean but perhaps too stained, ripped, or worn out for any other upcycling project. Cotton and cotton blends are best because they are absorbent. Avoid t-shirts with very slick prints or embellishments that might scratch surfaces or not absorb well.
Why this matters: The material of the t-shirt dictates its effectiveness as a rag. Pure cotton is king for absorbency.
Step 2: Cut into Rag-Sized Pieces
Caption: No fancy cuts needed – just practical sizes for all your cleaning tasks.
Lay your t-shirt flat. Using your fabric scissors, simply cut the t-shirt into usable-sized squares or rectangles. There are no rules here – cut them to sizes you find convenient for different cleaning tasks (e.g., smaller ones for dusting, larger ones for spills or washing floors/cars).
Cut away any thick hems, neckbands, or seams if you prefer a smoother rag, though this isn’t strictly necessary.
You’ll be amazed at how many good-quality cleaning rags you can get from just a few old shirts.
Why this matters: Having a variety of sizes can be useful for different chores. The main thing is simply to get them into a manageable shape. There are no real pitfalls here – it’s that easy!
These no-sew cleaning rags are absorbent, washable, and save you money on disposable paper towels or store-bought rags. It’s a small change that contributes to a more sustainable household.
The Amazing Final Result: Your Upcycled Creations!
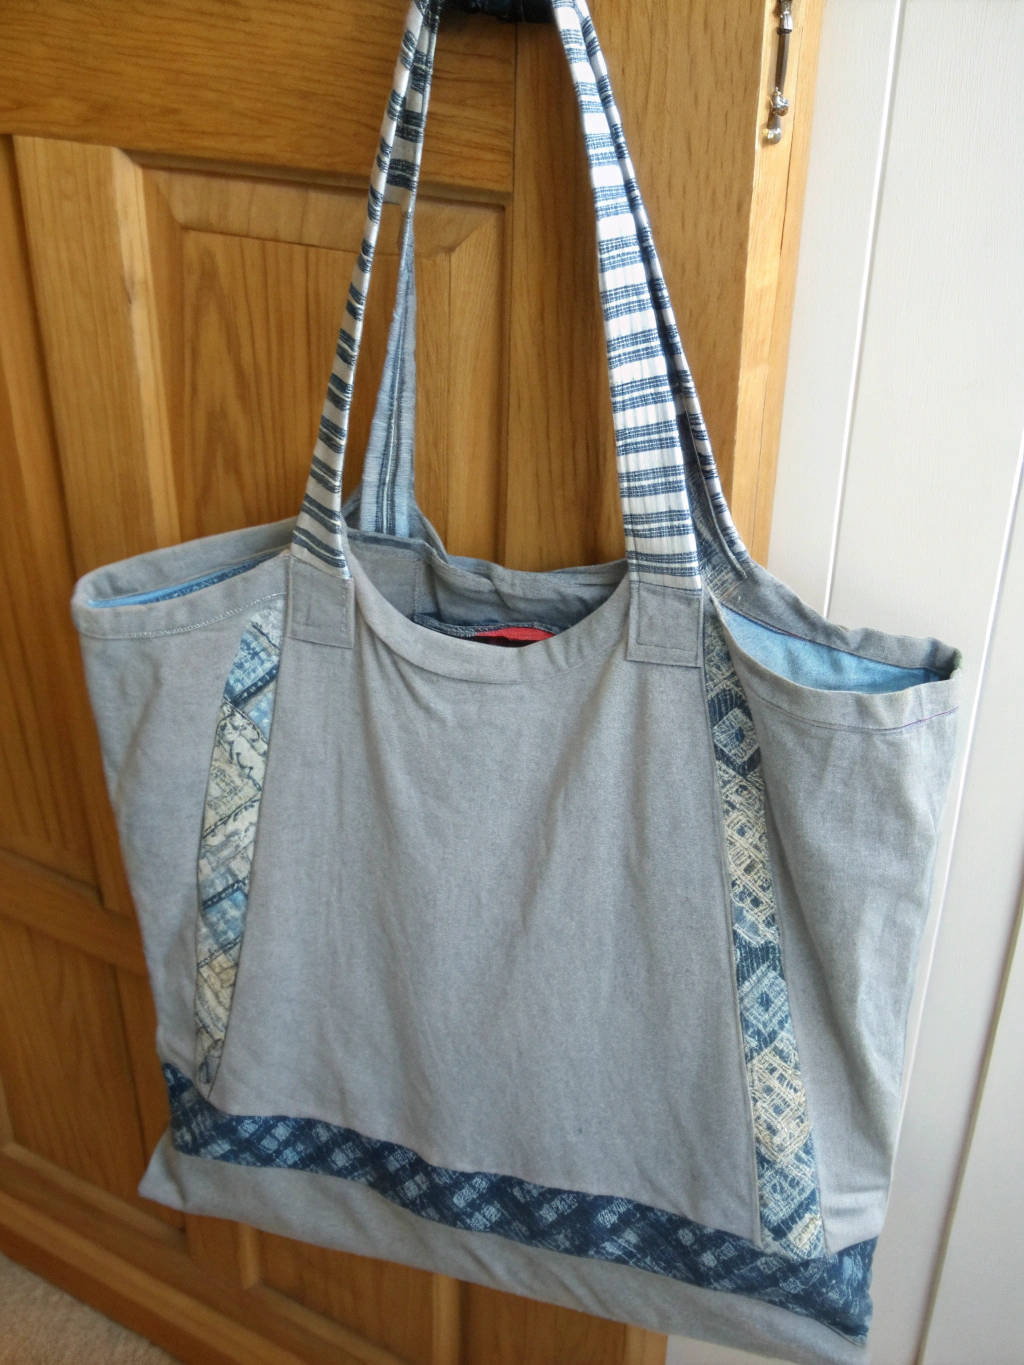
Caption: Behold your awesome creations! Who knew those old t-shirts had so much potential? Your journey to upcycle t-shirts no sew is a success!
Look at that! From a pile of forgotten tees to a collection of useful, stylish, and fun new items – all without touching a sewing machine. You’ve successfully learned how to upcycle t-shirts no sew and created everything from practical tote bags and cleaning rags to fun accessories like headbands and pet toys.
Each piece tells a story, not just of its former life as a t-shirt, but now of your creativity and resourcefulness. These no sew t-shirt crafts are more than just a way to pass the time; they’re a step towards more sustainable living, reducing waste, and expressing your personal style. Give yourself a pat on the back!
We’d absolutely love to see what you’ve made! Share your finished upcycle t-shirts no sew projects in the comments below, or tag us on social media. What was your favorite project? Do you have any other no-sew t-shirt ideas to share?
Pro Tips & FAQs for No-Sew T-Shirt Upcycling
Here are a few extra tips and answers to common questions to make your upcycle t-shirts no sew experience even better.
What are the best type of t-shirts for no-sew projects?
Click to expand
Generally, 100% cotton or cotton-blend t-shirts work best. They are easy to cut, don’t fray excessively, and the fabric often curls nicely when stretched (great for t-yarn or fringe). Thinner, softer t-shirts are good for scarves and headbands, while thicker, sturdier ones are better for tote bags or pet toys. Always wash and dry your t-shirts before starting any “**Upcycle t-shirts no sew projects, No sew t-shirt crafts, How to upcycle t-shirts no sew ideas**”.
How can I make my cuts cleaner and straighter without a rotary cutter?
Click to expand
Sharp fabric scissors are your best friend! Lay your fabric flat and smooth. Use a ruler and fabric chalk or a washable marker to draw your cutting lines first. Take long, smooth cuts with the scissors rather than short, choppy ones. Pinning layers together can also help prevent slipping if you’re cutting through multiple layers for projects like tote bag fringes.
My t-shirt yarn isn’t curling, what did I do wrong?
Click to expand
The curling effect happens best with knit fabrics, like typical t-shirt jersey. Make sure you cut your strips *across the grain* of the fabric (usually the stretchiest direction). After cutting, give the strips a good, firm tug. This encourages the edges to roll in. If the fabric is very thick or has a high synthetic content, it might not curl as much. This is a common question when learning **how to upcycle t-shirts no sew ideas** into yarn.
Can I wash my no-sew t-shirt creations?
Click to expand
Yes, most of them! For items like tote bags with knotted fringes, t-shirt yarn, headbands, and cleaning rags, a gentle machine wash or hand wash in cool water is usually fine. Air dry when possible to preserve their shape and prevent excessive shrinkage or stress on the knots/braids. For items with glued components (like potentially the quilt squares if you use fabric glue), check the glue’s instructions, but handwashing is often safest.
Where can I find more inspiration for no-sew t-shirt crafts?
Click to expand
The internet is your oyster! Websites like Pinterest are full of visual ideas. Crafting blogs and sites often feature no-sew projects. For broader inspiration on upcycling, including various “**Upcycle t-shirts no sew projects, No sew t-shirt crafts, How to upcycle t-shirts no sew ideas**”, check out resources like [Good Housekeeping’s crafting guides](https://www.goodhousekeeping.com/home/craft-ideas/how-to/g139/genius-upcycling-ideas/) for a wealth of creative concepts. And of course, keep an eye on our site for more upcycle t-shirts no sew tutorials!
Keep the Creativity Flowing!
We hope these 7 ideas have sparked your imagination and shown you just how easy and rewarding it is to upcycle t-shirts no sew. Don’t let those old tees languish in your drawers any longer! Turn them into something new, useful, and uniquely yours.
What are you waiting for? Grab those scissors, pick a project, and get crafting!
Don’t forget to share your creations and any questions in the comments below. We love hearing from fellow DIY enthusiasts!
Want more DIY tips, upcycling ideas, and home improvement hacks? Sign up for our newsletter and follow us on social media to stay inspired! Happy upcycling!

