Introduction
Ever stare at a crumpled ball of used aluminum foil and think, “There has to be a better way than just tossing this in the bin?” If you’re a fellow home improvement enthusiast, you know the satisfaction of transforming everyday items into something new and useful. That’s exactly what we’re diving into today as we explore how to upcycle tin foil. Instead of contributing to landfill waste, let’s unlock the hidden potential of this common kitchen Pmaterial. Get ready to discover some surprisingly ingenious and creative tin foil crafts that are not only eco-friendly but also incredibly fun to make. We’ll share five fantastic upcycle tin foil ideas that will change the way you look at leftover foil forever.
From practical household helpers to charming decorative pieces, learning how to upcycle tin foil is easier than you think. This guide will walk you through simple yet effective methods to give your used foil a second life. So, smooth out those crinkles, and let’s get crafting!
Table of Contents
Table of Contents
What You’ll Need
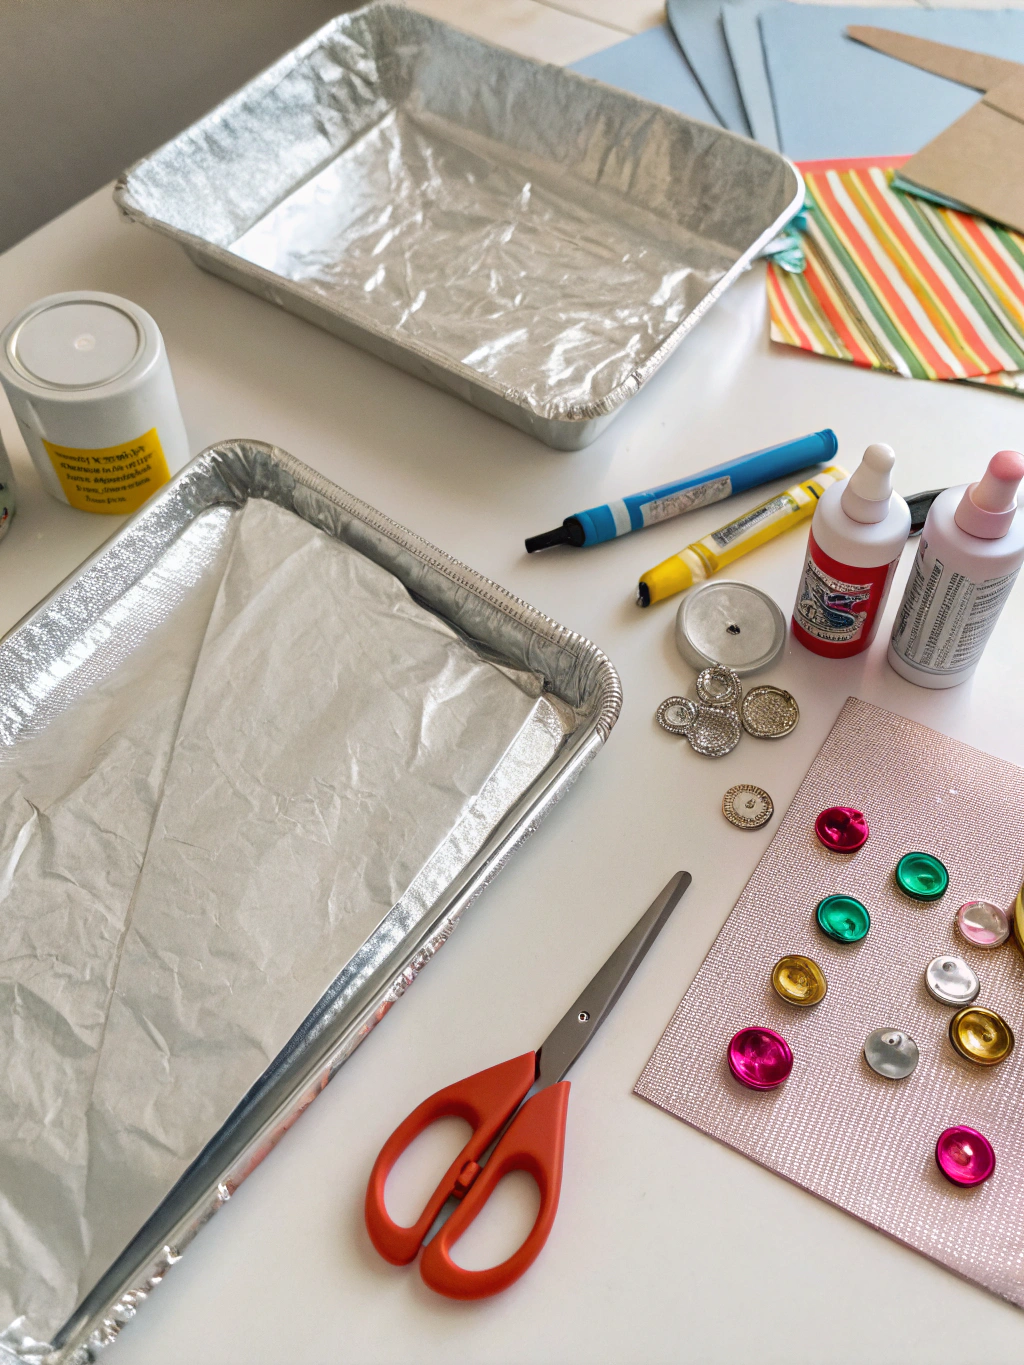
Before we dive into the creative projects, let’s gather our supplies. Having everything ready will make the process smoother and more enjoyable. Most of these items are likely already in your craft stash or kitchen drawers!

Caption: Gather these simple tools and materials to start your tin foil upcycling adventure.
Here’s a general list of what you might need for our upcycle tin foil projects:
- Used Aluminum Foil: Cleaned and dried. The star of our show! Ensure it’s free from food residue. Lightly crumpled foil is fine, and often adds to the texture.
- Sharp Scissors: For cutting the foil into desired shapes and sizes.
- Craft Glue or Hot Glue Gun: Depending on the project, a good adhesive is key. Hot glue offers a quick, strong bond, while craft glue can be more forgiving for adjustments.
- Protective Gloves (Optional but Recommended): Foil edges can sometimes be sharp.
- Ruler or Measuring Tape: For precise cuts and measurements.
- Pencil or Craft Knife: For scoring or marking the foil.
- Old Newspapers or Craft Mat: To protect your work surface.
- Decorative Elements (Optional): Paint, glitter, beads, yarn, etc., to further embellish your creations. Think about how you can enhance your DIY tin foil projects.
- Cardboard (e.g., cereal boxes): For providing structure to some projects.
- Wire (thin gauge): Useful for creating armatures or hangers.
How to Upcycle Tin Foil: 5 Creative Projects
Ready to transform that pile of used foil? Let’s explore five fun and practical ways to upcycle tin foil. Each project offers a unique way to repurpose this versatile material. Remember to always work in a well-ventilated area, especially if using strong adhesives or paints.
Project 1: DIY Seedling Starters
One of the most practical upcycle tin foil ideas is creating your own seedling starters. These are perfect for giving your garden an early boost and are a fantastic eco-friendly alternative to plastic pots.
Step 1: Prepare Your Foil Squares

Alt text: Step 1 – Cutting clean used tin foil into squares for DIY seedling starters, a key step to upcycle tin foil.
First, take your cleaned used aluminum foil and smooth it out as much as possible. Don’t worry about minor wrinkles; they add character! Cut the foil into squares, roughly 6×6 inches (15×15 cm). The exact size can vary depending on how large you want your seedling pots to be.
This step is crucial because uniform squares will result in more consistent pot sizes. If your foil is very thin, you might consider using a double layer for extra durability. This is a simple way to begin learning how to upcycle tin foil effectively.
Step 2: Shape the Pots
Next, you’ll shape your foil squares into small pots. Find a cylindrical object to use as a mold – a spice jar, a small can, or even a thick marker will work. Wrap a foil square around the base of your chosen mold, pressing firmly to shape it.
Ensure the bottom is well-formed and relatively flat so your seedling pot can stand on its own. Overlap the foil edges slightly and crimp them together to secure the shape. Carefully slide the newly formed foil pot off the mold. This method makes creating DIY tin foil projects like seedling pots quick and easy.
Step 3: Reinforce and Add Drainage
Once your pot is shaped, gently fold down the top edge by about half an inch (1 cm) towards the inside. This creates a smoother, sturdier rim. This small detail makes a big difference in the pot’s structural integrity, preventing it from collapsing when filled with soil.
Finally, using a pencil or a skewer, poke a few small holes in the bottom of each foil pot for drainage. This is a vital step for healthy plant growth, preventing waterlogging. Your upcycle tin foil seedling starters are now ready for soil and seeds!
Project 2: Textured Art and Ornaments
Unleash your inner artist with this creative tin foil craft. You can create stunning textured art pieces or unique ornaments using the malleability of foil.
Step 1: Create a Foil Sheet Base
Take several pieces of your cleaned used tin foil and layer them on top of each other. The number of layers depends on the thickness and texture you desire. Gently crumple the layered foil, then carefully smooth it out again, but not completely flat. This process creates a beautiful, organic texture full of crinkles and ridges.
You can press the layers together firmly. If you want a thicker, more rigid base, consider gluing the layers together or adhering the foil to a piece of thin cardboard. This foundation is key to many upcycle tin foil ideas involving decorative elements.
Step 2: Design and Emboss
Now, it’s time to get creative! Lay your textured foil sheet on a soft surface, like a stack of newspapers or a craft foam sheet. Using a dull pencil, a ballpoint pen (out of ink is great!), or an embossing tool, draw or trace a design onto the foil.
Press firmly enough to create indentations but not so hard that you tear the foil. You can create abstract patterns, floral designs, animal shapes, or even lettering. The beauty of this creative tin foil craft is that the metallic surface catches the light, highlighting your embossed design.
Step 3: Cut, Shape, and Embellish
Once your design is embossed, carefully cut out your shape using sharp scissors. If you’re making ornaments, use a skewer or needle to poke a small hole at the top for hanging. You can further enhance your creation by painting it (acrylics work well), adding glitter, or gluing on small beads or sequins.
For a more antique look, you can apply a thin wash of black or brown paint and then wipe most of it off, leaving paint in the crevices to accentuate the texture. This is a fantastic way to showcase how to upcycle tin foil into something truly artistic. For more inspiration on intricate designs, you might explore resources on "Creative tin foil crafts, Upcycle tin foil ideas, How to upcycle tin foil".
Project 3: Sharpening Scissors and Cleaning Grill Grates
This is less of a “craft” and more of a super practical way to upcycle tin foil. Used foil can be surprisingly effective for common household tasks!
Step 1: Foil for Sharpening Scissors
Take a piece of used aluminum foil, about 8-10 inches long. Fold it several times lengthwise to create a thick, multi-layered strip. The more layers, the better the sharpening effect will be.
This simple preparation turns your foil into a makeshift sharpening stone. It’s a quick fix when your scissors start to feel dull and you need to repurpose aluminum foil in a pinch.
Step 2: The Sharpening Action
Now, take your dull scissors and simply cut through the folded foil strip multiple times – about 10 to 15 cuts should do the trick. As the blades cut through the foil layers, the friction helps to hone and deburr the edges, making them sharper.
This won’t replace professional sharpening for very damaged scissors, but it’s an excellent way to quickly improve the cutting S_POWER of moderately dull ones. It’s one of the easiest upcycle tin foil ideas with immediate results.
Step 3: Foil for Cleaning Grill Grates
Another fantastic utilitarian use for used foil is cleaning your barbecue grill grates. After your next cookout, while the grill is still warm (but not scorching hot!), take a piece of used foil and crumple it into a ball about the size of your fist.
Wearing a heat-resistant glove, use tongs to grip the foil ball and scrub the grates. The abrasive texture of the crumpled foil works wonders at removing burnt-on food and grease. This method to upcycle tin foil is eco-friendly and saves you from using harsh chemical cleaners. For stubborn grime, you might need a couple of foil balls.
Project 4: DIY Reflectors for Photography or Plants
Need a bit more light for your indoor plants or a simple reflector for your DIY photography setup? Upcycle tin foil to the rescue!
Step 1: Create a Foil-Covered Board
Find a sturdy piece of cardboard – an old cereal box or a shipping box panel will work perfectly. Cut it to your desired reflector size. Then, take clean sheets of used aluminum foil and glue them onto one side of the cardboard, shiny side out.
Smooth the foil as much as possible to maximize reflectivity, but some minor crinkles are fine and can even help diffuse the light a bit. Overlap the foil pieces slightly to ensure full coverage. This is a core technique for many practical DIY tin foil projects.
Step 2: Using as a Plant Light Reflector
Place your newly created foil reflector behind or beside indoor plants that aren’t getting enough natural light. Position it so that it catches sunlight from a window and bounces it back onto the leaves of your plants.
This simple trick can significantly increase the amount of light your plants receive, promoting healthier growth. It’s an excellent eco friendly tin foil use for plant lovers, especially during winter months when daylight is scarce.
Step 3: Using as a Photography Reflector
For DIY photographers, this foil-covered board can serve as a handy fill light reflector. When taking photos, especially portraits or product shots, position the reflector to bounce light onto the shadowy areas of your subject.
This helps to reduce harsh shadows and create more evenly lit images. You can experiment with the angle and distance of the reflector to achieve different lighting effects. Learning how to upcycle tin foil this way can save you money on photography equipment.
Project 5: Decorative Tin Foil Embossed Coasters
Let’s finish with another creative tin foil craft: making unique and stylish coasters. These can be customized to match your decor or given as handmade gifts.
Step 1: Prepare Coaster Bases and Foil
Cut out coaster bases from sturdy cardboard. Squares of 4×4 inches (10×10 cm) are a standard size. For a more durable coaster, you can use old ceramic tiles or thin pieces of wood as your base instead.
Next, cut pieces of your cleaned used aluminum foil slightly larger than your coaster bases – allow about an extra inch (2.5 cm) on all sides. This extra foil will be wrapped around the edges. Experimenting with different upcycle tin foil ideas like this can yield beautiful results.
Step 2: Emboss Your Foil Designs
Similar to Project 2, lay your foil pieces (shiny side up) on a soft surface. Use a dull pencil or embossing tool to create your designs. You could try geometric patterns, monograms, or nature-inspired motifs.
Remember, the crinkles in the used foil will add to the unique texture of your coasters. Take your time with this step, as the embossed design will be the main feature. This is where the artistry in learning how to upcycle tin foil truly shines. For further ideas and techniques, exploring "Creative tin foil crafts, Upcycle tin foil ideas, How to upcycle tin foil" can be very beneficial.
Step 3: Assemble and Finish the Coasters
Apply a thin, even layer of craft glue to the top surface of one cardboard base. Carefully place your embossed foil piece over it, centering your design. Gently smooth the foil down, starting from the center and working outwards, to eliminate air bubbles.
Fold the excess foil over the edges and glue it to the back of the cardboard. For a neat finish, you can glue a piece of felt or cork to the bottom of the coaster. Allow the glue to dry completely. You might want to apply a thin coat of clear sealant (like Mod Podge) over the foil to protect the design and make the coasters more water-resistant. If you’re looking for more advanced techniques, you can always delve deeper into how to upcycle tin foil.
Final Result
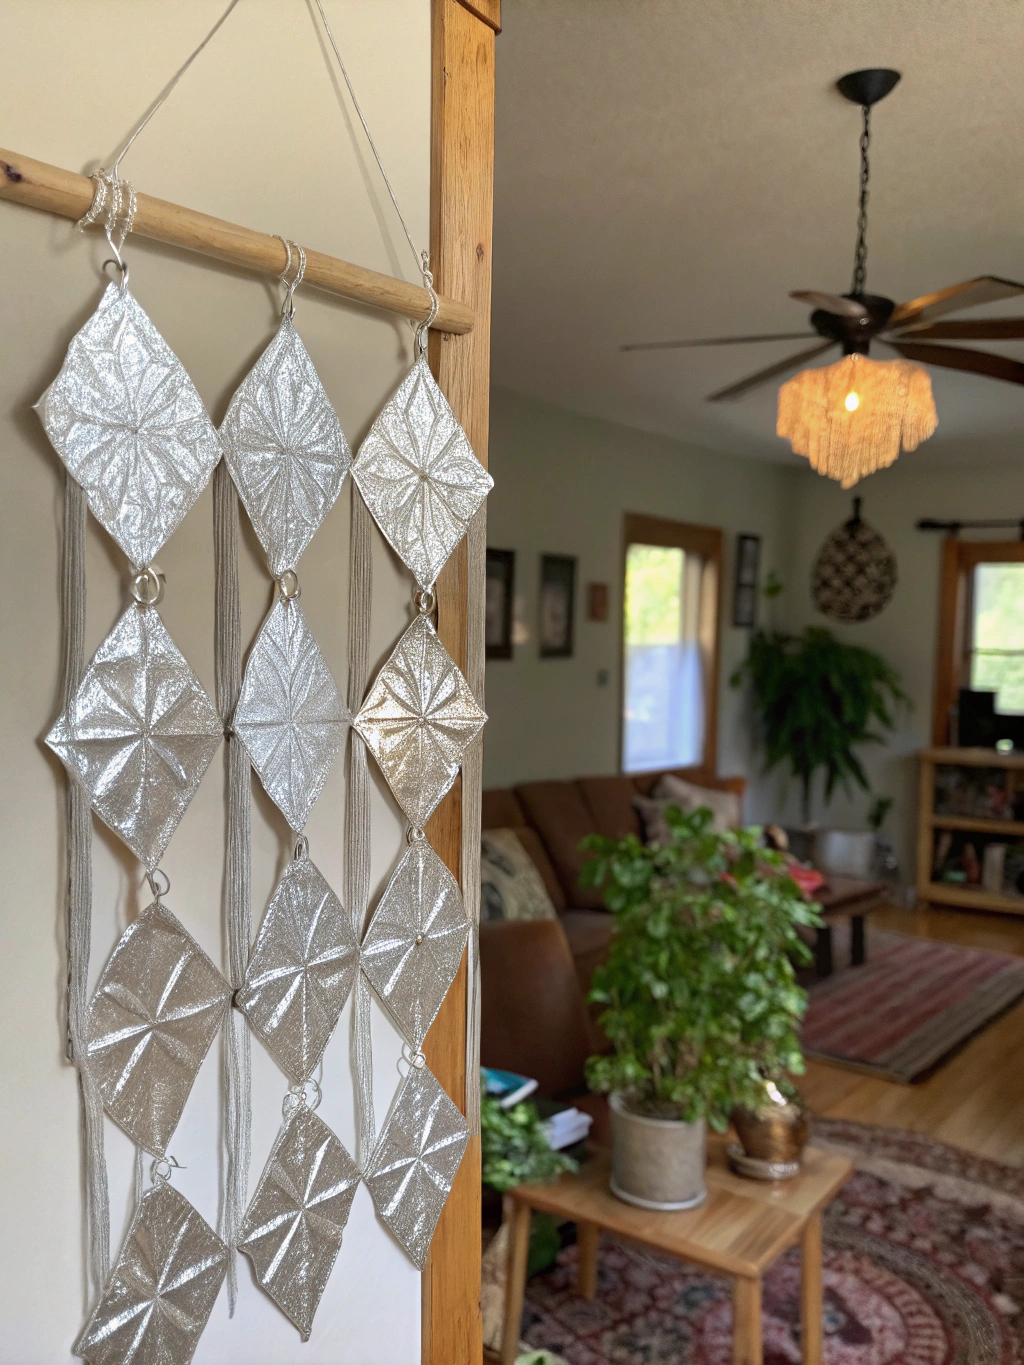
And there you have it! Five creative, eco-friendly, and surprisingly simple ways to upcycle tin foil. From practical garden helpers and kitchen tools to unique art pieces and home decor, your used aluminum foil has so much more to offer than a one-way trip to the landfill.

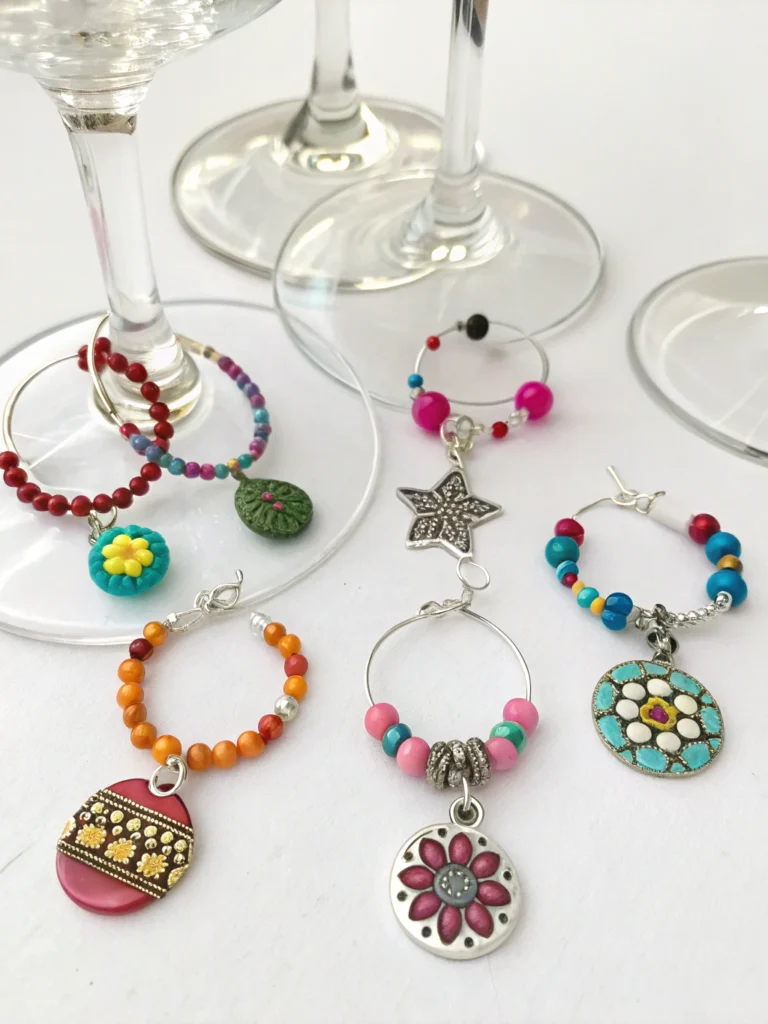
Caption: The beautiful and practical results of your efforts to upcycle tin foil – from seedling pots to art!
By embracing these upcycle tin foil ideas, you’re not just making cool stuff; you’re also making a positive impact on the environment. Each piece of foil you repurpose is one less item in the waste stream. We hope these projects have inspired you to look at everyday “trash” with new eyes and a DIY spirit!
What do you think? Which of these creative tin foil crafts are you excited to try first? Or perhaps you have your own ingenious ways to repurpose aluminum foil? Share your thoughts, experiences, and any brilliant tin foil upcycling tips you have in the comments below! We love learning from our community of home improvement enthusiasts.
Pro Tips / FAQs
To help you get the most out of your tin foil upcycling adventures, here are some pro tips and frequently asked questions:
Q1: What’s the best way to clean used tin foil before upcycling?
A: The best way to clean used tin foil depends on what was on it. For light grease or food residue, a simple wash with warm soapy water is usually sufficient. Gently wipe it clean with a soft sponge or cloth, rinse thoroughly, and let it air dry completely or pat it dry with a towel. Avoid vigorous scrubbing, which can tear thinner foil. If the foil has very stubborn, baked-on food, it might be challenging to clean perfectly; in such cases, you might prioritize using it for projects where pristine cleanliness isn’t paramount, like for sharpening scissors or as a grill cleaner. Remember, clean foil is key for most **DIY tin foil projects** intended for crafts or decoration.
Q2: Can I use any type of aluminum foil for these upcycling projects?
A: Yes, generally, you can use any type of household aluminum foil – standard, heavy-duty, or even non-stick (though the non-stick coating might affect paint or glue adhesion slightly). Heavy-duty foil is naturally more durable and easier to work with for projects requiring more structure, like the seedling pots or coasters. Thinner foil is great for embossing and creating delicate textures. The key is that it’s clean. Experiment with different types to see what works best for your specific **upcycle tin foil ideas**.
Q3: Are there any safety precautions I should take when working with tin foil?
A: While generally safe, there are a few things to keep in mind. Foil edges, especially when cut, can be surprisingly sharp. Consider wearing thin craft gloves, particularly if you’re handling a lot of foil or have sensitive skin. When using a hot glue gun, always be cautious to avoid burns. If you’re painting or using strong adhesives, work in a well-ventilated area. And, of course, always supervise children if they are participating in these **creative tin foil crafts**.
Q4: How can I make my upcycled tin foil creations more durable?
A: For added durability, especially for items like coasters or ornaments, consider a few techniques. You can back the foil with a sturdier material like cardboard or thin wood. Applying a clear sealant, such as Mod Podge or a spray acrylic sealer, can protect the foil surface from scratches, moisture, and tarnishing. For projects needing more rigidity, using multiple layers of foil, or even incorporating wire for structure (like in sculptures), can significantly enhance durability. These small steps elevate your **upcycle tin foil** projects from simple crafts to lasting pieces.
Q5: Where can I find more “Upcycle tin foil ideas” or inspiration for “Creative tin foil crafts”?
A: The internet is a treasure trove of inspiration! Websites like Pinterest, DIY blogs, and craft forums are excellent resources. Searching for terms like `”Creative tin foil crafts, Upcycle tin foil ideas, How to upcycle tin foil”` will yield numerous tutorials and visual ideas. Don’t be afraid to experiment and combine techniques from different crafts. Attending local craft fairs or workshops can also spark new ideas for how to **repurpose aluminum foil** in unique ways.
We hope these tips and FAQs help you on your journey to master the art of upcycle tin foil!
Ready to give these projects a try? Don’t forget to share your creations and any other brilliant upcycle tin foil ideas in the comments below. We’d love to see what you make!
For more DIY inspiration and eco-friendly home improvement tips, be sure to subscribe to our newsletter and follow us on social media. Happy crafting!


