Introduction
Are you staring at a mountain of fabric scraps, wondering what to do with all those beautiful remnants? Don’t let them gather dust! We’re going to show you how to transform those leftovers into a stunning upcycled fabric scraps wreath, a project that’s not only incredibly satisfying but also adds a personalized touch to your home decor. This eco-friendly craft is perfect for anyone, from seasoned DIYers to beginners looking for a fun weekend activity. Get ready to unleash your creativity and give those fabric odds and ends a gorgeous new life. It’s easier than you think to create something truly special and sustainable.
Table of Contents
Table of Contents
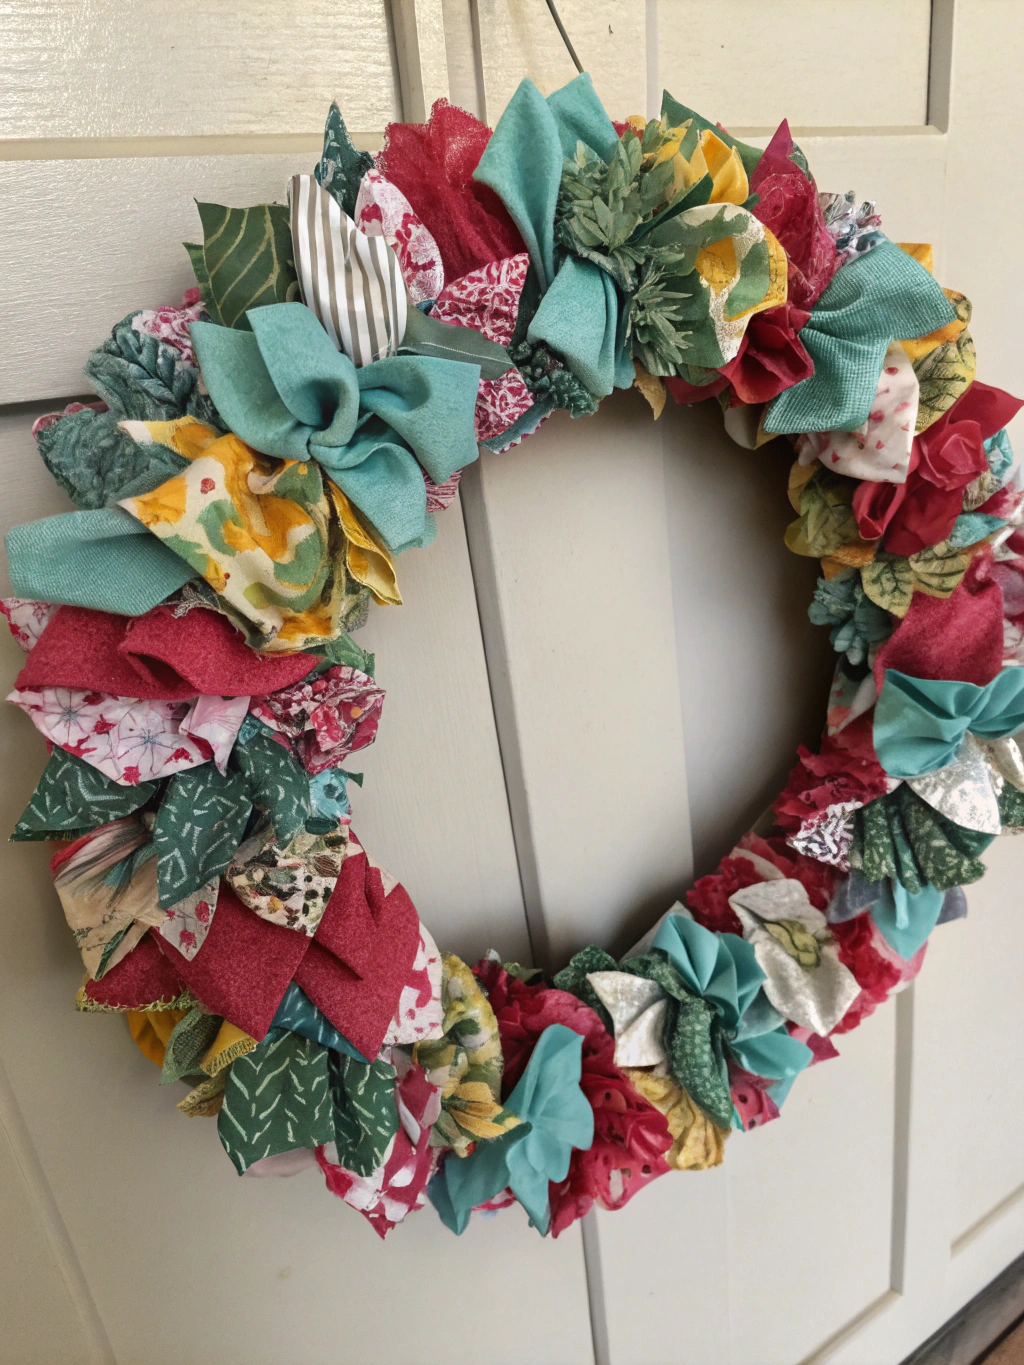
*Caption: Your very own stunning upcycled fabric scraps wreath, ready to brighten any space!*
What You’ll Need
Before we dive into the fun part, let’s gather our supplies. The beauty of this project is its flexibility; you can adapt it based on what you have on hand. Making an upcycled fabric scraps wreath is all about resourcefulness!
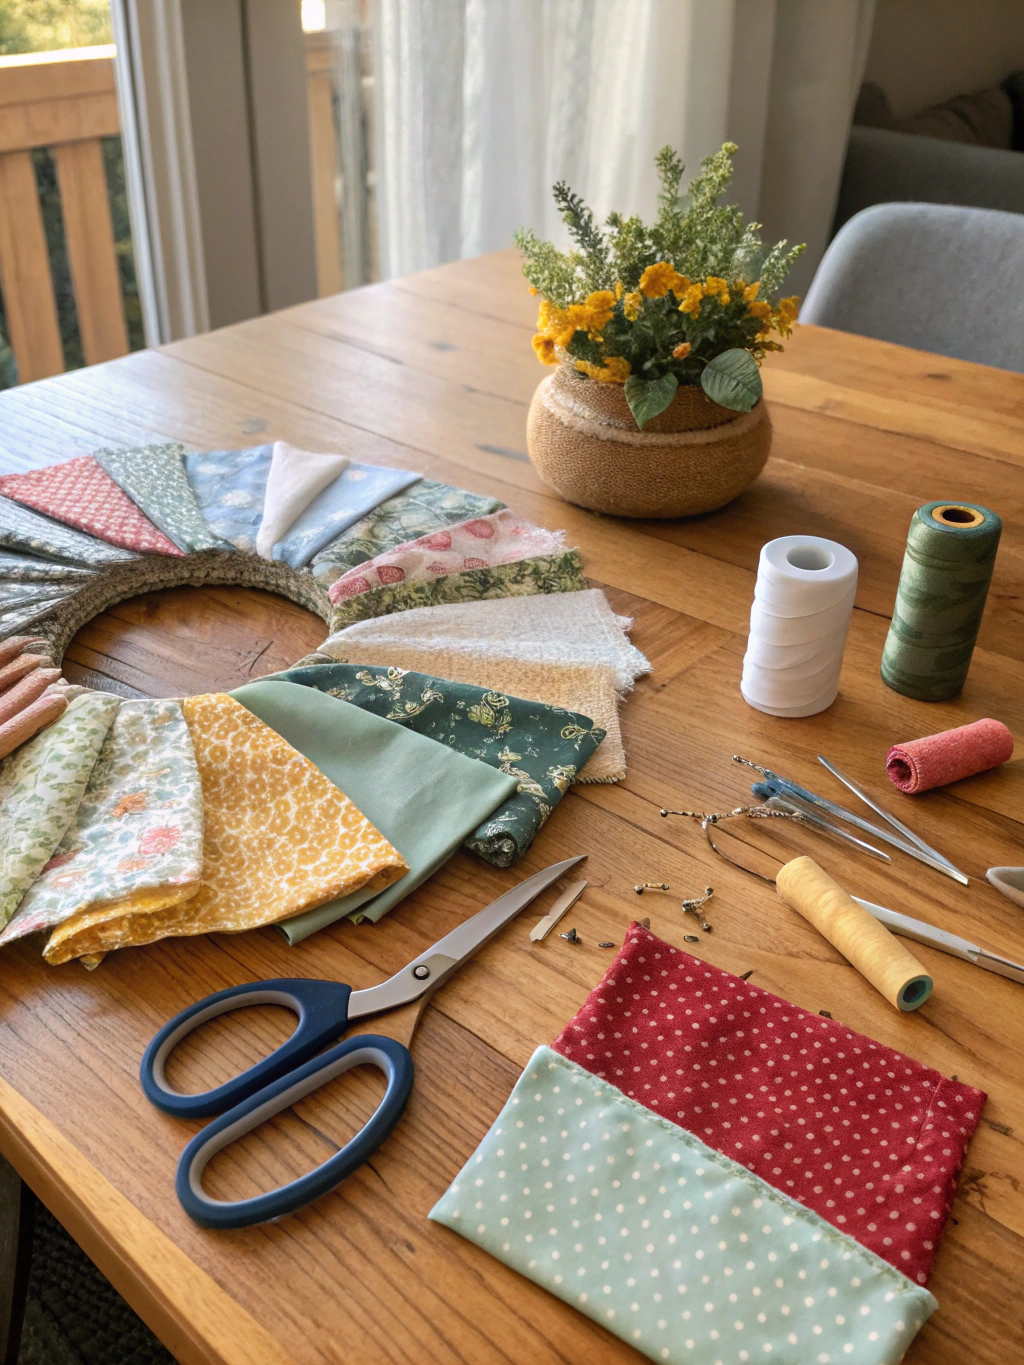
*Caption: All the essential tools and materials you’ll need for your DIY upcycled fabric scraps wreath project.*
Here’s a list of what you’ll typically need:
- Fabric Scraps: Lots of them! Variety in color, texture, and pattern will make your wreath more interesting. Think old clothes, leftover quilting fabric, ribbons, lace – anything goes. Aim for strips roughly 1-2 inches wide and 6-8 inches long.
- Wreath Form: You have options here!
- Wire wreath form: These are readily available at craft stores and provide a sturdy base.
- Straw wreath form: Another good option, though you might want to wrap it in a neutral fabric first if the straw will show through.
- Foam wreath form: Lightweight and easy to work with.
- DIY wreath form: Get creative! An old embroidery hoop, a sturdy cardboard cutout, or even a bent wire coat hanger can work in a pinch.
- Sharp Fabric Scissors or a Rotary Cutter and Mat: Essential for cutting your fabric into neat strips. A rotary cutter will make this process much faster, especially if you have a lot of fabric.
- Ruler: To ensure your fabric strips are a consistent size, though “eyeballing it” also works for a more rustic look.
- Optional: Hot Glue Gun and Glue Sticks: While many no-sew methods exist, a hot glue gun can be handy for securing stubborn fabric pieces or adding embellishments.
- Optional: Embellishments: Buttons, beads, faux flowers, small ornaments – let your imagination run wild!
Remember, part of the charm of an upcycled fabric scraps wreath is its uniqueness. Don’t worry about perfection; embrace the handmade aesthetic. Many brilliant “DIY upcycled fabric scraps wreath, How to make a fabric scraps wreath, Sustainable fabric wreath ideas” can be found online for further inspiration.
Step-by-Step Guide to Your Upcycled Fabric Scraps Wreath
Alright, let’s get crafting! Follow these five simple steps, and you’ll have a gorgeous wreath in no time. This process is very forgiving, so relax and enjoy it.
Step 1: Prepare Your Fabric Scraps
This is where the transformation begins! Gather all your fabric scraps. If you’re using old clothing, make sure it’s clean. The goal here is to cut your fabric into strips.
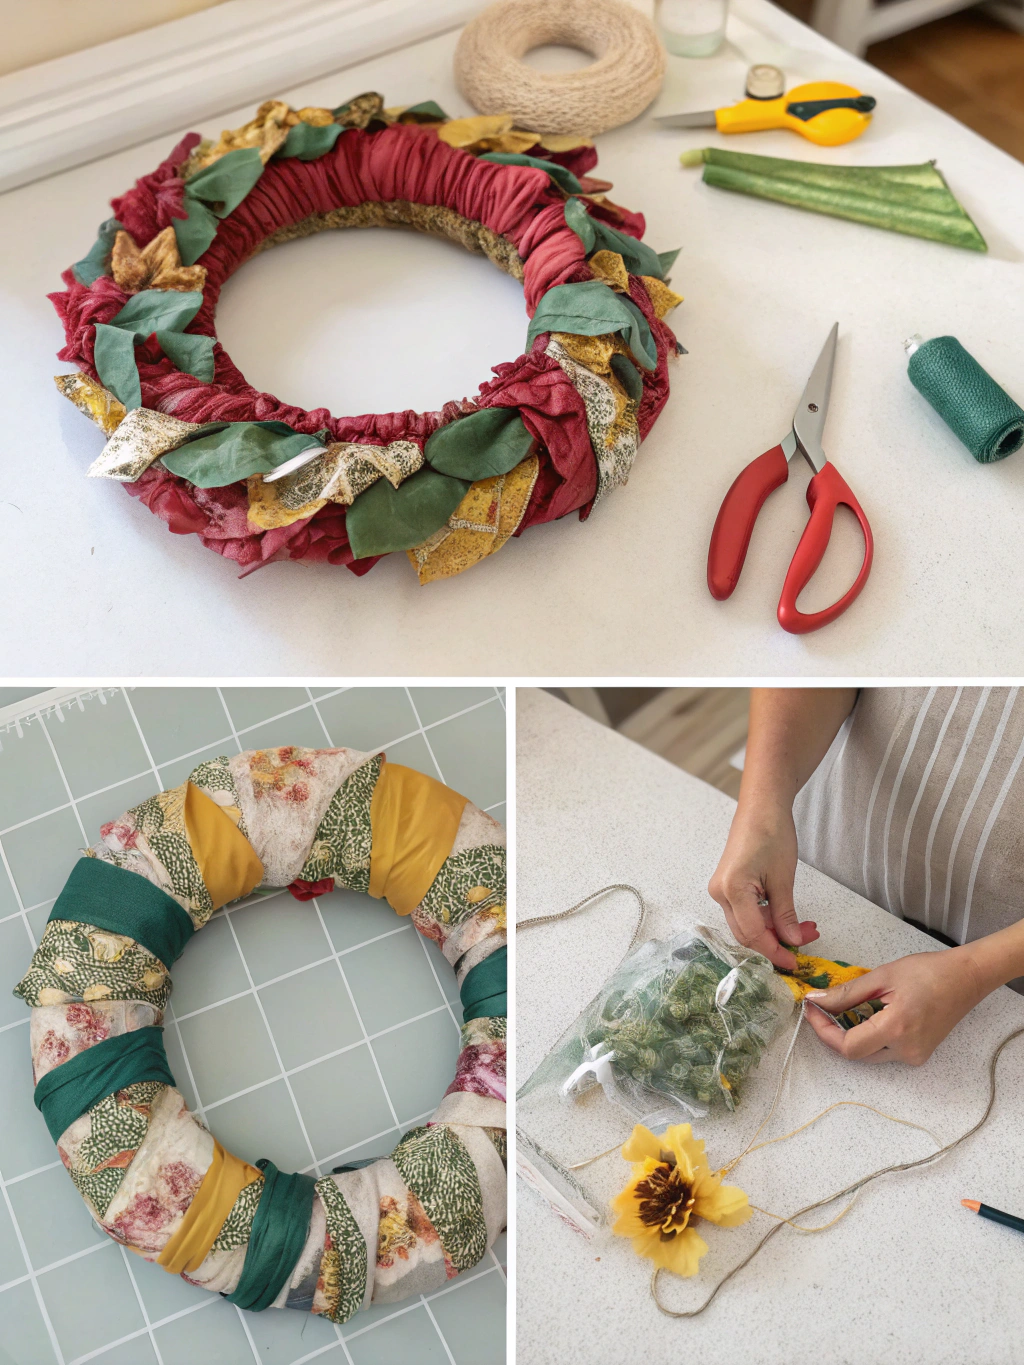
*Caption: Step 1 – Neatly cutting colorful fabric scraps into appropriately sized strips.*
First, decide on the length and width of your strips. A good starting point is about 1.5 inches wide and 6-8 inches long. However, feel free to experiment! Wider strips will create a fuller, fluffier look, while narrower strips will give a more shag-like appearance. Longer strips will result in longer “tails” on your wreath.
Using your fabric scissors or rotary cutter and mat, cut your fabric into these strips. Don’t worry too much about perfect precision; slight variations in size can add to the wreath’s charm. This is the most time-consuming part, so put on some music or a podcast and settle in. The more strips you cut, the fuller your upcycled fabric scraps wreath will be.
Step 2: Prepare Your Wreath Form (If Necessary) Upcycled Fabric Scraps Wreath
Depending on the type of wreath form you’ve chosen, you might need a little prep work. This step ensures your base is ready for the fabric and that nothing unsightly shows through.
If you’re using a straw wreath form and are concerned about the straw peeking through your fabric, you can wrap it with a neutral-colored fabric or ribbon first. Simply secure one end of the fabric/ribbon with a pin or hot glue, then wrap it around the form, overlapping slightly, until the entire form is covered. Secure the other end.
For wire wreath forms, especially those with multiple rings, decide how you want to attach your fabric. You’ll typically be tying the strips around one or more of the wires. No extra prep is usually needed for foam or DIY cardboard forms unless you want to paint them a base color that complements your fabric. This will help if any small gaps appear in your fabric.
Step 3: Attaching the Fabric Strips
Now for the really fun part – bringing your wreath to life! This is where your pile of fabric strips starts to look like an actual upcycled fabric scraps wreath. There are a few ways to attach the fabric, but the most common and easiest is simply tying them on.

*Caption: Step 3 – Carefully tying a fabric strip onto the wreath form. Repeat until full!*
Take one fabric strip and fold it in half to create a loop at one end. Place the looped end under a wire or section of your wreath form. Then, pull the two tails of the fabric strip through the loop and pull tight to create a lark’s head knot. That’s it! Your first piece is attached.
Continue this process, working your way around the wreath form. Push the knots close together to make the wreath full and fluffy. Alternate your colors and patterns as you go to create a visually appealing design. There’s no right or wrong way to do this; let your creativity guide you. If you’re using a multi-wire form, you can tie strips to different wires to create more depth and texture.
A common pitfall here is not making the knots tight enough, causing them to slip, or not using enough fabric, resulting in a sparse wreath. Don’t be afraid to really pack those fabric strips in there! If you’re looking for more inspiration on “How to make a fabric scraps wreath,” many online communities share fantastic ideas.
Step 4: Fluff and Arrange
Once you’ve covered the entire wreath form with fabric strips, it’s time to give it some personality. Your wreath might look a bit flat or uneven at this point, but don’t worry – this step is all about styling.
Gently fluff and arrange the fabric strips. Point them in different directions to create volume. If some strips are too long or look out of place, you can trim them with your scissors. Step back and look at your wreath from a distance to see if there are any bald spots or areas that need more attention.
This is also the stage where you can use a bit of hot glue if certain strips aren’t behaving or if you want to ensure everything stays perfectly in place, especially if your wreath will be hung on a door that gets a lot of movement. However, if you’ve tied your knots tightly and packed the fabric well, glue might not be necessary. The goal is a full, vibrant, and beautifully textured upcycled fabric scraps wreath.
Step 5: Add Embellishments (Optional) and a Hanger
Your wreath is almost complete! This final step is optional but can add an extra layer of charm and personalization. If you want to add embellishments, now is the time.
Consider adding buttons, beads, small wooden cutouts, faux flowers, or even tiny battery-operated fairy lights. You can hot glue these directly onto the fabric strips or nestle them within the folds. Think about the season or occasion for your wreath. For example, small ornaments for a Christmas wreath, or pastel-colored beads for a spring theme.
Finally, you’ll need a way to hang your beautiful creation. You can create a loop hanger from a sturdy piece of ribbon, twine, or even a coordinating fabric strip. Tie it securely around the wreath form at the back, ensuring it’s centered. Alternatively, if you’re using a wire wreath form, you might be able to hang it directly from one of the wires. Make sure your hanger is strong enough to support the weight of the wreath.
And there you have it! Your very own, handcrafted upcycled fabric scraps wreath is ready to display.
The Stunning Final Result!
Ta-da! Step back and admire your handiwork. You’ve successfully transformed a pile of otherwise discarded fabric scraps into a beautiful and unique piece of home decor. This upcycled fabric scraps wreath is a testament to your creativity and a wonderful example of sustainable crafting.
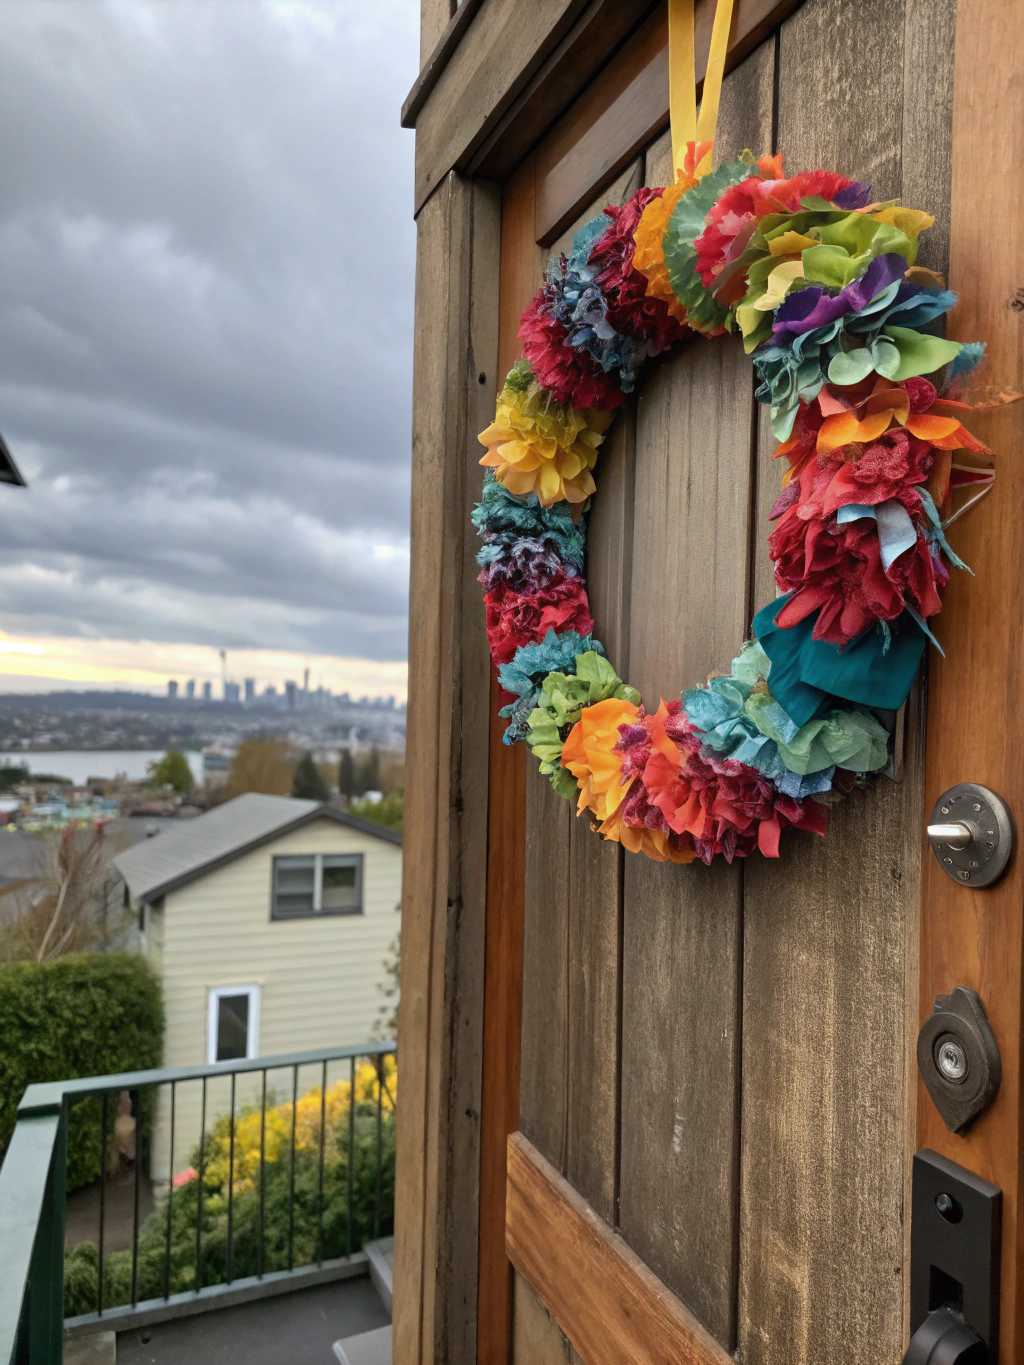
*Caption: Your completed masterpiece! A vibrant and textured upcycled fabric scraps wreath, perfect for any door or wall.*
Whether you hang it on your front door to welcome guests, above your mantelpiece as a cozy focal point, or give it as a thoughtful, handmade gift, your wreath is sure to bring joy. The beauty of this project lies not just in the final product, but in the process of making something new and beautiful from old materials.
We’d absolutely love to see your creations! Share a photo of your upcycled fabric scraps wreath in the comments below or tag us on social media. Did you discover any clever tips or tricks along the way? Let us know!
Pro Tips & FAQs for Your Fabric Scraps Wreath
You’ve got the basics down, but here are a few extra tips and answers to common questions to help you perfect your upcycled fabric scraps wreath and explore even more “Sustainable fabric wreath ideas”.
Q1: What are the best types of fabric to use for an upcycled fabric scraps wreath?
A: Cotton and cotton blends are fantastic because they are easy to cut, tie, and don’t fray excessively. Old t-shirts (jersey knit) create a soft, full look. Quilting cottons offer a huge variety of prints and colors. Denim, flannel, and even silk or lace can be incorporated for texture. Avoid very stiff or slippery fabrics as they can be difficult to tie and may not hold their shape well. Ultimately, experiment! Part of the fun of an upcycled fabric scraps wreath is seeing how different materials come together.
Q2: How many fabric scraps do I actually need for a full wreath?
A: This really depends on the size of your wreath form and how full you want it. For a standard 12-14 inch wreath form, you’ll likely need several yards of fabric if you were buying it new – which translates to a pretty significant pile of scraps! A good rule of thumb is to gather more than you think you’ll need. You can always use leftovers for another small project. The key to a lush “DIY upcycled fabric scraps wreath” is packing the strips tightly.
Q3: Can I make this wreath no-sew? How do I make a fabric scraps wreath without sewing?
A: Absolutely! The method described in this tutorial (tying fabric strips) is completely no-sew. Hot glue is optional for securing embellishments or very stubborn strips, but not essential for the structure of the wreath itself. This makes it a great project for all skill levels. There are many “Sustainable fabric wreath ideas” that require no sewing at all, focusing on wrapping, tying, or tucking fabric.
Q4: How do I care for my upcycled fabric scraps wreath?
A: To keep your wreath looking its best, display it in a sheltered area if outdoors (like a covered porch) to protect it from harsh weather. Indoors, it will last for years. To clean, you can gently shake it out or use a hairdryer on a cool, low setting to remove dust. Spot clean any stains carefully if needed, but avoid soaking the entire wreath, especially if it has a cardboard or foam base.
Q5: Where can I find more inspiration for upcycled craft projects?
A: The internet is your oyster! Websites like Good Housekeeping often feature [“DIY upcycled fabric scraps wreath, How to make a fabric scraps wreath, Sustainable fabric wreath ideas”](https://www.goodhousekeeping.com/home/craft-ideas/how-to/g139/genius-upcycling-ideas/). Pinterest is also a visual goldmine for upcycling projects. And of course, keep an eye on our blog for more creative DIYs! Exploring other upcycling crafts can give you fresh perspectives for your fabric projects.
We hope this guide has inspired you to create your own beautiful upcycled fabric scraps wreath! It’s a fantastic way to reduce waste, express your creativity, and add a touch of handmade charm to your home.
What are you waiting for? Grab those scraps and get crafting!
Don’t forget to share your thoughts, questions, or your own wreath photos in the comments below. We love hearing from our community of DIY enthusiasts! For more upcycling inspiration and DIY tutorials, be sure to subscribe to our newsletter and follow us on social media!

