Introduction
Finished a celebratory bottle of wine and now you’re left staring at the empty, wondering if it’s destined for the recycling bin? Before you toss it, let me share a little secret: that empty bottle is a blank canvas. With a little imagination, you can transform it into stunning home decor. This guide is your ultimate resource for incredible wine bottle crafts DIY projects that are not only beautiful but also surprisingly easy to make. Whether you’re a seasoned crafter or just looking for a fun weekend project, you’ll find an idea here that sparks your creativity. Let’s pop the cork on creativity and turn that trash into treasure!
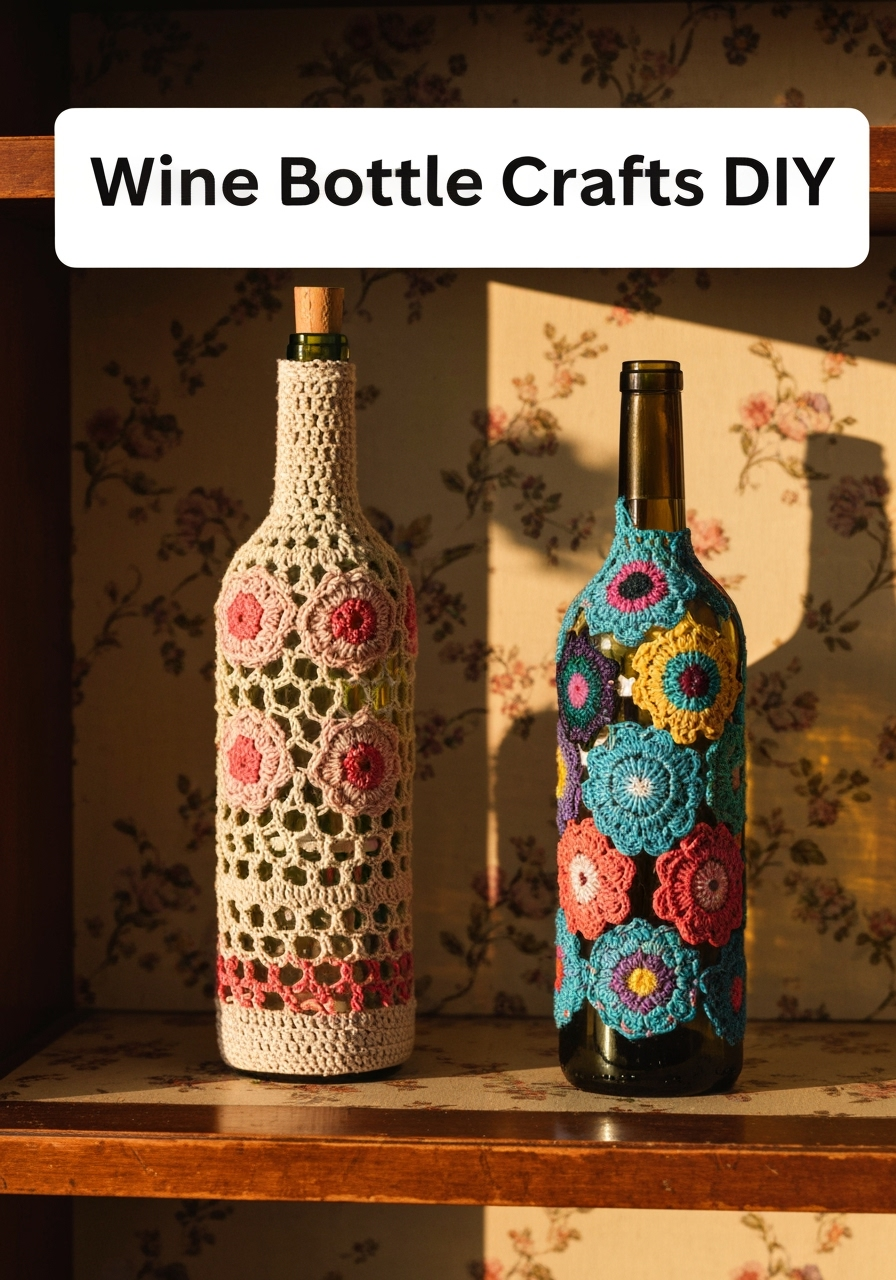
Caption: From simple painted vases to intricate light fixtures, the possibilities for your empty wine bottles are endless!
Why Bother with Wine Bottle Crafts?
In a world of fast-paced consumption, there’s something deeply satisfying about slowing down and creating something with your own two hands. Upcycling, the art of turning waste materials into new, valuable items, is more than just a trend—it’s a mindset.
Eco-Friendly and Sustainable: Every bottle you upcycle is one less item in the landfill or energy-intensive recycling system. It’s a small but powerful way to reduce your environmental footprint. You’re not just making decor; you’re making a difference.
Budget-Friendly Decor: Let’s be honest, decorating your home can be expensive. These wine bottle crafts DIY projects use a primary material you already have (or can get for free from friends!). With a few basic craft supplies, you can create high-end looking pieces for a fraction of the cost of store-bought decor.
Unleash Your Personal Style: The best part about DIY is the “Y”—you. You get to choose the colors, the textures, and the designs. Create a rustic twine-wrapped vase for your farmhouse kitchen or a sleek, minimalist painted bottle for your modern living room. Your home should reflect your personality, and these projects are the perfect way to do just that. Exploring DIY wine bottle crafts, Creative recycled wine bottle ideas, and How to make crafts with wine bottles opens up a world of personalized home decor.
Table of Contents
Safety First: Prepping Your Bottles for Crafting
Before we dive into the creative fun, let’s talk about the essential prep work. Working with glass requires a little bit of care, but don’t worry, it’s simple! Proper preparation ensures your projects are safe, durable, and look professionally finished.
- Cleaning is Key: First, rinse out any remaining wine. Then, soak the bottles in a sink or tub of hot, soapy water for about 30 minutes to an hour. This will loosen the labels and make them much easier to remove.
- De-Labeling Like a Pro: For stubborn labels, a paste of baking soda and cooking oil (equal parts) works wonders. Slather it on, let it sit for 30 minutes, and then scrub the label and adhesive off with a scouring pad or steel wool. Finish with a good wash with dish soap to remove any oily residue.
- Safety Gear: Always prioritize safety. If a project involves cutting glass, wear safety goggles to protect your eyes from any stray shards and thick gloves (like leather work gloves) to protect your hands. Work in a well-ventilated area, especially when using spray paints or strong adhesives.
What You’ll Need: Your DIY Wine Bottle Crafting Kit
While each project has its own specific list, there are a few core supplies you’ll find yourself reaching for again and again. Think of this as your starter kit for becoming a wine bottle upcycling guru.
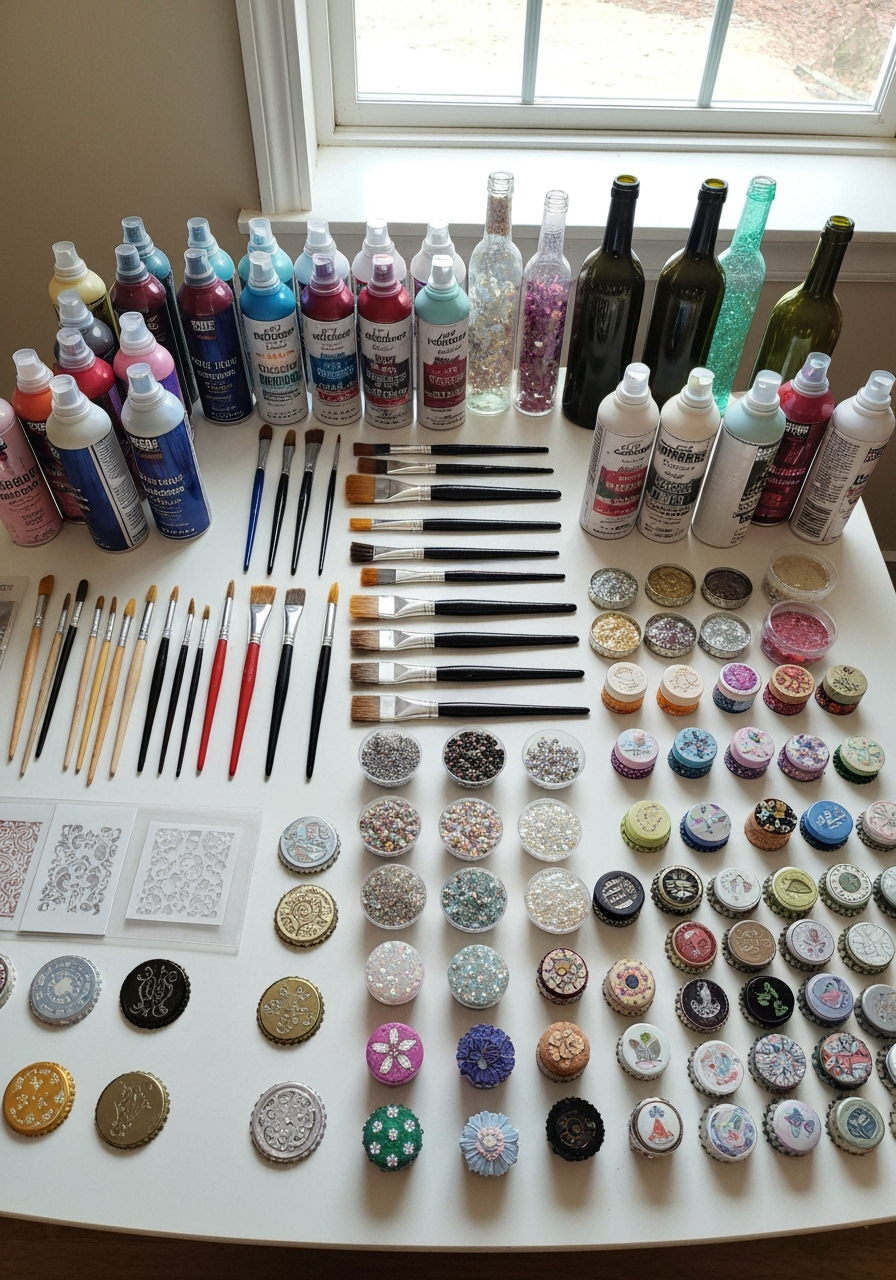
Essential Materials & Tools:
- Empty Wine Bottles: All shapes, sizes, and colors! Clear, green, and brown bottles all offer unique looks.
- Hot Glue Gun & Glue Sticks: An absolute must-have for attaching embellishments.
- Strong Craft Glue (like E6000): For a more permanent, heavy-duty bond.
- Paint: Chalk paint, acrylic craft paint, and spray paint are all great options for glass.
- Paintbrushes: A variety of sizes for different techniques.
- Twine, Jute, or Ribbon: Perfect for adding a rustic or decorative touch.
- Scissors & Craft Knife: For precise cutting.
- Safety Goggles & Gloves: Non-negotiable, especially for cutting projects!
- Drop Cloth or Old Newspapers: To protect your workspace from paint and glue.
7 Easy Wine Bottle Crafts DIY Ideas You’ll Love
Ready to get started? Here are seven fantastic, beginner-friendly projects that will have you looking at empty bottles in a whole new light. We’ll start with the simplest and work our way up to slightly more involved (but still totally doable!) creations.
Idea 1: The Rustic Twine-Wrapped Vase
This is a classic for a reason. It’s incredibly simple, requires minimal tools, and the result is a beautifully textured, rustic vase that looks amazing with a few sprigs of eucalyptus or dried lavender.
Materials:
- A clean, empty wine bottle
- Jute twine or rustic-looking rope
- Hot glue gun
Step-by-Step Instructions:
- Start at the Base: Apply a small ring of hot glue around the very bottom of the bottle. Quickly and firmly press the end of your twine into the glue.
- Wrap It Up: Begin tightly wrapping the twine around the bottle. Keep the rows snug against each other with no gaps. Every few inches, add a thin, vertical line of hot glue from the last row to the bottle and press the twine into it to keep everything secure.
- Continue to the Top: Keep wrapping until you reach the lip at the top of the bottle. The curve can be tricky, so use a bit more glue here to hold the twine in place as you navigate the shape.
- Finish Strong: Once you reach the very top lip, cut the twine, leaving a small tail. Apply a dot of hot glue and press the end down firmly, tucking it in for a clean finish.
Pro-Tip: For a two-toned look, switch to a different color of twine or ribbon halfway up the bottle!
Idea 2: Magical Fairy Light Bottle Lamp
This project is pure magic and takes less than five minutes. It creates a warm, ambient glow that’s perfect for a cozy corner, a bookshelf, or a centerpiece for a dinner party.
Materials:
- A clean, empty wine bottle (clear or light-colored bottles work best)
- A set of cork-topped fairy lights (easily found online or in craft stores)
Step-by-Step Instructions:
- Unravel the Lights: Carefully unwind the string of fairy lights.
- Feed Them In: Gently feed the light string into the bottle, distributing them as evenly as possible from bottom to top. It’s okay if they coil randomly; that’s part of the charm!
- Cork It: Place the “cork,” which houses the battery pack and switch, into the opening of the bottle.
- Light It Up! Flip the switch and enjoy the enchanting glow. It’s really that simple.
Pro-Tip: Use bottles with interesting shapes or slight tints (like light blue or green) for a different color effect.
Idea 3: The Chic Painted Centerpiece Trio
A set of three painted bottles in complementary colors makes for a stunning and modern centerpiece. Chalk paint is fantastic for this as it adheres well to glass and gives a beautiful matte, velvety finish.
Materials:
- Three empty wine bottles of varying shapes and sizes
- Chalk paint in 2-3 colors of your choice
- Paintbrushes or a foam brush
- Fine-grit sandpaper (optional, for a distressed look)
- Clear matte sealant spray (optional, for durability)
Step-by-Step Instructions:
- Apply the First Coat: Ensure your bottles are perfectly clean and dry. Using a brush, apply a thin, even coat of chalk paint. Don’t worry if it looks streaky; the second coat will fix that. Let it dry completely (usually about an hour).
- Add the Second Coat: Apply a second coat of paint for full, opaque coverage. Let this dry thoroughly, preferably for several hours.
- Distress (Optional): If you want a rustic, shabby-chic look, gently rub the fine-grit sandpaper over the raised areas of the bottle (like the lettering or decorative rings). This will reveal a bit of the glass underneath.
- Seal It: For added durability and to prevent chipping, take the bottles outside or to a well-ventilated area and apply a light, even coat of matte sealant spray. Let dry.
- Arrange and Admire: Group your three bottles together on a mantel, shelf, or dining table. They look great on their own or with a single flower stem in each.
Idea 4: The Self-Watering Planter
This is one of the most brilliant DIY wine bottle crafts. It’s not just decorative; it’s functional! By cutting a wine bottle in half, you can create a chic self-watering planter that’s perfect for herbs or small houseplants that love consistent moisture. This is how you can truly learn how to make crafts with wine bottles that serve a purpose.
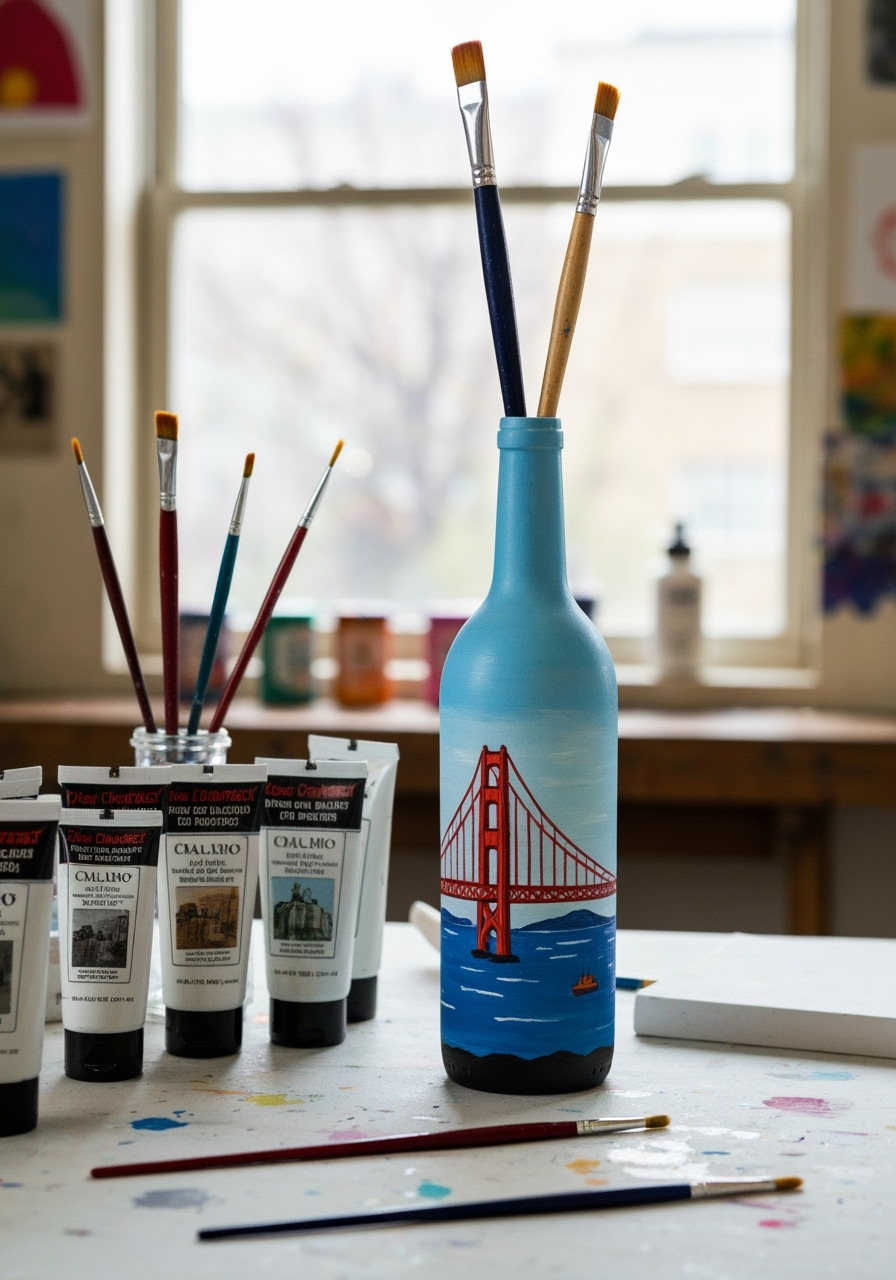
Materials:
- A clean, empty wine bottle
- Glass bottle cutter tool
- A thick piece of cotton string or a strip from a cotton t-shirt (for the wick)
- Small piece of mesh or screen (to cover the neck hole)
- Potting soil
- A small plant or herb (like basil or mint)
Step-by-Step Instructions:
- Score the Bottle: Using your bottle cutter, score a clean line all the way around the bottle. Aim for a spot about halfway up, or just below where the bottle starts to narrow. Follow the instructions on your specific cutter for the best results.
- Separate the Halves: This is the critical step. You’ll alternate pouring very hot water and very cold water over the score line. The thermal shock will cause the glass to crack cleanly along your line. Please wear your safety goggles and gloves for this! Do this over a sink to contain the water.
- Sand the Edges: The cut edges will be sharp. Carefully sand them down with a piece of fine-grit sandpaper or a sanding block until they are completely smooth to the touch.
- Set Up the Wick: Take your cotton string (about 6-8 inches long) and thread it through the neck of the top half of the bottle, leaving a few inches dangling out of the mouth. This wick will draw water up from the reservoir below. Place the small piece of mesh over the hole inside to prevent soil from falling through.
- Plant and Assemble: Fill the top half with potting soil and your chosen plant. Fill the bottom half of the bottle (the reservoir) about halfway with water. Place the planted top half into the bottom half, ensuring the wick is submerged in the water. Voila! A self-watering planter.
Idea 5: The Upcycled Bird Feeder
Invite some feathered friends to your garden with this charming and incredibly simple bird feeder. It’s a wonderful project to do with kids and a great way to use those uniquely shaped bottles.
Materials:
- An empty wine bottle
- A small plant saucer (about 4-5 inches in diameter)
- Strong, waterproof adhesive (like E6000)
- Twine or wire for hanging
- Birdseed
Step-by-Step Instructions:
- Attach the Saucer: Turn the bottle upside down. Apply a generous ring of E6000 adhesive around the mouth of the bottle. Center the plant saucer on top (it will be the feeding tray) and press down firmly.
- Cure the Glue: This is important! Let the adhesive cure for at least 24-48 hours, according to the package directions, to ensure a strong, waterproof bond.
- Create the Hanger: Tightly wrap sturdy twine or wire around the neck of the bottle several times, creating a secure loop from which to hang it.
- Fill and Hang: Turn the feeder right-side-up. Fill the bottle with birdseed. The seed will slowly trickle out into the saucer as the birds eat. Hang it from a sturdy tree branch and watch your new visitors arrive!
Idea 6: The Etched Glass Soap Dispenser
Elevate your kitchen or bathroom sink with a custom-etched soap dispenser. Glass etching cream seems intimidating, but it’s actually very easy to use and creates a stunning, permanent, frosted design that looks incredibly high-end.
Materials:
- A clean, empty wine bottle (a darker color like green or brown provides great contrast)
- Pump dispenser top (you can buy these online or reuse one from a plastic soap bottle)
- Glass etching cream (e.g., Armour Etch)
- Adhesive stencils (you can find letters, monograms, or patterns at any craft store)
- Small brush
- Rubber gloves and safety goggles
Step-by-Step Instructions:
- Apply Your Stencil: Decide where you want your design. Peel and stick your adhesive stencil firmly onto the clean, dry bottle. Make sure all the edges are pressed down tightly to prevent the cream from seeping underneath.
- Apply the Etching Cream: Put on your gloves and goggles. Using a small brush, apply a thick, even layer of the etching cream over the stencil. Don’t be shy with it—you want full coverage.
- Wait: Let the cream sit for the time recommended in the product’s instructions (usually 5-15 minutes).
- Rinse and Reveal: Rinse the bottle under cool running water to wash away all the cream. Peel off the stencil, and your beautiful, frosted design will be revealed!
- Finish: Fill the bottle with your favorite hand soap or dish soap and twist on the pump top.
Idea 7: The Summery Wine Bottle Tiki Torch
Perfect for backyard parties and warm summer nights. These tiki torches are a stylish way to add ambiance and help keep the bugs at bay.
Materials:
- An empty wine bottle
- Tiki torch replacement wick
- 1/2″ to 3/8″ copper coupling with a stop (from the plumbing aisle)
- Teflon tape
- Marbles or small pebbles (optional, for weight)
- Tiki torch fuel
Step-by-Step Instructions:
- Add Weight (Optional): If you’re concerned about the bottle tipping, fill the bottom inch or two with small marbles or pebbles for stability.
- Prepare the Wick Holder: Wrap the outside of the copper coupling with a few layers of Teflon tape. This creates a snug, secure fit inside the mouth of the wine bottle.
- Insert the Wick: Feed the tiki wick through the copper coupling, leaving about half an inch of the wick exposed at the top.
- Fill with Fuel: Using a funnel, carefully fill the bottle about three-quarters full with tiki torch fuel. Do not overfill.
- Assemble the Torch: Place the wick and coupling assembly into the mouth of the bottle, pressing down firmly to create a seal. The wick should be submerged in the fuel. Let the wick soak up the fuel for at least 20 minutes before the first use.
- Light It Up: Place your torch on a stable, non-flammable surface outdoors, away from anything combustible. Light the wick and enjoy the warm glow! Always extinguish it fully when you’re done.
The Stunning Final Result
Take a step back and look at what you’ve created! You’ve taken a simple, discarded object and, with your own hands, turned it into something beautiful, functional, and uniquely you. Whether it’s the gentle glow of your new fairy light bottle or the stunning centerpiece on your dining table, you’ve added a personal touch to your home. These projects are more than just decor; they’re conversation starters and a source of DIY pride.
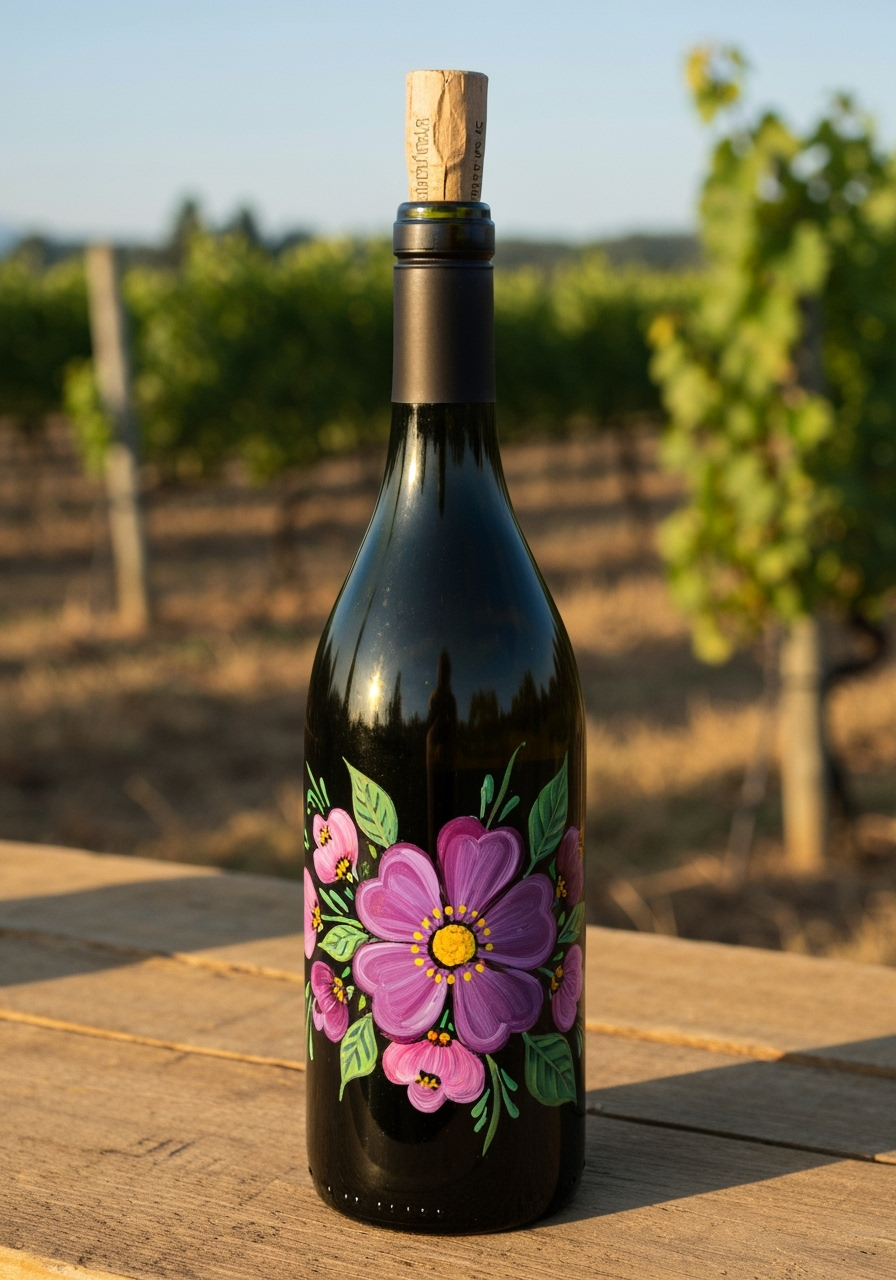
Caption: Your finished wine bottle crafts, ready to be displayed and admired. What will you make next?
Now that you’ve got the hang of it, think about what else you can create. Maybe a striking display shelf? Our guide on building a wine bottle crafts DIY is the perfect next step to showcase your new collection.
Pro Tips & FAQs About Wine Bottle Crafts DIY
As you get more comfortable, you might have some questions. Here are answers to some of the most common ones we hear.
What’s the absolute easiest way to remove stubborn wine bottle labels?
The “OxyClean soak” is a game-changer. Fill your sink with hot water, add a scoop of OxyClean, and submerge your bottles for an hour. Most labels will float right off or peel away with zero effort. The adhesive literally dissolves. It’s much less messy than the oil method for extra-stubborn labels.
What kind of paint works best on glass bottles?
For the best adhesion and a professional finish, you have a few great options. Spray paint formulated for glass is fastest for even coverage. Chalk paint is excellent for a matte, rustic look and requires minimal prep. Acrylic enamel paints (not regular acrylics) are also designed to cure on glass for a durable, glossy finish. For any paint, cleaning the glass with rubbing alcohol first will ensure the best possible adhesion.
Do I really need a special tool to cut wine bottles?
While there are “no-tool” methods using string and acetone, they can be unreliable and produce jagged edges. For consistent, clean, and safe cuts, investing in a simple glass bottle cutter tool (around $15-20 online) is highly recommended. It scores the glass perfectly, giving you a much better chance of a clean break when you apply thermal shock. It’s a small investment that makes a huge difference in the quality and safety of your projects.
Any creative recycled wine bottle ideas beyond just vases?
Absolutely! Besides the planters and bird feeders we covered, you can use the bottom halves of cut bottles as candle cloches or small terrariums. You can also break the bottles (safely, inside a heavy-duty bag) into pieces to use in mosaic projects for tabletops or garden stones. The possibilities for [**DIY wine bottle crafts, Creative recycled wine bottle ideas, and How to make crafts with wine bottles**](https://www.bakerross.co.uk/upcycling-craft-ideas) are truly as vast as your imagination.
We’d love to see what you create! Share your projects in the comments below, or tag us on social media. What’s your favorite idea from this list? Do you have another amazing wine bottle craft to share? Let us know!
For more DIY inspiration delivered straight to your inbox, don’t forget to sign up for our newsletter. Happy crafting

